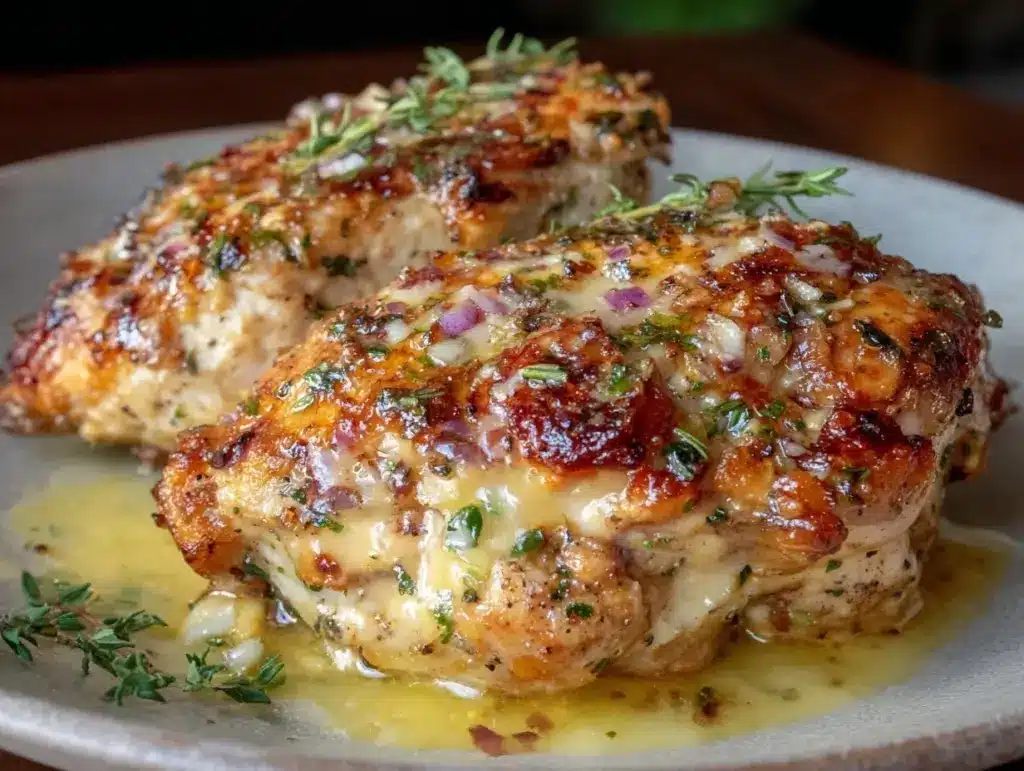
There is a specific kind of despair that comes from opening your Tupperware on a Tuesday afternoon, pulling out what you *thought* was a healthy, protein-packed lunch, and biting into chicken that tastes like a shoe. It’s dry. It’s stringy. It’s sad. And suddenly, your carefully planned meal prep week feels less like a victory and more like a punishment.
I’ve been there. Oh, have I been there. Back in my early meal-prepping days, I treated chicken breasts like they were made of rubber. I’d throw four raw pieces onto a baking sheet, pop them in the oven at 400°F for 25 minutes, and call it a day. The result? Three pieces were perfectly fine, one was juicy, and one was so dry it made me question my life choices. I wasted hours of prep time on a protein that couldn’t even survive until Wednesday.
That was the turning point. I realized I wasn’t failing at meal prep; I was failing at cooking chicken. So, I stopped guessing. I started testing. I tried brining. I tried sous vide (which is great, but not exactly “grab-and-go” efficient). I tried marinating overnight. And finally, I landed on the method that has kept my fridge stocked and my sanity intact for the last three years: the Never-Dry Oven-Baked Chicken Breast.
This isn’t just another chicken recipe. It’s the backbone of my entire weekly routine. It’s the reason I can pull together a high-protein chicken and broccoli meal prep bowl in under 15 minutes on Sunday night. It’s the secret ingredient in my high-protein egg white bowl that actually makes me look forward to breakfast. When your base protein is consistently juicy, tender, and flavorful, the entire week’s worth of meals tastes better. It’s that simple.
Here’s the thing about this method: it’s not magic. It’s just science. By sealing the chicken in its own juices with a bit of oil and aromatics, we create a mini-steam chamber in the oven. The chicken cooks gently, retaining moisture, and comes out looking like it was slow-roasted for hours, not baked for 20 minutes. No dry edges. No rubbery centers. Just perfect, flaky, juicy meat that holds up beautifully in the fridge and freezer.
If you’re tired of throwing away dry chicken or spending your Sunday night stressfully trying to rescue it with gravy, this is your fix. Let’s get organized.
Why You’ll Love This Recipe
I know what you’re thinking. “Another chicken breast recipe?” But hear me out. This method has completely changed how I approach weekly planning. It’s not just about taste; it’s about reliability. When you know your base ingredient is going to be perfect, you can build an entire week of meals around it without worry.
Here’s why this has earned a permanent spot in my rotation:
- Consistently Juicy Every Time — Seriously, I’ve made this 15 times in the last two months, and not once has a piece been dry. The foil seal is non-negotiable. It traps steam and keeps the meat tender.
- Meal Prep Friendly — This chicken reheats beautifully. I’ve eaten it cold in salads, warm in bowls, and even cold in sandwiches. It doesn’t get rubbery when chilled. It stays soft.
- Flavor-Ready Base — Because I season it well and let it rest in the juices, it’s ready to go. Whether I’m tossing it into a Mediterranean chicken skewer salad or slicing it for tacos, it already has a great foundation.
- Hands-Off Cooking — You don’t need to stand over the stove. You don’t need to flip it. You just put it in, set a timer, and walk away. This is crucial for me because I often prep while helping my kids with homework or answering work emails.
- Budget-Smart — Chicken breasts are often on sale, and this method uses them efficiently. I can buy a family pack, prep half now, and freeze the other half for next week’s plan. It stretches your dollar further than buying pre-cooked or rotisserie chicken.
This is my go-to when I need dinner to just work. No complicated techniques, no weird ingredients, just reliable, delicious food that makes everyone happy. It’s the difference between a chaotic week and a controlled one.
Ingredients You’ll Need
Here’s the best part: you probably have most of this already. I’m particular about a few things here, and I’ll tell you exactly why. We’re keeping it simple so you can focus on the prep, not the shopping trip.
For the Chicken
Chicken breasts (1.5 to 2 pounds / 700g – 900g) — I use boneless, skinless chicken breasts. If they’re huge, butterfly them or pound them to an even ½-inch thickness. Uneven thickness is the enemy of even cooking. If you have small, thin cutlets, you can use 3 pounds. Just keep an eye on the oven.
Extra virgin olive oil (2 tablespoons) — This adds fat, which helps conduct heat and keeps the meat moist. Don’t skimp on the oil. I use a decent quality one because it adds flavor.
Garlic powder (1 teaspoon) — I use powder, not fresh garlic, for the initial rub. Fresh garlic can burn in the oven. Powder gives that savory depth without the risk of bitter bits. If you really want fresh, mince it super finely and mix it into the oil.
Onion powder (1 teaspoon) — Adds a subtle sweetness and savory note. It’s a pantry staple for me. If you don’t have it, use dried onion flakes, but powder is smoother.
Dried thyme (1 teaspoon) — Thyme pairs beautifully with chicken. It’s earthy and herbal. Fresh thyme works too, but use double the amount. I keep dried herbs on hand because they last longer and are always ready.
Salt and black pepper (1 teaspoon each) — Don’t be shy with the salt. Chicken needs seasoning, and since we’re baking it in a sealed packet, the flavors infuse directly into the meat. Use kosher salt if you have it; it’s easier to distribute evenly.
For the Foil Packets
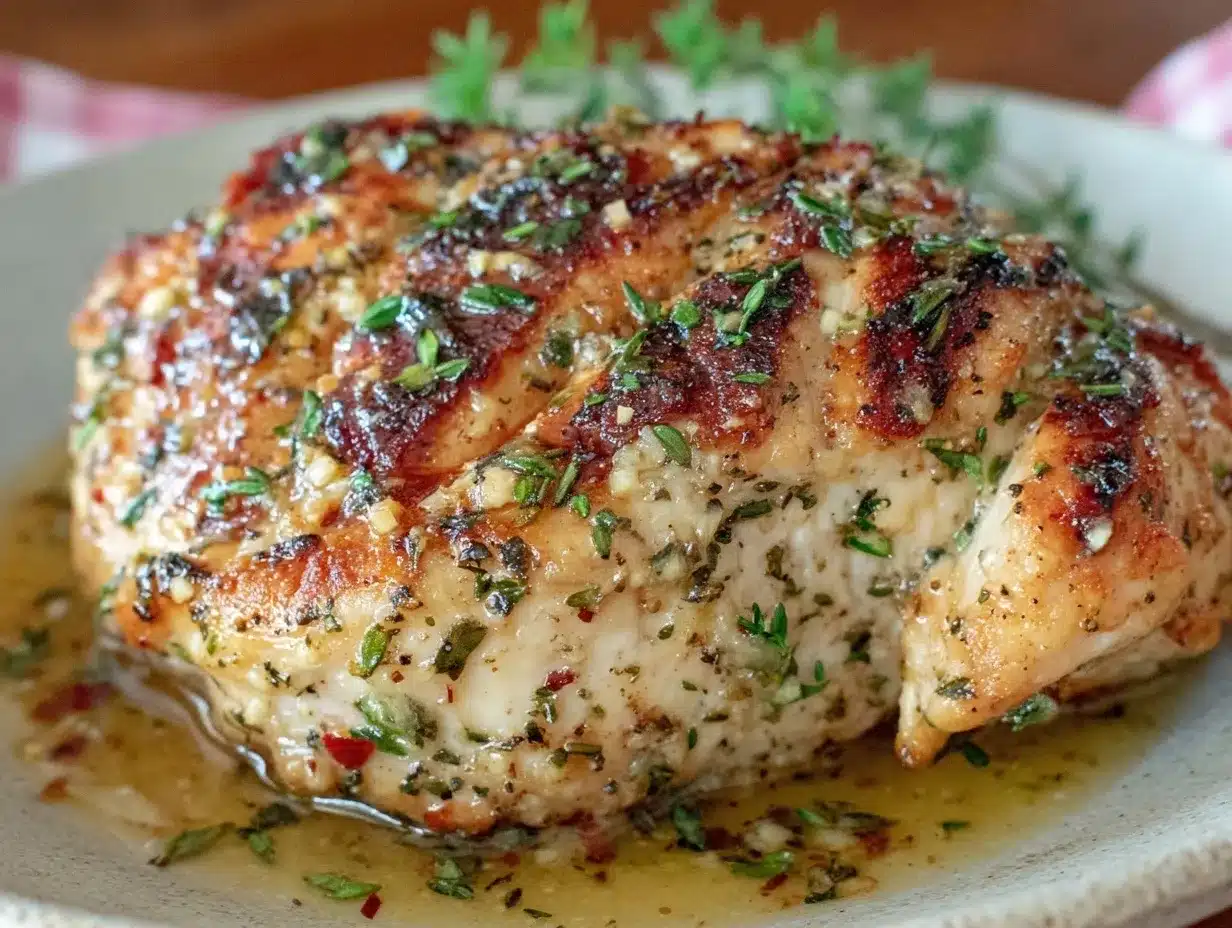
Heavy-duty aluminum foil (8 sheets, 12×12 inches) — Regular foil tears easily when you’re sealing these up. Heavy-duty foil is worth the extra few cents. I buy the big rolls from the restaurant supply section.
Parchment paper (Optional) — Some people use parchment instead of foil. It works, but I prefer foil because it holds the steam better. If you use parchment, make sure to double-layer it.
Butter or extra olive oil (1 tablespoon total) — I add a small pat of butter to each packet for richness. It melts into the juices and makes the chicken taste luxurious. You can skip this for a lighter version, but I don’t recommend it.
Personal Tips:
– I buy chicken breasts that are roughly the same size. If you get a mix of large and small, cook the large ones for an extra 2-3 minutes.
– I keep a roll of heavy-duty foil in the fridge. Yes, really. It makes it stiffer and easier to work with when sealing packets.
– If you’re making a Mediterranean shrimp pasta later in the week, you can use the same seasoning blend here. It’s versatile.
Equipment Needed
You don’t need fancy equipment for this. Here’s what I actually use:
Baking sheets (2 large) — I use half-sheet pans. Make sure they’re big enough to hold four packets with a little space between them for air circulation. I have two so I can cook everything at once.
Heavy-duty aluminum foil — As mentioned, this is key. Regular foil will tear, and you’ll lose the steam. Trust me on this.
Sharp knife and cutting board — For trimming any excess fat or tenders from the chicken. A sharp knife is safer and cleaner.
Measuring spoons — For the spices. I have a set that’s been with me for years. It’s fine if you eyeball it, but measuring ensures consistency.
Tongs — For handling the hot packets. Don’t use forks; you’ll poke holes in the foil and lose the steam.
Instant-read thermometer — This is my most important tool. Chicken is tricky because it dries out the second it goes past 165°F. A thermometer takes the guesswork out. I check the internal temperature to ensure it’s perfect.
Meal prep containers — Glass containers are best for reheating. Plastic works for cold salads, but glass keeps the chicken from absorbing fridge odors.
Optional but nice:
– Food processor — If you’re making a large batch, you can toss the chicken and spices in a bag or bowl to coat evenly.
– Label maker — For dating your containers. I’m not a fan of writing on containers with markers; it smudges. A label maker looks professional and lasts longer.
How to Make It: Step-by-Step
Alright, let’s make this! I’m walking you through exactly how I do it, including the little tricks I’ve picked up over years of meal prepping.
Step 1: Prep the Chicken (5 minutes)
Start by trimming any excess fat or tenders from the chicken breasts. If the breasts are very thick, butterfly them or pound them to an even ½-inch thickness. This is crucial. If one end is thin and the other is thick, the thin end will dry out before the thick end is cooked. I use a meat mallet or the bottom of a heavy pan to pound them. Even thickness means even cooking.
Step 2: Season the Chicken (5 minutes)
In a small bowl, mix the garlic powder, onion powder, dried thyme, salt, and black pepper. Place the chicken breasts on a clean surface or in a large bowl. Drizzle with olive oil and rub it all over. Then, sprinkle the spice mixture evenly over both sides of each breast. Rub the spices in so they stick. You want every inch seasoned.
Step 3: Assemble the Foil Packets (10 minutes)
Preheat your oven to 400°F (200°C). Take a sheet of heavy-duty foil and place it on a baking sheet. Place two chicken breasts in the center of the foil. Add a small pat of butter on top of each breast. Bring the long sides of the foil up and fold them over, creating a seal. Then, fold the short ends up and seal tightly. You want to create a tight packet that doesn’t let steam escape. Repeat for the second batch on another baking sheet.
Here’s the trick: don’t just fold the edges. Crimp the edges tightly with your fingers. If you see any light, it’s not sealed. Seal it again. You’re creating a pressure cooker effect in the oven.
Step 4: Bake (15-20 minutes)
Place the baking sheets in the oven. Bake for 15-20 minutes. The time depends on the thickness of the chicken. Start checking at 15 minutes. The chicken is done when the internal temperature reaches 165°F (74°C) in the thickest part. If you don’t have a thermometer, cut into the thickest part to check. The juices should run clear, and the meat should be opaque, not pink.
Don’t overcook it. If you’re aiming for meal prep, pull them out at 160°F. The residual heat will carry them to 165°F while they rest. This prevents dryness.
Step 5: Rest and Cool (10 minutes)
Remove the packets from the oven and let them rest on the counter for 5-10 minutes. This allows the juices to redistribute throughout the meat. If you cut into it immediately, the juices will run out, and the chicken will be drier. After resting, open the packets carefully (steam is hot!) and let the chicken cool completely before storing.
Once cooled, you can store the chicken in the packets or transfer it to containers. I usually slice or cube it before storing, so it’s ready to toss into salads or bowls.
Step 6: Store or Freeze
For the fridge: Store in airtight containers for up to 4 days. For the freezer: Place the chicken in freezer-safe bags or containers. It will keep for up to 3 months. Thaw in the fridge overnight before using.
Total Time: About 40 minutes (10 minutes prep, 20 minutes cook, 10 minutes rest)
Expert Tips & Tricks
Here’s everything I’ve learned from making this dozens of times. These tips will save you from my mistakes.
The Seal is Everything
I can’t stress this enough. If your foil packet leaks, your chicken will dry out. I’ve made this mistake more times than I care to admit. Always use heavy-duty foil, and always crimp the edges tightly. If you’re worried, use two layers of foil. It’s better to have too much seal than too little.
Don’t Skip the Butter
I know some people are trying to cut fat, but that little pat of butter makes a huge difference. It melts into the chicken and adds richness. If you’re dairy-free, use olive oil or coconut oil. But don’t skip the fat entirely. Fat keeps meat moist.
Even Thickness is Key
If you don’t pound the chicken to an even thickness, you’re gambling. One piece will be dry, one will be undercooked. Take the extra 5 minutes to pound them. It’s worth it. I use a rolling pin if I don’t have a meat mallet. It works just as well.
Use a Thermometer
I’ve stopped guessing. I use an instant-read thermometer every time. It’s the only way to guarantee perfect doneness. 165°F is the target. Pull at 160°F for carryover cooking. This is the secret to never-dry chicken.
Cool Before Storing
Never put hot chicken in the fridge. It raises the temperature of the fridge and can spoil other food. Let it cool completely at room temperature (no more than 2 hours) before storing. This also prevents condensation in the container, which can make the chicken soggy.
Variations & Substitutions
Once you’ve nailed the basic version, here’s how you can mix it up. I’ve tried all of these, and they all work.
Italian Herb Version
Swap thyme for Italian seasoning. Add a pinch of red pepper flakes for heat. This is great for Mediterranean chicken skewers or pasta dishes.
BBQ Glazed
Brush the chicken with BBQ sauce after baking. Or, add a tablespoon of BBQ sauce to the foil packet before sealing. It adds a sweet, smoky flavor that’s perfect for tacos or sandwiches.
Lemon Garlic
Add a squeeze of fresh lemon juice to the foil packet. The acid cuts through the richness and adds brightness. This is my favorite for salads.
Spicy Cajun
Use Cajun seasoning instead of thyme and garlic powder. Add a dash of cayenne pepper. This is great for rice bowls or salmon rice bowl alternatives.
Dietary Modifications
Dairy-Free: Skip the butter and use olive oil. Everything else is naturally dairy-free.
Gluten-Free: This recipe is naturally gluten-free. Just ensure your spices are certified gluten-free if you have celiac disease.
Low-Carb: This is perfect for low-carb diets. Serve with vegetables or cauliflower rice.
Serving & Storage
I usually serve this straight from the container at the dinner table—it looks rustic and stays warm. But here are other ways I’ve enjoyed it:
How to Serve
- Salads: Slice the chicken and toss it over mixed greens, cherry tomatoes, and cucumbers.
- Bowls: Pair with rice, quinoa, or roasted vegetables. It’s the perfect base for a high-protein chicken and broccoli meal prep bowl.
- Sandwiches: Use it for chicken salad sandwiches or wraps.
- Pasta: Toss it with marinara sauce and pasta for a quick dinner.
Storage Instructions
Refrigerator: Store in an airtight container for up to 4 days. The chicken will stay moist if stored properly.
Freezer: Store in freezer-safe bags or containers for up to 3 months. Label with the date. Thaw in the fridge overnight before using.
Reheating: Reheat in the microwave with a splash of water or broth to keep it moist. Or, reheat in a skillet over low heat. Avoid high heat, which can dry it out again.
Pro Tip
If you’re meal prepping for the week, portion the chicken into individual containers. This makes it easier to grab and go. I also like to slice it before storing, so it’s ready to eat. It saves time during the week.
Nutrition Information
I’m not a nutritionist, but here’s the breakdown if you’re tracking.
Per Serving (based on 4 servings, 1 breast each):
- Calories: 250
- Protein: 35g
- Carbs: 1g
- Fiber: 0g
- Sugar: 0g
- Fat: 12g
- Saturated Fat: 3g
- Cholesterol: 95mg
- Sodium: 400mg
What’s Good:
- High in protein
- Low in carbs
- Rich in B vitamins
- Can be customized with spices for extra flavor without extra calories
What to Know:
- Higher in fat if you add butter or oil
- Contains dairy (if using butter)
- Moderate sodium (use low-sodium salt to reduce)
My Take:
Look, this is lean protein. It’s not a diet recipe, but it’s a healthy one. It’s way better than takeout, costs less, and I know exactly what’s in it. When I want to make it lighter, I skip the butter and use less oil. But usually? I just eat a reasonable portion and enjoy it.
Final Thoughts
So that’s my go-to never-dry oven-baked chicken breast! I’ve probably talked your ear off at this point, but when you make a recipe this often, you have a lot to say about it.
This has saved weeknight dinners more times than I can count. It’s my answer to “what’s for dinner” when I’m tired, don’t want takeout, and still want something that tastes really good. My kids are happy, my husband’s happy, and I’m happy because I’m not stressed about cooking.
Make it yours! Try different spices, swap in your favorite vegetables, adjust the fat content. The best recipes are the ones you adapt to your family’s tastes. If you make this, drop a comment and let me know what you think! I love hearing how recipes turn out in your kitchen. And if something doesn’t work, tell me that too—I’m here to help troubleshoot.
Happy cooking! And I hope your kitchen smells half as good as mine does right now.
Frequently Asked Questions
Can I use chicken thighs instead of breasts?
Yes! Chicken thighs are actually more forgiving and stay juicier even if you overcook them slightly. Use the same method, but they may need an extra 2-3 minutes in the oven. The internal temperature should still reach 165°F.
Why did my chicken turn out dry?
Usually, this means the foil packet wasn’t sealed tightly, or the chicken was overcooked. Make sure to crimp the edges well and use a thermometer to check the internal temperature. Pull at 160°F for carryover cooking.
Can I make this ahead for a dinner party?
Absolutely. You can bake the chicken up to 2 days ahead and store it in the fridge. Reheat gently before serving. It’s a great way to save time during a party.
Why did my chicken look gray?
Chicken can look gray when it’s cooked in a sealed packet because it’s steaming rather than browning. This is normal. The texture will still be tender and juicy. If you want browning, open the packet for the last 5 minutes of cooking.
Can I use fresh garlic instead of powder?
You can, but fresh garlic can burn in the oven. If you want to use fresh, mince it very finely and mix it into the oil. Or, add it after the chicken is cooked to avoid burning.
How do I reheat leftovers without it getting dry?
Add a splash of water, broth, or sauce to the chicken before reheating. Heat it gently in the microwave or on the stove. Avoid high heat, which can dry it out.
Can I double this recipe?
Yes! Double everything and use your biggest baking sheets. The cooking times stay the same. Just make sure you have enough foil and that the packets aren’t overcrowded.
Pin This Recipe!
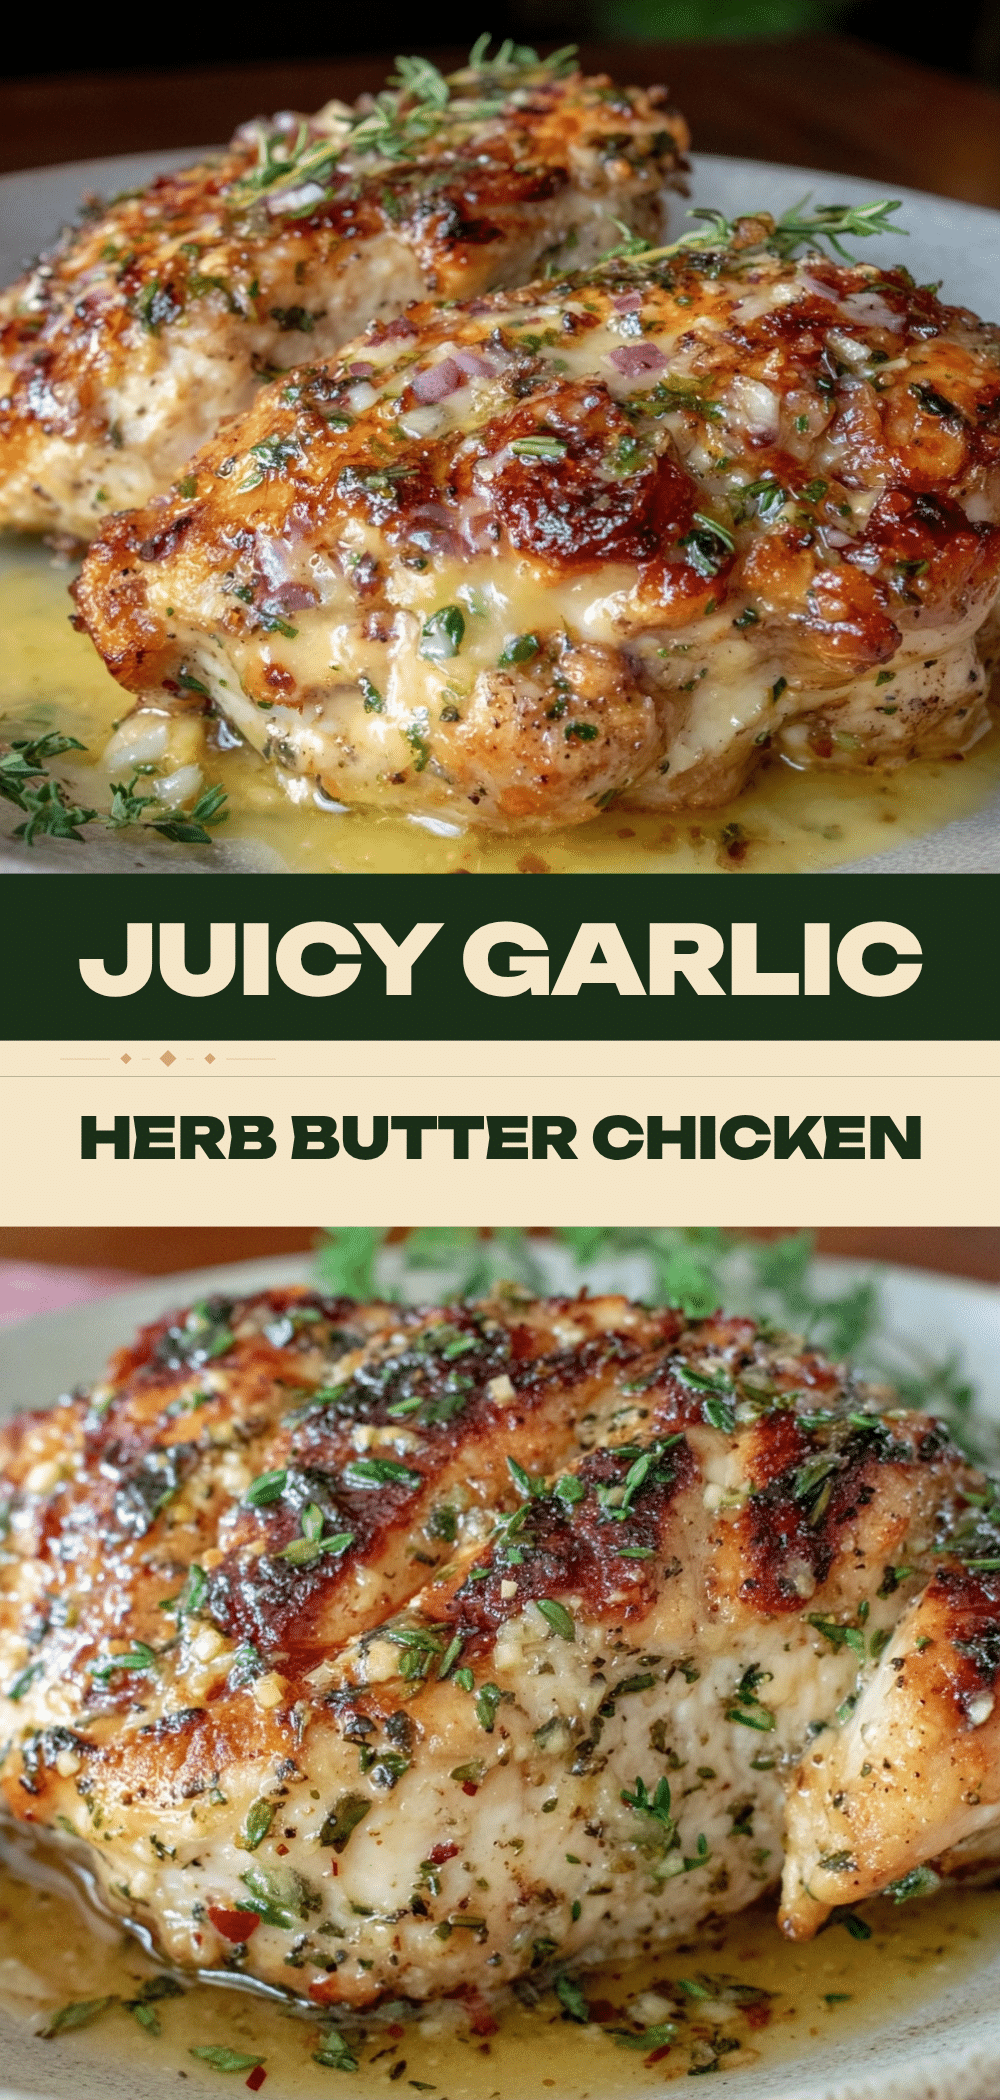

Never-Dry Oven-Baked Chicken Breast: Best Meal Prep
- Total Time: 40 minutes
- Yield: 4 servings 1x
Description
A reliable method for baking juicy, tender chicken breasts using a foil-sealed steam chamber technique. Perfect for meal prep, this recipe ensures consistent results without dry edges or rubbery centers.
Ingredients
- 1.5 to 2 pounds boneless, skinless chicken breasts
- 2 tablespoons extra virgin olive oil
- 1 teaspoon garlic powder
- 1 teaspoon onion powder
- 1 teaspoon dried thyme
- 1 teaspoon salt
- 1 teaspoon black pepper
- 8 sheets heavy-duty aluminum foil (12x12 inches)
- 1 tablespoon butter or extra olive oil
Instructions
- Preheat oven to 400°F (200°C).
- Trim excess fat from chicken breasts. If thick, butterfly or pound to an even ½-inch thickness.
- In a small bowl, mix garlic powder, onion powder, dried thyme, salt, and black pepper.
- Drizzle chicken with olive oil and rub to coat. Sprinkle spice mixture evenly over both sides and rub in.
- Place two chicken breasts in the center of a heavy-duty foil sheet. Add a small pat of butter on top of each.
- Fold long sides of foil over and seal, then fold short ends and crimp tightly to create a steam-tight packet.
- Repeat for remaining chicken on a second baking sheet.
- Bake for 15-20 minutes until internal temperature reaches 165°F (pull at 160°F for carryover cooking).
- Remove from oven and let rest in packets for 5-10 minutes to redistribute juices.
- Cool completely before slicing or storing in airtight containers.
Notes
Ensure chicken is pounded to even thickness for uniform cooking. Seal foil packets tightly to trap steam. Use heavy-duty foil to prevent tearing. Do not skip the resting period. For dairy-free, substitute butter with olive oil.
- Prep Time: 10 minutes
- Cook Time: 20 minutes
- Category: Main Course
- Cuisine: American
Nutrition
- Serving Size: 1 chicken breast
- Calories: 250
- Sodium: 400
- Fat: 12
- Saturated Fat: 3
- Carbohydrates: 1
- Protein: 35
Keywords: meal prep, chicken breast, oven baked, juicy chicken, healthy dinner, high protein, gluten free, low carb