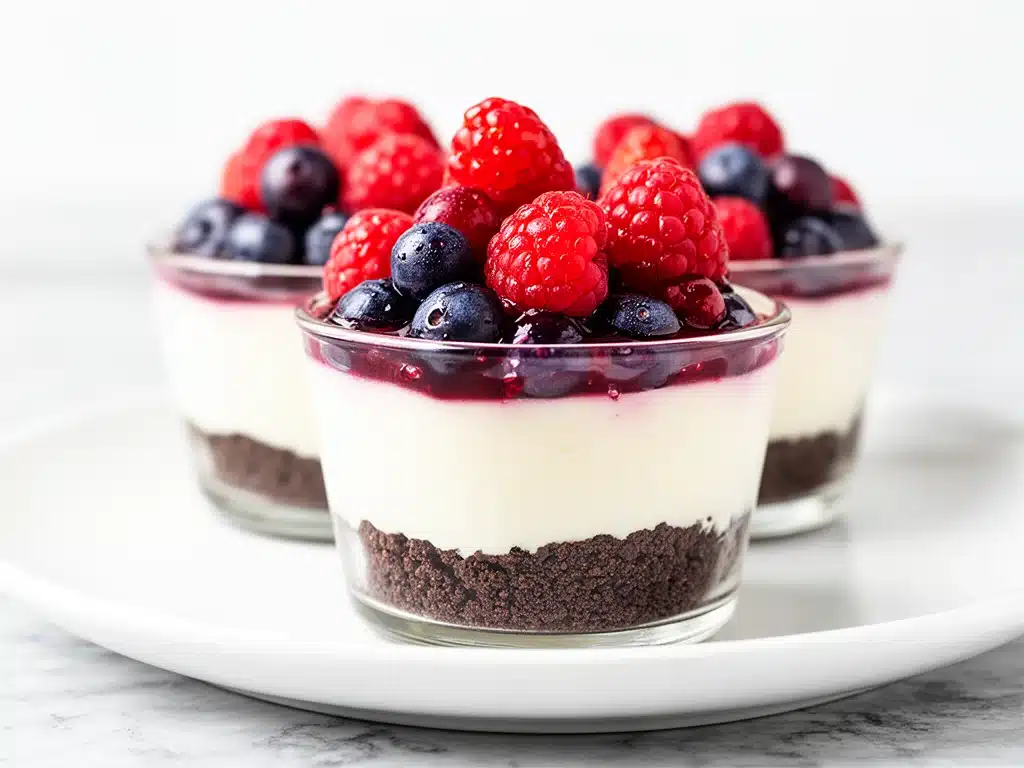
Last Tuesday, I was staring at the clock. It was 7:45 PM, I was exhausted from a day of work, and I had promised my kids we’d have a “special treat” before bed. Not a big, complicated project, but something that felt like a celebration. I didn’t want to bake a whole cake. I didn’t want to order takeout. I just wanted something sweet, fresh, and ridiculously easy that wouldn’t leave me with a sink full of dishes by midnight.
So I threw together these no-bake mini berry cheesecake cups. I grabbed some graham crackers, softened cream cheese, a tub of Greek yogurt (because I was trying to be slightly responsible), and a bag of frozen mixed berries I’d forgotten about in the freezer. I blended it all, spooned it into little ramekins, and popped them in the fridge while I helped with homework.
Twenty minutes later, they were set. Perfectly creamy. Brightly colored. And utterly delicious.
My kids devoured them. My husband came home, saw them, and asked if I’d made them earlier. I hadn’t. I told him they took five minutes of active work. He didn’t believe me until I showed him the empty ramekins.
That was the moment these no-bake mini berry cheesecake cups became a permanent fixture in our rotation. I’ve made them for dinner parties, for last-minute guests, for rainy afternoon snacks, and for times when I just need a win. They’re elegant enough to serve to friends but simple enough to make when you’re wearing sweatpants and have zero energy.
Here’s the thing about dessert: it shouldn’t be another chore. It should be the reward. And these cups? They’re pure reward. No oven preheating. No worrying about cracks in the top. No complicated techniques. Just creamy, tangy, sweet perfection in a tiny package.
Why You’ll Love This Recipe
There are about a dozen reasons I keep making these, but here are the big ones that actually matter when you’re trying to get dinner on the table.
Stupid Simple — Seriously, if you can blend and spoon, you can make this. I’ve walked my teenage daughter through it over FaceTime while she was at her boyfriend’s house. She called me to say it worked. That’s how easy it is.
Lightning Fast — Five minutes of active prep time. The rest is just waiting in the fridge. I make these on weeknights when I get home at 7 PM and still want something special for dessert.
Pantry-Friendly — You probably have most of these ingredients already. Cream cheese, yogurt, honey, graham crackers, berries. Basic stuff. I keep cream cheese and graham crackers stocked specifically so I can throw these together on a whim.
Beautifully Portable — These are perfect for potlucks, picnics, or packing in lunchboxes. I’ve taken them to office meetings, and people always ask for the recipe. They travel well and don’t melt or get messy.
Health-Conscious Without Tasting Like It — By using Greek yogurt and honey instead of heavy sugar, these feel lighter. But they still taste like a rich, creamy cheesecake. My kids think they’re getting away with something delicious. I’m not complaining.
Make-Ahead Friendly — Make them in the morning, and they’re ready by dinner. Or make them the night before and forget about them. They actually taste better after chilling for a few hours because the flavors meld.
This is my go-to when I need dessert to just work. No stress, no mess, no last-minute panic. Just reliable, beautiful food that makes everyone happy.
Ingredients You’ll Need
Here’s the best part: you probably have most of this already. I’m particular about three things here, and I’ll tell you exactly why.
Full-Fat Cream Cheese (8 oz / 225g) — Do not use light cream cheese. It won’t set properly and the texture will be runny. I use Philadelphia brand because it’s consistent, but any full-fat block works. Let it soften at room temperature for 15 minutes before you start. This is non-negotiable for smooth blending.
Greek Yogurt (1 cup / 240g) — Full-fat plain Greek yogurt is what I use. It adds protein and tang without being too heavy. Skimping on fat makes it taste thin. I’ve tried low-fat versions, and they don’t have the same richness. If you want a lighter version, you can use half-and-half yogurt, but the texture changes.
Honey (3 tablespoons / 45ml) — I use local wildflower honey when I can find it. It has a better flavor than plain corn syrup. Maple syrup works too, but it changes the flavor profile slightly. Avoid artificial sweeteners here—they don’t blend the same way and can leave a weird aftertaste.
Vanilla Extract (1 teaspoon / 5ml) — Use real vanilla, not imitation. The difference is noticeable in a recipe with so few ingredients. I keep a bottle of Nielsen-Massey because it’s pure and concentrated. A little goes a long way.
Graham Crackers (1.5 cups / 150g, crushed) — I crush my own from full sheets because it gives better texture than pre-crushed crumbs. Pre-crushed often has large chunks or is too fine. I pulse them in a food processor for 10 seconds. If you’re lazy, pre-crushed works, but the crust won’t be as uniform.
Butter (3 tablespoons / 42g, melted) — Unsalted butter binds the crust. I melt it in the microwave in 15-second intervals, stirring between each. Don’t let it brown. Just melt it until it’s liquid.
Mixed Berries (1 cup / 150g, fresh or frozen) — I use a mix of strawberries, blueberries, and raspberries. Frozen works great too—just thaw them slightly and drain excess liquid. I’ve also used just strawberries or just blueberries when that’s all I had. The mix looks prettiest, though.
Optional: Lemon Zest (1 teaspoon) — A little zest brightens everything up. I add it if the berries taste a bit dull. It’s not essential, but it adds a professional touch.
Where to Find These
Cream cheese and Greek yogurt are in the dairy aisle, obviously. Graham crackers are in the baking aisle. Honey is near the jams. Berries are in produce. If you’re using frozen berries, they’re in the frozen section. I buy frozen berries when they’re out of season because they’re cheaper and just as good.
Equipment Needed
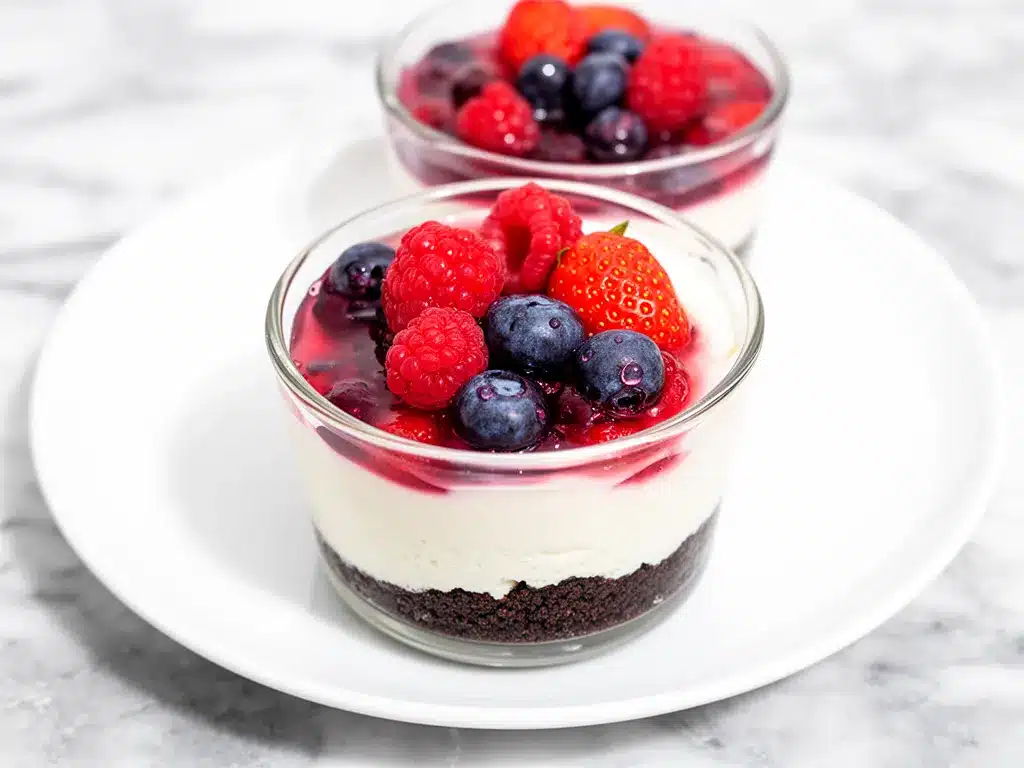
You don’t need fancy equipment for this. Here’s what I actually use.
Food Processor or Blender — I use a small Cuisinart food processor for the crust and a hand blender for the filling. A regular blender works for the filling but not the crust. If you don’t have either, you can crush crackers by hand in a bag with a rolling pin and whisk the filling by hand, but it takes longer.
Small Ramekins or Muffin Tin — I use 6-ounce ramekins for a nice presentation. A standard muffin tin lined with paper cups works too and makes removal easier. I’ve used shot glasses, mini mason jars, and even plastic cupcake liners. Whatever you have works.
Mixing Bowls — Two medium bowls. One for the crust, one for the filling. I use glass bowls because they’re easy to clean.
Measuring Cups and Spoons — Standard stuff. Dollar store versions work fine.
Spatula — For scraping the bowl and smoothing the tops. Silicone works best.
Microplane or Grater — If you’re adding lemon zest. Or just use a regular grater.
Microwave-Safe Bowl — For melting butter. Or just use a small saucepan on the stove.
That’s it. No stand mixer. No piping bags. No special molds. Just basic kitchen tools you already own.
How to Make It: Step-by-Step
Alright, let’s make these no-bake mini berry cheesecake cups! I’m walking you through exactly how I do it, including the little tricks I’ve picked up.
Step 1: Crush the Graham Crackers (3 minutes)
Place your graham crackers in a food processor. Pulse 10-15 times until you have fine, sandy crumbs. If you’re doing it by hand, put them in a ziplock bag and crush them with a rolling pin until they’re fine. Transfer the crumbs to a mixing bowl. Add the melted butter and stir until the mixture looks like wet sand. It should hold together when you squeeze it in your hand.
Step 2: Press the Crust (2 minutes)
Scoop about 1.5 tablespoons of the crust mixture into each ramekin or muffin cup. Press it down firmly with the back of a spoon or your fingers. You want an even layer across the bottom. Don’t worry about perfection—these are rustic and casual. If you’re using a muffin tin, press the crust up the sides slightly for a nicer look. Chill the crusts in the fridge while you make the filling.
Step 3: Blend the Filling (5 minutes)
In a separate bowl or blender, combine the softened cream cheese, Greek yogurt, honey, and vanilla extract. If using a hand blender, blend until completely smooth, about 1-2 minutes. If whisking by hand, it’ll take 3-4 minutes and some elbow grease. The key is to get rid of all lumps. The mixture should be glossy and uniform. Taste it at this stage. If it’s not sweet enough, add another teaspoon of honey. If it’s too tangy, add a little more honey or a splash of vanilla.
Step 4: Assemble the Cups (3 minutes)
Remove the chilled crusts from the fridge. Spoon or pipe the filling over the crust, filling each cup to the top. Use a spatula to smooth the tops if you want them neat. If you’re feeling fancy, swirl a little extra honey on top before adding the berries.
Step 5: Add the Berries (2 minutes)
Top each cup with a few fresh or thawed berries. I use 3-4 berries per cup. Press them slightly into the filling so they stick. If you’re using frozen berries, make sure they’re drained well so they don’t water down the filling. For a prettier presentation, arrange the berries in a little pile rather than just dropping them on top.
Step 6: Chill and Set (30 minutes to 2 hours)
Place the assembled cups in the fridge. They need at least 30 minutes to set, but 2 hours is better. The longer they chill, the firmer they become. If you’re in a hurry, you can put them in the freezer for 15 minutes, but don’t leave them too long or the crust will get soggy. I usually make them in the morning and they’re ready by dinner.
Total Time
About 15 minutes of active work, plus chilling time. These are ready to eat whenever you are.
Expert Tips & Tricks
Here’s everything I’ve learned from making these dozens of times. These tips will save you from my mistakes.
Softened Cream Cheese Is Non-Negotiable
If your cream cheese is cold and firm, you’ll have lumps in your filling. No amount of whisking will fix it. I take it out of the fridge 15 minutes before I start. If I forget, I microwave it for 10 seconds at a time, checking frequently. It should be soft but not melted. Melted cream cheese changes the texture entirely.
Don’t Skip the Chill Time
I know it’s tempting to eat them right away. But they need time to set. If you eat them immediately, the filling will be loose and the crust won’t hold together. Thirty minutes is the minimum. Two hours is ideal. Plan ahead.
Drain Frozen Berries
If you use frozen berries, thaw them in a colander for 10 minutes and pat them dry with a paper towel. Excess moisture makes the filling watery and ruins the texture. I’ve learned this the hard way with a runny, sad cheesecake cup that looked like it was crying.
Press the Crust Firmly
A loose crust falls apart when you bite into it. Press it down hard. Use the bottom of a small glass or your fingers to compact it. It should feel solid, not crumbly.
Customize the Sweetness
Taste the filling before you assemble. Honey levels vary by brand. If you prefer less sweet, use less honey. If you like it sweeter, add more. This is your dessert, so make it how you like it.
For a Richer Version
Swap half the Greek yogurt for heavy cream. Whip the cream first, then fold it into the cheese mixture. It makes it lighter and airier, like a real cheesecake mousse. I do this when I’m entertaining and want something fancier.
Variations & Substitutions
Once you’ve nailed the basic version, here’s how you can mix it up. I’ve tried all of these.
Chocolate Chip Cheesecake
Add ½ cup mini chocolate chips to the filling. Or swap the berries for a drizzle of chocolate sauce on top. My kids love this version. It’s basically a dessert in a cup.
Lemon Berry
Add the zest of one lemon to the filling. It brightens the flavor and pairs beautifully with berries. I add this when the berries taste a bit dull. It’s a game-changer.
Cookie Crust
Use crushed Oreos instead of graham crackers for a chocolate crust. Or use crushed shortbread cookies for a buttery, rich base. I use shortbread when I want something more elegant.
Double Chocolate
Add 2 tablespoons of cocoa powder to the filling and use chocolate cookie crumbs for the crust. It’s rich and intense. Not for everyone, but if you love chocolate, this is your version.
Fruit-Free
Skip the berries entirely. Top with a dollop of whipped cream and a drizzle of caramel or chocolate sauce. Or just eat them plain. They’re delicious on their own.
Gluten-Free
Use gluten-free graham crackers or crushed gluten-free cookies. Everything else is naturally gluten-free. I’ve used gluten-free crackers from Whole Foods and they work perfectly.
Vegan
Use vegan cream cheese (like Kite Hill), coconut yogurt, maple syrup, and vegan cookies. It’s different but still tasty. My vegan friend requested this version, and she loved it.
Lower-Calorie
Use low-fat Greek yogurt and reduce the honey to 2 tablespoons. It’s lighter but still good. I make this when I’m trying to be “healthy.”
Serving & Storage
How to Serve
I usually serve these straight from the fridge. They’re best cold. But here are other ways I’ve enjoyed them:
Side Dishes
These are dessert, so they don’t really have sides. But they pair well with coffee, tea, or a glass of wine. I serve them after dinner as a light finish. They’re not heavy like a cake, so you don’t feel stuffed.
Toppings Bar
When I have guests, I put out extra berries, whipped cream, chocolate sauce, and crushed nuts. Everyone customizes their cup. It’s fun and interactive.
Storage Instructions
Refrigerator: Store in an airtight container for up to 4 days. They actually taste better on day 2 because the flavors meld. I make a batch on Sunday and eat them throughout the week.
Freezing: These don’t freeze well. The cream cheese and yogurt separate when thawed, and the texture becomes grainy. Make them fresh or store in the fridge. I’ve tried freezing them, and they’re not worth it.
Meal Prep: Make the crusts and filling separately. Assemble the night before or the morning of. This keeps the crust crisp and the filling fresh. I do this when I’m busy and want to minimize morning stress.
Pro Tip: If you’re serving them at a party, make them the night before. They’ll be set perfectly and you won’t have to worry about timing. Just cover them with plastic wrap so they don’t absorb fridge smells.
Nutrition Information
I’m not a nutritionist, but here’s the breakdown if you’re tracking.
Per Serving (based on 6 cups):
Calories: 180
Protein: 6g
Carbs: 22g
Fiber: 1g
Sugar: 16g
Fat: 8g
Saturated Fat: 5g
Cholesterol: 25mg
Sodium: 90mg
What’s Good:
Decent protein from the yogurt and cream cheese. Lower in sugar than traditional cheesecake. The berries add antioxidants. It’s a lighter dessert option.
What to Know:
Higher in saturated fat from the cream cheese and butter. Contains dairy and gluten. Moderate sugar from honey and berries.
My Take:
Look, this is a dessert. It’s sweet and creamy. It’s not a health food. But it’s way better than store-bought cupcakes, costs less, and I know exactly what’s in it. When I want to make it lighter, I use the low-fat yogurt version and add extra berries. But usually? I just eat one and enjoy it.
Final Thoughts
So that’s my go-to no-bake mini berry cheesecake cups! I’ve probably talked your ear off at this point, but when you make a recipe this often, you have a lot to say about it.
This has saved weeknight desserts more times than I can count. It’s my answer to “what’s for dessert?” when I’m tired, don’t want to bake, and still want something that tastes really good. My kids are happy, my husband’s happy, and I’m happy because I’m not stressed about cooking.
Make it yours! Try different berries, swap the crust, adjust the sweetness. The best recipes are the ones you adapt to your family’s tastes. If you want something richer, add whipped cream. If you want something lighter, skip the butter in the crust.
If you make this, drop a comment and let me know what you think! I love hearing how recipes turn out in your kitchen. And if something doesn’t work, tell me that too—I’m here to help troubleshoot.
Happy cooking! And I hope your kitchen smells half as good as mine does right now.
Frequently Asked Questions
Can I use low-fat cream cheese?
You can, but the texture won’t be as thick and rich. Low-fat cream cheese has more water content, which can make the filling runny. If you must use it, add an extra tablespoon of Greek yogurt to thicken it. But honestly, full-fat is worth it for the texture. I’ve tried both, and I always go back to full-fat.
Why did my filling turn out watery?
Usually means the berries had too much moisture, or the cream cheese wasn’t softened properly. If you used frozen berries, make sure they’re drained and patted dry. If the filling is already watery, you can chill it longer or add a little more cream cheese to thicken it. Next time, let the cream cheese soften completely before blending.
Can I make these ahead for a party?
Absolutely. I make them 1-2 days ahead and store them in the fridge. They actually taste better after sitting for a few hours. Just cover them with plastic wrap or put them in an airtight container. I’ve taken them to potlucks and they’ve held up perfectly for hours.
Can I use fresh berries instead of frozen?
Yes! Fresh berries are actually better if they’re in season. Just wash and dry them thoroughly. Frozen berries are convenient and cheaper, but fresh berries have better flavor and texture. I use fresh when I can afford them and frozen when I’m being practical.
How long do these last in the fridge?
Up to 4 days. They actually improve on day 2 as the flavors meld. After that, the crust might get a bit soggy. I usually eat them within 3 days because they’re so good. If they start to look sad, eat them immediately—they’re still safe, just not as pretty.
Can I freeze these?
I don’t recommend it. The cream cheese and yogurt separate when frozen and thawed, making the texture grainy and weird. They’re best fresh. If you need to prep ahead, make the components separately and assemble the night before. But don’t freeze the assembled cups.
Can I double this recipe?
Yes! Double everything and use more ramekins. The process is the same. I double it when I’m feeding a crowd or meal-prepping. Just make sure you have enough space in the fridge for all the cups. They take up less space than a cake, which is nice.
Pin This Recipe!
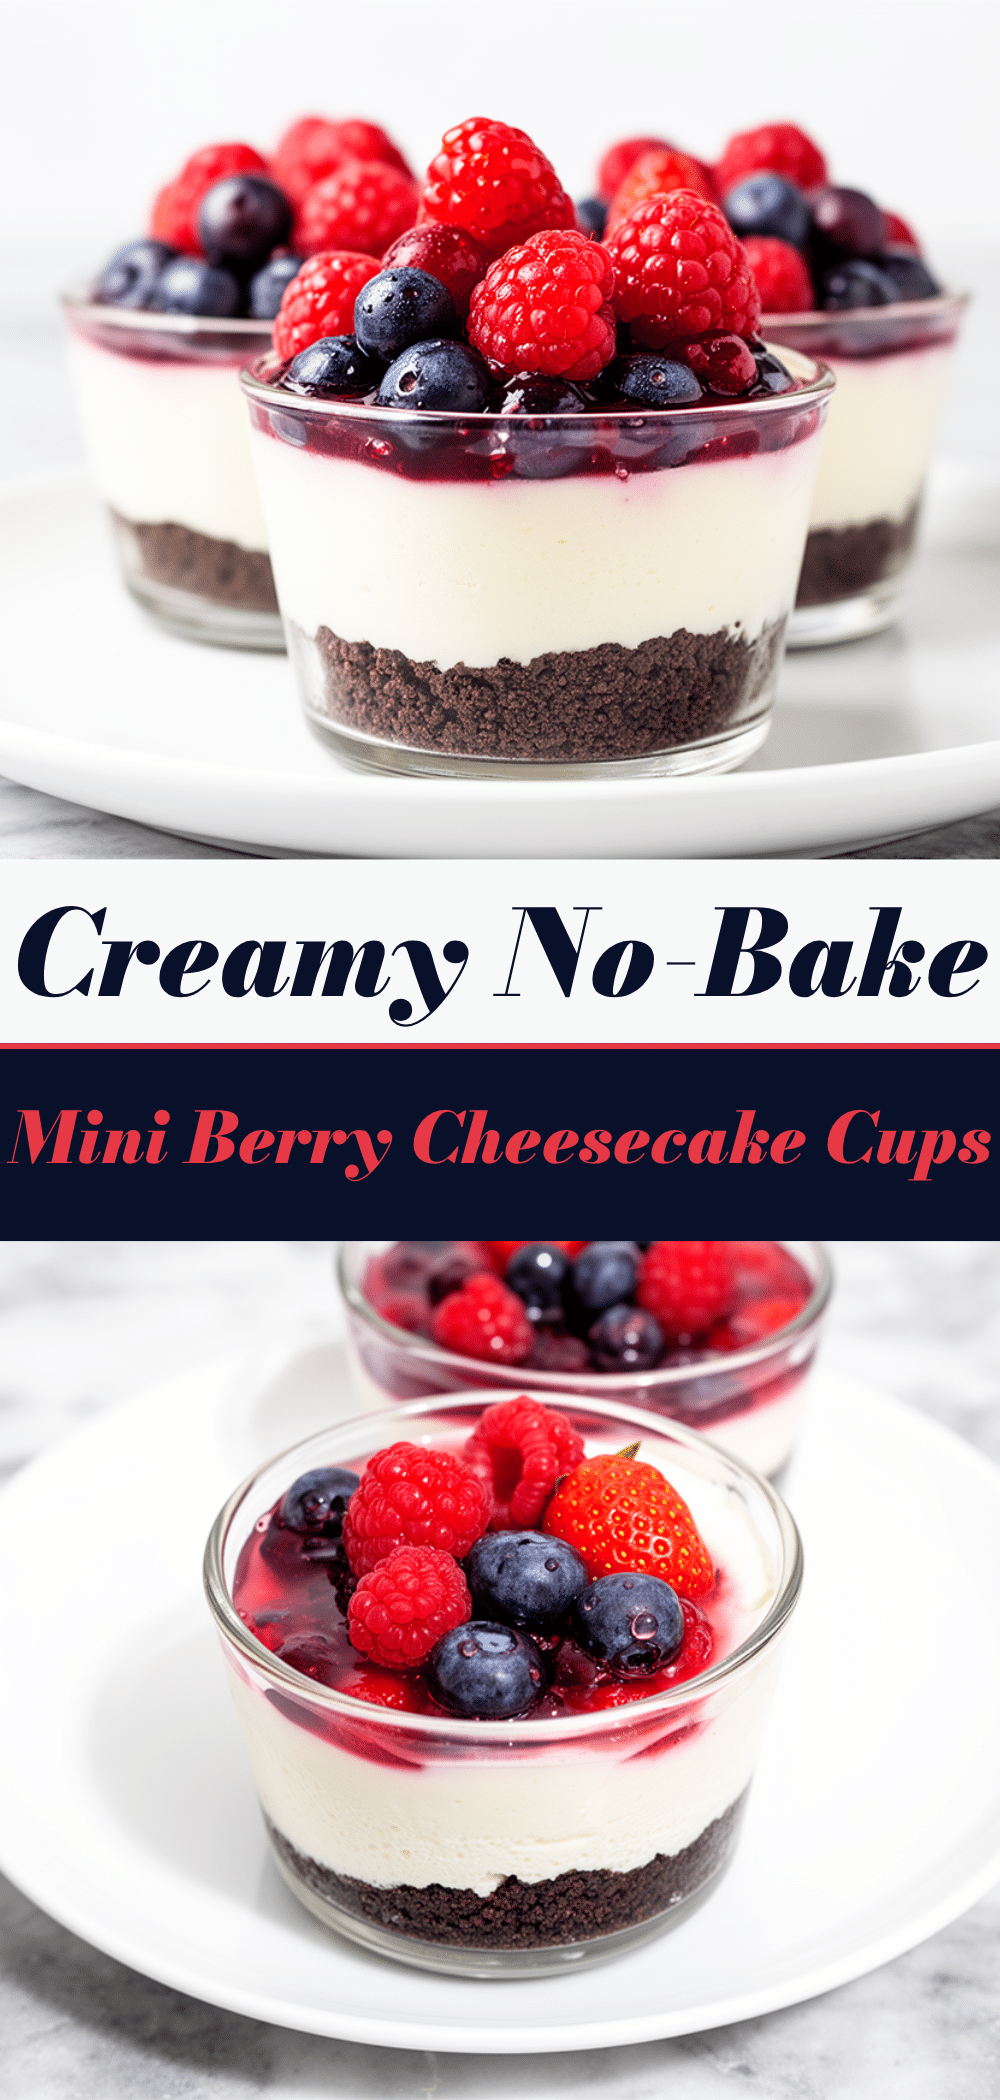
No-Bake Mini Berry Cheesecake Cups
- Total Time: 45 minutes
- Yield: 6 servings 1x
Description
A ridiculously easy, no-bake dessert featuring creamy Greek yogurt and cream cheese filling on a graham cracker crust, topped with fresh or frozen berries. Ready in just 5 minutes of active prep time.
Ingredients
- 8 oz (225g) full-fat cream cheese, softened
- 1 cup (240g) full-fat plain Greek yogurt
- 3 tablespoons (45ml) honey
- 1 teaspoon vanilla extract
- 1.5 cups (150g) graham crackers, crushed
- 3 tablespoons (42g) unsalted butter, melted
- 1 cup (150g) mixed berries (strawberries, blueberries, raspberries), fresh or frozen
- 1 teaspoon lemon zest (optional)
Instructions
- Crush the graham crackers into fine crumbs using a food processor or by placing them in a ziplock bag and crushing with a rolling pin.
- In a mixing bowl, combine the crushed graham crackers and melted butter. Stir until the mixture resembles wet sand.
- Press about 1.5 tablespoons of the crust mixture firmly into the bottom of each ramekin or muffin cup. Chill in the fridge while making the filling.
- In a separate bowl or blender, combine the softened cream cheese, Greek yogurt, honey, and vanilla extract. Blend or whisk until completely smooth and glossy.
- Spoon or pipe the filling over the chilled crusts, filling each cup to the top. Smooth the tops with a spatula.
- Top each cup with 3-4 fresh or thawed and drained berries. Press them slightly into the filling.
- Chill the assembled cups in the refrigerator for at least 30 minutes, or up to 2 hours, until set.
- Serve cold. Optional: drizzle with extra honey or sprinkle with lemon zest before serving.
Notes
Ensure cream cheese is fully softened to avoid lumps. If using frozen berries, thaw and drain excess liquid to prevent a watery filling. The dessert tastes better after chilling for a few hours as flavors meld. Do not freeze assembled cups as the texture will become grainy.
- Prep Time: 15 minutes
- Cook Time: 0 minutes
- Category: Dessert
- Cuisine: American
Nutrition
- Serving Size: 1 cup
- Calories: 180
- Sugar: 16
- Sodium: 90
- Fat: 8
- Saturated Fat: 5
- Carbohydrates: 22
- Fiber: 1
- Protein: 6
Keywords: no-bake, cheesecake, berry dessert, quick dessert, easy recipe, Greek yogurt, graham cracker crust, make-ahead dessert