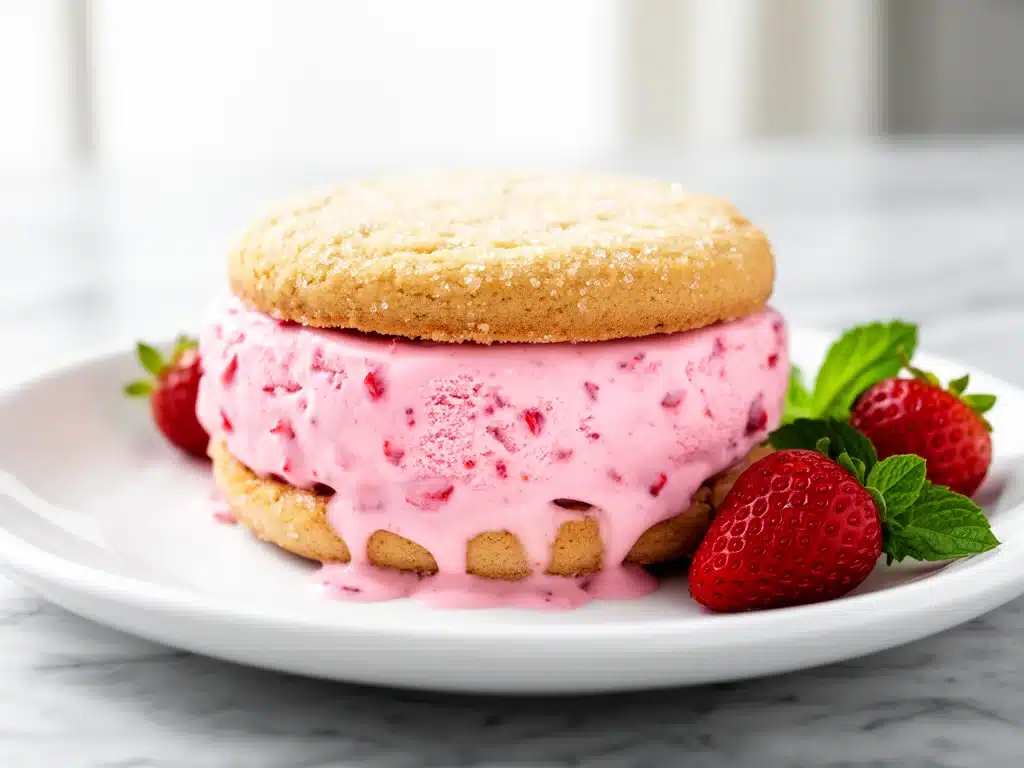
It was July of 2019, the kind of sticky, humid afternoon where the air feels heavy enough to chew. I was standing in the drive-thru line at a popular fast-food chain, watching the car ahead of me slowly inch forward. When it was finally my turn, I ordered what I thought was a nostalgic treat: a strawberry ice cream sandwich. I remember biting into that waxy, overly sweet rectangle of frozen dairy and soft cake, feeling a wave of disappointment wash over me. It tasted like chemicals and regret. It tasted like I was eating a toy, not a dessert.
I went home determined to fix it. I didn’t want to buy a fancy ice cream maker or spend hours churning. I wanted something that tasted like a real strawberry—bright, fruity, and actually creamy—sandwiched between cookies that had some actual texture. I wanted homemade strawberry ice cream sandwiches better than takeout, and I wanted them fast.
After three failed attempts (yes, I threw away three pints of icy, grainy ice cream), I finally cracked the code. It turns out the secret isn’t fancy equipment. It’s just a few simple swaps and a trick with the cookie dough that keeps it soft even after freezing. These sandwiches are now a staple in my freezer. They’re the reason my kids beg for “dessert first” on hot Saturdays, and the reason I’ve stopped buying those sad, wax-like rectangles at the grocery store entirely.
This recipe is my answer to that drive-thru disappointment. It’s sweet, it’s fruity, it’s ridiculously easy, and it tastes like summer in a bite. If you’re tired of mediocre frozen treats, stick around. I’m going to show you exactly how to make the best strawberry ice cream sandwiches you’ve ever tasted.
Why You’ll Love This Recipe
I’ve been making these strawberry ice cream sandwiches for about five years now, and they’ve completely changed how I handle summer dessert cravings. There’s a specific kind of joy in opening your freezer, pulling out a perfectly wrapped sandwich, and knowing it tastes like you spent hours in the kitchen (even though you didn’t). Here’s why this recipe has earned a permanent spot in my rotation:
Zero Churning Required — Seriously. Most ice cream recipes demand you own an ice cream maker, which sits in my cupboard gathering dust. This method uses a “no-churn” style approach that relies on whipping cream and condensed milk. You whisk, you freeze, you eat. It’s that simple. I’ve made this on weeknights after work when I’m too tired to do anything complicated.
Real Strawberry Flavor — No artificial pink dye here. I use actual freeze-dried strawberries. Trust me on this. Fresh strawberries have too much water and will make your ice cream icy and slushy. Freeze-dried strawberries give you intense, concentrated strawberry flavor without ruining the texture. It tastes like candy, but in the best way possible.
Soft Cookies Every Time — The biggest mistake people make with ice cream sandwiches is using cookie dough that turns into rock-hard bricks in the freezer. I use a specific trick with brown sugar and a touch of corn syrup in the dough to keep it chewy and soft, even after it’s been frozen solid for weeks. You’ll get that perfect soft-then-crunch texture.
Perfect for Kids (and Adults) — My kids love helping me press the strawberries into the dough and wrap the sandwiches. It’s a fun activity. But honestly? I’m the one who eats them. They’re rich, creamy, and satisfy that sweet tooth without leaving you feeling heavy or sluggish. It’s a guilt-free indulgence that feels luxurious.
Better Than Store-Bought — I’ve compared these to the big brand name sandwiches at the grocery store, and there’s no contest. The homemade version has a depth of flavor and a texture that just can’t be replicated by mass production. It’s fresher, creamier, and tastes like it was made with love.
This recipe is my go-to when I want to impress guests without stressing. It’s also perfect for meal prepping—just make a batch on Sunday, and you have dessert ready for the entire week. No excuses.
Ingredients You’ll Need
Here’s the best part: you probably have most of these ingredients already. I’m particular about a few things here, especially the strawberries, but the rest is pretty standard pantry fare. Let’s break it down.
For the Strawberry Ice Cream
Heavy whipping cream (2 cups / 480ml) — This is the base. It needs to be cold, straight from the fridge. I use 36% fat content. Don’t skimp on the fat, or you won’t get that fluffy, airy texture. Half-and-half won’t whip up properly.
Sweetened condensed milk (1 can / 14oz / 397g) — This is the magic ingredient that replaces the need for churning. It adds sweetness and creaminess. Make sure it’s the sweetened kind, not evaporated milk. I buy the small cans because I only need one for this recipe.
Freeze-dried strawberries (1 cup / 40g) — This is the secret weapon. Crush them into a fine powder in a food processor or mortar and pestle. Fresh strawberries have too much water and will make your ice cream icy. Freeze-dried gives you pure, concentrated strawberry flavor. I love the brand Medjool, but any brand works.
Vanilla extract (1 teaspoon / 5ml) — Pure vanilla, not imitation. It rounds out the strawberry flavor and adds that classic ice cream aroma. If you don’t have vanilla, you can skip it, but it really helps.
Salt (¼ teaspoon / 1g) — A pinch of salt balances the sweetness. Don’t skip it. It makes the strawberry flavor pop.
For the Cookie Sandwiches
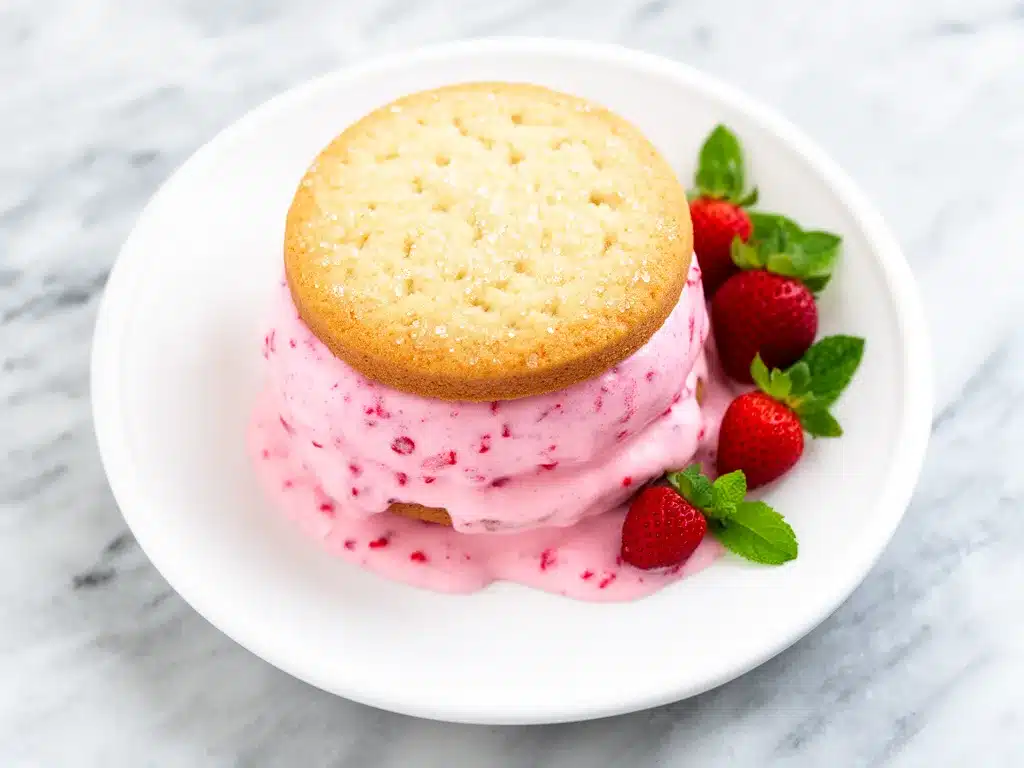
All-purpose flour (1 ½ cups / 190g) — Standard flour works fine. I don’t use cake flour here because I want a bit of structure. Bread flour might make them too chewy, so stick with all-purpose.
Brown sugar (½ cup / 100g) — Packed. This is key for keeping the cookies soft. White sugar alone will make them crisp and hard. Brown sugar adds moisture and a hint of caramel flavor.
Granulated sugar (¼ cup / 50g) — Just a little bit to balance the sweetness and help with browning.
Unsalted butter (½ cup / 113g) — Softened to room temperature. If you’re in a hurry, you can microwave it in 10-second bursts, but don’t melt it. You want it creamy, not liquid.
Egg (1 large) — Just one. It binds the dough. Make sure it’s room temperature too, so it mixes in easily.
Baking soda (½ teaspoon / 2g) — Helps the cookies spread and rise slightly. Don’t confuse this with baking powder.
Corn syrup (1 tablespoon / 15ml) — This is the softness secret. It prevents the cookies from crystallizing in the freezer. I use light corn syrup, but dark works too if you want a deeper flavor.
Vanilla extract (1 teaspoon / 5ml) — For flavor. Same as in the ice cream.
Salt (¼ teaspoon / 1g) — Again, balances the sweetness.
Optional: Extra freeze-dried strawberry pieces — I like to press a few small pieces of freeze-dried strawberry into the top of each cookie before baking for a pretty presentation. It’s not necessary, but it looks nice.
Equipment Needed
You don’t need fancy equipment for this. Here’s what I actually use, and what you can substitute if needed.
Electric hand mixer or stand mixer — You need to whip the heavy cream to stiff peaks. A hand mixer works perfectly fine. I have a cheap one from Target that’s been going strong for years. If you don’t have one, you’ll need to whisk by hand for about 10-15 minutes, which is tiring but doable.
Large mixing bowls — You’ll need one for the ice cream mixture and one for the cookie dough. I use a large stainless steel bowl for the cream and a smaller one for the dough.
8×8 inch baking pan — This is the mold for your ice cream. Glass or metal works. I prefer glass because I can see the layers. Line it with parchment paper for easy removal later.
Food processor or mortar and pestle — To crush the freeze-dried strawberries into a powder. A food processor is faster, but a mortar and pestle gives you more control over the texture. I like a mix of fine powder and tiny bits for texture.
Rolling pin — To roll out the cookie dough. I use a wooden rolling pin, but any kind works.
Circular cookie cutter — I use a 2.5-inch round cutter. You can use a glass or a knife to cut circles, but a cutter gives you uniform shapes. I buy a set of different sizes and use the medium one for these sandwiches.
Parchment paper — For lining the pan and wrapping the sandwiches. Don’t use wax paper; it will stick. Parchment is non-stick and freezer-safe.
Plastic wrap — For wrapping the individual sandwiches. Again, parchment is better for the initial freeze, but plastic wrap is good for long-term storage to prevent freezer burn.
Offset spatula — For spreading the ice cream evenly in the pan. I have a cheap plastic one that works fine. You can also use a regular butter knife.
How to Make It: Step-by-Step
Alright, let’s make this! I’m walking you through exactly how I do it, including the little tricks I’ve picked up. It’s easier than you think.
Step 1: Prep the Freeze-Dried Strawberries
First, take your freeze-dried strawberries and crush them. If you’re using a food processor, pulse them until they’re a fine powder. If you’re using a mortar and pestle, grind them until they’re mostly powder with some tiny bits. I like some texture, so I don’t grind them into dust. Set aside 1 tablespoon of the powder for the cookie dough (optional) and keep the rest for the ice cream.
Step 2: Make the Cookie Dough
In a medium bowl, cream together the softened butter, brown sugar, granulated sugar, corn syrup, and vanilla extract until it’s light and fluffy. This takes about 2-3 minutes with a mixer. If you’re doing it by hand, it’ll take a bit longer, so get ready for a workout.
Add the egg and mix until combined. Then, add the flour, baking soda, and salt. Mix on low speed until just combined. Don’t overmix, or your cookies will be tough. The dough will be soft and slightly sticky.
Place the dough between two sheets of parchment paper and roll it out to about ¼-inch thickness. This makes it easier to cut uniform circles. Refrigerate the dough for at least 30 minutes. This step is crucial—it firms up the dough so it’s easier to handle and prevents the cookies from spreading too much in the oven.
Step 3: Bake the Cookies
Preheat your oven to 350°F (175°C). Line a baking sheet with parchment paper. Cut out circles using your cookie cutter. Place them on the baking sheet, leaving about an inch between each one. If you want the pretty strawberry topping, press a small piece of freeze-dried strawberry onto each cookie now.
Bake for 10-12 minutes. The edges should be lightly golden, but the centers should still look soft. They will firm up as they cool. Let them cool completely on the baking sheet. This is important—if you try to handle them while they’re warm, they’ll break.
Step 4: Whip the Cream
In a large, cold bowl, whip the heavy cream until it forms stiff peaks. This means when you lift the beaters, the cream stands up straight. Be careful not to over-whip, or it’ll turn into butter. It should take about 2-3 minutes with a mixer.
In a separate bowl, whisk the sweetened condensed milk, crushed freeze-dried strawberries, vanilla extract, and salt until smooth. Then, gently fold the condensed milk mixture into the whipped cream. Use a spatula and fold gently, like you’re folding a blanket, to keep the air in the mixture. Don’t stir vigorously, or you’ll deflate the cream.
Step 5: Assemble and Freeze
Line your 8×8 inch pan with parchment paper, leaving an overhang on the sides. Spread half of the ice cream mixture into the pan, smoothing the top with an offset spatula or knife. Place half of your cooled cookies on top, pressing them down gently. Spread the remaining ice cream mixture over the cookies, then top with the remaining cookies. Press down gently to seal everything together.
Cover the pan with plastic wrap or a lid and freeze for at least 4 hours, or preferably overnight. This gives the ice cream time to firm up completely. If you try to cut it while it’s still soft, it’ll be a mess.
Step 6: Cut and Wrap
Once the ice cream is fully frozen, lift the entire block out of the pan using the parchment paper overhang. Place it on a cutting board. Use a sharp knife to cut the block into squares or rectangles, depending on how you want your sandwiches. I like to cut them into 16 squares, but you can make them any size.
Wrap each sandwich individually in parchment paper, then in plastic wrap. This double wrapping prevents freezer burn and keeps them fresh for up to 3 months. Label them with the date so you know when you made them.
Expert Tips & Tricks
Here’s everything I’ve learned from making this dozens of times. These tips will save you from my mistakes.
Keep Everything Cold — The cream needs to be cold, and the bowl should be cold. I put my mixing bowl in the freezer for 15 minutes before whipping. If the cream is warm, it won’t whip up properly. This is the most common mistake I see.
Don’t Skimp on the Freeze Time — I know you’re excited to eat this, but wait. If you try to cut it after 2 hours, it’ll be soft and messy. Wait at least 4 hours, but overnight is best. The longer it freezes, the easier it is to cut.
Use Freeze-Dried, Not Fresh — I can’t stress this enough. Fresh strawberries have too much water. When that water freezes, it forms ice crystals, which makes your ice cream icy and grainy. Freeze-dried strawberries have the water removed, so you get pure flavor without the texture issues.
Soft Cookies Are Key — The corn syrup in the cookie dough is what keeps them soft. Without it, the cookies will turn into rock-hard bricks in the freezer. Don’t skip it. If you don’t have corn syrup, you can use honey, but corn syrup is best.
Sharp Knife for Cutting — Use a sharp knife to cut the frozen block. A dull knife will crush the cookies. If you’re having trouble, you can run the knife under hot water and dry it off before each cut. This helps it slice through cleanly.
Store Properly — Wrap each sandwich individually. If you just throw them in a bag, they’ll stick together and get freezer burn. Individual wrapping keeps them fresh and makes it easy to grab one when you want a snack.
Common Mistakes — If your ice cream is too hard, you didn’t whip the cream enough. If it’s too soft, you didn’t freeze it long enough. If the cookies are hard, you overbaked them or didn’t use enough brown sugar. If the strawberries are icy, you used fresh ones.
Variations & Substitutions
Once you’ve nailed the basic version, here’s how you can mix it up. I’ve tried all of these.
Chocolate Chip Cookie Dough — Add chocolate chips to the cookie dough. Fold in ½ cup of semi-sweet chocolate chips after you mix the dough. This is my kids’ favorite variation.
Vanilla Bean — Skip the strawberries and use vanilla bean paste in the ice cream. It’s elegant and classic. Pair it with shortbread cookies for a sophisticated treat.
Cookie Butter — Swirl 2 tablespoons of cookie butter into the ice cream mixture before freezing. It adds a warm, spiced flavor that’s amazing in the fall.
Gluten-Free — Use a 1:1 gluten-free flour blend in the cookie dough. Most brands work well. Make sure the rest of your ingredients are certified gluten-free if you have celiac disease.
Dairy-Free — Use coconut cream instead of heavy whipping cream, and dairy-free condensed milk (or make your own by simmering coconut milk with sugar). Use dairy-free butter in the cookies. It’s not quite the same, but it’s still delicious.
Other Fruit — You can use freeze-dried raspberries, blueberries, or mango. Just crush them and follow the same method. Raspberry is particularly good.
Mini Sandwiches — Use a smaller cookie cutter to make bite-sized sandwiches. These are perfect for parties or for kids who don’t want a whole sandwich.
Serving & Storage
How to serve these is simple. Just take them out of the freezer 5-10 minutes before eating. This lets them soften slightly so you can bite through them easily. If you eat them straight from the freezer, they’ll be very hard.
Side Dishes — These are best served on their own, but they pair well with a hot beverage like coffee or tea. I also like to serve them with a side of fresh fruit, like berries or melon, to balance the sweetness.
Storage — Store the wrapped sandwiches in an airtight container in the freezer. They’ll last for up to 3 months. After that, they might start to get freezer burn. I usually eat them within a month because they’re so good.
Reheating — You don’t need to reheat them. Just let them sit at room temperature for a few minutes. If you try to microwave them, they’ll melt and lose their shape. Don’t do it.
Meal Prep — Make a batch on Sunday, and you have dessert ready for the week. This is great for busy families who want a quick, healthy-ish dessert option. Just be mindful of the sugar content.
Nutrition Information
I’m not a nutritionist, but here’s the breakdown if you’re tracking. This is an estimate, as it depends on the specific brands and sizes of cookies you use.
Per Sandwich (based on 16 servings):
– Calories: 280
– Protein: 4g
– Carbs: 32g
– Fiber: 1g
– Sugar: 22g
– Fat: 15g
– Saturated Fat: 9g
– Cholesterol: 45mg
– Sodium: 120mg
What’s Good: It’s a relatively small treat. One sandwich is a reasonable portion. The freeze-dried strawberries add some vitamin C.
What to Know: It’s high in sugar and saturated fat, as expected for a dessert. If you’re watching your sugar intake, you can reduce the sugar in the cookie dough or use a sugar substitute. But honestly, it’s a treat. Enjoy it in moderation.
Dietary Notes: Contains dairy, gluten, and eggs. Can be made gluten-free or dairy-free with substitutions. Not suitable for vegans unless you make the dairy-free version.
Final Thoughts
So that’s my homemade strawberry ice cream sandwiches! I’ve probably talked your ear off at this point, but when you make a recipe this often, you have a lot to say about it.
This has saved my summer desserts more times than I can count. It’s my answer to “what’s for dessert” when I’m tired, don’t want to go out, and still want something that tastes really good. My kids are happy, my husband’s happy, and I’m happy because I’m not stressed about cooking.
Make it yours! Try different flavors, swap in your favorite cookies, adjust the sweetness. The best recipes are the ones you adapt to your family’s tastes. If you make this, drop a comment and let me know what you think! I love hearing how recipes turn out in your kitchen. And if something doesn’t work, tell me that too—I’m here to help troubleshoot.
Happy cooking! And I hope your kitchen smells half as good as mine does right now.
Frequently Asked Questions
Can I use fresh strawberries instead of freeze-dried?
You can, but I don’t recommend it. Fresh strawberries have too much water. When that water freezes, it forms ice crystals, which makes your ice cream icy and grainy. Freeze-dried strawberries have the water removed, so you get pure flavor without the texture issues. If you must use fresh, roast them first to remove the water, but freeze-dried is much easier.
Why did my cookies turn out hard in the freezer?
This usually happens if you didn’t use enough brown sugar or corn syrup, or if you overbaked them. Brown sugar and corn syrup add moisture, which keeps the cookies soft. Also, make sure you didn’t overmix the dough, which can develop too much gluten and make them tough. Next time, try adding a tablespoon more corn syrup.
Can I make this ahead for a party?
Absolutely! Make them up to 3 weeks ahead and store them in the freezer. Just make sure they’re well-wrapped to prevent freezer burn. Take them out 10 minutes before serving so they soften slightly. This is actually better than making them the day of, because it gives you time to plan.
Why did my ice cream turn out icy?
This means there was too much water in the mixture. If you used fresh strawberries, that’s likely the culprit. Also, if you didn’t whip the cream enough, or if you didn’t freeze it long enough, it can be icy. Make sure you whip the cream to stiff peaks and freeze for at least 4 hours.
Can I use a different cookie dough?
You can, but the cookie dough in this recipe is specifically designed to stay soft in the freezer. If you use a standard cookie recipe, it might turn hard. If you want to use a different dough, look for a “soft cookie” recipe that includes brown sugar and corn syrup. Or, just use store-bought soft cookies, like chocolate chip or sugar cookies.
How do I prevent the ice cream from sticking to the pan?
Line your pan with parchment paper, leaving an overhang on the sides. This makes it easy to lift the entire block out of the pan once it’s frozen. If you don’t use parchment, it will stick, and you’ll have a mess. Parchment is cheap and makes cleanup easy.
Can I freeze the ice cream without the cookies?
You can, but it’s not ideal. The cookies act as a barrier between the ice cream and the air, which helps prevent freezer burn. If you freeze just the ice cream, it might get icy on the surface. But if you’re in a pinch, you can freeze the ice cream in a container and sandwich the cookies later. Just make sure the cookies are soft.
Pin This Recipe!
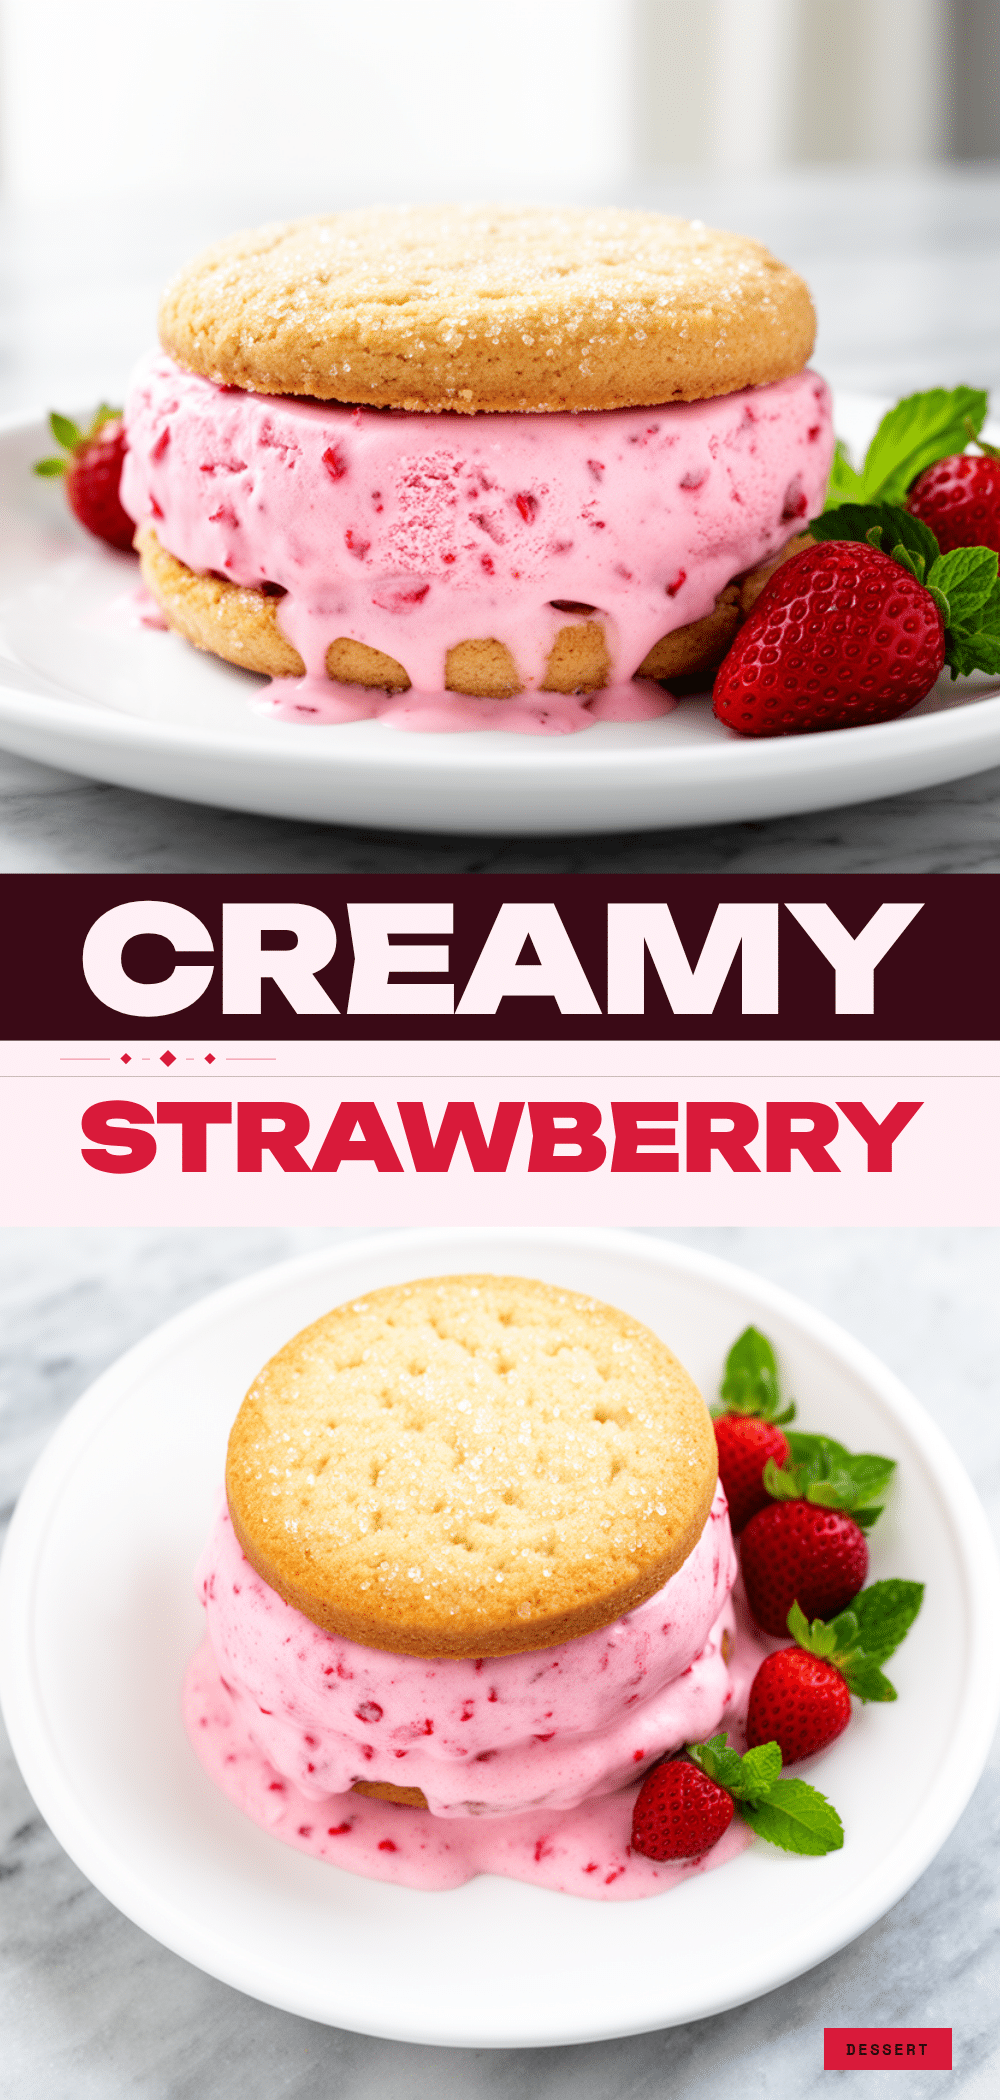
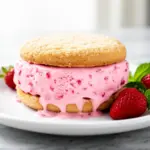
Homemade Strawberry Ice Cream Sandwiches
- Total Time: 4 hours 42 minutes
- Yield: 16 servings 1x
Description
A no-churn homemade strawberry ice cream sandwich recipe featuring creamy freeze-dried strawberry ice cream sandwiched between soft, chewy cookies. Better than store-bought and ready in minutes of prep time.
Ingredients
- 2 cups heavy whipping cream (cold)
- 1 can (14oz) sweetened condensed milk
- 1 cup (40g) freeze-dried strawberries, crushed into powder
- 1 teaspoon vanilla extract
- 1/4 teaspoon salt
- 1 1/2 cups all-purpose flour
- 1/2 cup packed brown sugar
- 1/4 cup granulated sugar
- 1/2 cup unsalted butter (softened)
- 1 large egg (room temperature)
- 1/2 teaspoon baking soda
- 1 tablespoon light corn syrup
- Optional: Extra freeze-dried strawberry pieces for topping
Instructions
- Crush freeze-dried strawberries into a fine powder using a food processor or mortar and pestle. Set aside 1 tablespoon for optional cookie topping.
- In a medium bowl, cream together softened butter, brown sugar, granulated sugar, corn syrup, and vanilla extract until light and fluffy (2-3 minutes).
- Add the egg and mix until combined. Add flour, baking soda, and salt, mixing on low speed until just combined.
- Place dough between two sheets of parchment paper and roll to 1/4-inch thickness. Refrigerate for at least 30 minutes.
- Preheat oven to 350°F (175°C). Cut circles from the chilled dough and place on a parchment-lined baking sheet. Press optional strawberry pieces on top if desired.
- Bake for 10-12 minutes until edges are lightly golden. Cool completely on the baking sheet.
- In a large cold bowl, whip heavy cream until stiff peaks form.
- In a separate bowl, whisk condensed milk, crushed freeze-dried strawberries, vanilla, and salt until smooth.
- Gently fold the condensed milk mixture into the whipped cream until combined.
- Line an 8×8 inch pan with parchment paper. Spread half the ice cream mixture into the pan.
- Place half of the cooled cookies on top of the ice cream. Spread remaining ice cream over the cookies and top with remaining cookies.
- Press down gently to seal. Cover and freeze for at least 4 hours or overnight.
- Lift the frozen block out of the pan using parchment overhang. Cut into 16 squares.
- Wrap each sandwich individually in parchment paper and then plastic wrap. Store in freezer for up to 3 months.
Notes
Keep all equipment and cream cold for best whipping results. Do not use fresh strawberries as the water content creates ice crystals. Corn syrup is essential for keeping cookies soft in the freezer. Let sandwiches sit at room temperature for 5-10 minutes before eating to soften.
- Prep Time: 30 minutes
- Cook Time: 12 minutes
- Category: Dessert
- Cuisine: American
Nutrition
- Serving Size: 1 sandwich
- Calories: 280
- Sugar: 22
- Sodium: 120
- Fat: 15
- Saturated Fat: 9
- Carbohydrates: 32
- Fiber: 1
- Protein: 4
Keywords: strawberry ice cream sandwiches, no churn ice cream, homemade ice cream, summer dessert, freeze-dried strawberries, soft cookies, easy dessert