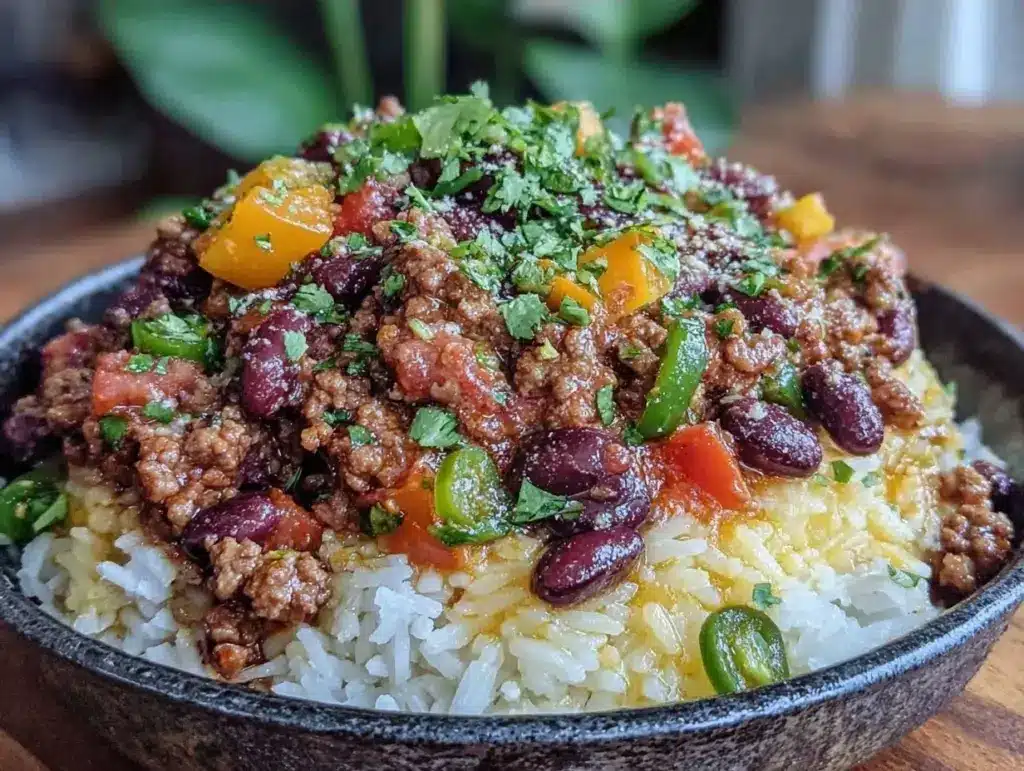
I still remember the Tuesday night in November when I stared into the fridge for a solid ten minutes, hoping the ingredients would rearrange themselves into a dinner. It was raining, the kids were already arguing over who got the good spot on the couch, and I had exactly zero energy for chopping, peeling, or pretending to care about fancy plating. All I had was a pound of ground beef, a can of black beans, and a bag of rice sitting in the back of the pantry.
I threw everything into one skillet, added some spices I already had, and let it simmer. Thirty minutes later, my kids cleaned their plates. Not just “ate a few bites,” but actually scraped the bottom of their bowls. That was the moment I realized I didn’t need another complicated recipe. I needed a high protein ground beef skillet with black beans and rice that I could make on repeat. And honestly? It’s become my secret weapon for busy weeknights.
This isn’t just another dinner. It’s a complete meal that costs less than a fast-food run, feeds a hungry family, and leaves you with enough leftovers for lunch the next day. I’ve tested this recipe at least a dozen times—sometimes doubling it because my husband loves it so much he asks for it three nights in a row. It’s hearty, it’s healthy, and it’s stupidly simple. If you’re tired of the “what’s for dinner?” panic, this is your answer.
Why You’ll Love This One-Pan Skillet
There are about a dozen reasons I keep making this skillet, but if I had to narrow it down, these are the big ones. This recipe has completely changed our weeknight routine, and I’m not exaggerating when I say it’s saved me from ordering takeout more times than I care to admit.
- Stupid Simple One-Pan Wonder — Seriously, you only need one large skillet. No boiling pots of water, no separate pans for rice and meat. I’ve walked my teenage son through making this over FaceTime while I was at work. If he can do it, anyone can.
- Budget-Friendly Feeding — I feed four people for under $12. That’s less than what we spend on gas to drive to the grocery store. The black beans and rice stretch the expensive ground beef, making every dollar go further. It’s protein-packed without breaking the bank.
- Meal Prep Magic — This tastes even better the next day. I deliberately make a double batch on Sunday. By Wednesday, when my brain is fried, I just grab a container from the fridge. It reheats perfectly in the microwave or on the stove.
- Kid-Approved Flavor — I know what you’re thinking: “Black beans? Rice? My kids won’t touch that.” But this is seasoned with cumin, chili powder, and garlic, so it tastes like a savory taco filling, not a health food experiment. My picky eaters ask for seconds without realizing they’re eating vegetables.
- High Protein Powerhouse — Between the beef, beans, and cheese, this is a serious protein bomb. It keeps us full for hours. No 3 PM sugar crash, no hungry kids begging for snacks an hour after dinner. Just solid, satisfying fuel.
This is my go-to when I need dinner to just work. No complicated techniques, no weird ingredients from the international aisle, just reliable, delicious food that makes everyone happy and leaves you with time to actually relax.
Ingredients You’ll Need
Here’s the best part: you probably have most of this already in your pantry or freezer. This looks like a standard list, but it’s built on pantry staples that are cheap, shelf-stable, and always useful. I’m particular about two things here—the quality of the beef and the type of rice—but even those are flexible.
For the Base
Ground beef (1 pound / 450g) — I use 80/20 lean-to-fat ratio. It stays juicy and flavorful. If you’re watching calories, 90/10 works, but it will be a bit drier. Don’t go super lean; you’ll miss the richness.
Yellow onion (1 medium, diced / about 150g) — Sweet onions work too, but yellow gives better depth for this savory dish. White onions are too sharp and bitey for this recipe.
Garlic (4 cloves, minced / about 2 tablespoons) — Yes, four cloves. Don’t skimp. Fresh only—no jarred garlic in this one. It changes the flavor profile too much. If you’re being lazy, buy pre-peeled cloves, but mince them yourself.
Long-grain white rice (1 cup / 185g uncooked) — I prefer Jasmine or standard long-grain because it stays fluffy. Brown rice works, but you’ll need to cook it separately first or add extra liquid and time. For speed, stick with white.
Chicken broth (2 cups / 480ml) — I use low-sodium so I can control the salt. Vegetable broth works for a vegetarian version (just swap the beef for extra beans or lentils).
For the Flavor
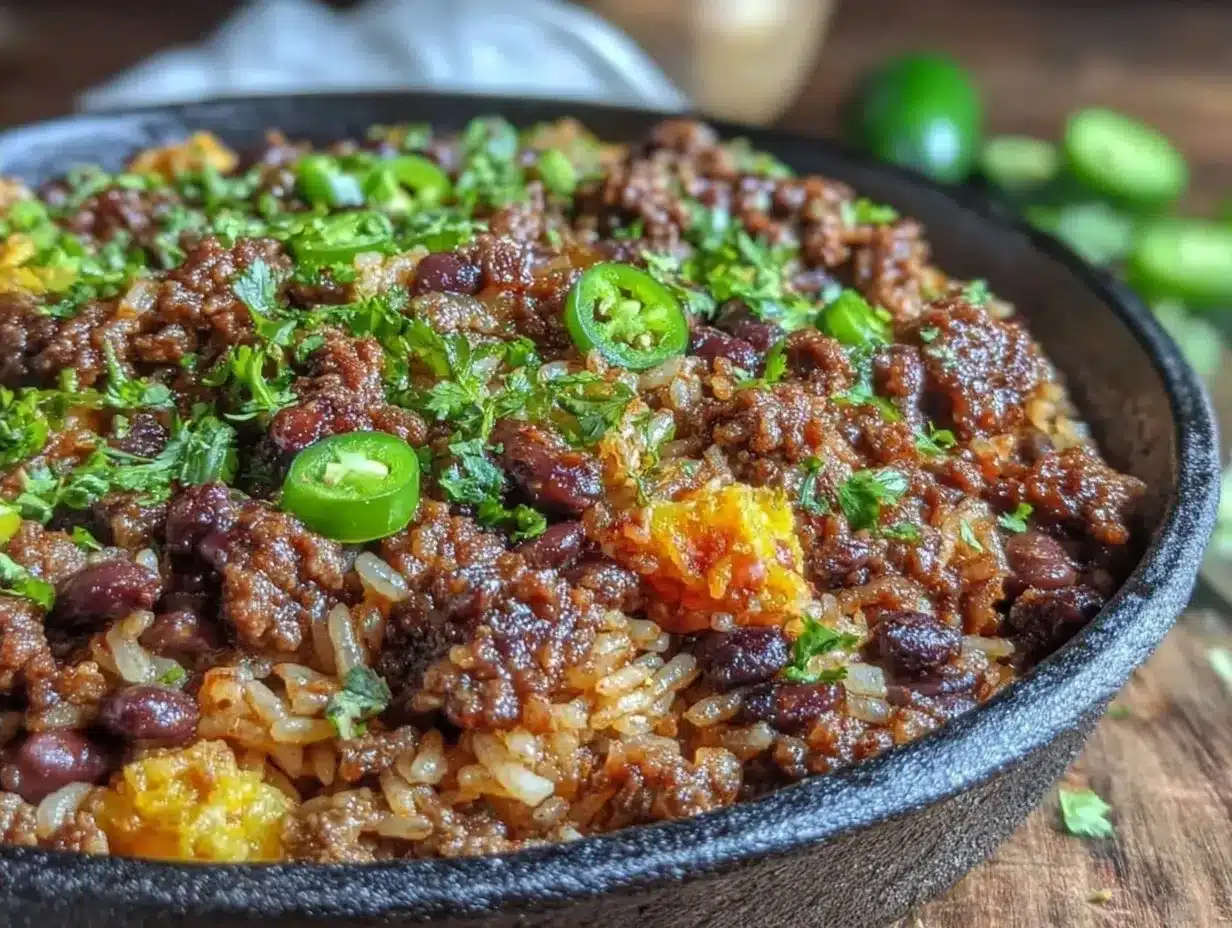
Black beans (1 can, 15 oz / 425g) — Drain and rinse them. This removes the starchy canning liquid and prevents the dish from getting mushy. I buy the generic brand; they taste identical to the name brands.
Diced tomatoes (1 can, 14.5 oz / 411g) — Use fire-roasted if you have it. It adds a smoky depth that regular diced tomatoes just don’t have. Drain most of the liquid, or your skillet will be soupy.
Taco seasoning (2 tablespoons) — I make my own mix (see tips below), but store-bought packets work fine. Just check the sodium content. I usually use half a packet if it’s super salty.
Cumin and chili powder (1 teaspoon each) — These are the backbone of the flavor. Fresh spices matter here. If your cumin is dusty and old, toast it in the pan for 30 seconds before adding the onions.
For the Finish
Shredded cheddar cheese (1 cup / 100g) — Buy the block and shred it yourself. Pre-shredded cheese has anti-caking agents that make it melt poorly. It’s worth the extra minute.
Fresh cilantro (½ cup, chopped) — Optional but highly recommended. It cuts through the richness of the beef and cheese. If your family hates cilantro, skip it or use parsley. No one will notice.
Lime wedges — For squeezing over the top right before eating. Brightness is key.
Equipment Needed
You don’t need fancy equipment for this. Here’s what I actually use.
Large skillet or Dutch oven — I use a 12-inch cast iron skillet. It holds heat well and goes from stove to table. A 12-inch stainless steel skillet works too. If you don’t have a large skillet, use a Dutch oven. You need enough surface area to brown the meat properly.
Wooden spoon or spatula — For breaking up the beef and stirring. Silicone works too. Don’t use metal on non-stick.
Measuring cups and spoons — Pretty standard stuff. Dollar store versions work fine.
Colander — For draining the beans and tomatoes. Or just tilt the can over the sink—I do this when I’m in a hurry, but be careful.
Rice cooker (optional) — I usually cook the rice in a pot on the stove while the skillet simmers. But a rice cooker is a lifesaver if you’re meal prepping. Set it and forget it.
How to Make It: Step-by-Step
Alright, let’s make this! I’m walking you through exactly how I do it, including the little tricks I’ve picked up over the years.
Step 1: Prep Your Rice
Start by cooking your rice. Rinse 1 cup of long-grain white rice under cold water until the water runs clear. This removes excess starch and keeps it from getting gummy. Cook it according to package directions (usually 1 cup rice to 2 cups water, simmer for 18 minutes). Set it aside and keep it covered. If you’re using a rice cooker, start it now. You’ll have fluffy, ready-to-mix rice waiting for you.
Step 2: Brown the Beef
Heat your large skillet over medium-high heat. Add the ground beef. Don’t add oil yet—the beef will release its own fat. Use a wooden spoon to break the meat into small crumbles as it cooks. This takes about 6-8 minutes. You want it fully browned with no pink spots. If there’s too much liquid fat, drain it off. If there’s too little, leave it; you want some richness.
Step 3: Sauté the Aromatics
Push the beef to one side of the pan (or remove it if your pan is small) and add the diced onion. Cook for 3-4 minutes until translucent and soft. Add the minced garlic and cook for 1 more minute. The garlic should smell amazing but not brown. Browned garlic tastes bitter, and we don’t want that.
Step 4: Build the Sauce
Add the taco seasoning, cumin, and chili powder to the onions and garlic. Stir for 30 seconds to toast the spices. This wakes up the flavors. Pour in the chicken broth, scraping up any browned bits from the bottom of the pan. Those bits are flavor gold. Let it simmer for 2 minutes.
Step 5: Combine Everything
Add the drained black beans and diced tomatoes (with their juice) to the skillet. Stir everything together. Reduce heat to medium-low. Let it simmer uncovered for 5-7 minutes. The sauce will thicken slightly, and the flavors will meld. Taste it now. Need more salt? Add a pinch. Want more heat? Add red pepper flakes.
Step 6: Mix in the Rice
Stir in the cooked rice. Mix it thoroughly so every grain is coated in the savory beef and bean mixture. Let it heat through for 2 minutes. The rice will absorb some of the sauce, which is perfect. If it looks too dry, add a splash of broth or water.
Step 7: Finish and Serve
Remove from heat. Sprinkle the shredded cheese over the top. Cover the skillet with a lid for 2 minutes to let the cheese melt. Serve hot, topped with fresh cilantro and a squeeze of lime. Add sour cream or salsa if you’re feeling fancy.
Total time is about 45 minutes (10 minutes active, 35 minutes mostly hands-off).
Expert Tips & Tricks
Here’s everything I’ve learned from making this dozens of times. These tips will save you from my mistakes.
Toast Your Spices
Don’t just dump the spices in. Cook them in the oil/fat for 30 seconds before adding the liquid. It releases essential oils and makes the flavor pop. I learned this from a chef friend, and it changed my cooking forever. It’s a 30-second step that makes a huge difference.
Drain Your Tomatoes
Most recipes say “add the can of tomatoes.” I say drain most of the liquid. Tomatoes are watery, and you don’t want a soup. You want a hearty skillet. Drain them in a colander for 30 seconds before adding.
Make Your Own Seasoning
Store-bought packets are convenient but full of sodium and anti-caking agents. Mix 1 tablespoon chili powder, 1 teaspoon cumin, 1 teaspoon garlic powder, 1 teaspoon onion powder, and ½ teaspoon salt. It lasts in your pantry for months and tastes fresher.
Don’t Overcook the Rice
Since you’re adding cooked rice to the skillet, you’re just heating it through. If you undercook the rice initially, it will finish in the skillet. If you overcook it, it’ll be mushy. Aim for al dente when you first cook it.
Common Mistakes (and how to avoid them)
Mistake: The skillet is too crowded. Fix: If your family is huge, double the recipe but cook in two batches. Crowding the pan steams the meat instead of browning it. You want that brown crust.
Mistake: It’s too salty. Fix: Use low-sodium broth and beans. Taste before adding extra salt. You can always add more, but you can’t take it away.
Mistake: The cheese is clumpy. Fix: Remove from heat before adding cheese. High heat makes cheese seize up. Let the residual heat melt it gently.
Variations & Substitutions
Once you’ve nailed the basic version, here’s how you can mix it up. I’ve tried all of these.
Chicken Version
Swap ground beef for ground chicken or turkey. It’s leaner and lighter. I use this version when I’m trying to eat healthier. The flavor profile stays the same, but the texture is slightly different.
Veggie-Loaded
Add 1 cup of frozen corn or diced bell peppers when you add the onions. Corn adds sweetness, peppers add crunch. This is how I sneak more vegetables into my kids’ diets. They don’t even notice.
Spicy Kick
Add 1 diced jalapeño with the onions. Or stir in 1 teaspoon of cayenne pepper with the spices. For heat lovers, this is a must. Pair with hot sauce on the side.
Lighter Version
Use 93/7 ground beef and skip the cheese. It’s still high protein and filling. I make this when I’m tracking calories closely. It’s not as indulgent, but it’s still delicious.
Dietary Modifications
Gluten-Free — This recipe is naturally gluten-free. Just check your taco seasoning packet to ensure it’s GF. Most are, but some have wheat fillers.
Dairy-Free — Skip the cheese or use a dairy-free shreds. The dish is still flavorful without it. My lactose-intolerant friend loves this version.
Lower-Carb — Skip the rice entirely. Serve over cauliflower rice or zucchini noodles. It’s not the same texture, but it works if you’re watching carbs.
Serving & Storage
I usually serve this straight from the skillet at the dinner table—it looks rustic and stays warm. But here are other ways I’ve enjoyed it:
Side Dishes
- Simple green salad with lime vinaigrette
- Roasted sweet potatoes (see my hot honey ground beef and sweet potato bowl for inspiration)
- Cornbread or tortilla chips for scooping
- Avocado slices for creaminess
Storage Instructions
Refrigerator: Store in an airtight container for up to 4 days. The flavors actually get better on day 2. The rice absorbs more sauce, becoming more flavorful.
Reheating: Best method: Add to a skillet with a splash of broth or water over low heat. Stir until heated through. Microwave method: Heat in 1-minute intervals, stirring between. Add a splash of water if it looks dry.
Freezing: Yes, this freezes well! Portion into individual containers. Freeze for up to 3 months. Thaw in the fridge overnight. Reheat as above. I freeze half the batch immediately after cooking so I have a ready-made meal for a busy week.
Meal Prep Tip: Make the base (beef, beans, tomatoes) on Sunday. Cook rice fresh each night. Or cook all the rice ahead. This saves 15 minutes on weeknights.
Nutrition Information
I’m not a nutritionist, but here’s the breakdown if you’re tracking. This is per serving (based on 6 servings).
- Calories: 380
- Protein: 22g
- Carbs: 35g
- Fiber: 7g
- Sugar: 3g
- Fat: 16g
- Sodium: 650mg
What’s Good: High protein, good fiber from beans, balanced macros. What to Know: Higher sodium if you use regular broth. Use low-sodium to cut that down. It’s comfort food, so don’t stress the calories too much. Enjoy it!
Final Thoughts
So that’s my high protein ground beef skillet with black beans and rice! I’ve probably talked your ear off at this point, but when you make a recipe this often, you have a lot to say about it.
This has saved weeknight dinners more times than I can count. It’s my answer to “what’s for dinner” when I’m tired, don’t want takeout, and still want something that tastes really good. My kids are happy, my husband’s happy, and I’m happy because I’m not stressed about cooking.
Make it yours! Try different add-ins, swap in your favorite vegetables, adjust the spice level. The best recipes are the ones you adapt to your family’s tastes. If you make this, drop a comment and let me know what you think! I love hearing how recipes turn out in your kitchen.
Happy cooking! And I hope your kitchen smells half as good as mine does right now.
Frequently Asked Questions
Can I use ground turkey instead of beef?
Absolutely. I use ground turkey when I want a lighter version. Just be careful not to overcook it, as turkey can dry out faster. Add a little extra broth if it looks dry. The flavor profile stays the same.
Can I make this in a slow cooker?
You can, but you lose the browning flavor. I recommend browning the beef and onions in a skillet first, then transferring to the slow cooker. Add the beans, tomatoes, rice, and broth. Cook on low for 4-5 hours. The rice might get mushy, so check it after 3 hours.
Why did my rice turn out mushy?
Probably because you added too much liquid or cooked it too long in the skillet. Rice absorbs liquid as it sits. If you’re meal prepping, store the rice and the beef mixture separately, then combine when reheating. This keeps the texture perfect.
Can I freeze this?
Yes! This freezes beautifully. Portion into individual containers. Freeze for up to 3 months. Thaw in the fridge overnight. Reheat gently with a splash of water or broth. It reheats almost as well as fresh.
Is this recipe kid-friendly?
Yes! The flavors are mild and savory, similar to tacos. My kids love it. If your kids are picky, serve the components separately (beef mixture on one side, rice on the other) and let them build their own bowls. It gives them control.
Can I double this recipe?
Definitely. I often double it for meal prep. Just use a larger skillet or divide between two pans. Cooking times stay the same. This is my go-to for Sunday meal prep.
Pin This Recipe!
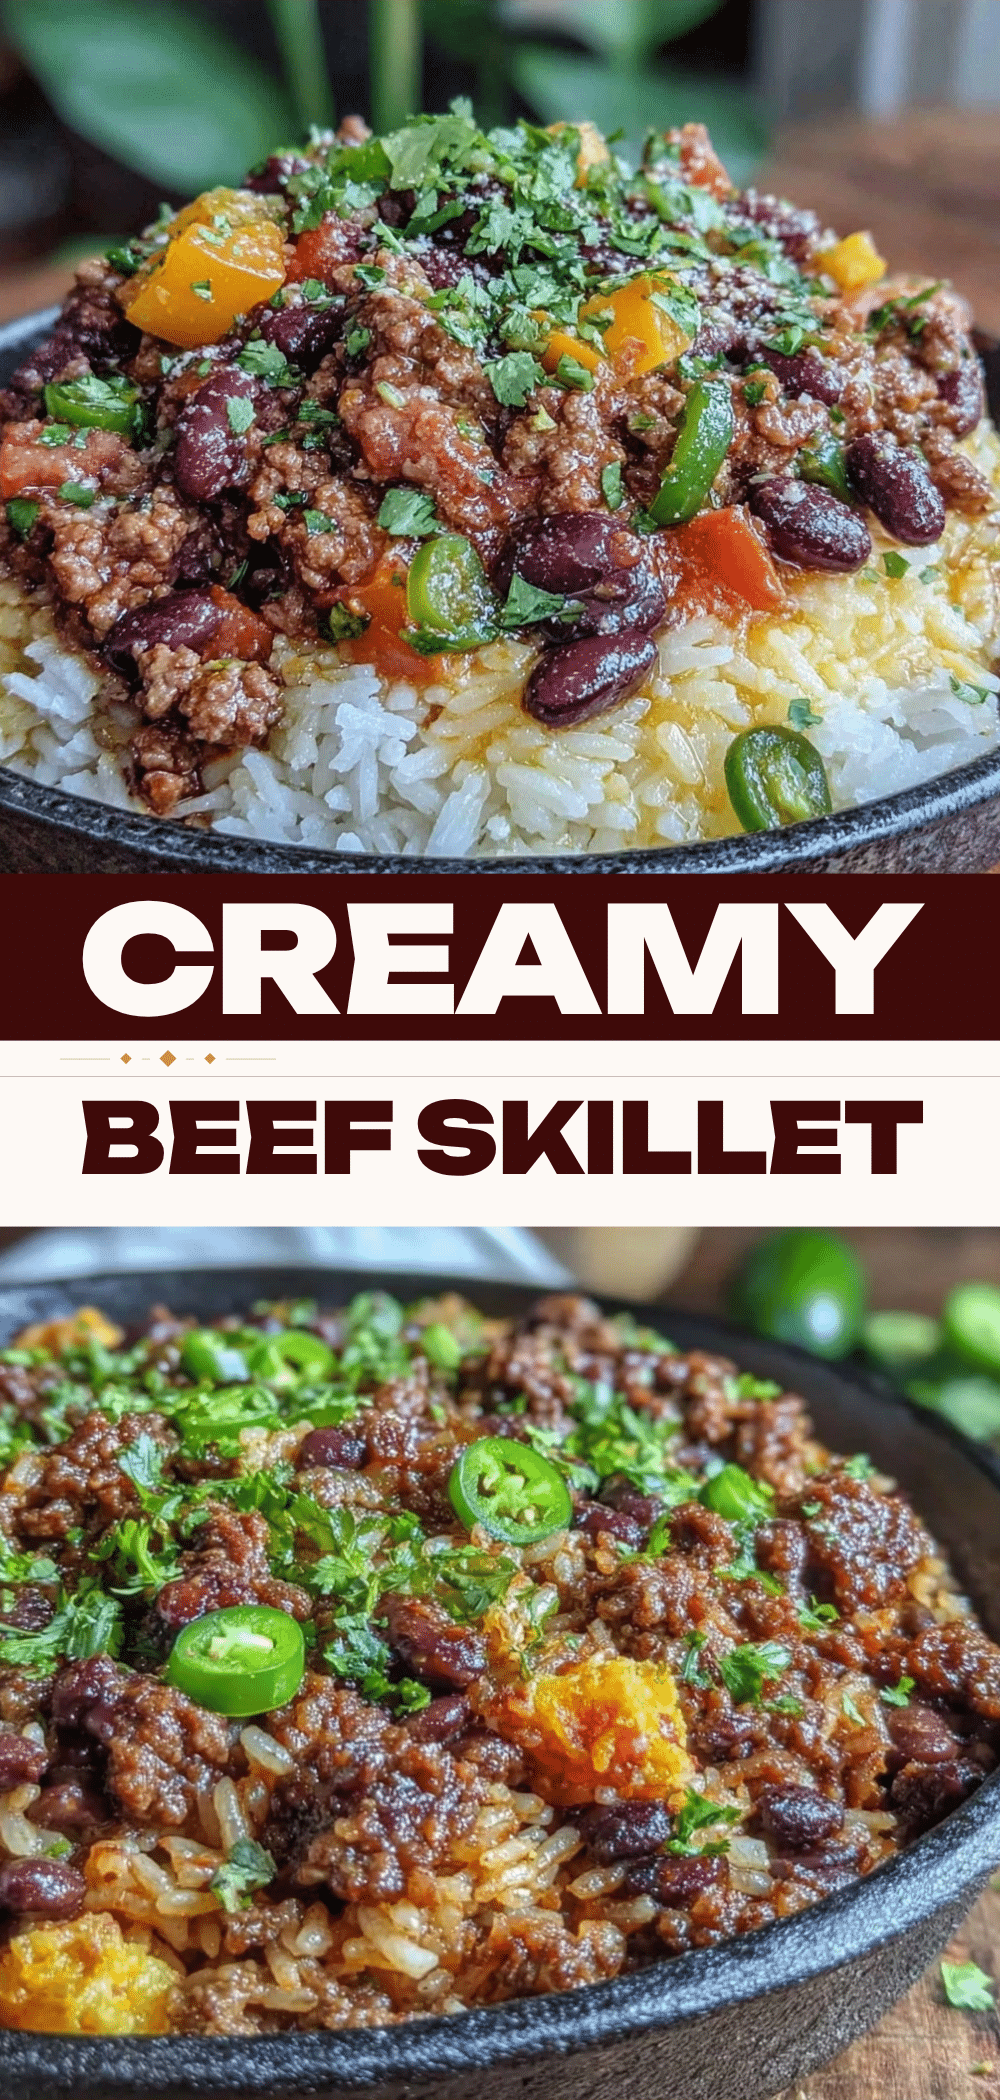
High Protein Ground Beef Skillet: Easy Meal Prep
- Total Time: 45 minutes
- Yield: 6 servings 1x
Description
A simple, one-pan high-protein dinner featuring ground beef, black beans, and rice seasoned with taco spices. Perfect for busy weeknights and meal prep.
Ingredients
- 1 pound ground beef (80/20 lean-to-fat ratio)
- 1 medium yellow onion, diced
- 4 cloves garlic, minced
- 1 cup long-grain white rice (uncooked)
- 2 cups chicken broth (low-sodium)
- 1 can (15 oz) black beans, drained and rinsed
- 1 can (14.5 oz) diced tomatoes, drained
- 2 tablespoons taco seasoning (or homemade mix)
- 1 teaspoon cumin
- 1 teaspoon chili powder
- 1 cup shredded cheddar cheese
- ½ cup fresh cilantro, chopped
- Lime wedges for serving
Instructions
- Cook the rice according to package directions (usually 1 cup rice to 2 cups water, simmer for 18 minutes). Rinse rice before cooking to remove excess starch. Set aside and keep covered.
- Heat a large skillet over medium-high heat. Add the ground beef and break it into small crumbles with a wooden spoon. Cook for 6-8 minutes until fully browned. Drain excess fat if necessary.
- Push the beef to one side of the pan and add the diced onion. Cook for 3-4 minutes until translucent. Add the minced garlic and cook for 1 more minute.
- Add the taco seasoning, cumin, and chili powder to the onions and garlic. Stir for 30 seconds to toast the spices. Pour in the chicken broth, scraping up any browned bits from the bottom of the pan. Simmer for 2 minutes.
- Add the drained black beans and diced tomatoes to the skillet. Stir to combine. Reduce heat to medium-low and simmer uncovered for 5-7 minutes until the sauce thickens slightly.
- Stir in the cooked rice. Mix thoroughly to coat every grain. Let it heat through for 2 minutes. If it looks too dry, add a splash of broth or water.
- Remove the skillet from heat. Sprinkle the shredded cheese over the top. Cover with a lid for 2 minutes to let the cheese melt.
- Serve hot, topped with fresh cilantro and a squeeze of lime.
Notes
Toast spices in the pan for 30 seconds before adding liquid to enhance flavor. Drain most of the liquid from the canned tomatoes to prevent a soupy dish. Use low-sodium broth and beans to control salt content. For a lighter version, use 93/7 ground beef and skip the cheese. For a vegetarian version, swap beef for extra beans or lentils and use vegetable broth.
- Prep Time: 10 minutes
- Cook Time: 35 minutes
- Category: Main Course
- Cuisine: American
Nutrition
- Serving Size: 1 serving (approx. 1
- Calories: 380
- Sugar: 3
- Sodium: 650
- Fat: 16
- Saturated Fat: 7
- Carbohydrates: 35
- Fiber: 7
- Protein: 22
Keywords: ground beef skillet, meal prep, high protein, one pan dinner, black beans and rice, easy weeknight dinner, family friendly