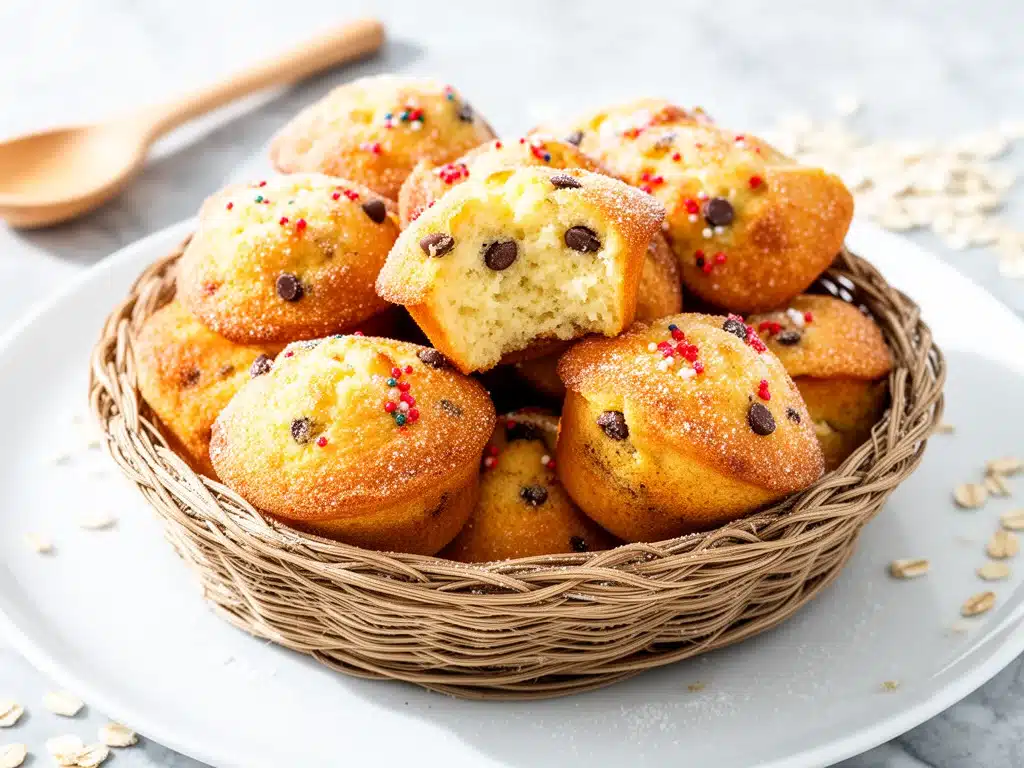
Last Sunday morning, I was standing in my kitchen at 6:30 AM, staring at a half-empty carton of milk and a bag of flour that had been sitting in the pantry since August. My kids were still asleep, but the reality of the new school year was already hitting me like a ton of bricks. We had just survived summer, but the transition to weekday routines felt impossible. I didn’t want to serve cereal again. I didn’t want to scramble eggs. And I definitely didn’t want to deal with the morning chaos of frying pancakes on a hot griddle when I was already running late.
That was the moment I decided to stop fighting the morning rush and start working with it. I needed something that tasted like a weekend treat but functioned like a meal prep champion. That’s when I stumbled upon the idea for Back-to-School Mini Baked Pancake Muffins. I’d seen similar recipes before, but they always felt too dense or too cake-like. I wanted light, fluffy, genuinely pancake-y pockets of breakfast that I could grab and go.
So, I tweaked a basic pancake batter, added a few tricks I’d learned from making Greek yogurt blueberry muffins for healthy breakfasts, and baked them in a mini muffin tin. The result? Magic. My kids ate them warm right out of the oven, and I packed the rest for their lunches. No syrup required. No mess. Just pure, easy breakfast joy.
I’ve made these Back-to-School Mini Baked Pancake Muffins at least fifteen times since that chaotic Sunday. Some days they’re plain with a drizzle of honey. Other days, I sneak in blueberries or chocolate chips. They are the secret weapon in my back-to-school arsenal, right up there with my creamy crockpot sausage and peppers for easy dinners. If you’re dreading the morning scramble, trust me—these will save your sanity.
Why You’ll Love This Recipe
There are about ten reasons I keep making these mini pancake muffins, but here are the big ones that will change your weekday mornings forever.
Stupid Simple Prep — Seriously, if you can whisk eggs and pour batter, you can make these. I’ve walked my teenage son through it over FaceTime while he was at college. Mix the dry, mix the wet, combine, bake. It takes about 10 minutes of active work. That’s it.
Perfectly Portable — These are the size of a bite or two. My kids love them because they’re not overwhelming, and I love them because they fit perfectly in a standard lunchbox. They don’t need a fork. They don’t need a plate. Just pick up and eat. It’s the ultimate on-the-go breakfast.
Freezer-Friendly Superstars — This is the game-changer. I make a double batch every Sunday. Half go into the fridge for the next two days, and half go straight into the freezer. On Tuesday morning, when I’m running late, I can pull three out of the freezer, microwave them for 30 seconds, and they’re soft and fresh-tasting. They reheat beautifully, unlike regular pancakes which can get rubbery.
Kid-Approved (Even the Picky Eaters) — I’ve served these to my vegetarian sister, my gluten-free neighbor (using GF flour), and my dad who claims he “only eats real breakfast.” Everyone loved it. They taste like dessert but feel like breakfast. I deliberately make extra for lunch throughout the week because they’re so popular.
Budget-Smart — Flour, sugar, baking powder, eggs, milk, butter. These are pantry staples. Feeds 6-8 people for under $10. That’s less than one breakfast at a fast-food place, and infinitely healthier.
This is my go-to when I need breakfast to just work. No complicated techniques, no weird ingredients, just reliable, delicious food that makes everyone happy. It’s the kind of recipe that takes the stress out of the morning routine.
Ingredients You’ll Need
Here’s the best part: you probably have most of these ingredients already. This isn’t a recipe that requires a trip to three different specialty stores. I’m particular about two things here—the type of flour and the freshness of your leavening agents—but otherwise, it’s very forgiving.
For the Batter Base
All-Purpose Flour (1 ½ cups / 190g) — This is your standard white flour. I use Gold Medal because it’s consistent. If you need gluten-free, you can swap this 1:1 with a good GF blend like Bob’s Red Mill, though I haven’t tested other brands yet. Don’t use cake flour; it’ll be too delicate.
Granulated Sugar (3 tablespoons / 35g) — Not a lot of sugar, just enough to give them a slight sweetness and help with browning. You can reduce to 2 tablespoons if you prefer less sweet, or add chocolate chips later to compensate.
Baking Powder (2 teaspoons) — This is crucial. Make sure it’s fresh. If your baking powder has been sitting in the back of the cabinet since 2021, your muffins will be flat bricks. Test it by dropping a teaspoon into hot water—if it fizzes vigorously, you’re good.
Salt (½ teaspoon) — Never skip the salt. It balances the sweetness and enhances the flavor of the butter. Use table salt or fine sea salt.
Eggs (2 large) — Room temperature eggs mix better into the batter. If you’re in a rush, just drop them in a bowl of warm water for 5 minutes. I learned this trick from making brown sugar peach caramel coffee cake, where temperature matters for the crumb.
Milk (1 cup / 240ml) — Whole milk gives the best richness, but 2% or even almond milk work fine. I keep a jug of 2% in the fridge for everyday use. Buttermilk would be amazing here for extra tang, but I rarely have it on hand.
Melted Butter (3 tablespoons / 45g) — Unsalted butter is best so you control the salt. Melt it and let it cool slightly so it doesn’t cook the eggs when you mix. Olive oil works too, but you lose that classic pancake flavor. I don’t recommend it unless you’re dairy-free.
For the Flavor & Mix-Ins
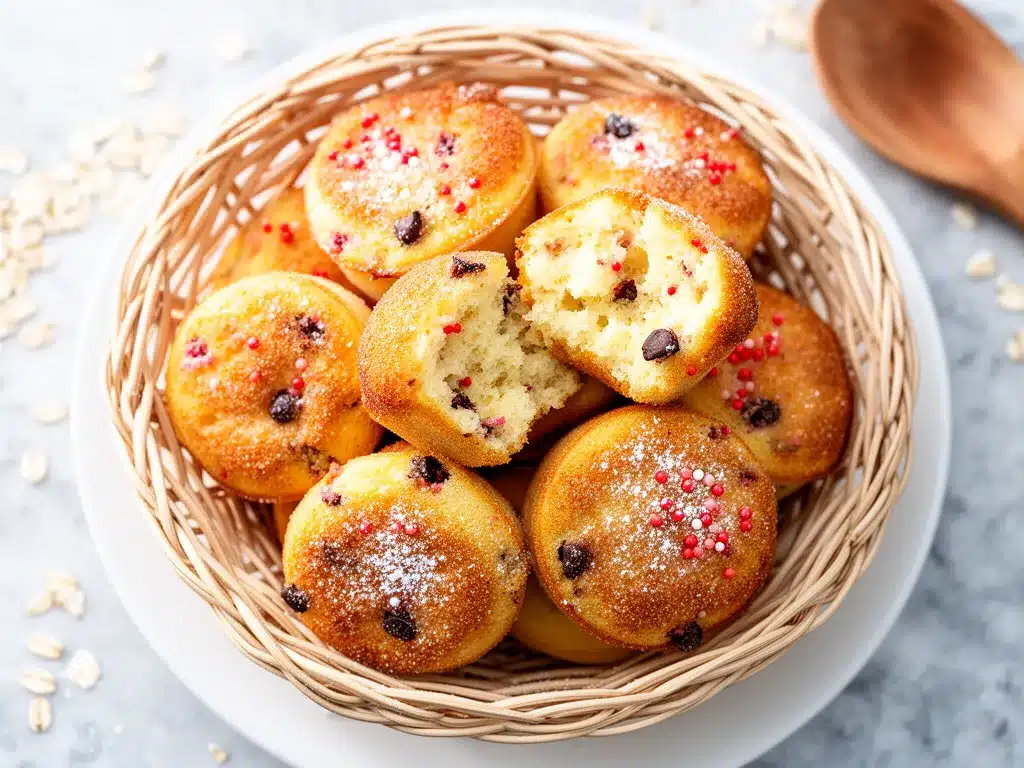
Vanilla Extract (1 teaspoon) — Use real vanilla, not imitation. It makes a huge difference in the aroma. I use McCormick because it’s reliable.
Optional Mix-Ins — This is where you get creative. Fresh Blueberries (½ cup) — Toss them in a little flour before adding to prevent sinking. Chocolate Chips (½ cup) — Mini chips work best so they distribute evenly. Chopped Walnuts or Pecans (½ cup) — For some crunch. I usually stick to plain or blueberry for the kids, but I add chocolate chips for myself.
Butter for Greasing — You’ll need a little butter or cooking spray for the mini muffin tin. I use a silicone brush to grease each cup thoroughly. Non-stick spray works, but sometimes it leaves a residue. Butter tastes better.
Maple Syrup — For serving. Obviously. Though honestly, these are sweet enough that you might not even need it. I serve them with a light drizzle for the adults.
Equipment Needed
You don’t need fancy equipment for this. Here’s what I actually use in my home kitchen.
Mini Muffin Tin — This is the star of the show. I use a standard 12-cup mini muffin tin. It’s usually about 2 inches in diameter. If you only have a regular muffin tin, you can use that, but you’ll need to increase the baking time by 5-7 minutes. I prefer mini because they’re the perfect size for little hands.
Two Medium Mixing Bowls — One for dry ingredients, one for wet. I use glass bowls because they’re easy to clean and I can see how much batter I have left. Plastic works too, but glass feels more stable.
Whisk — A simple balloon whisk is perfect for beating the eggs and combining the wet ingredients. I have a cheap one from the dollar store that works just fine. No need for an electric mixer.
Measuring Cups and Spoons — Pretty standard stuff. Dollar store versions work fine. For the flour, I prefer weighing it if I have a kitchen scale, but scooping and leveling works too. Don’t pack the flour down!
Pastry Brush or Spray Bottle — For greasing the muffin tin. I keep a dedicated pastry brush for butter. It’s worth it for easy cleanup.
Cooling Rack — Optional but nice. I usually just let them cool in the pan for 5 minutes, then transfer them to a plate. But if you want them perfectly non-sticky, a rack helps.
Freezer Bags — Ziploc bags or reusable silicone bags for storage. I like the silicone ones because they’re eco-friendly and don’t get stained by syrup.
Optional but nice:
– Paper Liners — I usually skip these to save money and reduce waste, but if you’re worried about sticking, liners make cleanup instant.
– Muffin Top Pan — If you want even smaller bites, this exists, but regular mini tins are fine.
How to Make It: Step-by-Step
Alright, let’s make this! I’m walking you through exactly how I do it, including the little tricks I’ve picked up over dozens of batches.
Step 1: Prep Your Oven and Pan (5 minutes)
Preheat your oven to 375°F (190°C). This is the right temperature to get them fluffy without burning the bottoms. While it heats, grease your mini muffin tin generously with butter or cooking spray. If you’re using paper liners, place them in the tin now. I usually just grease the tin—it’s faster and tastes better. Set the tin aside.
Step 2: Mix the Dry Ingredients (2 minutes)
In your medium mixing bowl, whisk together the flour, sugar, baking powder, and salt. Make sure to whisk well to distribute the baking powder evenly. If you skip this, you might get pockets of bitter baking powder in your finished muffins. I usually do this while the oven is heating up.
Step 3: Mix the Wet Ingredients (2 minutes)
In a separate bowl, whisk the eggs until they’re well beaten. Add the milk, melted butter, and vanilla extract. Whisk until everything is combined and the butter isn’t clumping. The mixture should look smooth and slightly frothy. If your butter is too hot, it might cook the eggs, so let it cool for a minute if needed.
Step 4: Combine Wet and Dry (3 minutes)
Make a well in the center of the dry ingredients and pour the wet mixture into it. Using a spatula or spoon, gently fold the ingredients together. Stop as soon as the flour disappears. Do not overmix. Lumps are okay. In fact, they’re preferred. Overmixing develops gluten, which makes the muffins tough and chewy instead of tender. I’ve made this mistake before, and the difference is night and day.
Step 5: Add Mix-Ins (1 minute)
If you’re adding blueberries, chocolate chips, or nuts, fold them in now. Be gentle. Just enough to distribute them. If you’re making plain muffins, skip this step.
Step 6: Fill the Tins (3 minutes)
Use an ice cream scoop or a large spoon to fill each mini muffin cup about ¾ full. They’ll rise, so don’t overfill or they’ll spill over. I use a 1-tablespoon scoop, which fills each cup perfectly. If you don’t have a scoop, just eyeball it. They should look like little mounds.
Step 7: Bake (10-12 minutes)
Place the tin in the preheated oven. Bake for 10-12 minutes. You’ll know they’re done when the tops are golden brown and a toothpick inserted into the center comes out clean or with just a few moist crumbs. Don’t overbake, or they’ll be dry. I check them at 10 minutes because every oven is different.
Step 8: Cool and Serve (5 minutes)
Let them cool in the pan for 5 minutes. This helps them set so they don’t break when you remove them. Then, transfer them to a wire rack or a plate. They can be eaten warm, at room temperature, or cold. I usually serve them with a light drizzle of maple syrup, but they’re great plain too.
Total Time: About 25 minutes (5 minutes prep, 12 minutes bake, 5 minutes cool)
Built-in Troubleshooting:
- Muffins are flat: Your baking powder might be old, or you overmixed the batter.
- Muffins are dry: You overbaked them. Next time, check at 9 minutes.
- Muffins stuck to the pan: You didn’t grease enough. Next time, use butter or liners.
- Top is burning but center is raw: Oven temperature is too high. Lower to 350°F next time.
Expert Tips & Tricks
Here’s everything I’ve learned from making these dozens of times. These tips will save you from my mistakes.
Don’t Overmix the Batter
This is the #1 rule of muffin-making. Lumpy batter = tender muffins. Smooth batter = tough muffins. I’ve ruined batches by trying to get it perfectly smooth. Trust me, leave those lumps. They’ll cook out.
Use an Ice Cream Scoop
It sounds silly, but a small cookie scoop ensures every muffin is the same size. This means they bake evenly. If you use a spoon, some will be bigger and take longer, leading to uneven baking. I bought a $5 scoop and it’s changed my life.
Room Temperature Ingredients
If your eggs and milk are cold, the butter might clump up when you mix. It doesn’t ruin the recipe, but it makes mixing harder. Let your eggs sit out for 10 minutes before starting. It’s a small step that makes a big difference.
Freeze Them Flat
When storing in the freezer, lay them flat in a single layer on a baking sheet first. Freeze for 1 hour, then transfer to bags. This prevents them from sticking together in a big clump. I learned this from freezing hot honey ground beef and sweet potato bowl leftovers, and it works here too.
Reheat Correctly
Microwave for 15-20 seconds. Do not microwave for 1 minute or they’ll turn into rubber. They should be warm, not hot. If you’re in a rush, eat them cold—they’re still delicious.
Add a Zest
For a twist, add the zest of one lemon or orange to the batter. It brightens the flavor and makes them feel more sophisticated. I did this once for a brunch and everyone asked for the recipe.
Variations & Substitutions
Once you’ve nailed the basic version, here’s how you can mix it up. I’ve tried all of these.
Blueberry Lemon
Add ½ cup fresh blueberries and the zest of one lemon to the batter. Drizzle with lemon glaze after baking (powdered sugar + lemon juice). This is my favorite version for spring.
Chocolate Chip
Add ½ cup mini chocolate chips. You can also add a swirl of peanut butter before baking for a PB&J vibe. My kids go crazy for this one.
Banana Nut
Mash one ripe banana and add it to the wet ingredients. Add ½ cup chopped walnuts. These are incredibly moist and flavorful. Great for using up old bananas.
Gluten-Free
Swap the all-purpose flour for a 1:1 gluten-free flour blend. Add ½ teaspoon xanthan gum if your blend doesn’t include it. They turn out just as fluffy as the regular version. I’ve used Bob’s Red Mill and King Arthur, both work great.
Dairy-Free
Replace milk with almond or oat milk. Replace butter with coconut oil or vegan butter. They’re still delicious, just slightly less rich. My lactose-intolerant friend requests this version.
Vegan
Replace eggs with two flax eggs (2 tablespoons ground flaxseed + 6 tablespoons water, rested 5 minutes). Use plant milk and vegan butter. They’re not quite as tall, but still tasty. I make this when I’m hosting vegan guests.
Protein-Packed
Add 2 tablespoons of protein powder (vanilla flavor) to the dry ingredients. You might need to add an extra tablespoon of milk to compensate for the dryness. Great for post-workout breakfasts.
Serving & Storage
I usually serve these straight from the cooling rack at the breakfast table—they look rustic and stay warm. But here are other ways I’ve enjoyed them.
How to Serve:
- With Syrup: A light drizzle of maple syrup is classic. I use real maple syrup, not the pancake syrup stuff.
- With Fruit: Serve with fresh berries or sliced bananas on the side.
- With Yogurt: Top with a dollop of Greek yogurt and honey for extra protein.
- With Coffee: They pair perfectly with my morning coffee. I also make creamy coconut lime mocktails for the kids, which go great with these.
Storage Instructions:
Refrigerator: Store in an airtight container for up to 4 days. They’ll stay soft if kept sealed.
Freezer: Store in a freezer-safe bag for up to 3 months. They freeze beautifully. Label the bag with the date so you don’t forget.
Reheating: Microwave for 15-20 seconds. Or toast them in a toaster oven for a crispy edge. I don’t recommend reheating in the microwave for more than 30 seconds—they get tough.
Meal Prep: Make a double batch on Sunday. Freeze half. Grab 3-4 for lunch throughout the week. It’s the easiest lunch hack ever.
Pro Tip:
If leftovers are drying out, wrap them in a damp paper towel before microwaving. The steam keeps them moist. I learned this trick from reheating honey garlic butter chicken, and it works for baked goods too.
Nutrition Information
I’m not a nutritionist, but here’s the breakdown if you’re tracking. This is per muffin (makes 12 muffins).
| Nutrient | Amount per Muffin |
|---|---|
| Calories | 95 |
| Protein | 2g |
| Carbs | 14g |
| Fiber | 0.5g |
| Sugar | 4g |
| Fat | 3.5g |
| Saturated Fat | 2g |
What’s Good:
– Low calorie per serving
– No added fat if you skip butter (use oil)
– Easy to control sugar
What to Know:
– Contains gluten and dairy
– Moderate sugar (can be reduced)
– Low fiber (add nuts or berries to boost)
My Take:
Look, these are a treat. They’re not a health food, but they’re better than store-bought pastries. When I want to make them lighter, I use whole wheat flour and reduce the sugar. But usually? I just eat two and enjoy them. Moderation is key.
Final Thoughts
So that’s my go-to Back-to-School Mini Baked Pancake Muffins! I’ve probably talked your ear off at this point, but when you make a recipe this often, you have a lot to say about it.
This has saved weekday mornings more times than I can count. It’s my answer to “what’s for breakfast” when I’m tired, don’t want to cook, and still want something that tastes really good. My kids are happy, my husband’s happy, and I’m happy because I’m not stressed about cooking.
Make it yours! Try different mix-ins, swap in your favorite flour, adjust the sugar. The best recipes are the ones you adapt to your family’s tastes. If you make this, drop a comment and let me know what you think! I love hearing how recipes turn out in your kitchen. And if something doesn’t work, tell me that too—I’m here to help troubleshoot.
Happy cooking! And I hope your kitchen smells half as good as mine does right now.
Frequently Asked Questions
Can I use whole wheat flour?
Yes, you can! I usually swap half the all-purpose flour for whole wheat to add fiber. If you use 100% whole wheat, the muffins will be denser. I recommend adding an extra tablespoon of milk to compensate. They’re still delicious, just heartier.
Why did my muffins turn out dense?
Usually, this means you overmixed the batter. Once you add the wet to the dry, mix until *just* combined. Lumps are okay! Also, make sure your baking powder is fresh. Old baking powder won’t make them rise.
Can I freeze these without baking?
No, I don’t recommend it. The batter doesn’t freeze well—it can separate or become watery. It’s better to bake them first, then freeze. They reheat almost as well as fresh.
How do I store them for school lunches?
Let them cool completely, then pack them in a bento box or lunchbox. They don’t need refrigeration for the day, but if it’s very hot, pack an ice pack. They’ll stay fresh for 4 days in the fridge anyway.
Can I make these in a regular muffin tin?
Yes, but increase the baking time to 15-18 minutes. They’ll be bigger, so check with a toothpick at 15 minutes. The ratio of ingredients stays the same, just the size changes.
Are these good for meal prep?
They’re perfect for meal prep. I make a double batch every Sunday, freeze half, and keep half in the fridge. They’re ready to grab and go for the whole week. Much easier than making pancakes every morning.
Can I add protein powder?
Yes, but add it sparingly. 2 tablespoons of vanilla protein powder per batch is enough. More than that can make the muffins dry or chalky. You might need to add a little extra milk to keep them moist.
Pin This Recipe!
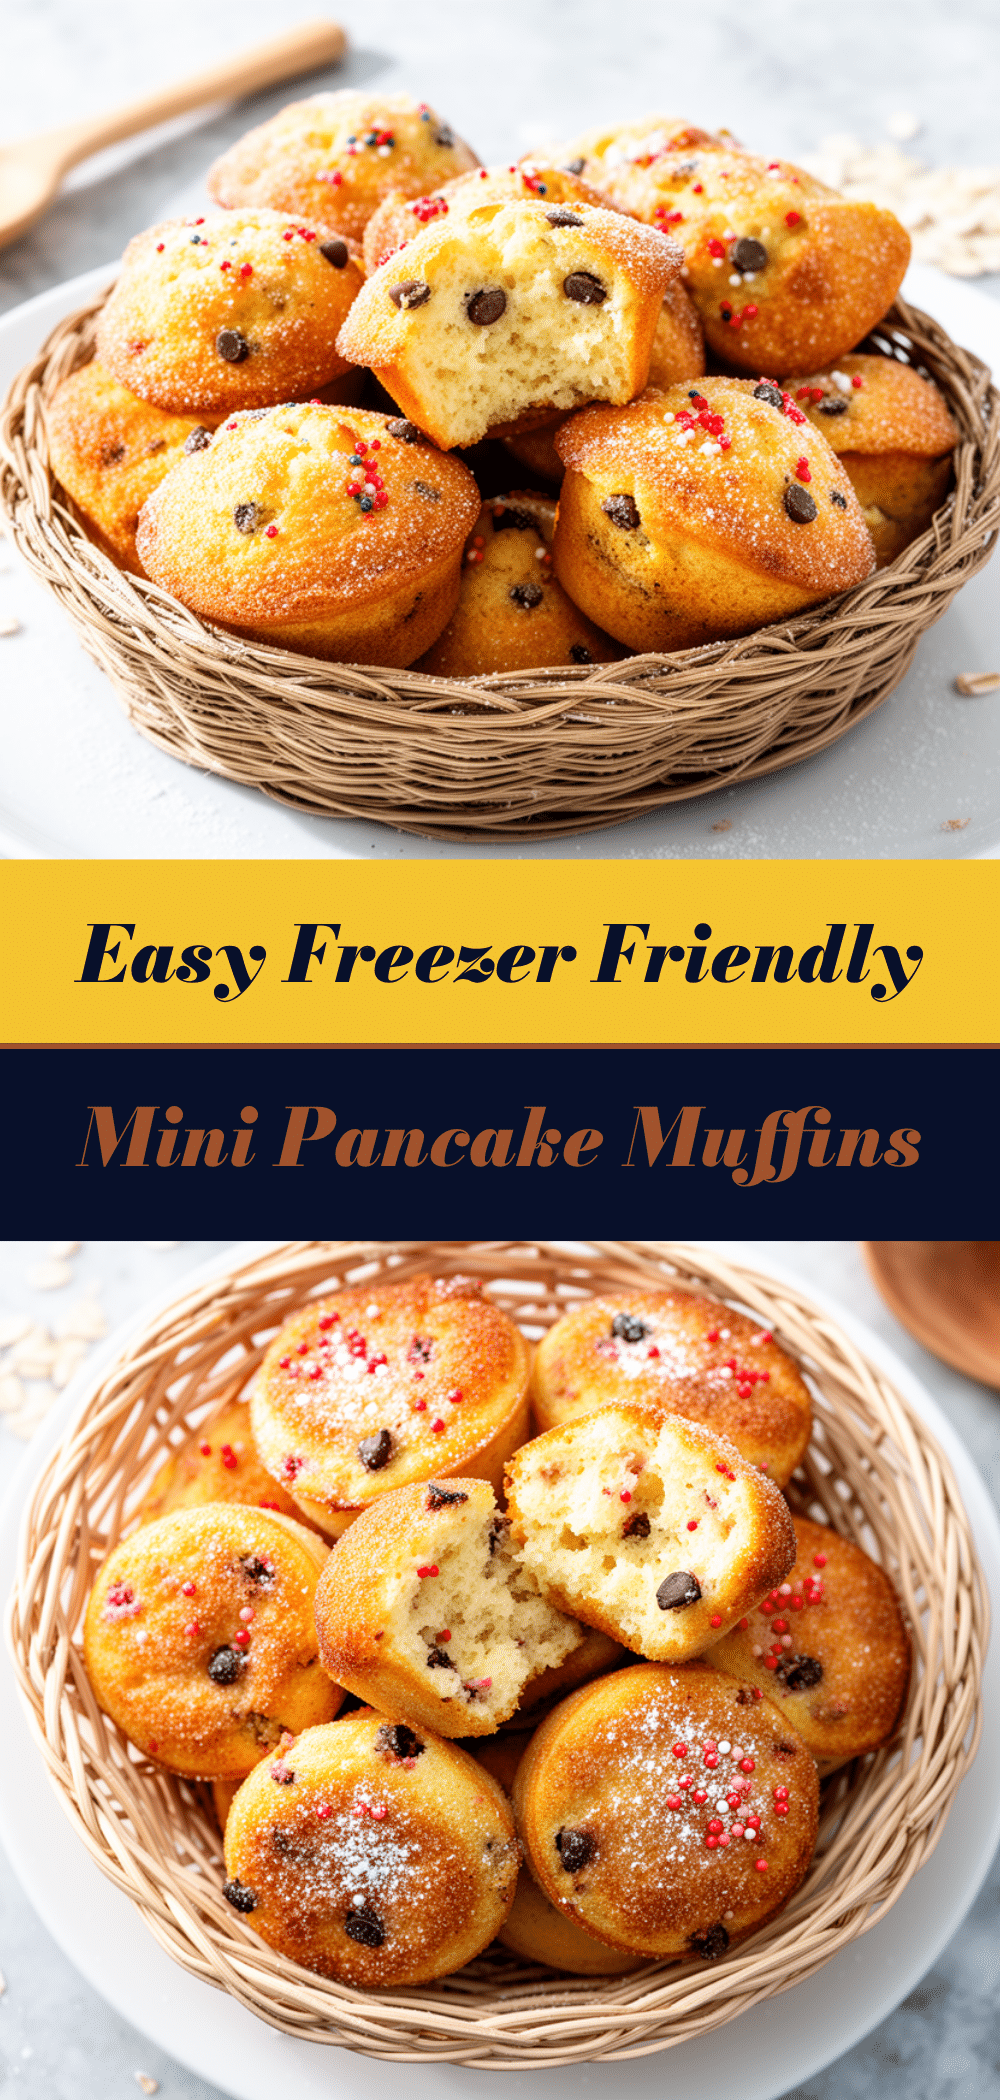

Back-to-School Mini Baked Pancake Muffins
- Total Time: 25 minutes
- Yield: 12 servings 1x
Description
Light, fluffy mini baked pancake muffins that are perfect for busy weekday mornings and school lunches. They are easy to make, freezer-friendly, and kid-approved.
Ingredients
- 1 ½ cups all-purpose flour
- 3 tablespoons granulated sugar
- 2 teaspoons baking powder
- ½ teaspoon salt
- 2 large eggs
- 1 cup milk
- 3 tablespoons melted butter
- 1 teaspoon vanilla extract
- Butter or cooking spray for greasing
Instructions
- Preheat oven to 375°F (190°C) and grease a mini muffin tin generously with butter or cooking spray.
- In a medium mixing bowl, whisk together the flour, sugar, baking powder, and salt.
- In a separate bowl, whisk the eggs until beaten, then add the milk, melted butter, and vanilla extract. Whisk until smooth.
- Pour the wet mixture into the dry ingredients and gently fold together with a spatula until just combined. Do not overmix; lumps are okay.
- Fold in optional mix-ins like blueberries, chocolate chips, or nuts if desired.
- Fill each mini muffin cup about ¾ full using an ice cream scoop or spoon.
- Bake for 10-12 minutes until tops are golden brown and a toothpick inserted comes out clean.
- Let cool in the pan for 5 minutes before transferring to a wire rack or plate.
Notes
Do not overmix the batter to ensure tender muffins. For freezing, lay muffins flat on a baking sheet for 1 hour before transferring to bags to prevent sticking. Reheat in microwave for 15-20 seconds only to avoid rubbery texture.
- Prep Time: 10 minutes
- Cook Time: 12 minutes
- Category: Breakfast
- Cuisine: American
Nutrition
- Serving Size: 1 mini muffin
- Calories: 95
- Sugar: 4
- Fat: 3.5
- Saturated Fat: 2
- Carbohydrates: 14
- Fiber: 0.5
- Protein: 2
Keywords: pancake muffins, school lunch, breakfast, meal prep, easy breakfast, kid-friendly, freezer friendly, mini muffins