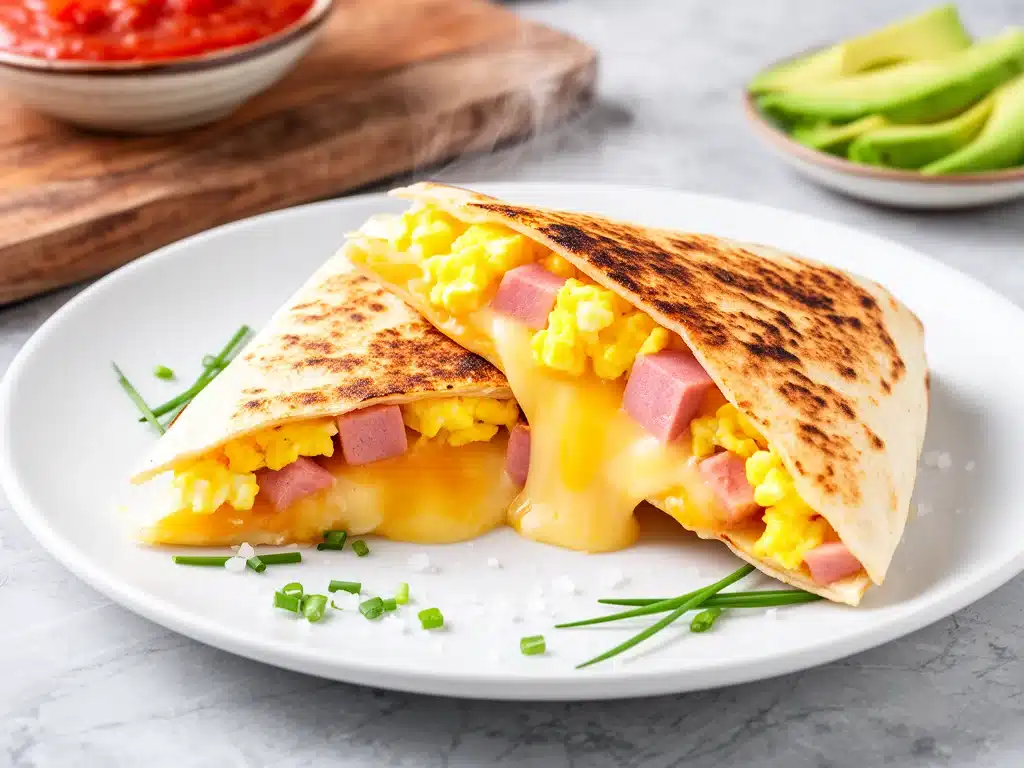
It’s 6:45 AM. The house is quiet, but only because everyone is still asleep. You’re standing in the kitchen, coffee in one hand and a half-zipped backpack in the other, trying to figure out how to feed three humans before the 7:30 bus arrives. You don’t have time for fancy plating. You don’t have time to argue over whether they want oatmeal or cereal. You need something hot, something that travels well in a lunchbox or gets eaten standing up at the counter, and something that tastes like comfort rather than a chore.
This is exactly where I was three years ago, right before we switched to cheesy ham and egg breakfast quesadillas. Before that, our mornings were a disaster zone of burnt toast and missed shoes. I was making complicated pancakes that required whisking, sifting, and waiting for the batter to rest. By the time the first pancake was ready, the bus was already late. By the time the third one was done, my kids were grumpy and I was running on fumes.
I needed a shortcut that didn’t feel like a compromise. I needed something that felt indulgent but came together faster than I could tie my hair back. That’s when I realized: why are we treating breakfast like a separate event? Why can’t it be as easy as a lunchtime favorite? I grabbed some tortillas, some leftover ham from dinner, and a handful of cheese. Ten minutes later, we had hot, melty, protein-packed squares that disappeared in seconds. No fuss. No mess. Just happy, fed kids running out the door.
Now, this recipe is the backbone of our week. I’ve made it at least 50 times since that chaotic October morning. It’s not just about speed, though that’s a huge part of it. It’s about the fact that these cheesy ham and egg breakfast quesadillas actually taste good cold, too. Which means if your kid is still asleep when the bus comes, you can wrap one up for them to eat in the car. It’s the ultimate peace treaty between “we need to leave now” and “we need to eat.”
Why You’ll Love This Breakfast Hack
There are about ten reasons I keep coming back to this recipe, but let’s be real—you’re probably here because you’re tired. You’re tired of deciding what to cook every single morning. You’re tired of dishes piling up in the sink. You’re tired of your kids saying “I’m not hungry” right before they realize they need energy. Here’s why these quesadillas have taken over our kitchen:
Stupid Simple Assembly — Seriously, if you can spread cheese on a tortilla, you can make this. I’ve made these while holding my toddler with one arm and stirring with the other. There’s no complicated technique. You scramble the eggs, you layer the ingredients, you fold it up. That’s it. It’s foolproof because there’s barely anything that can go wrong.
Lightning Fast — From the moment you crack the eggs to the moment you’re eating, it takes 10 to 12 minutes. That’s less time than it takes to scroll through social media while waiting for the coffee machine to finish. I make these on the hardest mornings, when I feel like I’ve already lost the battle before breakfast even starts.
Leftover Friendly — This is the secret weapon. Unlike pancakes or waffles, which get soggy or stale quickly, quesadillas hold up surprisingly well. I often make a double batch on Sunday night or just before the school week starts. They reheat beautifully in the toaster oven or even in the microwave (though the toaster oven gives them that crucial crunch). My kids will happily eat these cold for lunch the next day, too.
Picky-Eater Approved — I have a son who only eats white bread and a daughter who refuses to eat anything green before noon. Somehow, these quesadillas work for both. The cheese binds everything together, the ham adds a savory punch they love, and the eggs provide the protein without tasting like “breakfast food” to the sensitive palates. It’s a flavor profile that just works for everyone.
Budget-Smart — Ham and eggs are cheap, especially if you buy the ham in bulk or use leftovers. Tortillas are incredibly affordable. You’re feeding a family of four for probably under $5, depending on where you shop. That’s less than the cost of a box of sugary cereal and a carton of juice, and infinitely more nutritious.
This is my go-to when I need dinner to just work. No complicated techniques, no weird ingredients, just reliable, delicious food that makes everyone happy. It’s the breakfast equivalent of creamy crockpot sausage and peppers—comforting, easy, and always a hit.
Ingredients You’ll Need
Here’s the best part: you probably have most of this already. This isn’t a recipe that requires a special trip to the store. It’s built on pantry staples and fridge leftovers. I’m particular about two things here—the quality of the ham and the type of cheese—but honestly, you can swap almost anything out.
For the Tortillas
Flour tortillas (8 inches / 20cm) — I use medium-sized flour tortillas, not the tiny ones or the huge burrito-sized ones. Medium is the sweet spot for kids’ hands and fits in lunchboxes. I prefer brands like Mission or La Tortilla Factory because they’re pliable and don’t tear when you fold them. Whole wheat works too, but my kids can tell the difference and prefer the white ones. Buy the pre-shredded or pre-packaged ones to save time.
For the Filling
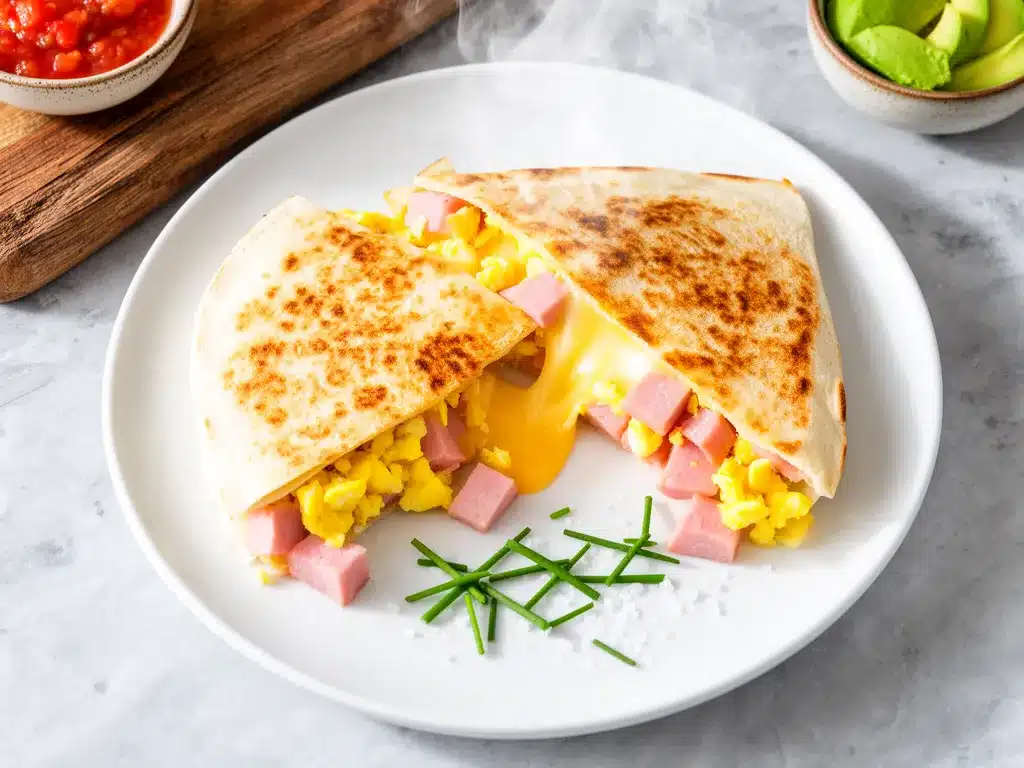
Eggs (4 large) — This is your base. I use four eggs for four quesadillas, which means one egg per quesadilla. It keeps it light. If you have big eaters, go for two eggs per quesadilla. I buy my eggs from the local farmer’s market when I can, but standard grocery store eggs work perfectly fine. Room temperature eggs cook slightly more evenly, but I never wait for them to warm up in the morning.
Ham (1 cup / 150g, diced) — This is where you can get creative. I use diced ham, usually from a leftover spiral ham or a pack of cubed ham steaks. You can use bacon too, but ham has a softer texture that blends better with the eggs. Avoid the very salty deli ham if you can find a lower-sodium option, or just rinse it quickly. I love using the leftover ham from Christmas or Easter, but honestly, a small pack from the deli counter is totally fine for a weekday morning.
Shredded cheese (1.5 cups / 150g) — I use a Mexican blend or cheddar. Mexican blend melts better because it has more moisture and fat, which helps bind the quesadilla. Cheddar has a sharper flavor that some kids prefer. I actually mix them—half cheddar for flavor, half Mexican blend for meltiness. Don’t use pre-shredded cheese if you can help it; it has anti-caking agents that make it harder to melt smoothly. But in the morning rush? Pre-shredded is a lifesaver. I won’t judge you.
For the Extras (Optional)
Bell peppers (½ cup, diced) — I dice these super small so they cook quickly. Red or yellow peppers are sweeter and kids like them more. Sauté them with the ham for a minute to soften them. If you’re in a hurry, skip this. The quesadilla is still great without them.
Onions (¼ cup, finely diced) — Same as peppers. Finely diced so they don’t poke out of the tortilla. Yellow or white onions work. If your kids hate onions, leave them out. I sometimes add a tiny bit of garlic powder for depth.
Salt and pepper — Just a pinch. The ham and cheese are already salty, so go easy on the salt. Freshly cracked black pepper adds a nice kick.
Butter or oil (1 tablespoon) — For cooking the quesadillas. Butter gives it that nutty, toasted flavor. Oil prevents burning. I use a mix of both, or just butter if I’m feeling fancy. Olive oil works too, but it changes the flavor profile slightly.
Equipment Needed
You don’t need fancy equipment for this. Here’s what I actually use:
Medium skillet — I use a 10-inch non-stick skillet. It’s the perfect size for 8-inch tortillas. If you have a larger family, you might need a bigger pan to cook two at a time. Cast iron works too, but it takes longer to heat up. For mornings, non-stick is your friend.
Small bowl and fork — For whisking the eggs. I use a small bowl so the eggs don’t splash when I whisk. A fork is faster than a whisk for two eggs.
Spatula — A wide, thin spatula is essential for flipping and removing the quesadillas without breaking them. I have a specific “quesadilla spatula” that’s wide and flexible. It makes a huge difference.
Cutting board and knife — For dicing the ham and veggies. Keep this close to the stove for easy prep.
Plate or baking sheet — To hold the finished quesadillas. I usually put them on a baking sheet in the oven at low heat (200°F / 95°C) if I’m making multiple batches, so they stay warm.
How to Make It: Step-by-Step
Alright, let’s make this! I’m walking you through exactly how I do it, including the little tricks I’ve picked up over hundreds of mornings.
Step 1: Prep Your Fillings (2 minutes)
Before you turn on the stove, get your ham diced and your cheese shredded. I know, I know, you’re rushing. But having everything ready means you won’t burn the tortilla while you’re hunting for the cheese. If you’re using peppers or onions, dice them small now. I usually keep a container of diced ham in the fridge, so this step is just grabbing the container.
Step 2: Whisk the Eggs (1 minute)
Crack your eggs into a bowl. Add a pinch of salt and pepper. Whisk them well until they’re uniform in color. I like to whisk them until they’re slightly fromy—it makes the eggs fluffier. Pour them into a small measuring cup or bowl with a spout. This makes it easier to pour them into the tortilla without spilling.
Step 3: Heat the Pan (1 minute)
Place your skillet over medium heat. Add your butter or oil. Let it heat up until the butter is foamy or the oil shimmers. You don’t want it smoking hot, or the tortilla will burn before the eggs cook. Medium is the sweet spot. If your pan is too hot, lower the heat. If it’s too cool, the quesadilla will stick.
Step 4: Assemble the Quesadilla (1 minute)
Place a tortilla in the pan. Immediately pour half the egg mixture over the center of the tortilla. Don’t spread it to the edges; leave a half-inch border so it doesn’t leak out. Sprinkle half the ham and half the cheese over the eggs. Then, fold the tortilla in half. Press down gently with your spatula to help it stick.
Pro Tip: Some people cook the eggs separately, but I cook them right in the tortilla. It saves a step and keeps everything contained. If you’re worried about the eggs not cooking through, you can cover the pan with a lid for 30 seconds to steam the top.
Step 5: Cook Until Golden (3-4 minutes)
Cook the quesadilla for 2-3 minutes on the first side. You’ll see the edges start to turn golden and the cheese begin to melt. Check a corner to make sure it’s not burning. Once the bottom is golden brown, flip it carefully. Cook for another 2-3 minutes on the other side. The goal is a crispy, golden exterior and fully melted cheese.
Step 6: Repeat and Serve (5 minutes)
Remove the first quesadilla to a plate or baking sheet. Wipe the pan quickly with a paper towel if there’s too much residue (usually not needed if you used butter). Repeat with the remaining tortillas. Serve immediately with salsa, sour cream, or hot sauce. I usually cut them into triangles for easier handling.
Troubleshooting: If the tortilla is breaking, your heat is too high. If the eggs are runny, cover the pan for a minute. If the cheese isn’t melting, press down harder with the spatula to ensure contact.
Expert Tips & Tricks
Here’s everything I’ve learned from making these dozens of times. These tips will save you from my mistakes.
Don’t Overfill — This is the #1 mistake. If you put too much filling, it will spill out when you flip it. Less is more. A thin layer of eggs, ham, and cheese is better than a mountain that falls apart. I learned this the hard way with a messy stove and a sad, broken quesadilla.
Use Low Heat — Tortillas burn fast. Eggs cook slow. If you use high heat, you’ll have a burnt tortilla and raw eggs. Medium-low is your friend. It takes an extra minute, but it’s worth it for the perfect texture.
Press Down — After folding, press down gently with your spatula. This helps the cheese melt faster and helps the tortilla seal. It’s a small step that makes a big difference in structure.
Keep Them Warm — If you’re making multiple quesadillas, put them in a 200°F oven on a baking sheet. They’ll stay warm and crispy until you’re ready to eat. Don’t stack them on a plate, or they’ll get soggy from steam.
Add Crunch — For a little extra texture, add a sprinkle of crushed tortilla chips or a few slices of avocado on top after cooking. It’s a nice surprise.
Variations & Substitutions
Once you’ve nailed the basic version, here’s how you can mix it up. I’ve tried all of these.
Veggie-Packed — Add sautéed spinach, mushrooms, or zucchini. I usually sauté the veggies first to remove moisture, then add them to the quesadilla. It’s a great way to sneak in vegetables.
Bacon Breakfast — Swap ham for crumbled bacon. Bacon adds a smoky, salty flavor that pairs perfectly with eggs. Cook the bacon first, then drain the grease. It’s a bit more work but so worth it.
Spicy Kick — Add diced jalapeños or a dash of cayenne pepper to the eggs. Or top with hot sauce. For my kids, I keep the hot sauce on the side so they can choose.
Gluten-Free — Use gluten-free tortillas. They’ve gotten much better in recent years. I’ve used Mission’s gluten-free line and it works well. Just be careful—they tear more easily, so handle with care.
Dairy-Free — Skip the cheese or use a dairy-free alternative. The eggs and ham provide enough flavor that it’s still good. I use a cashew-based cheese spread sometimes, which melts surprisingly well.
Breakfast Burrito Style — Use larger tortillas and roll them up instead of folding. It’s easier to eat if you’re on the go. Just make sure to seal the edges tightly.
Serving & Storage
How to Serve: I usually serve these straight from the pan. They’re hot and crispy and perfect for immediate eating. But here are other ways I’ve enjoyed them:
- Sides: Fresh fruit salad, yogurt (like these best Greek yogurt blueberry muffins if you’re baking ahead), or a small side of hash browns.
- Toppings: Salsa, sour cream, guacamole, hot sauce, or fresh cilantro. I let my kids pick their own toppings.
Storage Instructions:
Refrigerator: Store leftovers in an airtight container for up to 3 days. They’ll firm up in the fridge, which is normal.
Reheating: Best method: Toaster oven or air fryer at 350°F for 3-4 minutes. This restores the crispiness. Microwave method: Heat for 30-60 seconds, but they’ll be soft. I avoid the microwave if I can help it, but it works in a pinch.
Freezing: Yes, you can freeze them! Let them cool completely, wrap them in plastic wrap, then put them in a freezer bag. They’ll last for 2 months. Reheat from frozen in the toaster oven at 350°F for 10-12 minutes. They’re still good, though not quite as crispy as fresh.
Nutrition Information
I’m not a nutritionist, but here’s the breakdown if you’re tracking. This is per quesadilla (makes 4).
Calories: 320 | Protein: 18g | Carbs: 22g | Fat: 16g | Fiber: 1g | Sugar: 2g | Sodium: 650mg
What’s Good: High protein from eggs and ham. Quick energy from carbs. Calcium from cheese.
What to Know: Higher sodium due to ham and cheese. Use low-sodium ham to reduce. Contains gluten and dairy.
My Take: Look, this is comfort food. It’s not a diet recipe. But it’s way better than sugary cereals or pastries. It keeps you full and focused. When I want to make it lighter, I use turkey ham and less cheese. But usually? I just enjoy it.
Final Thoughts
So that’s my go-to cheesy ham and egg breakfast quesadillas! I’ve probably talked your ear off at this point, but when you make a recipe this often, you have a lot to say about it.
This has saved our mornings more times than I can count. It’s my answer to “what’s for breakfast” when I’m tired, don’t want to cook, and still want something that tastes really good. My kids are happy, I’m happy, and I’m happy because I’m not stressed about cooking.
Make it yours! Try different cheeses, add different veggies, swap the ham for bacon. The best recipes are the ones you adapt to your family’s tastes. If you make this, drop a comment and let me know what you think! I love hearing how recipes turn out in your kitchen. And if something doesn’t work, tell me that too—I’m here to help troubleshoot.
Happy cooking! And I hope your kitchen smells half as good as mine does right now.
Frequently Asked Questions
Can I use corn tortillas instead of flour?
You can, but corn tortillas are more fragile and can break when you flip them. They also don’t get as crispy or chewy. If you prefer corn, use two small tortillas per quesadilla and fold them together. It’s a bit trickier, but it works if you’re gluten-free.
Why did my eggs stay runny?
Usually means the heat was too low or you didn’t cook it long enough. Eggs need a little time to set. If you’re worried, cover the pan with a lid for the last minute of cooking to steam the top. Or, scramble the eggs separately and add them to the tortilla before folding.
Can I make these ahead for meal prep?
Yes! I make a batch on Sunday night and store them in the fridge. Reheat them in the toaster oven or air fryer before school. They’re still good cold, too, so if your kid is still sleeping, you can wrap one up for them.
What’s the best cheese to use?
I love a mix of cheddar and Mexican blend. Cheddar has flavor, Mexican blend melts well. If you only have one type, go with mozzarella for meltiness or cheddar for flavor. Avoid pre-shredded if you can, as it doesn’t melt as smoothly.
Can I add vegetables?
Absolutely! Bell peppers, onions, spinach, mushrooms, and zucchini all work great. Just make sure to cook them first to remove moisture, otherwise they’ll make the quesadilla soggy.
How do I reheat leftovers?
Toaster oven or air fryer is best for crispiness. Microwave works but makes them soft. If you microwave, do it in short bursts (30 seconds) to avoid toughening the tortilla.
Can I freeze these?
Yes! Let them cool, wrap tightly in plastic wrap, then put in a freezer bag. They’ll last 2 months. Reheat from frozen in the toaster oven.
Pin This Recipe!
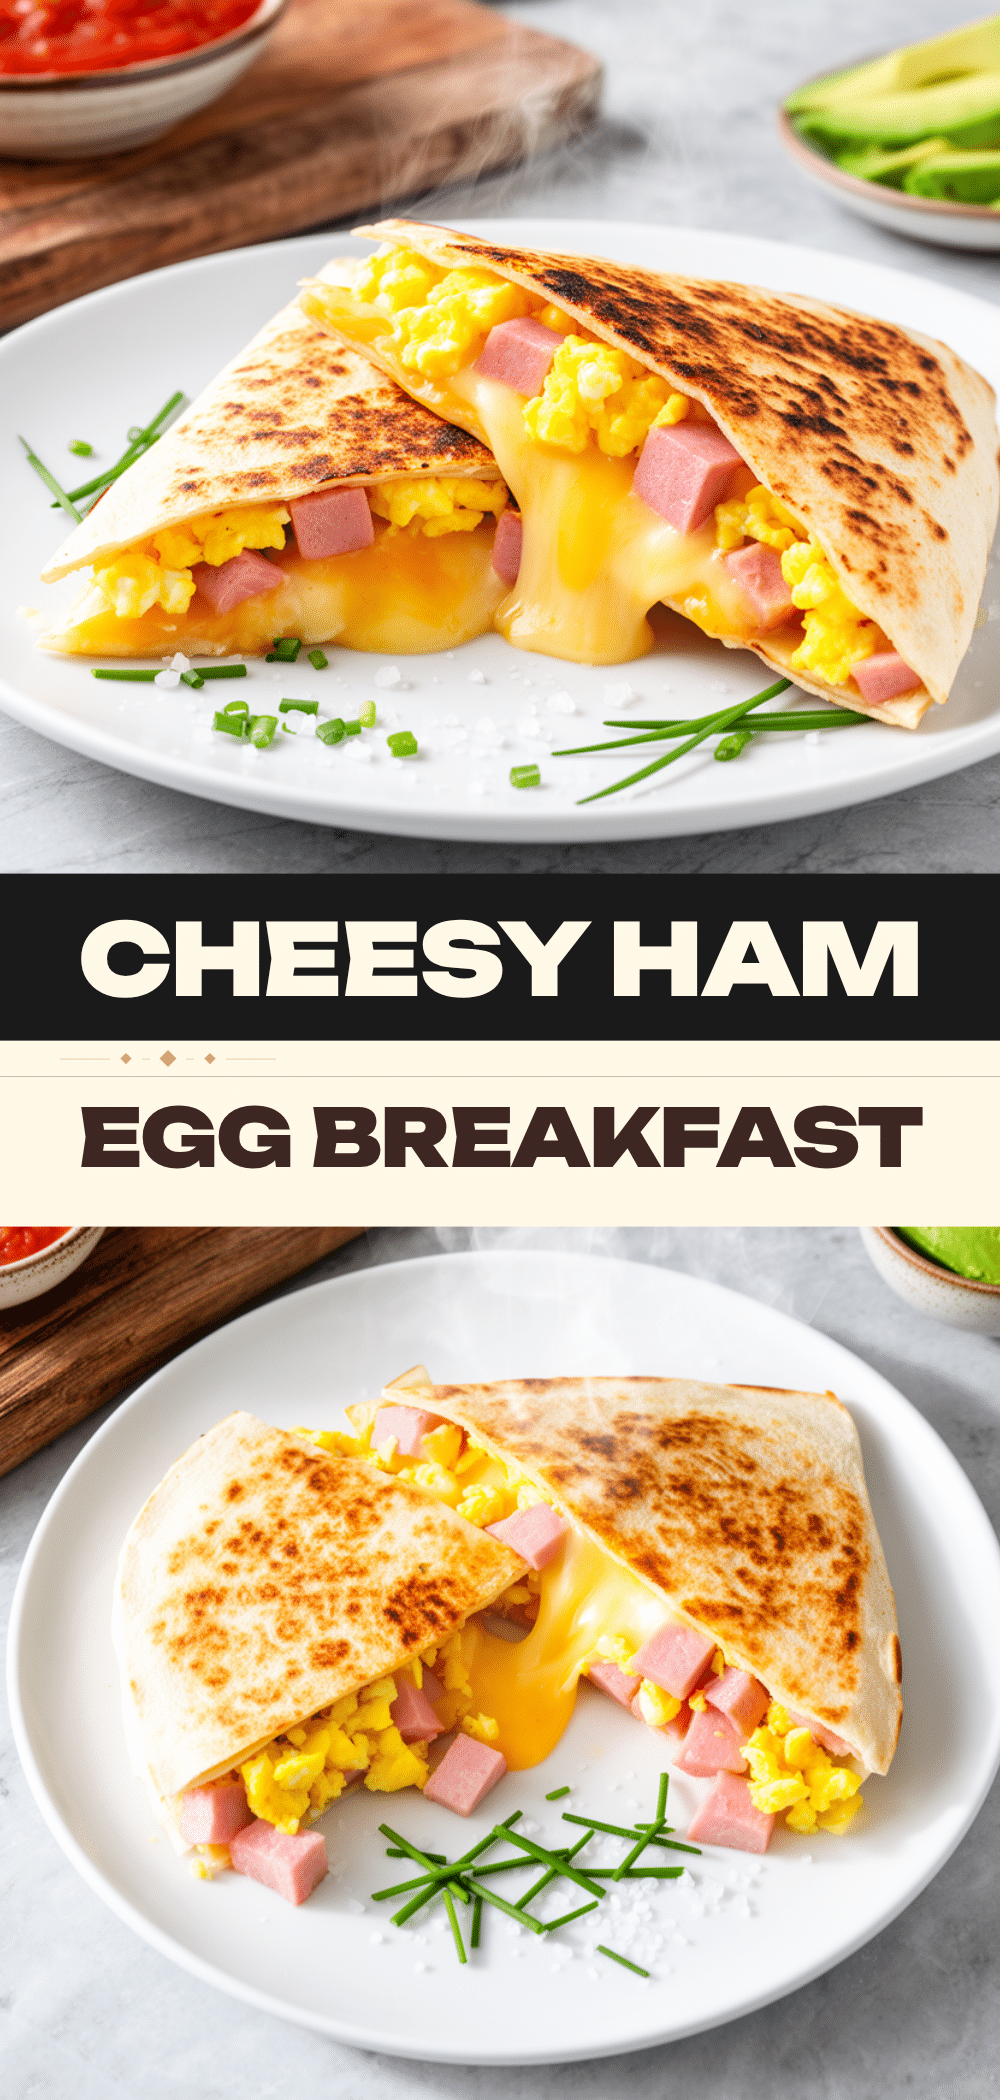

Cheesy Ham and Egg Breakfast Quesadillas for School Mornings
- Total Time: 10-12 minutes
- Yield: 4 servings 1x
Description
A quick, 10-minute breakfast hack featuring scrambled eggs, diced ham, and melted cheese folded into flour tortillas. Perfect for busy school mornings, these quesadillas are easy to assemble, travel well, and taste great hot or cold.
Ingredients
- 4 large eggs
- 1 cup diced ham (approx. 150g)
- 1.5 cups shredded cheese (Mexican blend or cheddar)
- 4 flour tortillas (8 inches / 20cm)
- 1 tablespoon butter or oil
- Salt and pepper to taste
- Optional: ½ cup diced bell peppers, ¼ cup finely diced onions
Instructions
- Dice the ham and shred the cheese. If using vegetables, dice them small.
- Crack eggs into a bowl, add a pinch of salt and pepper, and whisk until uniform.
- Heat a medium non-stick skillet over medium heat and add butter or oil.
- Place a tortilla in the pan and immediately pour half the egg mixture over the center, leaving a half-inch border.
- Sprinkle half the ham and half the cheese over the eggs, then fold the tortilla in half.
- Press down gently with a spatula and cook for 2-3 minutes until the bottom is golden brown.
- Flip carefully and cook for another 2-3 minutes until the cheese is melted and the exterior is crispy.
- Remove to a plate or baking sheet and repeat with remaining tortillas.
- Cut into triangles and serve immediately with salsa, sour cream, or hot sauce.
Notes
Do not overfill the quesadillas to prevent spillage. Use medium-low heat to ensure eggs cook through without burning the tortilla. Press down gently with a spatula to help the cheese melt and seal the tortilla. For multiple batches, keep finished quesadillas warm in a 200°F oven on a baking sheet. Leftovers can be stored in the fridge for 3 days or frozen for 2 months.
- Prep Time: 2 minutes
- Cook Time: 8-10 minutes
- Category: Breakfast
- Cuisine: Mexican-American
Nutrition
- Serving Size: 1 quesadilla
- Calories: 320
- Sugar: 2
- Sodium: 650
- Fat: 16
- Carbohydrates: 22
- Fiber: 1
- Protein: 18
Keywords: breakfast quesadillas, school morning breakfast, quick breakfast, ham and egg recipe, kid-friendly breakfast, meal prep breakfast



