It’s 6:45 AM. The house is still dark, but the chaos is already starting. I’m standing in my pajamas, holding a spoonful of cold leftover chicken, staring at a stack of store-bought pie crusts that I bought three weeks ago and have completely forgotten about. My kids are dragging their feet at the table, begging for cereal, and I’m mentally calculating if I can survive on coffee and panic until 3:00 PM.
This is the moment where most parents throw in the towel. We grab the granola bars. We accept the cheese stick. We resign ourselves to the fact that school lunches this year will be a series of sad, pre-packaged compromises. But not this year. Not after I discovered these Back-to-School Chicken and Cheese Empanada Pockets.
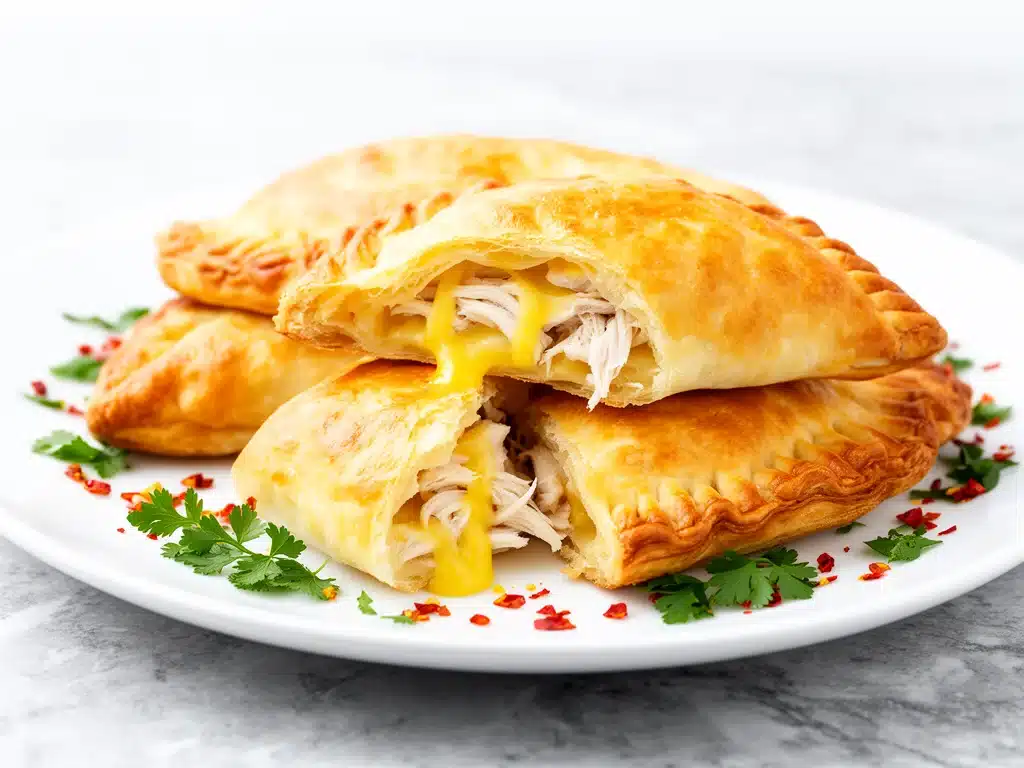
I didn’t invent this recipe. I stumbled into it while trying to use up a rotisserie chicken before it went bad and a block of cheese that was slowly weeping in the fridge. I threw them in the oven, expecting a mediocre snack. What I got was magic. Crispy, golden, flaky pastry bursting with savory chicken and gooey cheese, completely handheld, and—here’s the best part—cold or room temperature, they still taste incredible.
My daughter, who usually picks at her lunchbox, came home last week and said, “Mom, can we make those chicken pockets again? The ones that taste like a secret.” That’s when I knew. This wasn’t just a quick fix. This was a game-changer. I’ve made these pockets at least ten times in the last month, tweaking the seasoning, changing the cheese, and testing different pastry options. They are reliable. They are delicious. And they are going to save your sanity during the school year.
If you’re tired of the same old turkey and cheese wraps, or if you’re looking for something that feels like a treat but actually has some protein in it, you need to stop scrolling and start rolling dough. These empanada pockets are the answer to the daily lunchbox puzzle.
Why You’ll Love This Recipe
I’m not exaggerating when I say these pockets have completely changed our morning routine. Before this, packing lunch meant assembling dry sandwiches or hoping my kids would eat the fruit cup. Now, it’s a race to see who can get their pocket in the bag first. Here’s why this recipe has earned a permanent spot in our rotation.
Stupid Simple Assembly
Seriously, if you can spread peanut butter on bread, you can make these. You don’t need to be a pastry chef. You don’t need to know how to pleat a ruffle. You just scoop, fold, and crimp. I’ve had my seven-year-old help me make these on weekends. It’s basically playtime that results in food. No stress, no complicated techniques, just good food.
Perfectly Portable
Let’s be real: school lunchboxes are tiny. They’re also messy. These pockets are self-contained. No loose lettuce falling out, no sauce dripping onto the napkins. They fit perfectly in a standard lunchbox or a small snack bag. My son even eats them in the car on the way to soccer practice without making a mess. That’s huge.
They Taste Great Cold
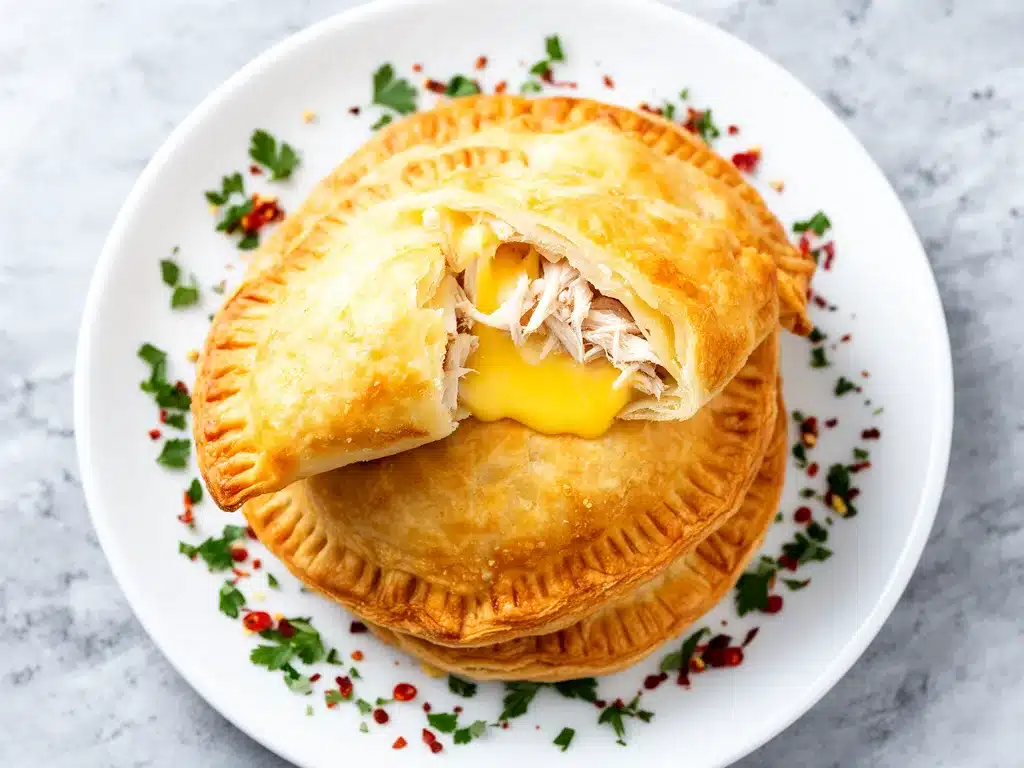
This is the big one. Most warm, comforting foods turn into sad, soggy disasters by noon. Not these. The flaky pastry stays crisp (or at least pleasantly firm), and the chicken-cheese filling stays moist and flavorful. I’ve tested them in lunchboxes at room temperature in July, and they still taste amazing. No microwave required.
Leftover Savior
Do you have leftover rotisserie chicken? Or maybe some grilled chicken from last night’s dinner? This is the perfect way to use it up. I make a big batch of honey garlic butter chicken on Sundays, and by Tuesday, I’m making these pockets. It’s like recycling dinner into a brand-new lunch experience.
Customizable for Picky Eaters
My daughter loves cheese but hates anything “green.” My son loves spice but hates bland food. With these pockets, I can make one batch with mild cheddar and another with pepper jack and jalapeños. Everyone gets what they want, and I only have to do one round of prep. It’s a win-win.
This recipe is my go-to when I need lunch to just work. No weird ingredients, no complicated steps, just reliable, delicious food that makes everyone happy. And honestly? It makes me feel like a good mom, even when I’m running on three hours of sleep.
Ingredients You’ll Need
Here’s the best part: you probably have most of this already. I’m particular about a few things, but for the most part, this is a pantry-friendly recipe. Let’s break down what you need and why it matters.
For the Filling:
Shredded Chicken (2 cups / 280g) — I use rotisserie chicken for speed, but poached or grilled chicken works too. Shred it finely so it packs easily into the pockets. Don’t use large chunks; you want it to distribute evenly.
Cream Cheese (4 oz / 115g) — This is the secret ingredient. It binds the chicken together and keeps it moist. It also adds a nice tang that cuts through the richness of the cheese. Room temperature is easier to mix.
Shredded Cheese (1 ½ cups / 150g) — I use a mix of sharp cheddar and Monterey Jack. Cheddar for flavor, Jack for meltiness. You can use mozzarella if you want it mild, but I think sharp cheddar gives it more depth.
Black Beans (½ cup / 75g, rinsed and drained) — This adds texture and makes the filling more filling. It’s a great way to sneak in some fiber. If your kids hate beans, you can skip them, but I recommend starting with a little bit.
Cumin (1 teaspoon) — This gives it that classic empanada flavor. Don’t skip it. It’s subtle but essential.
Chili Powder (½ teaspoon) — Adds a little warmth. If you want it spicy, add red pepper flakes. If you want it mild, use sweet paprika.
Salt and Pepper (to taste) — Always taste your filling before you assemble. It should be well-seasoned because the dough doesn’t add much flavor.
For the Pastry:
Pie Crusts (2 packages / 2 boxes) — I use refrigerated pie crusts. Yes, I know, some people swear by homemade, but for back-to-school lunches, I’m all about convenience. Two standard boxes give you about 8-10 pockets, depending on how big you cut them. Thaw them according to the package instructions.
Beaten Egg (1 large) — For the egg wash. This gives the pockets that golden, shiny finish. You can use milk or water if you want a vegan option, but the egg wash makes a visual difference.
Flour (for dusting) — Just a little bit to keep the dough from sticking to your counter. Don’t overdo it, or your pockets will be dry.
Equipment Needed
You don’t need fancy equipment for this. Here’s what I actually use.
Large Mixing Bowl — For combining the chicken and cheese filling. Any bowl works.
Fork — For fluting the edges of the pockets. A fork gives that classic crimped look and helps seal them tight.
Rolling Pin — Optional. I usually just press the dough with my hands, but a rolling pin helps if you want them thinner.
Baking Sheet — Line it with parchment paper. This makes cleanup so much easier. Grease it lightly if your parchment isn’t non-stick.
Pastry Brush — For the egg wash. A silicone brush works great. Or just use your finger if you’re being lazy.
Cooling Rack — For cooling the pockets after baking. This prevents the bottoms from getting soggy.
How to Make It: Step-by-Step
Alright, let’s make this! I’m walking you through exactly how I do it, including the little tricks I’ve picked up.
Step 1: Prep the Filling (5 minutes)
In a large bowl, combine the shredded chicken, cream cheese, shredded cheese, black beans, cumin, chili powder, salt, and pepper. Mix well until everything is evenly distributed. The cream cheese should be mostly incorporated, but you don’t need it to be perfectly smooth. Taste and adjust seasoning if needed. Set aside.
Step 2: Prepare the Dough (5 minutes)
Preheat your oven to 375°F (190°C). Line a baking sheet with parchment paper. Unroll the pie crusts onto a lightly floured surface. If they’re stiff, let them sit out for 5-10 minutes to soften slightly. You don’t need to roll them out thin; just press them flat enough to work with.
Step 3: Cut the Circles (5 minutes)
Using a round cutter (about 4 inches in diameter), cut circles from the dough. If you don’t have a cutter, use a drinking glass or a bowl. Save the scraps for later (see tips below). You should get about 8-10 circles from two boxes of dough.
Step 4: Fill and Fold (10 minutes)
Place a circle of dough on your work surface. Add about 2-3 tablespoons of filling to the center. Don’t overfill! This is the most common mistake. Leave a ½-inch border around the edges. Brush the edges with water or egg wash. Fold the dough over the filling to create a half-moon shape. Press the edges together firmly to seal.
Step 5: Crimp and Vent (5 minutes)
Use a fork to press down on the edges, creating a crimped pattern. This helps seal the pocket so the filling doesn’t leak out. Poke 2-3 small holes in the top of each pocket with a knife or fork. This lets steam escape and prevents the pockets from bursting.
Step 6: Bake (15-18 minutes)
Place the pockets on the prepared baking sheet, leaving a little space between them. Brush the tops with the remaining egg wash for a golden finish. Bake for 15-18 minutes, or until the pastry is golden brown and puffy. Rotate the pan halfway through for even browning.
Step 7: Cool and Serve
Let the pockets cool on a wire rack for at least 10 minutes before packing them. They will be very hot inside! Letting them cool slightly helps the filling set and makes them easier to handle.
Expert Tips & Tricks
Here’s everything I’ve learned from making this dozens of times. These tips will save you from my mistakes.
Don’t Overfill
I know it’s tempting to pack them full, but if you overfill, the dough will tear, and the filling will leak out. Stick to 2-3 tablespoons per pocket. It’s better to have a slightly smaller pocket than a messy one.
Seal It Tight
Make sure you press the edges firmly. If you’re worried about leaks, brush the edges with egg wash before folding. The egg acts like glue. I’ve had pockets burst in the oven before because I didn’t press hard enough. Don’t be me.
Use the Scraps
Don’t throw away the leftover dough! Roll it out, cut it into strips, and bake them as “chicken sticks” or use them to top a soup. Or just eat them plain with some honey. Waste not, want not.
Freeze for Later
These freeze beautifully. After baking and cooling, store them in an airtight container in the freezer for up to 3 months. Reheat in the oven or toaster oven for a few minutes. They’re perfect for busy mornings when you don’t have time to bake fresh.
Ventilation is Key
Those little holes you poke? They’re not just for looks. Steam needs to escape, or your pockets will puff up like balloons and possibly burst. Make sure you poke enough holes.
Season Well
The dough is bland, so the filling needs to be flavorful. Taste your chicken mixture before you assemble. It should taste slightly too salty, because the dough will dilute it a bit.
Variations & Substitutions
Once you’ve nailed the basic version, here’s how you can mix it up. I’ve tried all of these.
Spicy Jalapeño
Add diced jalapeños and a can of diced green chiles to the filling. Use pepper jack cheese instead of Monterey Jack. This is my favorite version for my son, who loves heat.
Tex-Mex Style
Add corn kernels and a little bit of taco seasoning to the chicken. Use a mix of cheddar and queso fresco. It’s like a taco in pocket form.
Veggie-Packed
Sauté some diced bell peppers and onions before mixing them with the chicken. This adds sweetness and texture. My daughter loves this version because she feels like she’s eating vegetables.
Breakfast Empanadas
Swap the chicken for scrambled eggs and breakfast sausage. Use cheddar cheese and a little bit of maple syrup in the filling. These are amazing for breakfast on the go. I often pair these with a side of Greek yogurt blueberry muffins for a complete breakfast.
Gluten-Free
Use gluten-free pie crusts. They work just as well, though they can be a bit more fragile. Handle them gently and make sure your sealing is tight.
Chicken-Free
Use shredded tofu or chickpeas instead of chicken. Mash the chickpeas slightly so they bind better. Add extra spices to compensate for the lack of chicken flavor.
Serving & Storage
How to Serve:
I usually serve these straight out of the oven with a side of salsa or sour cream. But for lunchboxes, they’re best served cold or at room temperature. They hold up really well.
Side Dishes:
These go well with fruit salad, carrot sticks, or a small bag of chips. I like to add a small container of ranch dressing for dipping.
Storage:
Store leftovers in an airtight container in the fridge for up to 3 days. Reheat in the oven or toaster oven for best results. The microwave can make the dough soggy, so avoid it if possible.
Freezing:
These freeze very well. Store in a freezer-safe bag for up to 3 months. Reheat from frozen in the oven at 350°F for 15-20 minutes.
Nutrition Information
I’m not a nutritionist, but here’s the breakdown if you’re tracking. These values are approximate and based on one pocket.
- Calories: 220
- Protein: 12g
- Carbs: 18g
- Fat: 10g
- Fiber: 1g
- Sugar: 1g
These pockets are a good source of protein and calcium, thanks to the chicken and cheese. They’re not exactly a diet food, but they’re better than most packaged snacks. When I want to make them lighter, I use less cheese and more chicken, or add more vegetables to the filling.
Final Thoughts
So that’s my go-to Back-to-School Chicken and Cheese Empanada Pockets! I’ve probably talked your ear off at this point, but when you make a recipe this often, you have a lot to say about it.
This has saved weeknight dinners and school lunches more times than I can count. It’s my answer to “what’s for lunch?” when I’m tired, don’t want takeout, and still want something that tastes really good. My kids are happy, I’m happy, and I’m happy because I’m not stressed about cooking.
Make it yours! Try different add-ins, swap in your favorite vegetables, adjust the spices. The best recipes are the ones you adapt to your family’s tastes.
If you make this, drop a comment and let me know what you think! I love hearing how recipes turn out in your kitchen. And if something doesn’t work, tell me that too—I’m here to help troubleshoot.
Happy cooking! And I hope your kitchen smells half as good as mine does right now.
Frequently Asked Questions
Can I use homemade pie crust?
Absolutely! Homemade pie crust tastes even better. Just make sure it’s rolled out to a similar thickness as store-bought crust. If it’s too thick, the pockets will be doughy. If it’s too thin, they might tear. Aim for about ⅛ inch thick.
Can I bake these in an air fryer?
Yes! Air fry them at 350°F for 8-10 minutes. You’ll need to do them in batches so they don’t overcrowd the basket. They come out super crispy, which is nice. Just keep an eye on them so they don’t burn.
Why did my pockets burst in the oven?
This usually happens if the filling was too wet or if you didn’t vent the top. Make sure your chicken is well-drained and your filling isn’t too runny. Also, poke enough holes in the top to let steam escape.
Can I make these ahead of time and freeze them raw?
Yes! Assemble the pockets, place them on a baking sheet, and freeze until solid. Then transfer to a freezer bag. Bake from frozen, adding a few extra minutes to the cooking time. This is great for meal prep.
What cheese melts best in these?
Monterey Jack and mozzarella are great for melting. Cheddar adds flavor but can be a bit oily. I like a mix of both. Avoid hard cheeses like Parmesan, as they don’t melt well on their own.
Can I use leftover turkey or beef?
Yes, any shredded meat works. Turkey is great for a lighter option. Beef works well if you add some taco seasoning. Just make sure the meat is shredded finely so it packs easily.
Pin This Recipe!
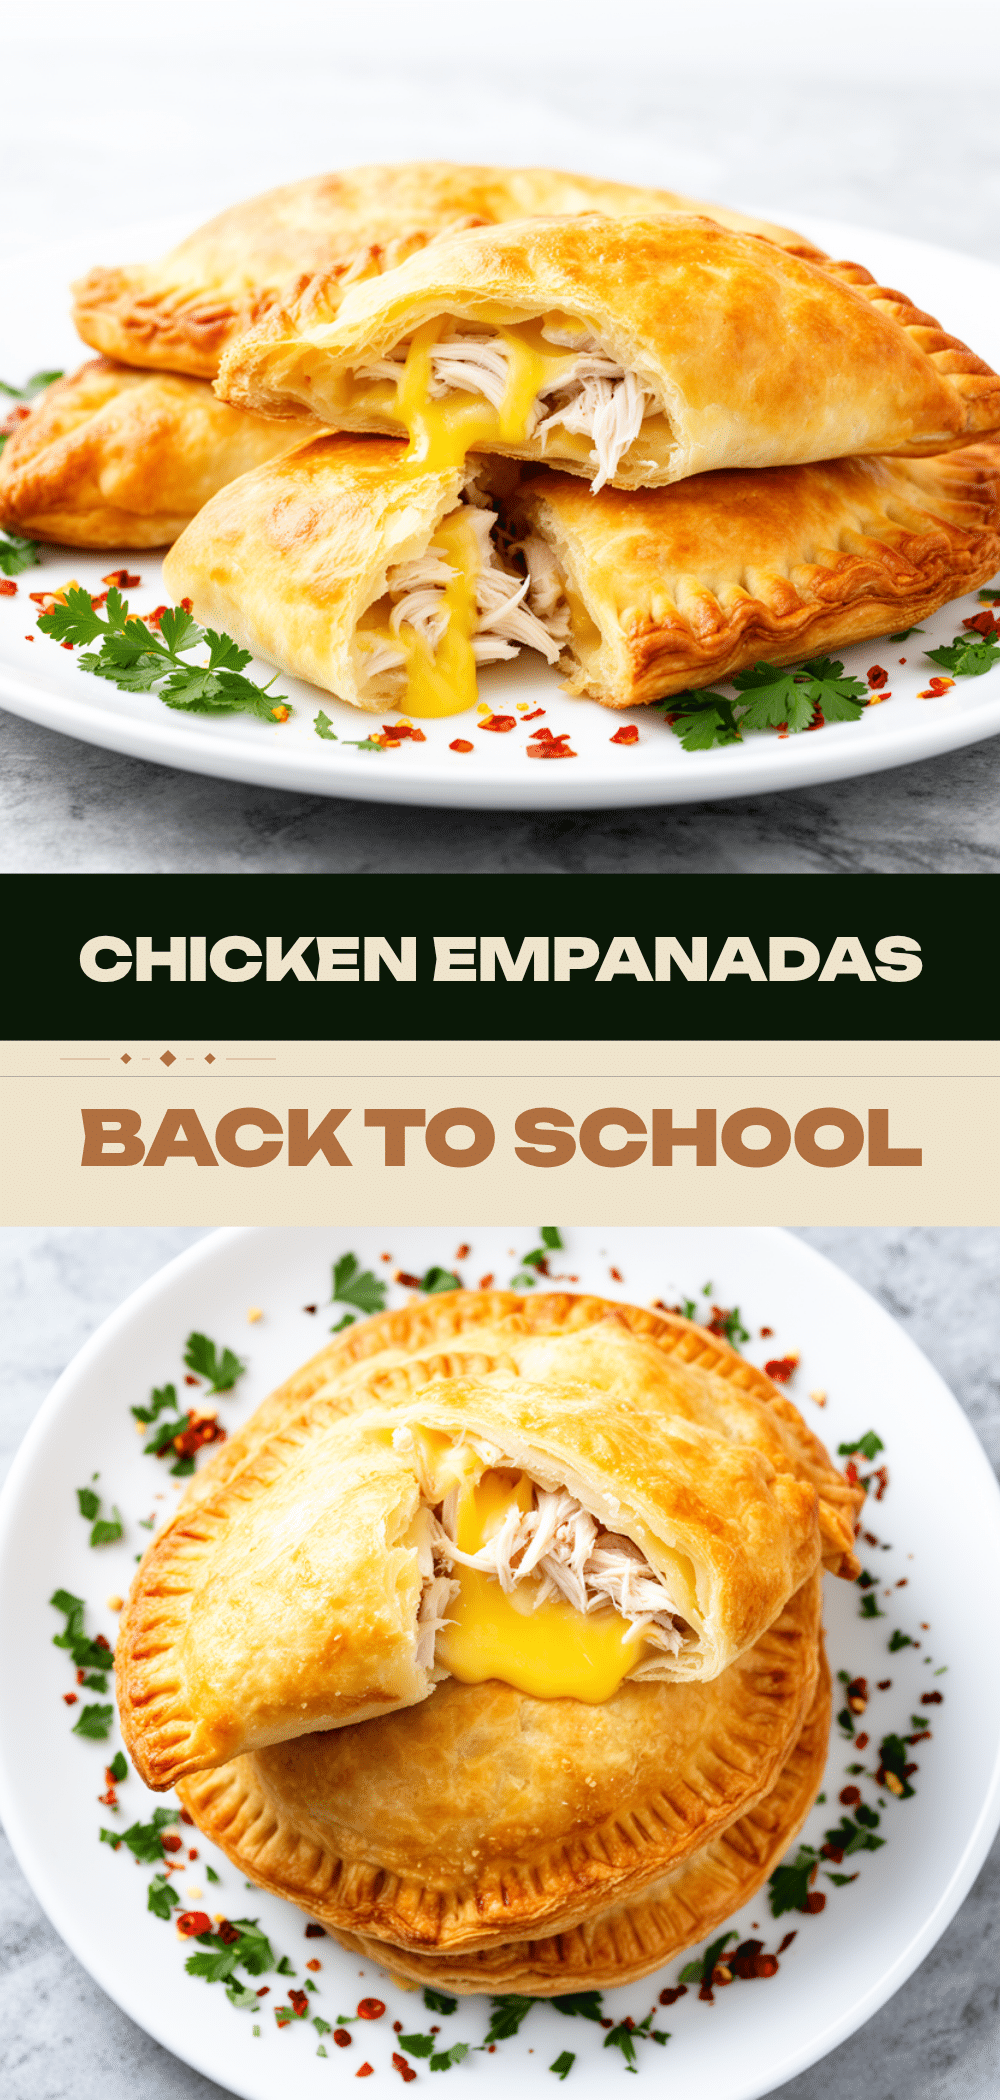

Back-to-School Chicken and Cheese Empanada Pockets
- Total Time: 38 minutes
- Yield: 8-10 servings 1x
Description
Easy, handheld chicken and cheese empanada pockets made with store-bought pie crusts. Perfect for school lunches as they taste great cold or at room temperature.
Ingredients
- 2 cups shredded chicken (rotisserie, poached, or grilled)
- 4 oz cream cheese (room temperature)
- 1 ½ cups shredded cheese (mix of sharp cheddar and Monterey Jack)
- ½ cup black beans (rinsed and drained)
- 1 teaspoon cumin
- ½ teaspoon chili powder
- Salt and pepper to taste
- 2 packages refrigerated pie crusts (thawed)
- 1 large egg (beaten, for egg wash)
- Flour (for dusting surface)
Instructions
- Preheat oven to 375°F (190°C) and line a baking sheet with parchment paper.
- In a large bowl, combine shredded chicken, cream cheese, shredded cheese, black beans, cumin, chili powder, salt, and pepper. Mix until evenly distributed and set aside.
- Unroll pie crusts onto a lightly floured surface and press flat.
- Cut circles from the dough (approx. 4 inches in diameter). You should get 8-10 circles.
- Place a circle of dough on your work surface and add 2-3 tablespoons of filling to the center.
- Brush the edges with water or egg wash, then fold the dough over to create a half-moon shape.
- Press edges firmly to seal, then crimp with a fork.
- Poke 2-3 small holes in the top of each pocket to vent steam.
- Place pockets on the prepared baking sheet and brush tops with remaining egg wash.
- Bake for 15-18 minutes until golden brown and puffy, rotating pan halfway through.
- Cool on a wire rack for at least 10 minutes before serving or packing.
Notes
Do not overfill the pockets to prevent leaking. Ensure the filling is well-seasoned as the dough is bland. These can be frozen after baking for up to 3 months. For a gluten-free version, use gluten-free pie crusts. For a vegan option, use milk or water instead of egg wash and substitute chicken with tofu or chickpeas.
- Prep Time: 20 minutes
- Cook Time: 18 minutes
- Category: Lunch
- Cuisine: American
Nutrition
- Serving Size: 1 empanada pocket
- Calories: 220
- Sugar: 1
- Sodium: 350
- Fat: 10
- Saturated Fat: 4
- Carbohydrates: 18
- Fiber: 1
- Protein: 12
Keywords: chicken empanadas, school lunch ideas, easy lunch, chicken pockets, meal prep, kid-friendly recipes, rotisserie chicken recipes



