It’s 7:15 AM on a Tuesday in September. The house is vibrating with the energy of three different alarms that haven’t gone off yet, my teenager is hunting for a shoe that definitely exists but is currently hiding under the couch, and I’m staring at the kitchen counter like it holds the secrets to the universe. Except the secret is that I have absolutely nothing prepared for breakfast because I went to bed at 11:30 PM after grading papers.
This is the reality of back-to-school mornings. It’s chaotic, it’s loud, and it’s hungry. My kids don’t have time for a sit-down meal. They don’t want to wait for eggs to fry or oatmeal to boil. They need fuel, they need it fast, and they need it to taste like a treat so they’re actually excited to leave the house. Enter the hero of my weekday mornings: mini bagel pizza snacks.
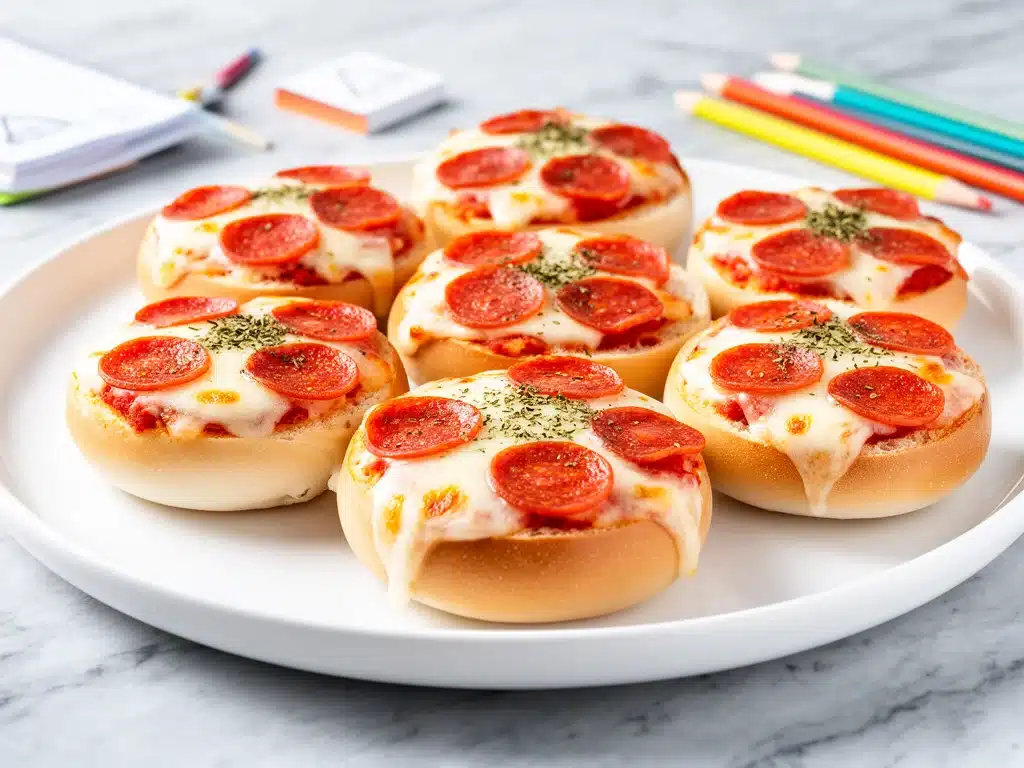
I discovered these little guys about three years ago, right when the school year started and my routine went from “organized and calm” to “chaos incarnate.” I was desperate for something that felt homemade but took less time than it takes to find clean socks. I grabbed a package of everything bagels, some mozzarella, and whatever pepperoni was on sale. Ten minutes later, we had hot, cheesy, savory snacks that my kids devoured in the car on the way to the bus stop. No crumbs on the car seats. No sticky hands from fruit snacks. Just pure, delicious satisfaction.
These mini bagel pizzas have become our go-to back-to-school breakfast hack. They’re crispy on the outside, gooey on the inside, and customizable enough that my picky eater won’t even notice the spinach I sneak in. If you’re drowning in morning rush, this recipe is your new best friend. It’s easy, it’s fast, and it’s the only thing standing between me and a screaming match over a missing lunchbox.
Why You’ll Love This Recipe
There are about ten reasons I keep making these mini bagel pizzas, but here are the big ones that make them a staple in our rotation.
Stupid Simple — Seriously, if you can spread sauce and sprinkle cheese, you can make this. I’ve walked my teenage son through it over FaceTime while he was at college for the weekend. He nailed it on the first try.
Lightning Fast — 10 minutes from start to finish. That’s it. I’m not exaggerating. Preheat the oven while you grab the bagels. By the time you sprinkle the cheese, they’re ready to go. This is my lifeline on days when I’m running late for work.
Grab-and-Go Friendly — Unlike a slice of pizza that gets soggy or a muffin that crumbles everywhere, mini bagel pizzas hold their shape. They’re perfect for eating in the car, on the bus, or at a desk during a long study period. My kids actually prefer these over cereal because they’re more filling.
Crowd-Pleaser — I’ve served these to my vegetarian sister, my meat-loving dad, and my neighbor’s toddler (with cheese only). Everyone loves them. It’s the one food item that doesn’t get rejected by any age group or dietary preference in my house.
Leftover Magic — If you have any bagels left, these keep well for lunch. My kids pack them in their lunchboxes the next day, and they’re still warm and gooey by noon. I deliberately make extra for this reason.
Budget-Smart — Bagels are cheap. Cheese is cheap. Sauce is cheap. Feeds 4-6 people for under $10. That’s less than one drive-thru run, and significantly healthier.
This is my go-to when I need breakfast to just work. No complicated techniques, no weird ingredients, just reliable, delicious food that makes everyone happy and gets them out the door on time.
Ingredients You’ll Need
Here’s the best part: you probably have most of this already in your pantry and fridge. This looks like a short list, but each ingredient plays a specific role in making these snacks irresistible.
Mini Bagels (6-8 bagels, halved) — I use standard everything or plain bagels. Cinnamon raisin works too if you want a sweet-savory twist, but stick to savory for the classic pizza vibe. Look for the small, sandwich-sized bagels if you can find them—they’re the perfect bite-sized portion.
Pizza Sauce (½ cup) — I use store-bought marinara for speed, but I prefer a simple mix of tomato paste, Italian seasoning, and a pinch of garlic powder if I’m feeling fancy. Avoid sugary pizza sauces; you want savory, not sweet.
Shredded Mozzarella (1½ cups) — Freshly shredded is best because it melts evenly. Pre-shredded cheese has anti-caking agents that can make the texture grainy. I grate my own from a block—it takes 3 minutes and makes a huge difference in the gooeyness.
Pepperoni Slices (½ cup, chopped) — Chopped into tiny pieces so they fit on the mini bagels. If your family is pepperoni-happy, go wild. I usually buy the thin, crispy style because it adds a nice crunch.
Italian Seasoning (1 teaspoon) — Sprinkled on top for that authentic pizza aroma. If you don’t have it, use dried oregano and basil. Fresh herbs work too, but they can burn in the oven, so stick to dried.
Red Pepper Flakes (optional) — For a little kick. My husband loves these, but I omit them for the kids. It’s a easy customization.
Optional Add-ins:
Spinach (½ cup, chopped) — I throw this in for my kids. They think it’s a mystery ingredient. It wilts nicely and adds nutrition.
Mushrooms (¼ cup, sliced) — Sauté them first if you want to avoid sogginess. I usually skip this for speed.
Black Olives (¼ cup, sliced) — For the pizza purists. My teen son requests these specifically.
Ground Turkey (¼ cup, cooked) — A leaner protein option. Brown it thoroughly so it’s not watery.
Shopping Shortcuts:
I buy pre-shredded mozzarella when I’m being lazy, but fresh tastes way better. For sauce, I keep a jar of Rao’s or a similar brand in the pantry. It’s worth the extra dollar for the quality.
Equipment Needed
You don’t need fancy equipment for this. Here’s what I actually use.
Baking Sheet — I use a standard half-sheet pan. Line it with parchment paper for easy cleanup. I hate washing grease off pans.
Parchment Paper — Essential for non-stick cleanup. Without it, you’ll be scraping cheese off the pan for days.
Small Knife — For slicing bagels in half. If you have a serrated knife, even better. It cuts through the crust without crushing the soft center.
Oven — Preheated to 375°F (190°C). A standard home oven works perfectly. No need for a pizza stone or special equipment.
Small Spoon or Measuring Cup — For dolloping sauce. I use a teaspoon to control the portion so the bagels don’t get soggy.
Optional but nice:
Silicone Spatula — For scraping the last bit of cheese off the grater.
Mini Muffin Tin — If you want to keep them upright and organized, though a baking sheet is fine.
Tool Tips:
Don’t have parchment paper? Foil works, but cheese sticks to it. I’m obsessed with my reusable silicone baking mats—they’re like $5 and make life easier.
How to Make It: Step-by-Step
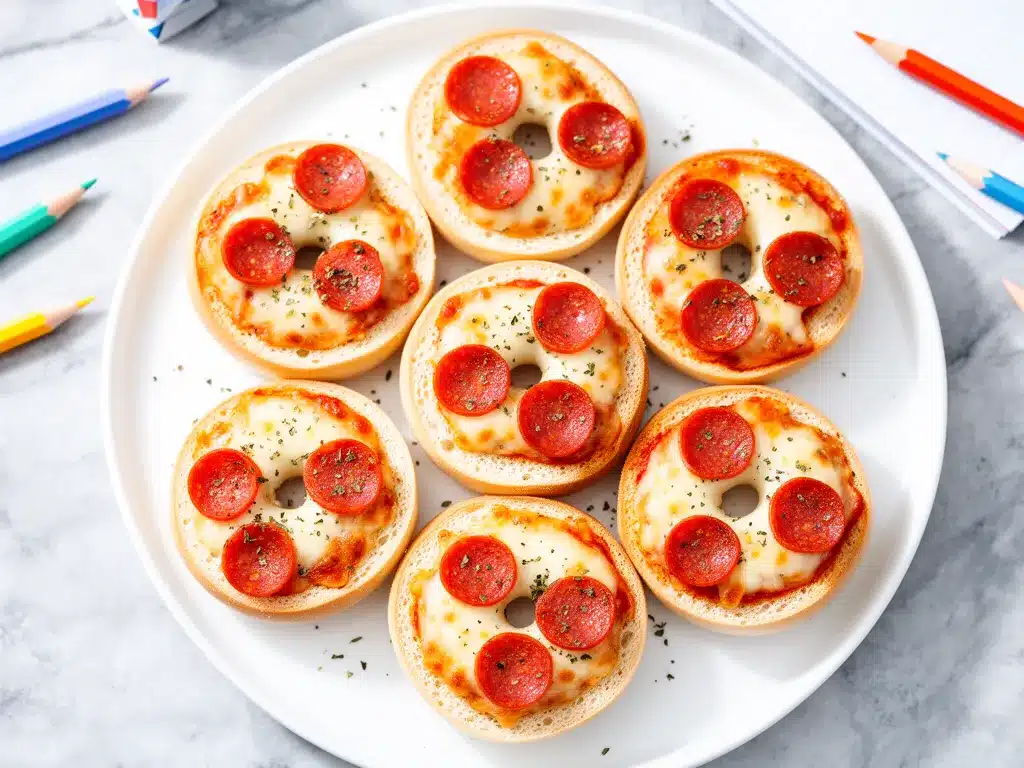
Alright, let’s make this! I’m walking you through exactly how I do it, including the little tricks I’ve picked up.
Step 1: Preheat and Prep (2 minutes)
Preheat your oven to 375°F (190°C). While it heats, line a baking sheet with parchment paper. I know it seems like an extra step, but it saves you from scrubbing cheese off the pan later. Trust me.
Step 2: Slice the Bagels (2 minutes)
Slice the mini bagels in half horizontally. You should have 12-16 halves. If your bagels are large, you might only get 8-10 halves. Arrange them cut-side up on the prepared baking sheet. Give them a little space so air can circulate.
Step 3: Add the Sauce (1 minute)
Dollop about 1 teaspoon of pizza sauce on each bagel half. Spread it gently to the edges, but don’t soak the bagel. You want a thin layer, not a soup. Too much sauce makes the bagel soggy, and nobody likes a soggy pizza base.
Step 4: Cheese and Toppings (3 minutes)
Shred your mozzarella if you haven’t already. Sprinkle a generous amount of cheese over each bagel. Add your chosen toppings—pepperoni, spinach, mushrooms, olives. Don’t overload them! Less is more with mini bagels. If you pile it too high, the center won’t cook, and the cheese won’t bubble properly.
Step 5: Bake (5-7 minutes)
Place the baking sheet in the oven. Bake for 5-7 minutes, or until the cheese is melted and bubbly, and the edges of the bagels are golden brown. Keep an eye on them! Ovens vary, and you want the cheese to melt, not burn. Mine usually take 6 minutes.
Step 6: Cool and Serve (2 minutes)
Remove from the oven and let them cool for 1-2 minutes. The cheese will be molten lava hot. Sprinkle with Italian seasoning and red pepper flakes if using. Serve immediately while warm. They’re best fresh out of the oven.
Total Time: About 10 minutes (3 minutes active, 7 minutes hands-off)
Built-in Troubleshooting:
Bagels are soggy? You used too much sauce. Next time, use less sauce or toast the bagels first for 2 minutes before adding toppings.
Cheese isn’t melting? Your oven might be underheating. Check the temperature with an oven thermometer. Or bake for 1-2 minutes longer.
Bagels are burning? Your oven is too hot. Lower the temperature to 350°F (175°C) and check earlier.
Expert Tips & Tricks
Here’s everything I’ve learned from making these dozens of times. These tips will save you from my mistakes.
Toast the Bagels First
If you’re worried about sogginess, toast the bagel halves for 2-3 minutes before adding sauce and cheese. This creates a barrier and keeps them crispy. I do this when I’m making them for lunchboxes that will sit for a while.
Don’t Skimp on Cheese
Cheese is the glue. If you use too little, the toppings fall off. Use enough so that it covers the surface completely. My kids judge me if I’m cheap with cheese.
Chop Toppings Small
Mini bagels have limited surface area. Large pepperoni slices will hang off the edge. Chop everything into bite-sized pieces so they stay on the bagel and cook evenly.
Use Freshly Shredded Cheese
Pre-shredded cheese has cornstarch to prevent clumping. This means it doesn’t melt as smoothly. Grate your own from a block for that restaurant-quality gooeyness.
Room Temperature Ingredients
If your cheese is straight from the fridge, it takes longer to melt. Let it sit out for 10 minutes before baking. It’s a small detail that makes a big difference.
Common Mistakes (and how to avoid them):
Mistake: Bagels are dry
Fix: Don’t overbake. They continue to cook slightly after removal. Take them out when the cheese is just melted.
Mistake: Toppings slide off
Fix: Use less sauce and more cheese to act as an adhesive. Also, chop toppings smaller.
Mistake: Soggy bottom
Fix: Toast the bagels first. Or use a thinner layer of sauce.
Pro Tricks I’ve Learned:
For Extra Flavor
Brush the bagel halves with a little olive oil before adding sauce. Adds a nice richness and helps the seasoning stick.
For Better Texture
Use a bagel with a chewier crust, like an everything bagel. It holds up better to the toppings than a plain, soft bagel.
Make-Ahead Strategy
You can assemble these and freeze them on the baking sheet. Once frozen, transfer to a bag. Bake from frozen, adding 2-3 minutes to the cook time. Perfect for busy mornings.
Variations & Substitutions
Once you’ve nailed the basic version, here’s how you can mix it up. I’ve tried all of these.
Vegetarian Supreme
Skip the pepperoni. Add mushrooms, spinach, olives, and bell peppers. I roast the veggies first to remove moisture. This is my favorite version when I want something lighter.
BBQ Chicken
Swap pizza sauce for BBQ sauce. Add cooked shredded chicken and red onion. Top with cilantro after baking. This is a crowd-pleaser for my husband.
Hawaiian
Use pineapple chunks and ham. It’s controversial, but my kids love it. The sweetness balances the salty ham perfectly.
White Pizza
Skip the tomato sauce. Use ricotta cheese mixed with garlic powder. Top with spinach and mozzarella. It’s creamy and rich.
Sweet Bagel Pizza
Use cinnamon sugar on the bagels. Spread with Nutella or peanut butter. Top with banana slices and drizzle with honey. It’s like a dessert pizza. Great for weekend brunch.
Dietary Modifications:
Gluten-Free
Use gluten-free mini bagels. Everything else is naturally gluten-free. I’ve used Schär brand and it works great.
Dairy-Free
Use dairy-free mozzarella shreds. They’ve improved a lot in recent years. I use Daiyo brand. It melts reasonably well.
Lower-Carb
Use low-carb bagels or even English muffins. Reduce the sauce to keep carbs down. I won’t lie—it’s not the same, but it works if you’re watching carbs.
Serving & Storage
How to Serve:
I usually serve these straight from the baking sheet at the breakfast table—it looks rustic and stays warm. But here are other ways I’ve enjoyed them:
Side Dishes:
– Fresh fruit salad (apples, berries, bananas)
– Yogurt parfait (check out my best greek yogurt blueberry muffins for a similar breakfast vibe)
– Hard-boiled eggs
– Orange juice or milk
Toppings Bar:
When I have guests, I put out: extra cheese, hot sauce, fresh basil, red pepper flakes, chopped herbs. Everyone customizes their snack.
Storage Instructions:
Refrigerator:
Store in an airtight container for up to 3 days. The bagels will soften, but they’re still good reheated.
Reheating:
Best method: Oven or toaster oven at 350°F for 3-5 minutes. Restores the crispiness.
Microwave method: 30 seconds. But the bagel will be chewy, not crispy.
Never works: Leaving them on the counter. They get stale fast.
Freezing:
Yes, these freeze well! Assemble them on the baking sheet, freeze until solid, then transfer to a freezer bag. Bake from frozen, adding 2-3 minutes to the cook time. This is my secret weapon for Sunday meal prep.
Pro tip: If leftovers are drying out, reheat with a slice of bread in the microwave to add moisture. Or just toast them in the toaster oven.
Nutrition Information
I’m not a nutritionist, but here’s the breakdown if you’re tracking.
Per Serving (based on 4 servings, 3-4 mini bagels each):
- Calories: 280
- Protein: 12g
- Carbs: 35g
- Fiber: 2g
- Sugar: 6g
- Fat: 10g
- Saturated Fat: 4g
- Cholesterol: 20mg
- Sodium: 580mg
- Calcium: 200mg
What’s Good:
– Decent protein from cheese and bagel
– Calcium from the cheese
– Can add vegetables to boost nutrition
– More filling than it looks
What to Know:
– Higher in sodium from bagels and cheese
– Contains gluten and dairy
– Moderate calories for a snack
My Take:
Look, these are treats. They’re not a diet recipe. But they’re way better than processed breakfast bars, costs less, and I know exactly what’s in it. When I want to make it lighter, I use low-carb bagels and less cheese. But usually? I just eat a reasonable portion and enjoy it.
Final Thoughts
So that’s my go-to mini bagel pizza snack! I’ve probably talked your ear off at this point, but when you make a recipe this often, you have a lot to say about it.
This has saved breakfast mornings more times than I can count. It’s my answer to “what’s for breakfast” when I’m tired, don’t want to cook a big meal, and still want something that tastes really good. My kids are happy, my husband’s happy, and I’m happy because I’m not stressed about cooking.
Make it yours! Try different add-ins, swap in your favorite vegetables, adjust the cheese. The best recipes are the ones you adapt to your family’s tastes. If you’re looking for other quick breakfast ideas, check out my best greek yogurt blueberry muffins for a make-ahead option.
If you make this, drop a comment and let me know what you think! I love hearing how recipes turn out in your kitchen. And if something doesn’t work, tell me that too—I’m here to help troubleshoot.
Happy cooking! And I hope your kitchen smells half as good as mine does right now.
Frequently Asked Questions
Can I use regular bagels instead of mini ones?
You can, but they’ll be larger and take longer to bake. I recommend using regular bagels for lunch or dinner, but mini bagels are perfect for quick snacks or appetizers. If you use regular bagels, slice them into quarters for bite-sized pieces.
Can I make these ahead of time?
Yes! Assemble them and freeze them on the baking sheet. Once frozen, transfer to a freezer bag. Bake from frozen, adding 2-3 minutes to the cook time. This is perfect for busy mornings.
Why did my bagels get soggy?
Usually means you used too much sauce. Use a thin layer of sauce, or toast the bagels first for 2-3 minutes before adding toppings. Also, don’t overload with wet toppings like fresh tomatoes.
Can I use fresh mozzarella?
You can, but it’s wetter than shredded mozzarella. Pat it dry with a paper towel before using. Shredded mozzarella melts more evenly and quickly, which is why I prefer it for this recipe.
How do I reheat leftovers?
Best method: Oven or toaster oven at 350°F for 3-5 minutes. Restores the crispiness. Microwave method: 30 seconds. But the bagel will be chewy, not crispy.
Can I make these gluten-free?
Absolutely! Use gluten-free mini bagels. Everything else is naturally gluten-free. I’ve used Schär brand and it works great. Just keep an eye on the bake time, as gluten-free bread can dry out faster.
What other toppings work well?
Pepperoni, sausage, mushrooms, spinach, olives, bell peppers, onions, jalapeños, ham, chicken, pineapple, BBQ sauce, ranch dressing, garlic butter. The possibilities are endless!
Pin This Recipe!
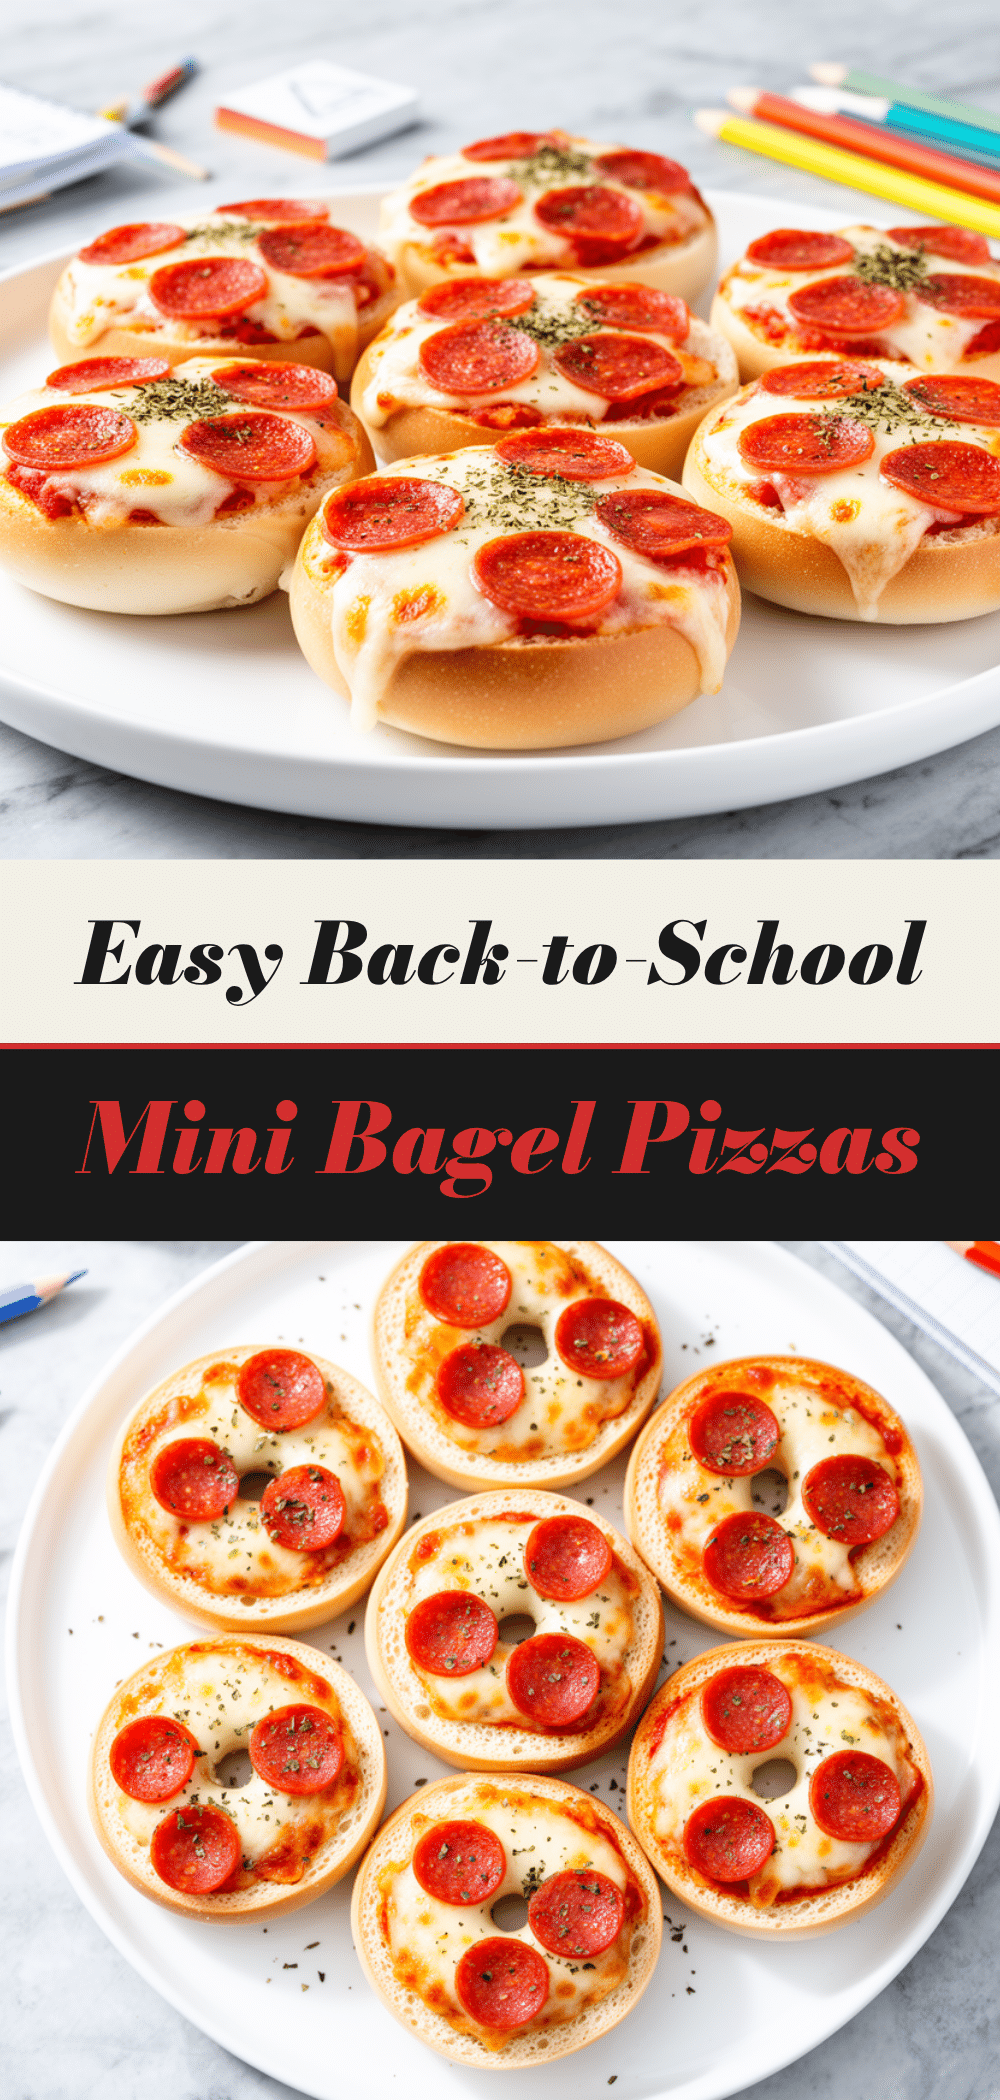

Mini Bagel Pizza Snacks: Easy 10-Min Back-to-School Recipe
- Total Time: 10 minutes
- Yield: 4 servings 1x
Description
A quick, grab-and-go breakfast hack perfect for busy school mornings. These mini bagel pizzas are crispy, cheesy, and customizable, ready in just 10 minutes.
Ingredients
- 6–8 mini bagels, halved
- 1/2 cup pizza sauce (marinara)
- 1 1/2 cups shredded mozzarella cheese
- 1/2 cup pepperoni slices, chopped
- 1 teaspoon Italian seasoning
- Red pepper flakes (optional)
Instructions
- Preheat oven to 375°F (190°C) and line a baking sheet with parchment paper.
- Slice mini bagels in half horizontally and arrange cut-side up on the prepared baking sheet.
- Dollop about 1 teaspoon of pizza sauce on each bagel half and spread gently to the edges.
- Sprinkle shredded mozzarella cheese over each bagel and add desired toppings (pepperoni, spinach, etc.).
- Bake for 5-7 minutes until cheese is melted and bubbly and bagel edges are golden brown.
- Remove from oven and let cool for 1-2 minutes before serving.
Notes
For extra crispiness, toast bagels for 2-3 minutes before adding toppings. Use freshly shredded cheese for better melting. Avoid overloading with sauce to prevent sogginess. Can be frozen assembled and baked from frozen.
- Prep Time: 3 minutes
- Cook Time: 7 minutes
- Category: Breakfast
- Cuisine: American
Nutrition
- Serving Size: 3-4 mini bagels per
- Calories: 280
- Sugar: 6
- Sodium: 580
- Fat: 10
- Saturated Fat: 4
- Carbohydrates: 35
- Fiber: 2
- Protein: 12
Keywords: mini bagel pizza, back to school breakfast, quick breakfast, easy snacks, grab and go breakfast, kid friendly recipes