It was 11:30 PM on a Tuesday. I was exhausted. My brain was fried from work, and the last thing I wanted to do was plan a complicated dessert. But my daughter had a school fundraiser the next morning, and I had promised her I’d bake something special. I didn’t have time to make brownies from scratch, and store-bought cookies felt like a cop-out. So, I reached for my trusty chocolate chip cookie dough recipe—the one I’ve made a hundred times—and decided to get a little crazy.
I had a bag of salted caramel squares in my pantry (leftover from Halloween, honestly) and thought, “Why not stuff the dough around them?” I figured they’d just melt into the dough and make it slightly gooey. Big mistake. Or rather, the best mistake of my life.
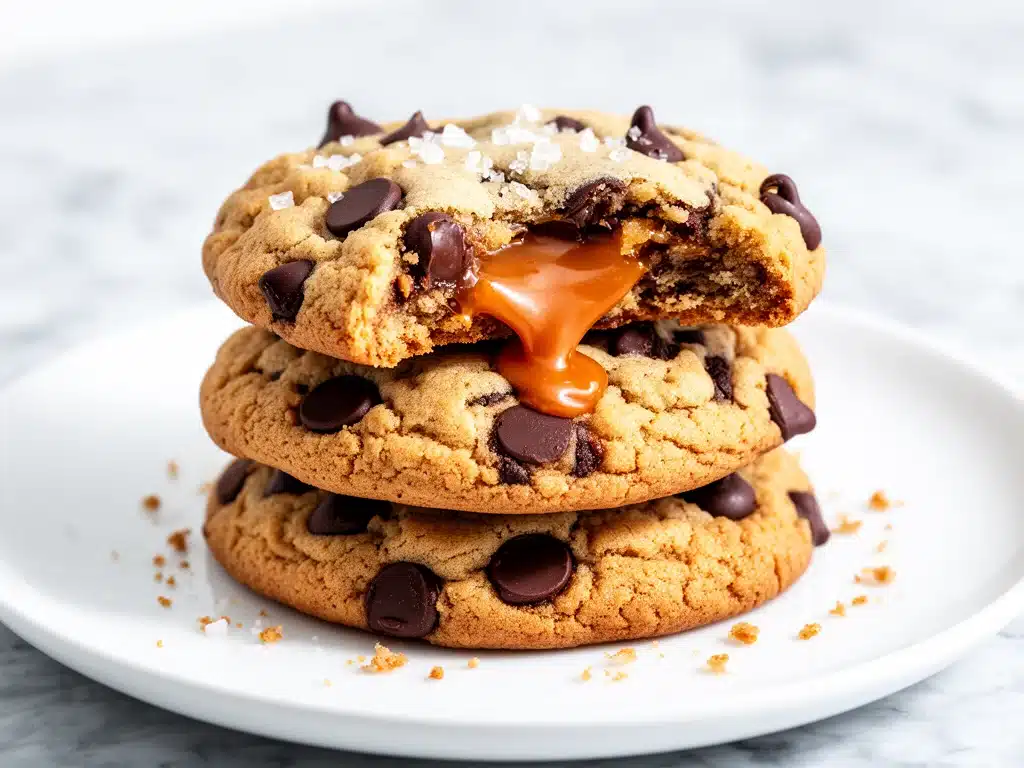
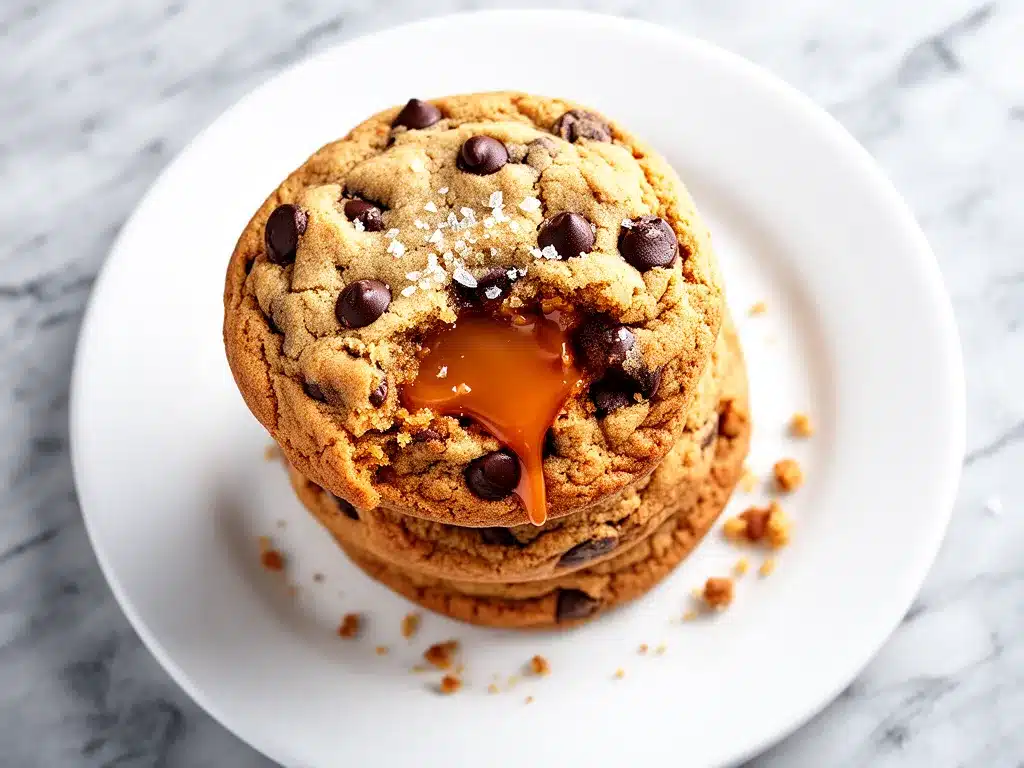
When they came out of the oven, the edges were crispy, the centers were impossibly chewy, and when you bit into them? Boom. A molten center of warm, salty-sweet caramel that oozed out and made my daughter scream with delight. She didn’t even care about the fundraiser part. She just cared that these chewy caramel-stuffed chocolate chip cookies were the best thing she’d ever eaten. And honestly? She was right.
Since that Tuesday night, I’ve made these cookies at least twelve times. I’ve tweaked the dough, tested different caramel brands, and figured out the exact baking time to get that perfect gooey center without burning the chocolate chips. These aren’t just cookies. They’re an experience. And once you make them, you’ll understand why they’ve completely taken over my kitchen (and my waistline).
Why You’ll Love These Caramel-Stuffed Chocolate Chip Cookies
Look, I love a classic chocolate chip cookie. I really do. But there’s something about adding that caramel core that takes it from “good Tuesday treat” to “wedding centerpiece worthy.” Here’s why these are the only cookie recipe you’ll need this year:
- The Texture Game is Strong — Most cookie recipes promise chewy, but deliver cakey. These are properly chewy. The brown sugar and corn syrup trick keeps them soft for days. The caramel adds a sticky, gooey contrast to the crisp edges. It’s textural heaven.
- They Impress (Without the Stress) — People think stuffed cookies are hard. They’re not. You just wrap the dough around a square of caramel. That’s it. But when you bring these to a party, everyone loses their minds. I’ve made these for book clubs, office potlucks, and family dinners, and they always vanish first.
- Perfect for Meal Prep — Unlike some delicate pastries, these hold up well. In fact, I find they taste even better the next day, as the flavors meld together. I make a double batch on Sundays, freeze half the dough, and have fresh cookies on demand all week.
- Sweet and Salty Perfection — If you’re a fan of that salty-sweet combo, you’re going to be obsessed. The salt in the caramel cuts through the richness of the butter and chocolate, keeping every bite balanced. It’s not too sweet, it’s just right.
- Uses Simple Ingredients — You don’t need fancy flour or rare spices. Just butter, sugar, eggs, flour, baking soda, and good chocolate chips. If you can make basic cookies, you can make these.
This is my go-to when I need to feel like a baking pro but don’t want to spend hours in the kitchen. It’s reliable, delicious, and always makes people happy.
Ingredients You’ll Need
Here’s the best part: you probably have 80% of this already. I’m particular about a few things here, so pay attention to the notes. Getting the ingredients right is half the battle.
For the Cookie Dough
Unsalted butter (1 cup / 226g, softened) — This needs to be soft, not melted. If you microwave it, you’ll get flat, greasy cookies. Let it sit on the counter for an hour. I use salted butter in the caramel squares, so keeping the butter unsalted lets me control the salt level.
Brown sugar (1 cup / 200g, packed) — Dark brown sugar is my preference because it has more molasses, which keeps the cookies chewy and adds a deeper flavor. Light brown works, but dark is better for that caramel-like taste.
Granulated sugar (½ cup / 100g) — This helps with the crisp edges. It balances the chewiness of the brown sugar. Don’t skip it.
Eggs (2 large) — Room temperature eggs mix better into the dough. I take them out of the fridge while I prep the other stuff. One whole egg and one yolk works too, but two whole eggs are simpler.
Vanilla extract (2 teaspoons) — Use real vanilla, not imitation. It makes a huge difference in the flavor profile. If you want extra depth, add a splash of bourbon (trust me).
All-purpose flour (2 ¼ cups / 280g) — Spoon and level, don’t scoop. Scooping packs too much flour and makes dry cookies. I use Gold Medal all-purpose; it’s reliable.
Baking soda (1 teaspoon) — Helps them spread and brown. Make sure it’s fresh. If it’s older than 6 months, toss it and get new stuff.
Salt (½ teaspoon) — Enhances the chocolate and caramel flavors. Fine sea salt is best.
Chocolate chips (2 cups / 340g) — I use a mix of semi-sweet and milk chocolate. Semi-sweet keeps it from being too sweet, milk chocolate adds creaminess. Nestlé Toll House is fine, but Ghirardelli or Guittard tastes better if you want to splurge.
For the Stuffing
Salted caramel squares (24-30 squares) — I use Rite Aid brand or Ghirardell brand. They hold their shape well. Avoid homemade caramel squares unless they are very firm; they might melt too fast. You need them solid enough to wrap the dough around.
Flaky sea salt (optional, for topping) — A sprinkle on top right after baking elevates the look and taste. Maldon is my favorite, but any flaky salt works.
Equipment Needed
You don’t need fancy gadgets. Here’s what I actually use:
Large mixing bowl — I use a 6-quart stainless steel bowl. It’s big enough to mix everything without making a mess.
Electric mixer — Hand mixer or stand mixer. You can do this by hand, but your arms will thank you if you use a machine. Creaming the butter and sugar takes effort.
Cookie sheet — Half-sheet pans (18×13 inches). I have two, which lets me bake two batches at once. If you have smaller pans, just adjust the number of cookies.
Parchment paper — Never bake cookies directly on the pan. Parchment prevents sticking and helps them bake evenly. I don’t even bother greasing the parchment.
Cooling rack — Essential for letting them set. If you eat them straight off the hot pan, they’ll fall apart.
Silicone spatula — For scraping the bowl. I have a few; the big ones are best for folding in the chips.
Small spoon or cookie scoop — To portion the dough evenly. Uniform size means uniform baking. I use a 2-tablespoon scoop.
How to Make It: Step-by-Step
Alright, let’s make these! I’m walking you through exactly how I do it, including the little tricks I’ve picked up over the years.
Step 1: Prep Your Dough Base (10 minutes)
Start by creaming the butter, brown sugar, and granulated sugar together. This is the most important step. Mix on medium-high speed for about 3-4 minutes until the mixture is light, fluffy, and pale. This incorporates air, which helps the cookies rise slightly. If you rush this, your cookies will be dense.
Step 2: Add Wet Ingredients (2 minutes)
Add the eggs one at a time, mixing well after each addition. Then stir in the vanilla extract. The mixture should look smooth and glossy. Scrape down the sides of the bowl with your spatula to make sure everything is incorporated.
Step 3: Mix Dry Ingredients (3 minutes)
In a separate bowl, whisk together the flour, baking soda, and salt. Then, gradually add the dry ingredients to the wet mixture. Mix on low speed just until the flour disappears. Do not overmix. Once you see streaks of flour, stop. Overmixed dough leads to tough cookies. Fold in the chocolate chips by hand.
Step 4: Chill the Dough (30 minutes – 24 hours)
This is non-negotiable. Cold dough spreads less and tastes better. I usually chill mine for at least 30 minutes, but overnight is best. The flavors meld, and the dough becomes easier to handle. If you skip this, your cookies will spread into flat discs and lose that chewy center.
Step 5: Wrap the Caramel (10 minutes)
Take your chilled caramel squares. Scoop a portion of dough (about 1.5 tablespoons). Flatten it into a disc in your palm. Place a caramel square in the center. Bring the edges of the dough up and around the caramel, sealing it completely. Roll it into a smooth ball. Make sure there are no cracks! If the dough is too cold and cracking, let it sit at room temp for 5 minutes.
Step 6: Bake (10-12 minutes)
Preheat oven to 350°F (175°C). Place the dough balls on a parchment-lined baking sheet, spaced 2 inches apart. Bake for 10-12 minutes. The edges should be golden brown, but the centers should still look slightly soft and underdone. This is key for chewiness. They will continue to cook on the hot pan after you take them out.
Step 7: Cool and Serve
Let the cookies sit on the baking sheet for 5 minutes. This allows them to set. Then transfer to a wire rack. If you’re feeling fancy, sprinkle a tiny pinch of flaky sea salt on top right after they come out of the oven. Eat warm. Trust me.
Expert Tips & Tricks
Here’s everything I’ve learned from making these dozens of times. These tips will save you from my mistakes.
Don’t Overbake
The biggest mistake people make is baking until the center looks firm. It shouldn’t. It should look soft and puffy. When you touch the center, it should feel soft, not hard. They firm up as they cool. If you bake them until they’re firm in the oven, they’ll be hard and crumbly when they cool.
Chill Your Dough
I know it’s tempting to bake right away, but chilled dough is the secret to thick, chewy cookies. It prevents spreading. If you’re short on time, freeze the dough balls for 15 minutes before baking. It works almost as well.
Use Good Chocolate
Chocolate chips are convenient, but chopped chocolate bars give you better chocolate distribution and a more gourmet look. I chop a bar of semi-sweet chocolate and a bar of milk chocolate. It takes an extra minute but looks and tastes amazing.
Room Temperature Caramel
If your caramel squares are rock hard from the fridge, let them sit out for 10 minutes before wrapping. If they’re too soft and sticky, pop them in the freezer for 10 minutes. You want them firm enough to wrap, but not so hard they crack the dough.
Double the Batch
These freeze beautifully. I make double the dough, wrap the extra balls in plastic wrap, and freeze them. When I want cookies, I just bake them from frozen. Add 1-2 minutes to the baking time.
Variations & Substitutions
Once you’ve nailed the basic version, here’s how you can mix it up. I’ve tried all of these.
Peanut Butter Cup Version
Replace the caramel square with a mini peanut butter cup (like Reese’s). The peanut butter and chocolate combo is iconic. My husband prefers this version.
Salted Caramel Drizzle
Instead of stuffing, drizzle salted caramel over the top of the cookies right after baking. It’s easier but less impressive inside.
White Chocolate Macadamia
Swap the chocolate chips for white chocolate chips and macadamia nuts. Add a butterscotch square instead of caramel. It’s sweet and nutty.
Gluten-Free
Use a 1:1 gluten-free flour blend (like Bob’s Red Mill). Add ½ teaspoon xanthan gum if your blend doesn’t have it. The texture is slightly different but still good.
Dairy-Free
Use dairy-free butter and dairy-free chocolate chips. For the caramel, use a dairy-free caramel sauce poured into silicone molds and frozen. It’s tricky but doable.
Serving & Storage
How to Serve:
I usually serve these warm, straight from the oven. They go great with a cold glass of milk or a cup of coffee. If you’re bringing them to a party, let them cool completely before packing them. They’re sturdy enough to travel well.
Storage:
Store in an airtight container at room temperature for up to 5 days. Place a piece of bread in the container to keep them soft. If they start to get hard, pop them in the microwave for 10 seconds.
Freezing:
You can freeze the baked cookies for up to 3 months. Thaw at room temperature. Or freeze the dough balls and bake as needed.
Reheating:
If you have leftovers (unlikely), reheat in the microwave for 10-15 seconds to melt the caramel center. It’s like getting a fresh cookie.
Nutrition Information
I’m not a nutritionist, but here’s the breakdown if you’re tracking. Keep in mind that these are rich, indulgent cookies.
Per Cookie (makes approx. 24 cookies):
- Calories: 280
- Protein: 3g
- Carbs: 38g
- Fiber: 1g
- Sugar: 26g
- Fat: 14g
- Saturated Fat: 8g
- Cholesterol: 35mg
- Sodium: 180mg
Look, these are treats. They’re not going to be a health food. But they’re better than store-bought cookies, which are full of preservatives. When I make these, I enjoy them mindfully. One or two is usually enough. If you want to lighten it up, use dark chocolate chips and reduce the sugar by ¼ cup, though the texture will change slightly.
Final Thoughts
So that’s my secret weapon for impressive cookies! I’ve probably talked your ear off at this point, but when you make a recipe this often, you have a lot to say about it.
These chewy caramel-stuffed chocolate chip cookies have saved me more times than I can count. They’re my answer to “what dessert should I bring?” when I’m tired, don’t want takeout, and still want something that tastes really good. My kids are happy, my husband’s happy, and I’m happy because I’m not stressed about cooking.
Make it yours! Try different chocolates, adjust the salt, or add nuts. The best recipes are the ones you adapt to your family’s tastes. If you make this, drop a comment and let me know what you think! I love hearing how recipes turn out in your kitchen. And if something doesn’t work, tell me that too—I’m here to help troubleshoot.
Happy baking! And I hope your kitchen smells half as good as mine does right now.
Frequently Asked Questions
Can I use homemade caramel instead of store-bought squares?
You can, but homemade caramel is usually softer and stickier. If you use homemade, you’ll need to freeze it solid before wrapping. Cut it into small squares and freeze for at least an hour. Store-bought squares are convenient because they’re already firm and hold their shape well. If your homemade caramel is too soft, the dough will leak during baking.
Why did my cookies spread too much?
This usually happens if the butter was too warm or if you didn’t chill the dough. Make sure your butter is soft but not melted. Also, ensure you chilled the dough for at least 30 minutes. If you skipped chilling, the dough was likely too warm when it went into the oven, causing it to spread before it set.
Can I freeze the dough balls?
Absolutely! This is my favorite way to prep. Scoop the dough, wrap the caramel inside, and freeze the balls on a baking sheet until solid. Then transfer to a freezer bag. You can bake them straight from frozen. Just add 1-2 minutes to the baking time. They’ll keep in the freezer for up to 3 months.
Why did the caramel leak out?
This means the dough wasn’t sealed properly. Make sure you roll the dough around the caramel completely, with no cracks. If the dough is too cold and brittle, let it sit at room temperature for a few minutes to become pliable. Also, don’t use caramel that is too soft; it needs to be firm enough to withstand the wrapping process.
Can I make these gluten-free?
Yes! Use a 1:1 gluten-free flour blend. I recommend Bob’s Red Mill or King Arthur. Make sure the blend includes xanthan gum, or add ½ teaspoon. The texture might be slightly more crumbly, but they’ll still be delicious. Double-check that your chocolate chips and caramel squares are certified gluten-free.
Do I need to use brown sugar?
Brown sugar is key for the chewy texture because of the molasses content. If you use only white sugar, the cookies will be crispier and cakier. If you must substitute, use 1 cup white sugar and 2 tablespoons of molasses to mimic brown sugar. But really, just use brown sugar. It’s worth it.
Pin This Recipe!
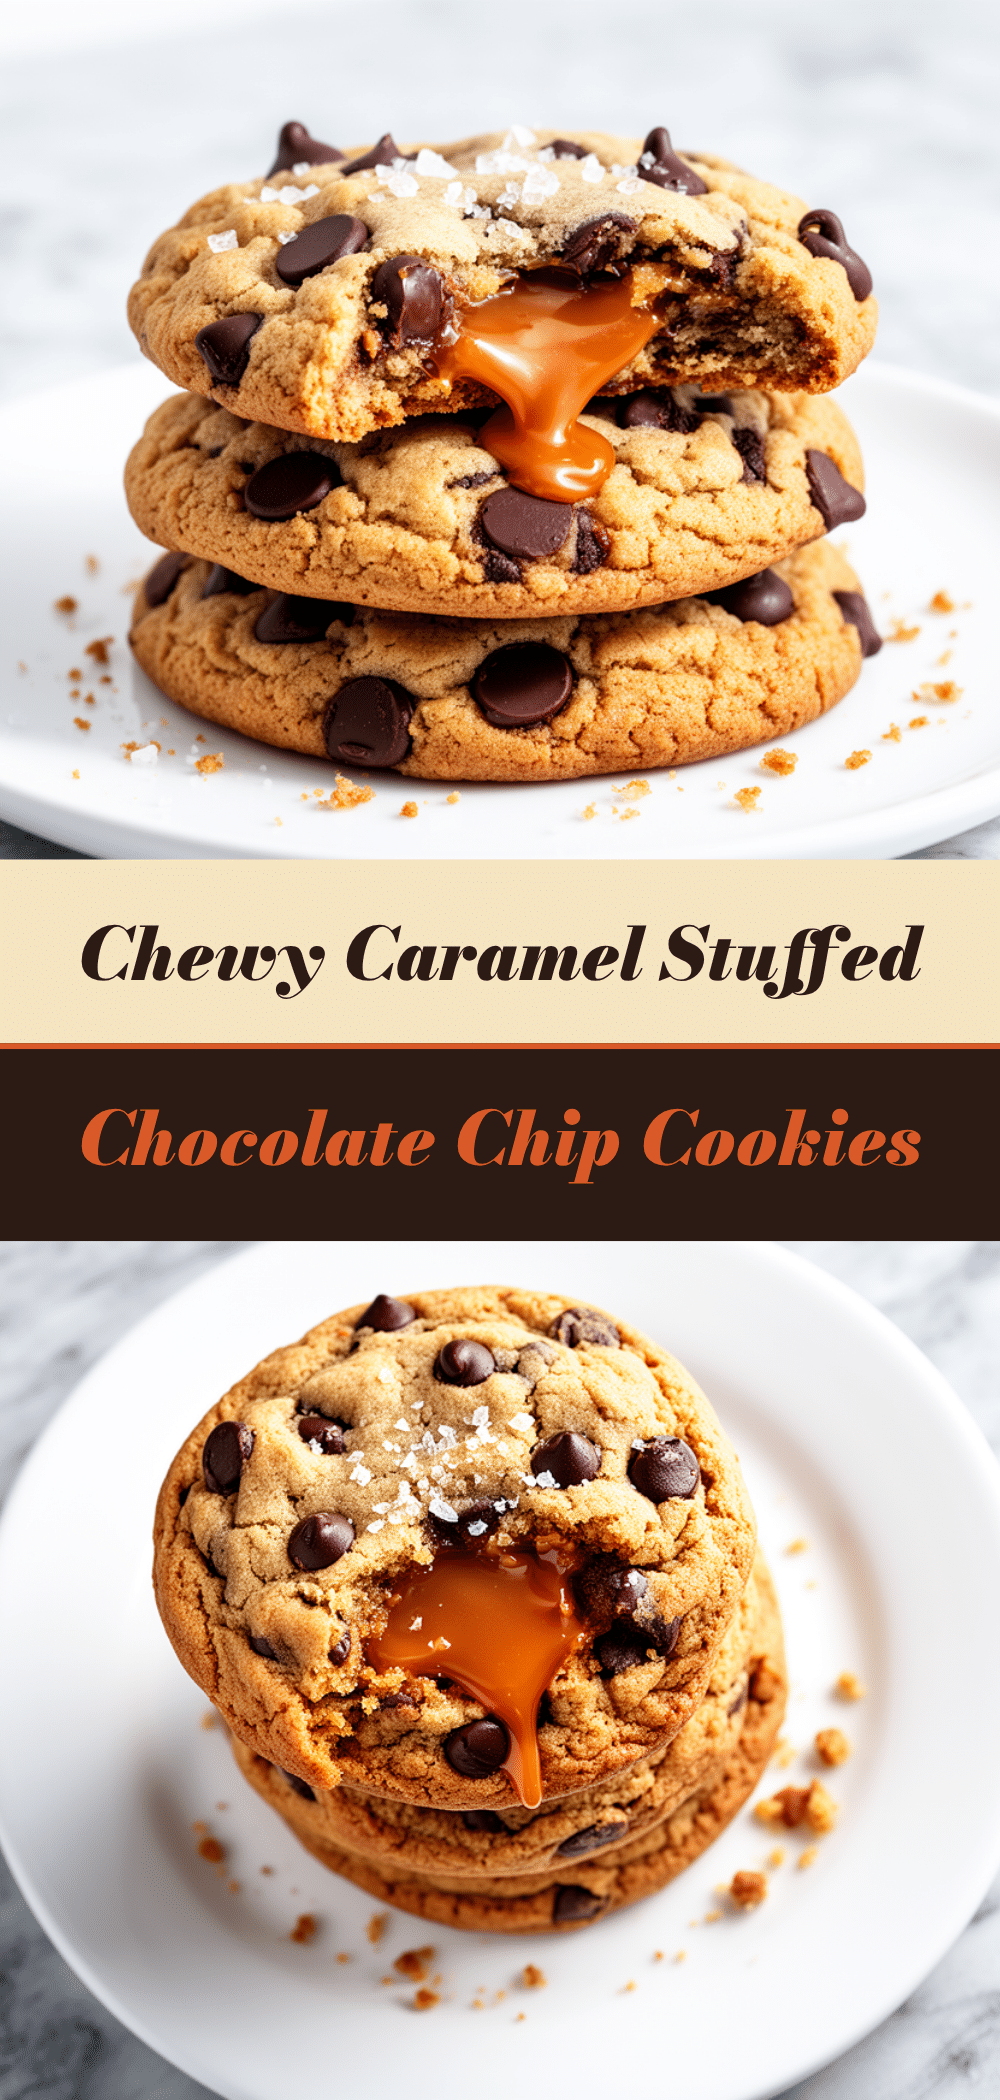
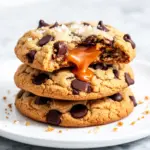
Chewy Caramel-Stuffed Chocolate Chip Cookies: Easy & Perfect
- Total Time: 45 minutes
- Yield: 24 cookies 1x
Description
These chewy caramel-stuffed chocolate chip cookies feature crispy edges, impossibly soft centers, and a molten salty-sweet caramel core. They are easy to make, impressive for parties, and perfect for meal prep.
Ingredients
- 1 cup (226g) unsalted butter, softened
- 1 cup (200g) packed dark brown sugar
- ½ cup (100g) granulated sugar
- 2 large eggs, room temperature
- 2 teaspoons vanilla extract
- 2 ¼ cups (280g) all-purpose flour, spooned and leveled
- 1 teaspoon baking soda
- ½ teaspoon fine sea salt
- 2 cups (340g) chocolate chips (mix of semi-sweet and milk)
- 24–30 salted caramel squares
- Flaky sea salt, optional for topping
Instructions
- Cream the softened butter, brown sugar, and granulated sugar together on medium-high speed for 3-4 minutes until light, fluffy, and pale.
- Add the eggs one at a time, mixing well after each addition, then stir in the vanilla extract. Scrape down the sides of the bowl.
- In a separate bowl, whisk together the flour, baking soda, and salt. Gradually add the dry ingredients to the wet mixture on low speed just until the flour disappears. Do not overmix. Fold in the chocolate chips by hand.
- Chill the dough for at least 30 minutes (or up to 24 hours) to prevent spreading and enhance flavor.
- Preheat oven to 350°F (175°C). Line baking sheets with parchment paper.
- Take chilled caramel squares. Scoop about 1.5 tablespoons of dough, flatten into a disc, place a caramel square in the center, and wrap the dough around it, sealing completely. Roll into a smooth ball.
- Place dough balls on the prepared baking sheets, spaced 2 inches apart.
- Bake for 10-12 minutes until edges are golden brown but centers still look slightly soft.
- Let cookies sit on the baking sheet for 5 minutes to set, then transfer to a wire rack. Sprinkle with flaky sea salt if desired.
- Serve warm.
Notes
Ensure butter is softened but not melted to avoid flat cookies. Chill dough thoroughly to prevent spreading. Do not overbake; centers should look soft as they firm up while cooling. Dough can be frozen for up to 3 months.
- Prep Time: 30 minutes
- Cook Time: 10-12 minutes
- Category: Dessert
- Cuisine: American
Nutrition
- Serving Size: 1 cookie
- Calories: 280
- Sugar: 26
- Sodium: 180
- Fat: 14
- Saturated Fat: 8
- Carbohydrates: 38
- Fiber: 1
- Protein: 3
Keywords: chocolate chip cookies, caramel stuffed cookies, chewy cookies, dessert, baking, salty sweet, easy cookies