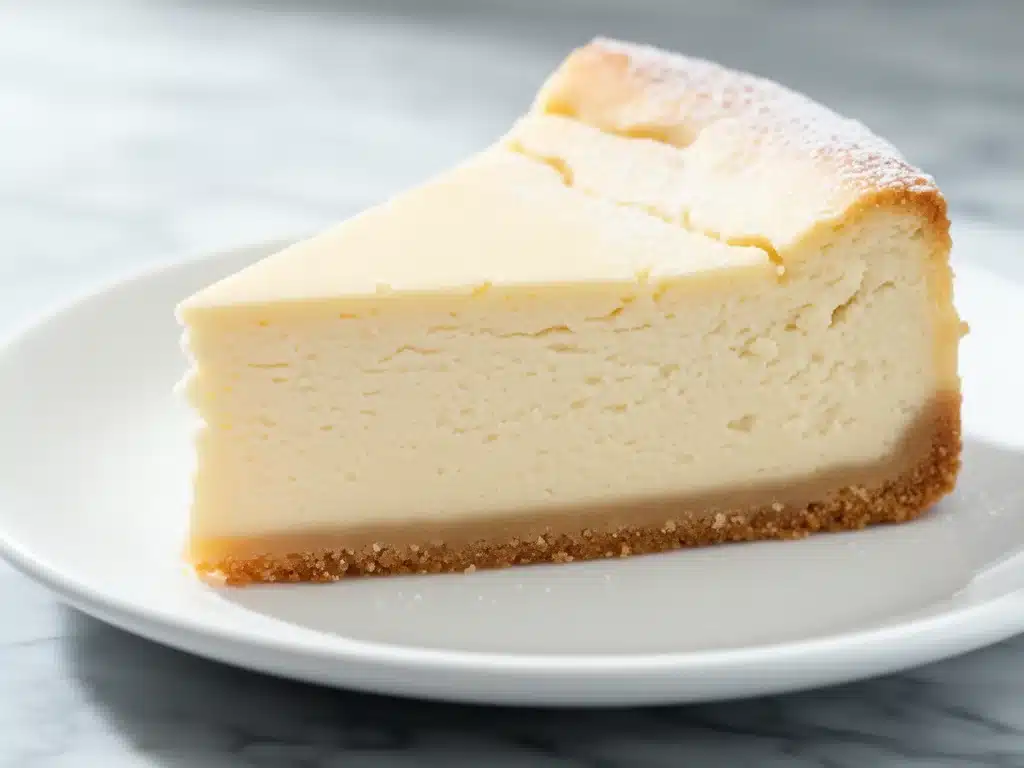
I still remember the exact moment I knew this recipe was a keeper. It was a rainy Saturday in November, the kind of day where you want something warm, comforting, and undeniably rich. I had just pulled a cheesecake out of the oven, and the smell alone was enough to make anyone stop what they were doing and stare at the kitchen. But here’s the thing about cheesecake—it’s intimidating. I’ve had my share of disasters. Cracks that look like earthquake zones. Dense centers that feel like eating a brick. Watery bottoms that ruin the whole experience. I’ve thrown out more cheesecakes than I care to admit.
This creamy baked New York cheesecake is the one that changed everything for me. It’s the kind of dessert that looks like it came from a high-end bakery, but it’s made in my home kitchen with ingredients I buy at the local grocery store. The first time I served it, my husband took one bite, closed his eyes, and said, “You need to make this every time we have guests.” He wasn’t exaggerating. It’s that good.
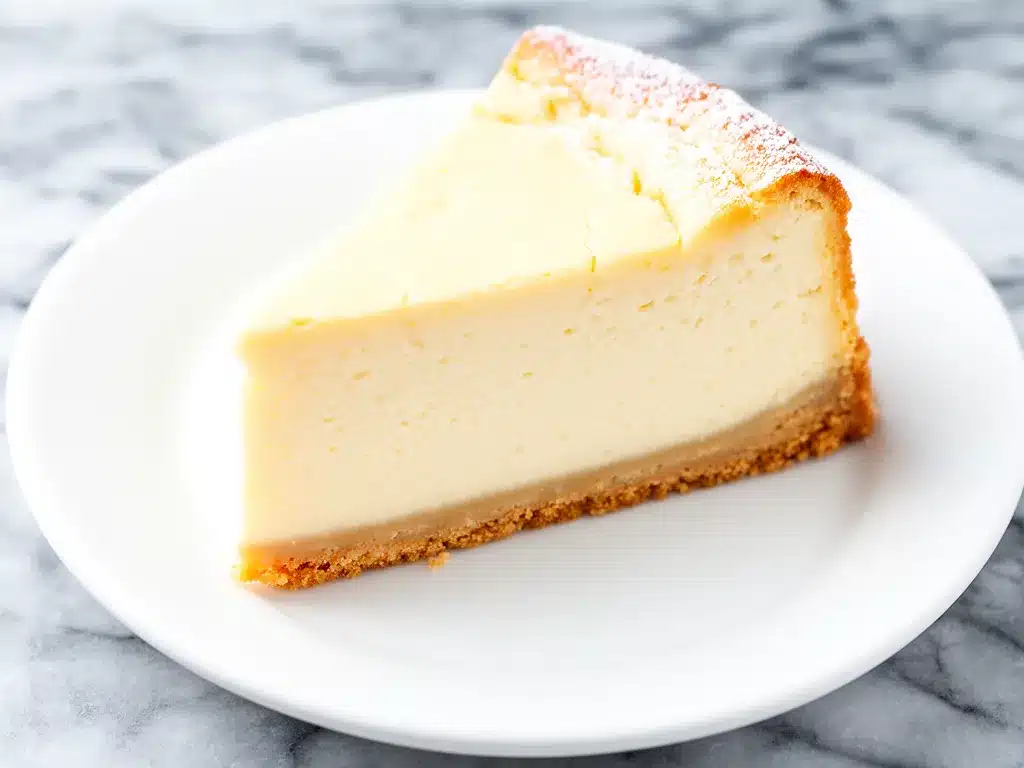
What makes this recipe special isn’t just the taste—it’s the texture. Creamy, smooth, and rich without being heavy. The crust is buttery and crisp, contrasting perfectly with the velvety filling. And the best part? It’s easier to make than you think. I’ve tested this recipe dozens of times, tweaking ratios and techniques until I got it just right. No water baths that leak. No complicated equipment. Just simple, reliable steps that guarantee success every single time.
If you’ve been nervous about baking cheesecake, this is the recipe to start with. It’s forgiving, delicious, and absolutely worth the effort. Trust me, once you make this creamy baked New York cheesecake, you’ll never go back to store-bought again.
Why You’ll Love This Creamy Baked New York Cheesecake
Let’s be honest—making a cheesecake from scratch feels like a big project. But this one? It’s surprisingly straightforward. I’ve made this for holidays, birthdays, and random Tuesday nights when I just need a little sweet comfort. Here’s why it’s become my go-to dessert:
Creamy, Crack-Free Texture — I’ve tried every trick in the book, from water baths to cooling slowly, and this method consistently delivers a smooth, dense, and crack-free top. No more patching up holes with whipped cream!
Rich, But Not Heavy — Some cheesecakes feel like you’re eating a brick. This one is luxurious and rich, but it melts in your mouth. You can eat a whole slice without feeling weighed down.
Simple Ingredients — You probably have most of these in your pantry. Cream cheese, sugar, eggs, vanilla, and a few pantry staples. No weird ingredients or hard-to-find items.
Make-Ahead Friendly — Cheesecake tastes better after chilling overnight. I often make it the day before a party, which saves me stress on the day of. It keeps in the fridge for up to 5 days, or freezes beautifully for up to 3 months.
Impresses Everyone — Whether you’re serving it to food snobs or picky eaters, this cheesecake gets raves. I’ve served it to my vegan friend (with a dairy-free version) and my chocolate-obsessed brother, and everyone loved it.
This isn’t just a dessert—it’s a confidence builder. Once you make this creamy baked New York cheesecake, you’ll feel like a pro baker. And the best part? It’s worth every minute.
Ingredients You’ll Need
Here’s the best part: you don’t need fancy ingredients to make this cheesecake. Most of these are staples I keep on hand. I’m particular about a few things, though, and I’ll tell you exactly why.
For the Crust:
Graham cracker crumbs (1 ½ cups / 150g) — I use regular graham crackers, not the honey-sweetened kind, for a balanced flavor. You can crush them in a food processor or a zip-top bag with a rolling pin.
Unsalted butter (6 tablespoons / 85g, melted) — Real butter is key here. Margarine won’t give you that crisp, buttery crust. Melt it completely before mixing.
Granulated sugar (2 tablespoons / 25g) — Just a little to sweeten the crust. Don’t skip it—it balances the butter.
Pinch of salt — Enhances the flavor. Don’t skip this!
For the Filling:
Cream cheese (32 ounces / 900g, full-fat) — This is the star. Use full-fat, block-style cream cheese, not the spreadable kind in a tub. It needs to be softened to room temperature for at least 1-2 hours. Cold cream cheese leads to lumps.
Granulated sugar (1 cup / 200g) — Adjust to taste, but I like it sweet. If you prefer less sweet, reduce to ¾ cup.
Sour cream (1 cup / 240g, full-fat) — This adds tang and creaminess. Don’t use low-fat—it changes the texture. I use full-fat for the richest result.
Vanilla extract (2 teaspoons) — Use pure vanilla, not imitation. It makes a huge difference in flavor.
Eggs (4 large, room temperature) — Room temperature eggs blend better and prevent overmixing. I take them out of the fridge 30 minutes before baking.
All-purpose flour (2 tablespoons / 16g) — A little flour stabilizes the cheesecake and prevents cracking. Don’t skip it!
Optional Add-ins:
Chocolate chips (½ cup / 90g) — Fold these in for a chocolate swirl. My kids love this version.
Fresh berries (1 cup) — Top with strawberries or raspberries for a fresh contrast.
Chocolate sauce (drizzle) — For an extra indulgent touch.
I always buy block cream cheese because it’s fresher and has better texture than the tub version. And for the crust, I prefer regular graham crackers because they’re less sweet. If you’re making this for a party, I recommend doubling the recipe for a deeper cheesecake.
Equipment Needed
You don’t need fancy gear for this. Here’s what I actually use:
9-inch springform pan — This is essential for cheesecake. It allows you to remove the cake easily. Make sure it’s in good condition—rusty or dented pans can leak.
Stand mixer or hand mixer — I use a stand mixer with the paddle attachment for even mixing. A hand mixer works too, but it takes longer.
Large mixing bowl — For combining the crust. Any bowl works.
Measuring cups and spoons — Standard stuff. Dollar store versions are fine.
Spatula — For scraping the bowl and smoothing the top. Silicone works best.
Aluminum foil — To wrap the bottom of the pan if using a water bath (optional).
Cooling rack — For cooling the cheesecake slowly. Any rack works.
I’m not a fan of water baths for this recipe because they can be messy. This method doesn’t need one. Just a good springform pan and a mixer, and you’re set.
How to Make It: Step-by-Step
Alright, let’s make this! I’m walking you through exactly how I do it, including the little tricks I’ve picked up.
Step 1: Prep Your Pan and Oven (5 minutes)
Preheat your oven to 325°F (165°C). Grease the bottom of a 9-inch springform pan with butter. Wrap the bottom and sides of the pan with heavy-duty aluminum foil to prevent leaks. This isn’t strictly necessary if you’re not using a water bath, but it’s a good safety net. Set aside.
Step 2: Make the Crust (5 minutes)
In a medium bowl, mix the graham cracker crumbs, melted butter, sugar, and salt until it resembles wet sand. Press this mixture firmly into the bottom of the prepared pan. Use the bottom of a measuring cup to pack it down evenly. Bake for 10 minutes at 325°F, then remove and let cool while you make the filling.
Step 3: Mix the Filling (10 minutes)
In a large bowl, beat the softened cream cheese on medium-low speed until smooth and creamy, about 2-3 minutes. Scrape down the sides and bottom of the bowl. Add the sugar and beat until combined. Add the sour cream and vanilla extract, and mix until smooth.
Step 4: Add the Eggs (5 minutes)
Add the eggs one at a time, mixing on low speed just until incorporated. Do not overmix! Overmixing adds air, which can cause cracks. Scrape the bowl again. Add the flour and mix briefly until just combined.
Step 5: Pour and Bake (60-70 minutes)
Pour the filling over the cooled crust. Smooth the top with a spatula. Bake at 325°F for 60-70 minutes. The edges should be set, but the center should still jiggle slightly like Jell-O when you shake the pan. This is crucial—it will firm up as it cools.
Step 6: Cool and Chill (4+ hours)
Turn off the oven and crack the door open. Let the cheesecake cool in the oven for 1 hour. This gradual cooling prevents cracking. Then, remove it and let it cool completely on a rack. Refrigerate for at least 4 hours, preferably overnight. This is where the magic happens—the flavors meld and the texture sets.
Step 7: Serve
Run a knife around the edge of the pan to loosen the cheesecake. Remove the springform ring. Slice with a warm knife for clean cuts. Top with berries, chocolate sauce, or whipped cream if desired.
Total Time: About 1 hour active, 4+ hours chilling. The waiting is the hardest part!
Expert Tips & Tricks
Here’s everything I’ve learned from making this dozens of times. These tips will save you from my mistakes.
Room Temperature Ingredients — This is non-negotiable. Cold cream cheese leads to lumps. Cold eggs cause the batter to seize. Take everything out of the fridge at least 1-2 hours before baking. I set a timer so I don’t forget.
Don’t Overmix — Once you add the eggs, mix on low speed just until combined. Overmixing adds air, which expands in the oven and causes cracks. I learned this the hard way with a cheesecake that looked like a cracked sidewalk.
Gradual Cooling — Cracking is often caused by sudden temperature changes. Let the cheesecake cool in the turned-off oven with the door cracked. This slow cooling is the secret to a smooth top.
Use a Springform Pan — It’s worth the investment. Trying to remove a cheesecake from a regular pan is a nightmare. A good springform pan makes removal easy.
Chill Overnight — Cheesecake tastes better after chilling overnight. The flavors deepen, and the texture sets perfectly. I make it the day before a party to save stress.
Warm Knife for Slicing — Dip your knife in hot water and wipe it dry between cuts. This gives you clean, professional-looking slices. Cold knives tear the cheesecake.
Variations & Substitutions
Once you’ve nailed the basic version, here’s how you can mix it up. I’ve tried all of these.
Chocolate Swirl — Mix ½ cup chocolate chips into the batter. Or, swirl ½ cup melted chocolate into the top before baking. My kids love this version.
Berry Cheesecake — Top with fresh strawberries, raspberries, or blueberries. Or, swirl ½ cup berry jam into the batter. I use this for spring and summer parties.
Gluten-Free — Use gluten-free graham cracker crumbs. Everything else is naturally gluten-free. I use Gluten Free Plain Graham Cracker Crumbs and it works great.
Dairy-Free — Replace cream cheese with Tofutti Better Than Cream Cheese, sour cream with dairy-free sour cream, and butter with coconut oil. It’s different but still tasty. My lactose-intolerant friend requests this version.
Lower-Sugar — Use a sugar substitute like Swerve or Monk Fruit. Reduce sugar to ¾ cup. It’s less sweet but still good. I make this when I’m trying to be “healthy.”
Lemon Cheesecake — Add zest of 1 lemon and 2 tablespoons lemon juice to the batter. Brightens everything up. Great for summer.
Coffee Cheesecake — Add 1 tablespoon instant espresso powder to the batter. Adds a rich, coffee flavor. My husband prefers this version.
Serving & Storage
How to Serve:
I usually serve this straight from the fridge, sliced with a warm knife. But here are other ways I’ve enjoyed it:
Side Dishes:
- Fresh berries (strawberries, raspberries, blueberries)
- Whipped cream
- Chocolate sauce drizzle
- Cookie crumbs for garnish
Toppings Bar:
When I have guests, I put out: fresh berries, chocolate sauce, whipped cream, crushed cookies, and mint leaves. Everyone customizes their slice.
Wine Pairing:
Not a wine expert, but my wine-snob friend says a sweet Riesling or Moscato works great with this. It balances the richness.
Storage Instructions:
Refrigerator:
Store in an airtight container or wrap tightly in plastic wrap for up to 5 days. The cheesecake will firm up in the fridge—totally normal.
Freezing:
Cheesecake freezes beautifully! Wrap the whole cake or individual slices in plastic wrap, then in aluminum foil. Freeze for up to 3 months. Thaw in the fridge overnight before serving.
Pro tip:
If leftovers are drying out, cover them tightly with plastic wrap. Cheesecake stays moist for days. I rarely have leftovers because it’s so good!
Nutrition Information
I’m not a nutritionist, but here’s the breakdown if you’re tracking.
Per Serving (based on 12 servings):
| Calories | 380 |
| Protein | 6g |
| Carbs | 32g |
| Fiber | 0.5g |
| Sugar | 24g |
| Fat | 24g |
| Saturated Fat | 14g |
| Cholesterol | 85mg |
| Sodium | 220mg |
| Calcium | 120mg |
What’s Good:
- Good source of calcium from the cream cheese
- Protein from eggs and dairy
- Can add fruit to boost nutrition
What to Know:
- Higher in calories from cream cheese and butter
- Contains dairy and gluten
- High in sugar (reduce sugar for a lighter version)
My Take:
Look, this is a rich, indulgent dessert. It’s not a diet recipe. But it’s way better than store-bought, and I know exactly what’s in it. When I want to make it lighter, I use the lower-sugar version and top with fresh fruit instead of sauce. But usually? I just eat a reasonable portion and enjoy it. Life’s too short to skip dessert!
Dietary Notes:
- Contains: gluten, dairy
- Can be made: gluten-free, dairy-free, lower-sugar
- Not suitable for: vegan (without modifications)
Final Thoughts
So that’s my go-to creamy baked New York cheesecake! I’ve probably talked your ear off at this point, but when you make a recipe this often, you have a lot to say about it.
This has saved dessert nights more times than I can count. It’s my answer to “what’s for dessert” when I want something special but don’t want to stress. My husband’s happy, my kids are happy, and I’m happy because I’m not stressed about baking.
Make it yours! Try different add-ins, swap in your favorite toppings, adjust the sweetness. The best recipes are the ones you adapt to your family’s tastes. If you make this, drop a comment and let me know what you think! I love hearing how recipes turn out in your kitchen. And if something doesn’t work, tell me that too—I’m here to help troubleshoot.
Happy baking! And I hope your kitchen smells half as good as mine does right now.
Frequently Asked Questions
Q: Can I use low-fat cream cheese?
A: You can, but the texture will be different. Low-fat cream cheese has more water and less fat, which can make the cheesecake runnier and less rich. For the best results, use full-fat, block-style cream cheese. If you must use low-fat, add an extra tablespoon of flour to stabilize it.
Q: Why did my cheesecake crack?
A: Cracking is usually caused by overmixing (which adds air), baking at too high a temperature, or cooling too quickly. This recipe minimizes cracking by using gradual cooling and low-speed mixing. If your cheesecake cracks, it’s still delicious! You can cover it with whipped cream or fruit.
Q: Can I make this ahead for a party?
A: Absolutely! This cheesecake actually tastes better after chilling overnight. Make it 1-2 days ahead and store in the fridge. It keeps well for up to 5 days. I often make it on Sunday for a Saturday party.
Q: How do I store leftovers?
A: Store in an airtight container or wrap tightly in plastic wrap in the fridge for up to 5 days. For longer storage, freeze individual slices wrapped in plastic and foil for up to 3 months. Thaw in the fridge overnight.
Q: Can I use a regular pan instead of a springform pan?
A: It’s not recommended. A springform pan allows you to remove the cheesecake easily without damaging it. Trying to remove it from a regular pan is difficult and risky. If you don’t have a springform pan, consider borrowing one or buying a cheap one—it’s worth it.
Q: Can I add chocolate chips to the batter?
A: Yes! Fold ½ cup chocolate chips into the batter before pouring it into the pan. Or, swirl ½ cup melted chocolate into the top before baking. My kids love this version.
Q: How do I know when the cheesecake is done?
A: The edges should be set, but the center should still jiggle slightly like Jell-O when you shake the pan. It will firm up as it cools. If the center is completely liquid, bake for 5-10 more minutes. If it’s completely firm, it’s overbaked.
Pin This Recipe!
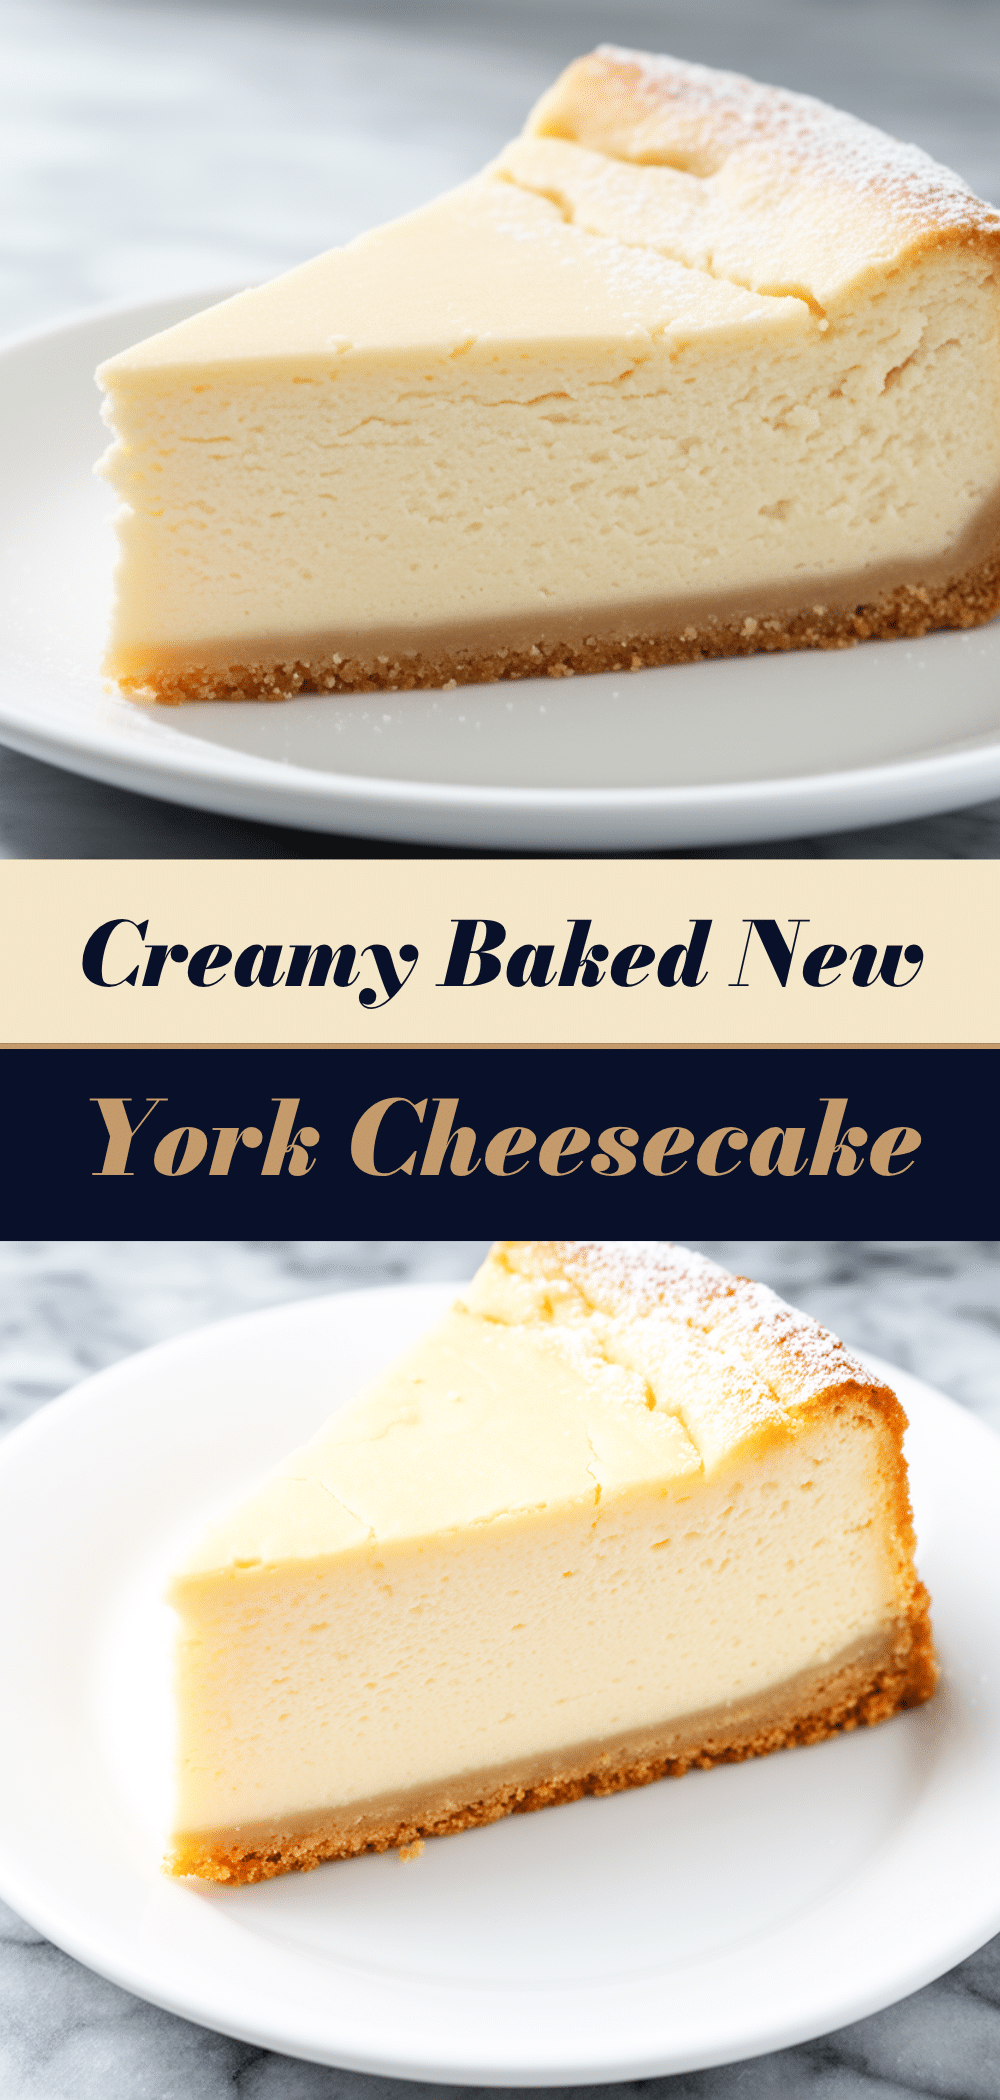
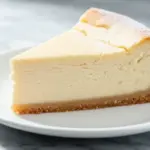
Perfect New York Cheesecake: Easy Baked Recipe
- Total Time: 4 hours 90 minutes
- Yield: 12 servings 1x
Description
A creamy, crack-free baked New York cheesecake that is rich yet light, made with simple ingredients and no water bath required. This forgiving recipe guarantees a smooth, professional-quality dessert.
Ingredients
- 1 ½ cups graham cracker crumbs
- 6 tablespoons unsalted butter, melted
- 2 tablespoons granulated sugar
- Pinch of salt
- 32 ounces full-fat block-style cream cheese, softened to room temperature
- 1 cup granulated sugar
- 1 cup full-fat sour cream
- 2 teaspoons pure vanilla extract
- 4 large eggs, room temperature
- 2 tablespoons all-purpose flour
Instructions
- Preheat oven to 325°F (165°C). Grease the bottom of a 9-inch springform pan and wrap the bottom and sides with heavy-duty aluminum foil to prevent leaks.
- In a medium bowl, mix graham cracker crumbs, melted butter, sugar, and salt until resembling wet sand. Press firmly into the bottom of the prepared pan. Bake for 10 minutes, then remove and let cool.
- In a large bowl, beat softened cream cheese on medium-low speed until smooth (2-3 minutes). Scrape down sides and bottom. Add sugar and beat until combined.
- Add sour cream and vanilla extract, mixing until smooth.
- Add eggs one at a time, mixing on low speed just until incorporated. Do not overmix. Scrape bowl again.
- Add flour and mix briefly until just combined.
- Pour filling over cooled crust and smooth top with a spatula.
- Bake at 325°F for 60-70 minutes. Edges should be set, but center should jiggle slightly like Jell-O.
- Turn off oven and crack door open. Let cheesecake cool in oven for 1 hour to prevent cracking.
- Remove from oven and let cool completely on a rack.
- Refrigerate for at least 4 hours, preferably overnight, before serving.
- Run a knife around the edge to loosen, remove springform ring, and slice with a warm knife.
Notes
Ensure all ingredients, especially cream cheese and eggs, are at room temperature to prevent lumps and cracking. Do not overmix the batter after adding eggs, as this incorporates air which causes cracks. Gradual cooling in the turned-off oven is crucial for a smooth top. Can be made gluten-free by using gluten-free graham cracker crumbs or dairy-free by substituting with plant-based alternatives.
- Prep Time: 20 minutes
- Cook Time: 70 minutes
- Category: Dessert
- Cuisine: American
Nutrition
- Serving Size: 1 slice
- Calories: 380
- Sugar: 24
- Sodium: 220
- Fat: 24
- Saturated Fat: 14
- Carbohydrates: 32
- Fiber: 0.5
- Protein: 6
Keywords: New York cheesecake, baked cheesecake, creamy cheesecake, easy dessert, graham cracker crust, no water bath