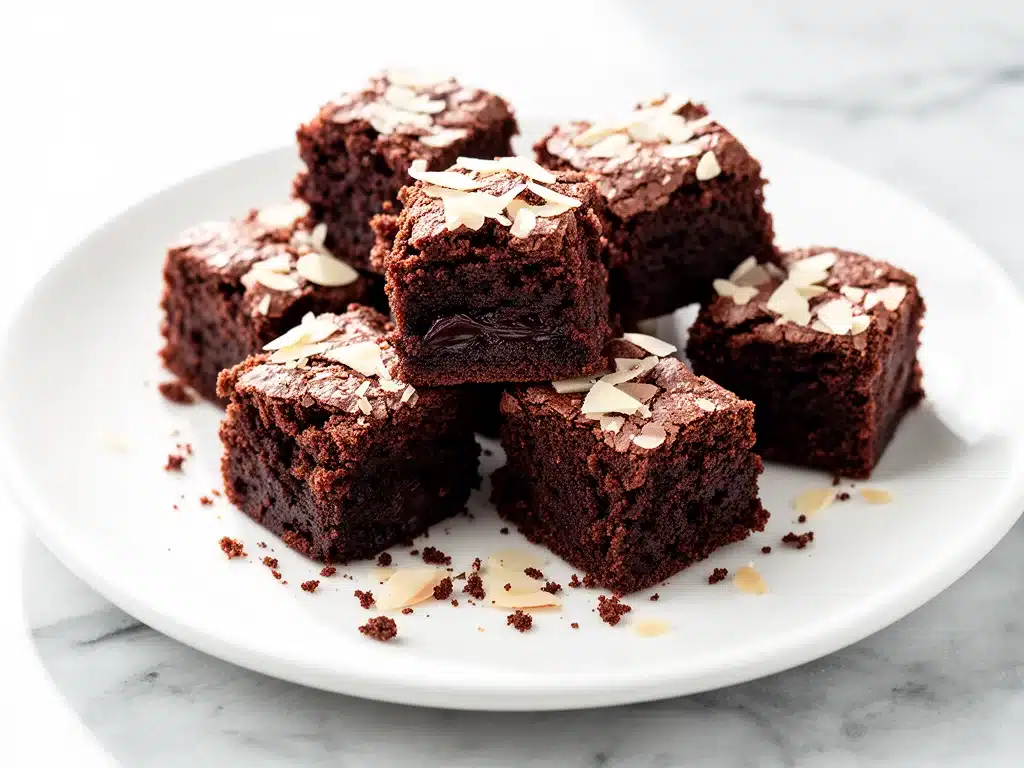
I have a confession to make. For years, I treated gluten-free baking like a punishment. I thought it meant eating cardboard cookies that tasted like despair and watching my kids push their plates away with grimaces. It wasn’t until last summer, when my sister-in-law brought over a tin of these tiny, dark, impossibly fudgy brownie bites at a family reunion, that I realized I’d been wrong. And wrong hard.
She didn’t even say they were gluten-free. She just said, “Try these, they’re my secret weapon for when I need to impress people without spending hours in the kitchen.” I took one bite, and I’m not even exaggerating when I say it stopped time. The texture was dense and chewy, the chocolate flavor was intense but balanced, and there was absolutely no weird aftertaste that usually haunts almond flour recipes. My husband, who is skeptical of anything labeled “healthy” or “gluten-free,” asked for the recipe before the tin was even empty. That’s how I discovered that sometimes the best desserts happen when you stop trying to force traditional flour into a square peg.
These gluten-free almond flour fudgy brownie bites everyone always asks for have become my go-to for everything from potlucks to late-night cravings. They’re small enough to be a guilt-free treat, but rich enough to satisfy the deepest chocolate lusts. I’ve tested this recipe at least fifteen times since that reunion—tweaking the chocolate-to-almond ratio, adjusting the baking time, and even trying different types of dark chocolate. What I’ve landed on is a recipe that’s not just “good for gluten-free,” but genuinely good, period. It’s sticky, sweet, and incredibly easy to make. If you’ve been avoiding almond flour because you’re scared it’ll turn out dry or crumbly, let me show you why these bites are different.
Why You’ll Love This Recipe
There are about ten reasons I keep making these brownie bites, but here are the big ones that keep me coming back to the kitchen. This isn’t just another gluten-free experiment; it’s a reliable, delicious dessert that actually works.
- Texture That Actually Works — Seriously, if you’ve ever eaten a gluten-free brownie that felt like a dense brick or a dry sponge, you know the struggle. These bites are fudgy. Like, “stick your fingers in the bowl” fudgy. The almond flour adds moisture and richness, while the cocoa powder keeps them tender. I’ve made these for picky eaters, and they always ask for seconds.
- Lightning Fast — 15 minutes of prep, 12 minutes of baking. That’s it. I make these on weeknights when I want something sweet but don’t have time to wait for a cake to cool. They come out of the oven quickly and cool down fast because they’re small. Perfect for when the chocolate craving hits at 8pm.
- Pantry-Friendly (With One Exception) — You probably have most of this already. Almond flour is the only specialty ingredient, but you can buy a bag and freeze it for months. The rest is just chocolate, butter, sugar, eggs, and vanilla. I keep almond flour stocked specifically so I can make these on a whim.
- Crowd-Pleaser — I’ve served these to my gluten-free neighbor, my keto cousin, and my dad who hates “diet food.” Everyone loved them. They’re naturally gluten-free and can easily be made low-sugar if needed, making them versatile for any dietary need.
- Makes Amazing Leftovers — Actually, there are rarely leftovers. But if there are, they keep well in the fridge for up to a week. They taste better the next day as the flavors meld. I deliberately make a double batch for lunch throughout the week.
- Budget-Smart — Feeds 12-15 people for under $10. Almond flour can be pricey, but you don’t need much per bite. That’s less than one meal at a fast-food place, and way more satisfying.
This is my go-to when I need a dessert that just works. No complicated techniques, no weird ingredients, just reliable, delicious food that makes everyone happy. And if you’re looking for other easy treats, these pair beautifully with my best greek yogurt blueberry muffins for a weekend brunch spread.
Ingredients You’ll Need
Here’s the best part: you probably have most of this already. I’m particular about two ingredients here—the almond flour and the chocolate—and I’ll tell you exactly why.
For the Base
Almond flour (1 cup / 110g) — Use blanched, super-fine almond flour. Coarser meals make the brownies gritty. I love Bob’s Red Mill or Honeyville. Don’t use almond meal unless you want a nuttier, coarser texture. This is the star of the show.
Unsweetened cocoa powder (½ cup / 45g) — Natural cocoa is fine, but Dutch-processed gives a deeper, darker color and richer flavor. I use Hershey’s Special Dark for that intense chocolate hit. Don’t use chocolate drink mix—it has sugar in it.
Granulated sugar (¾ cup / 150g) — White sugar keeps them chewy. Brown sugar makes them cakey. I prefer white for that fudgy texture. If you’re cutting sugar, see variations below.
Butter (½ cup / 113g, melted) — Unsalted is best so you control the salt. Melt it completely. Coconut oil works too for dairy-free, but it changes the texture slightly—more cake-like. Butter is non-negotiable for fudgy.
Eggs (2 large) — Room temperature eggs incorporate better. Don’t skimp. They provide structure and richness.
Vanilla extract (1 teaspoon) — Pure vanilla, not imitation. It enhances the chocolate flavor. I use Nielsen-Massey.
For the Flavor
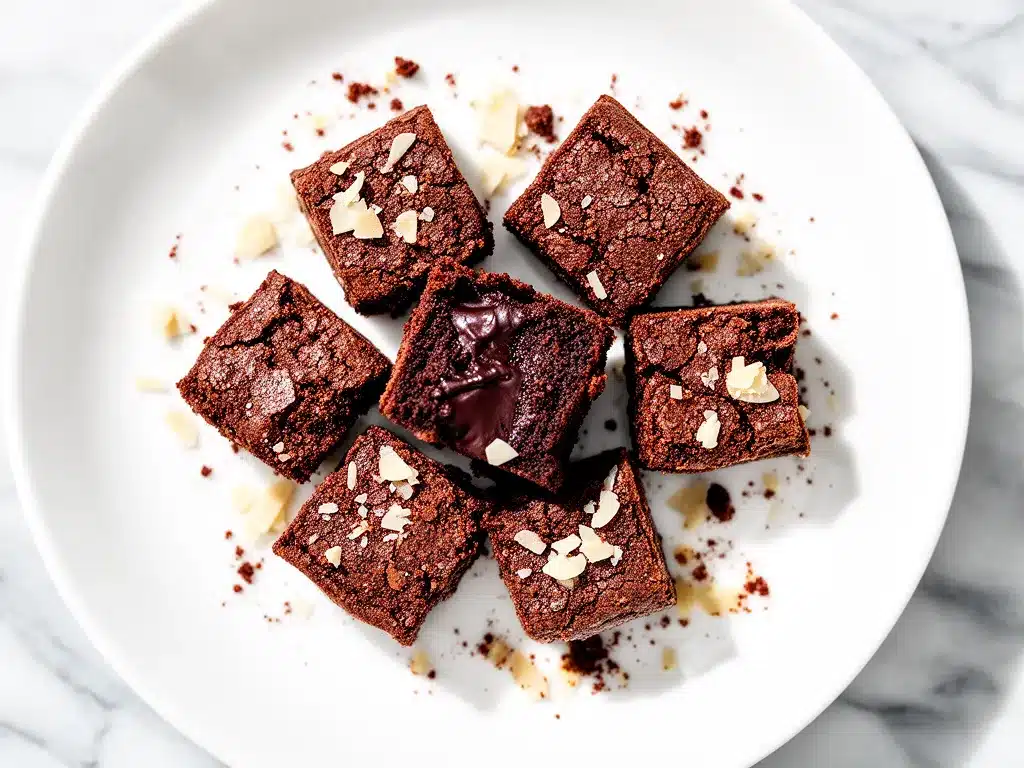
Dark chocolate chips (½ cup / 85g) — Semi-sweet or dark. I use Ghirardelli 60% cacao. They add pockets of melty chocolate. You can also chop up a chocolate bar for bigger chunks.
Salt (¼ teaspoon) — Essential. It balances the sweetness. Use fine sea salt.
Baking powder (¼ teaspoon) — Just a tiny bit to help them rise slightly. Don’t skip it, but don’t add more or they’ll get cakey.
Optional Add-ins:
- Walnuts or pecans (¼ cup, chopped) — For crunch. I add them sometimes, but not always.
- Sea salt flakes — Sprinkle on top before baking for that fancy café look.
- Raspberry jam — A dollop in the center of each bite adds a tart surprise.
Personal Tips: I buy almond flour in bulk and store it in the freezer to keep it fresh. It goes rancid quickly at room temperature. Also, measure your almond flour by weight if you can—it’s more accurate than cups. If you’re short on time, pre-sifted almond flour works, but I usually sift mine to remove any lumps.
Equipment Needed
You don’t need fancy equipment for this. Here’s what I actually use.
Medium mixing bowl — For whisking wet ingredients. Any size that fits your eggs and butter works.
Larger mixing bowl — For combining wet and dry. A 4-quart bowl is ideal.
Fork or whisk — For beating eggs and melting butter. I use a fork because it’s faster for this amount.
Spatula — Silicone is best for scraping the bowl. You want to get every bit of batter.
Mini muffin tin — This is key for bite-sized portions. Standard muffin tins work too, but you’ll get larger brownies, not bites. I use a non-stick mini muffin tin.
Paper liners or silicone cups — For easy cleanup. I prefer paper liners for these small bites.
Microplane or fine grater — Optional, for grating dark chocolate if you’re chopping it yourself.
Oven — Preheated to 350°F (175°C). Standard oven, no convection needed.
Tool Tips: Don’t have a mini muffin tin? Use a standard one and adjust baking time to 15-18 minutes. Or use a small loaf pan and cut into squares. But the mini tin gives the best bite-sized experience.
How to Make It: Step-by-Step
Alright, let’s make this! I’m walking you through exactly how I do it, including the little tricks I’ve picked up.
Step 1: Prep Your Oven and Pan (2 minutes)
Preheat your oven to 350°F (175°C). Line a mini muffin tin with paper liners or spray lightly with non-stick spray. I spray the liners just in case—they’re tiny and hard to clean if brownie sticks. Set aside.
Step 2: Melt the Butter and Chocolate (3 minutes)
In a medium microwave-safe bowl, combine the melted butter and chopped dark chocolate (or chips). Microwave in 30-second intervals, stirring between each, until smooth. Or melt in a double boiler. You want a glossy, smooth mixture. Let it cool for 2 minutes so it doesn’t cook the eggs.
Step 3: Mix Wet Ingredients (2 minutes)
To the chocolate-butter mixture, add the sugar, eggs, and vanilla extract. Whisk vigorously with a fork or whisk. You want to incorporate air—whisk for about 1-2 minutes until the mixture looks slightly lighter and glossy. This step is crucial for the fudgy texture. Don’t rush it.
Step 4: Add Dry Ingredients (2 minutes)
Add the almond flour, cocoa powder, baking powder, and salt to the wet mixture. Stir gently with a spatula until just combined. Do not overmix. The batter will be thick and sticky. If it’s too dry, add a teaspoon of milk. If too wet, add a tablespoon of almond flour. It should look like thick brownie batter.
Step 5: Fold in Add-ins (1 minute)
If you’re adding nuts or extra chocolate chips, fold them in now. Be gentle. You want to distribute them without deflating the batter.
Step 6: Fill the Molds (2 minutes)
Divide the batter evenly among the mini muffin cups. Each should be about ¾ full. Use a small spoon or your fingers to smooth the tops. If you’re adding a dollop of jam, press it into the center now.
Step 7: Bake (12-14 minutes)
Place in the oven and bake for 12-14 minutes. They’re done when the tops look set and slightly cracked, but the centers still jiggle a little. They will firm up as they cool. Do not overbake—they’ll turn cakey. I usually take them out at 12 minutes and check.
Step 8: Cool and Serve
Let them cool in the pan for 5 minutes, then transfer to a wire rack to cool completely. They’re delicate when hot. Once cool, they’re firm and fudgy. Dust with powdered sugar or sea salt if desired.
Total Time: About 20 minutes (5 minutes prep, 12 minutes baking, 5 minutes cooling)
Built-in Troubleshooting:
– Brownies too dry? You overbaked them. Next time, check at 11 minutes.
– Brownies too cakey? Too much almond flour or overmixing. Measure accurately and fold gently.
– Brownies stuck to liners? Not enough spray or liners were too thick. Use thin paper liners.
Expert Tips & Tricks
Here’s everything I’ve learned from making these dozens of times. These tips will save you from my mistakes.
Use Fine Almond Flour
This is the #1 tip. Coarse almond flour makes gritty brownies. Buy “super-fine” or sift your own. I’ve used coarse flour once, and the texture was awful. Now I always sift mine to remove lumps.
Don’t Overbake
They continue cooking in the pan. Remove them when they look slightly underdone in the center. They’ll firm up as they cool. Overbaking is the most common mistake.
Whisk the Eggs Well
Whisking the eggs and sugar creates a glossy, fudgy texture. It’s not just for volume—it’s for structure. Don’t skip this step.
Room Temperature Ingredients
Eggs and butter at room temperature incorporate better. Cold eggs can cause the chocolate to seize. Take them out 15 minutes before starting.
Common Mistakes (and how to avoid them):
- Mistake: Brownies are too crumbly Fix: Add a little more butter or an extra egg yolk for richness.
- Mistake: Brownies are too dense Fix: You might have used too much almond flour. Measure by weight, not cups.
- Mistake: Brownies are too sweet Fix: Use darker chocolate (70% cacao) and reduce sugar by 2 tablespoons.
Pro Tricks I’ve Learned:
- For Extra Fudginess Add 1 tablespoon of cornstarch to the dry ingredients. It softens the texture.
- For Better Flavor Add a pinch of espresso powder to the dry ingredients. It enhances the chocolate without making it taste like coffee.
- For Pretty Presentation Sprinkle sea salt flakes on top before baking. It looks professional and balances the sweetness.
Variations & Substitutions
Once you’ve nailed the basic version, here’s how you can mix it up. I’ve tried all of these.
Low-Sugar Version
Replace granulated sugar with erythritol or monk fruit sweetener. Use 1:1 baking sweetener. The texture will be slightly different—more cakey—but still delicious. I use Lakanto brand.
Dairy-Free
Replace butter with coconut oil or vegan butter. Use dairy-free chocolate chips. The texture will be slightly softer. My lactose-intolerant friend loves this version.
Vegan
Replace eggs with flax eggs (2 tablespoons ground flax + 6 tablespoons water, rested 5 minutes). Replace butter with coconut oil. Use vegan chocolate chips. It’s different but works.
Gluten-Free (Already GF)
This recipe is naturally gluten-free. Just ensure your almond flour and chocolate chips are certified gluten-free to avoid cross-contamination.
Nut-Free
Replace almond flour with oat flour (certified GF) or sunflower seed flour. The texture will be different—oat flour is more cakey. Sunflower seed flour is closer to almond flour.
Flavor Variations:
- Orange Chocolate Add zest of 1 orange to the batter.
- Mint Chocolate Add ½ teaspoon peppermint extract.
- Peanut Butter Swirl 1 tablespoon peanut butter into each cup before baking.
- Cherry Add ¼ cup dried cherries to the batter.
If you’re hosting a dinner party, these pair wonderfully with my creamy coconut lime mocktail for a refreshing contrast to the rich chocolate.
Serving & Storage
How to Serve:
I usually serve these straight from the cooling rack at room temperature. They’re perfect for potlucks because they’re bite-sized and easy to grab. But here are other ways I’ve enjoyed them:
- Warm them up for 10 seconds in the microwave for a molten center.
- Serve with a dollop of whipped cream or a scoop of vanilla ice cream.
- Dip in peanut butter or caramel sauce.
Side Dishes:
These are best as a dessert or snack. Pair with coffee, tea, or milk. They also go well with my brown sugar peach caramel coffee cake if you’re making a brunch spread.
Storage Instructions:
Refrigerator:
Store in an airtight container for up to 5 days. They stay moist in the fridge.
Freezer:
Yes, they freeze well! Freeze on a baking sheet, then transfer to a freezer bag. They last up to 3 months. Thaw at room temperature or microwave for 10 seconds.
Pro tip: If they start to dry out, wrap them in foil and microwave for 5 seconds. They’ll be soft again.
Nutrition Information
I’m not a nutritionist, but here’s the breakdown if you’re tracking. Per bite (based on 15 bites):
Calories: 90
Protein: 2g
Carbs: 8g
Fiber: 1g
Sugar: 6g
Fat: 6g
Saturated Fat: 3g
Cholesterol: 25mg
Sodium: 30mg
What’s Good:
– High in healthy fats from almonds
– Gluten-free
– Lower carb than traditional brownies
– Protein from eggs and almonds
What to Know:
– Higher in calories due to almond flour and chocolate
– Contains nuts and dairy
– Moderate sugar (reduce with sweetener substitutes)
My Take:
Look, these are treats. They’re not health food, but they’re better than store-bought gluten-free brownies which are often loaded with starches and preservatives. When I want to make them lighter, I use less sugar and add nuts for crunch. But usually? I just eat two and enjoy them.
Final Thoughts
So that’s my gluten-free almond flour fudgy brownie bites! I’ve probably talked your ear off at this point, but when you make a recipe this often, you have a lot to say about it. These have saved my dessert game more times than I can count. They’re my answer to “what’s for dessert?” when I want something indulgent but don’t want to compromise on dietary needs. My family is happy, my friends are happy, and I’m happy because I’m not stressed about cooking.
Make it yours! Try different add-ins, swap in your favorite chocolate, adjust the sweetness. The best recipes are the ones you adapt to your family’s tastes. If you make this, drop a comment and let me know what you think! I love hearing how recipes turn out in your kitchen. And if something doesn’t work, tell me that too—I’m here to help troubleshoot.
Happy cooking! And I hope your kitchen smells half as good as mine does right now.
Frequently Asked Questions
Can I use almond meal instead of almond flour?
You can, but the texture will be coarser and grittier. Almond meal has the skins on, while almond flour is blanched and finer. For a smooth, fudgy brownie, fine almond flour is best. If you must use almond meal, sift it first to remove large pieces.
Why did my brownies turn out dry?
Usually means you overbaked them. Almond flour brownies continue cooking in the pan. Remove them when the tops look set but the centers still jiggle. Also, check your almond flour measurement—too much flour makes them dry.
Can I make these ahead for a party?
Absolutely! Make them up to 3 days ahead and store in an airtight container. They actually taste better the next day as the flavors meld. Freeze them for up to 3 months for make-ahead convenience.
Can I use cocoa powder instead of chocolate chips?
Yes, but you’ll lose the pockets of melty chocolate. For a more intense chocolate flavor, add 1 tablespoon of cocoa powder to the batter and use chocolate chips for texture. Or melt dark chocolate into the batter for extra richness.
Are these safe for nut allergies?
No, these contain almond flour. They are not nut-free. For nut-free versions, use oat flour or sunflower seed flour instead. Always check labels for cross-contamination if you have severe allergies.
Can I double this recipe?
Yes! Double all ingredients and use a standard muffin tin. Increase baking time to 15-18 minutes. Make sure your mixing bowl is large enough to handle the doubled batter.
Why did my brownies crack on top?
Cracking is normal for brownies. It happens when the top sets before the inside expands. Don’t worry—it doesn’t affect taste or texture. If you want smooth tops, underbake slightly and let them cool in the pan.
Pin This Recipe!
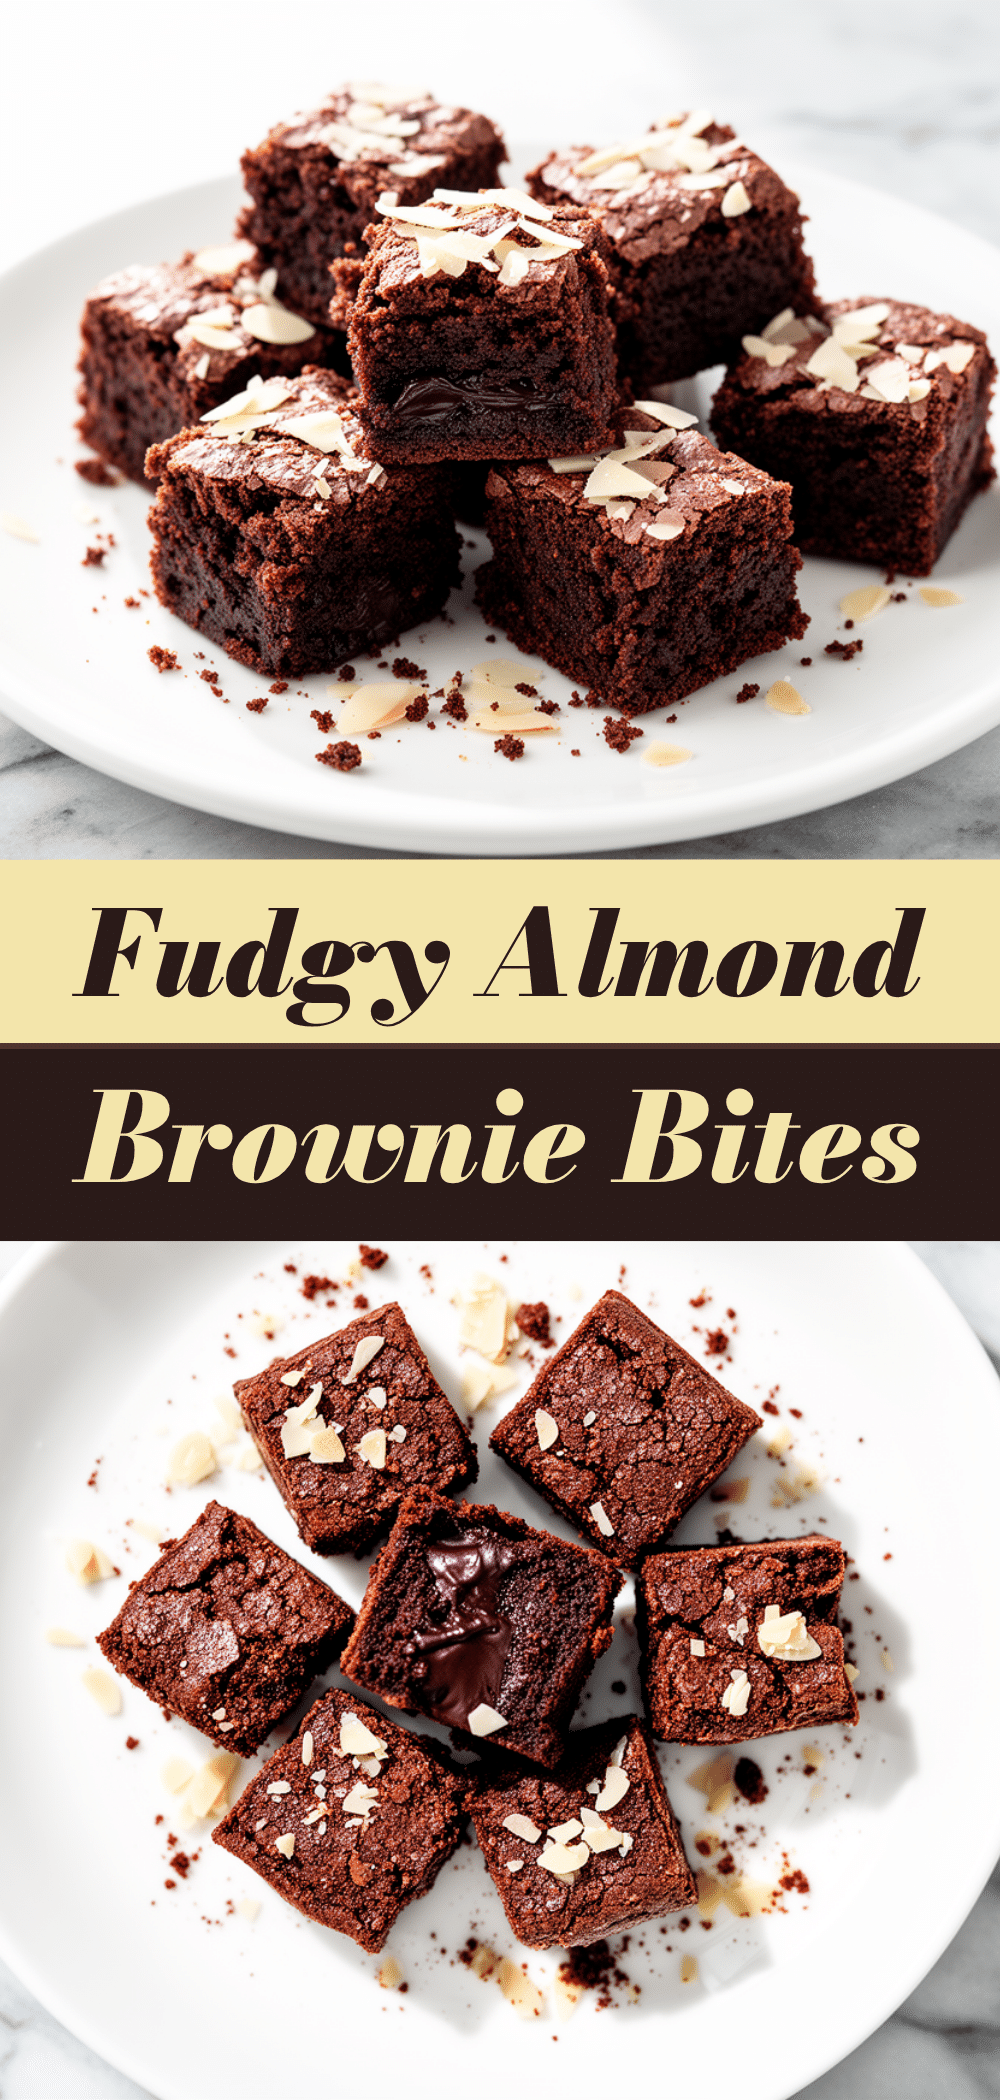
Gluten-Free Almond Flour Fudgy Brownie Bites
- Total Time: 20 minutes
- Yield: 15 servings 1x
Description
These bite-sized brownies are dense, chewy, and intensely chocolatey without any weird aftertaste. Made with almond flour, they are naturally gluten-free, quick to prepare, and perfect for satisfying late-night cravings or serving at parties.
Ingredients
- 1 cup (110g) blanched super-fine almond flour
- ½ cup (45g) unsweetened cocoa powder (Dutch-processed recommended)
- ¾ cup (150g) granulated sugar
- ½ cup (113g) unsalted butter, melted
- 2 large eggs, room temperature
- 1 teaspoon pure vanilla extract
- ½ cup (85g) dark chocolate chips or chopped dark chocolate
- ¼ teaspoon fine sea salt
- ¼ teaspoon baking powder
- Optional: ¼ cup chopped walnuts or pecans, sea salt flakes for topping, or raspberry jam for filling
Instructions
- Preheat oven to 350°F (175°C). Line a mini muffin tin with paper liners or spray lightly with non-stick spray.
- In a microwave-safe bowl, combine melted butter and chocolate chips. Microwave in 30-second intervals, stirring between each, until smooth. Let cool for 2 minutes.
- To the chocolate-butter mixture, add sugar, eggs, and vanilla extract. Whisk vigorously for 1-2 minutes until the mixture is glossy and slightly lighter in color.
- Add almond flour, cocoa powder, baking powder, and salt to the wet mixture. Stir gently with a spatula until just combined. Do not overmix.
- Fold in optional add-ins like nuts or extra chocolate chips if using.
- Divide batter evenly among mini muffin cups, filling each about ¾ full. Add a dollop of jam to the center if desired.
- Bake for 12-14 minutes, until tops look set and slightly cracked but centers still jiggle slightly.
- Let cool in the pan for 5 minutes, then transfer to a wire rack to cool completely before serving.
Notes
Use super-fine almond flour for a smooth texture; coarse almond meal will result in grittiness. Do not overbake as they continue to cook in the pan. Store in an airtight container in the fridge for up to 5 days or freeze for up to 3 months. For extra fudginess, add 1 tablespoon of cornstarch to dry ingredients.
- Prep Time: 5 minutes
- Cook Time: 12 minutes
- Category: Dessert
- Cuisine: American
Nutrition
- Serving Size: 1 bite-sized brownie
- Calories: 90
- Sugar: 6
- Sodium: 30
- Fat: 6
- Saturated Fat: 3
- Carbohydrates: 8
- Fiber: 1
- Protein: 2
Keywords: gluten-free, almond flour, brownie bites, fudgy brownies, easy dessert, dairy-free option, nut-free option, bite-sized treats



