There is a specific kind of panic that sets in when you realize Easter dinner is happening in six hours, the ham is already in the oven, and you have absolutely no dessert planned. I’ve been there. Multiple times. Usually, it’s because I got distracted by a new recipe blog post or just plain forgot that “sweet tooth” doesn’t magically appear after a heavy meal.
Last year, I stood in my kitchen staring at an empty counter, feeling like the worst hostess in history. I didn’t have time to bake a cake, and I certainly didn’t have the energy for complex pastries. That’s when I decided to stop fearing the lemon meringue pie. I’d always assumed it was too technical, too risky, too *much* for a holiday where I was already sweating over roast chicken. But I was wrong. It’s actually one of the most forgiving, beautiful, and crowd-pleasing desserts you can make, especially when you nail that flaky crust.
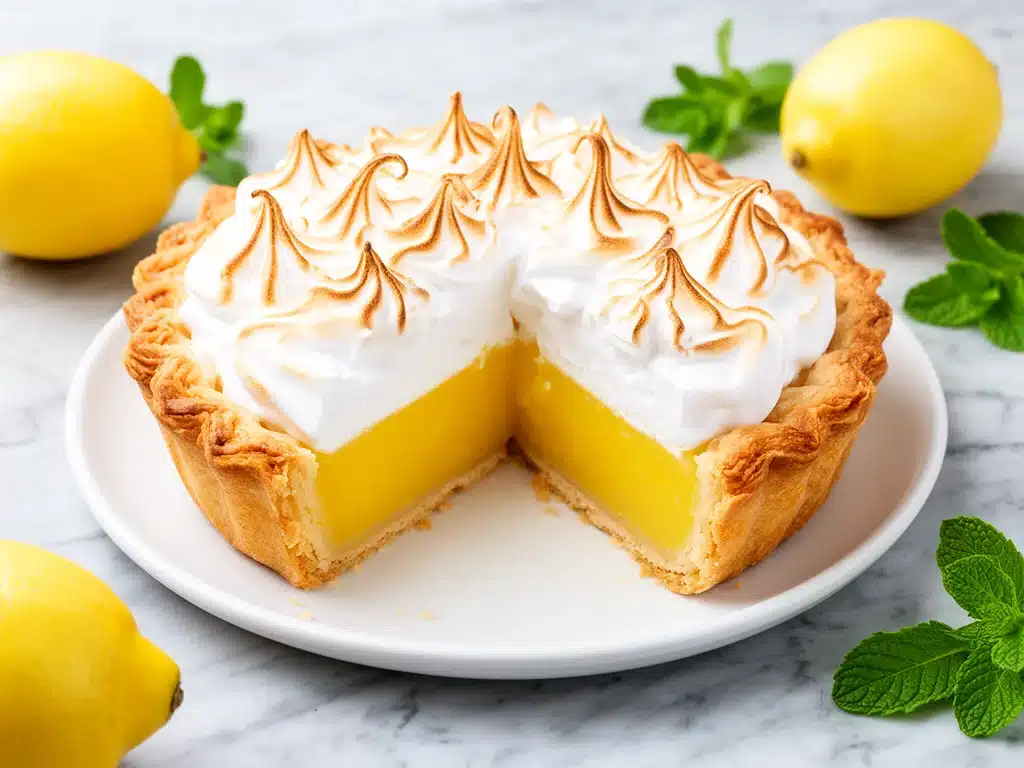
This homemade lemon meringue pie with flaky crust for Easter desserts has become my secret weapon. It looks like something from a high-end patisserie, but it’s built on simple techniques I’ve tested dozens of times. The bright, tangy lemon filling cuts through the richness of the holiday meal, and that toasted meringue? It’s pure magic. I’ve made this for my family’s Easter brunch, for potlucks, and even just because I wanted lemon on a Tuesday. Every single time, it disappears before the coffee is even poured. If you’re looking for a show-stopping dessert that’s easier than you think, this is it.
Why You’ll Love This Recipe
I know what you’re thinking: “Meringue. Lemon curd. Pie crust. That’s three things that can go wrong.” But here’s the thing—this recipe is designed to be fail-proof. I’ve broken it down so that even if you’re a nervous baker, you’ll end up with a beautiful, professional-looking pie. Here’s why this homemade lemon meringue pie with flaky crust for Easter desserts deserves a spot in your holiday rotation:
- It’s a Lighter Dessert Option — Easter dinners are heavy. We’re talking ham, potatoes, casseroles, and rolls. A dense chocolate cake or a heavy cheesecake might leave people feeling too full. This pie is bright, airy, and refreshing. It’s the perfect palate cleanser after a big meal.
- The Flaky Crust is Non-Negotiable — I’ve tried store-bought crusts, and they just don’t compare to a homemade butter crust. I use a simple trick to keep it tender and flaky without being tough. Once you taste that buttery, shattering crust against the smooth lemon filling, you’ll never go back.
- Meringue is Fun (and Forgiving) — You don’t need a stand mixer if you don’t want one. Hand-whisking the egg whites is actually therapeutic. And if your peaks aren’t perfect? No one will notice once it’s baked. The toasted peaks are what give it that rustic, homemade charm.
- Make-Ahead Friendly — This is crucial for Easter. You can bake the crust and make the filling a day ahead. Assemble and toast the meringue right before serving. It takes the stress off your big day.
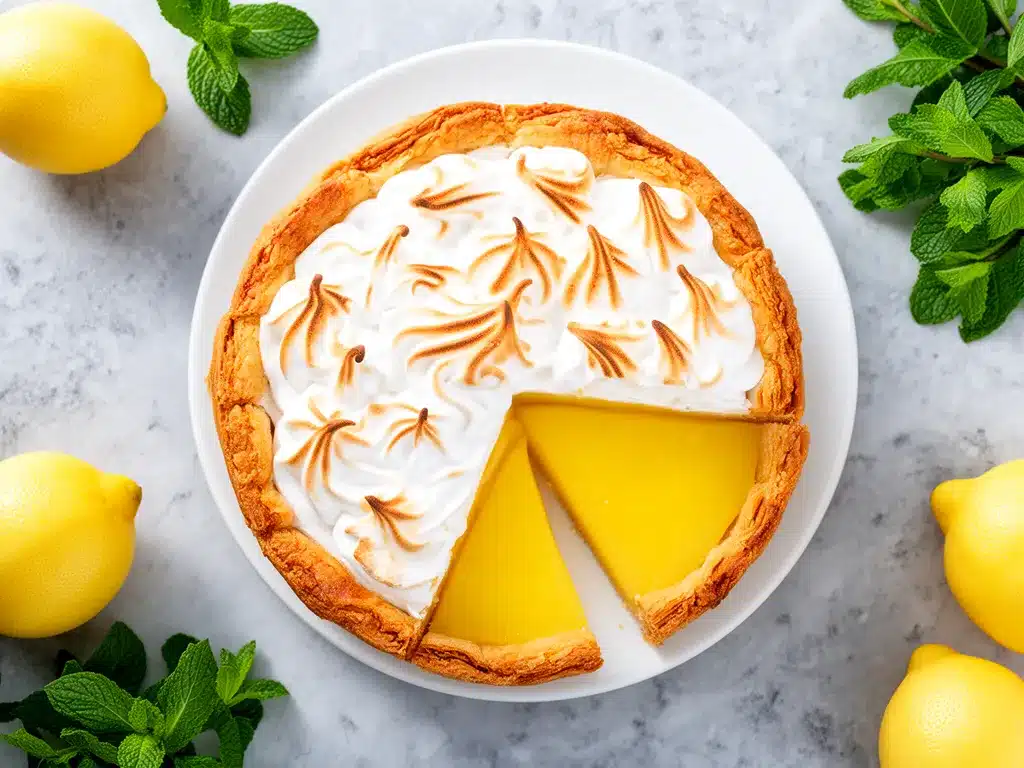
- It Looks Impressive — Let’s be honest, we all love a dessert that looks as good as it tastes. The contrast of the sunny yellow filling and the snowy white peaks is stunning. It’s the kind of pie that gets compliments from people who usually don’t care about dessert.
This recipe has saved my holidays more times than I can count. It’s reliable, delicious, and makes your kitchen smell like a lemon grove. Plus, it pairs beautifully with a cup of tea or coffee, which is exactly what people need after a big Easter lunch.
Ingredients You’ll Need
Before we dive into the method, let’s talk about what you need. I’m particular about a few things here, mostly because I’ve learned the hard way that shortcuts can ruin the texture. For this homemade lemon meringue pie with flaky crust for Easter desserts, you’ll need:
For the Flaky Pie Crust
All-purpose flour (1 ¼ cups / 150g) — Don’t use whole wheat here. You want that tender, short texture. Spoon it into the measuring cup and level it off. Don’t pack it down, or your crust will be tough.
Unsalted butter (½ cup / 113g, very cold) — This is the most important ingredient. Keep it cold! Cube it and put it back in the fridge until the last second. Cold butter creates steam pockets, which create flakiness.
Vegetable shortening (½ cup / 113g) — I know, some people hate shortening. But for a pie crust that holds its shape and stays flaky, it’s my secret weapon. It has a higher melting point than butter, so it doesn’t soften too quickly in the oven.
Ice water (4-6 tablespoons) — Essential. The water hydrates the flour without warming the fat. If your water isn’t icy, add a few cubes to the glass and let it sit for a minute.
Salt (½ teaspoon) — Just a pinch to balance the sweetness and enhance the butter flavor.
Granulated sugar (1 tablespoon) — A tiny bit helps with browning and tenderness.
For the Lemon Filling
Granulated sugar (1 cup / 200g) — This balances the tartness of the lemons. Don’t reduce it too much, or the filling won’t set properly.
Cornstarch (¼ cup / 30g) — This is what thickens the filling. It creates a smooth, glossy texture that’s different from a custard-based filling. It’s more stable and easier to slice.
Water (1 ½ cups / 360ml) — Simple and straightforward.
Fresh lemon juice (½ cup / 120ml, from about 3-4 lemons) — Please, for the love of all that is holy, use fresh juice. Bottled lemon juice has a metallic taste and lacks the bright aroma of fresh lemons. Zest two of the lemons before juicing them.
Lemon zest (2 teaspoons) — This is where the intense lemon flavor lives. Make sure you only get the yellow part, not the white pith, which is bitter.
Egg yolks (4 large) — We’re using only yolks for richness and color. Save the whites for the meringue!
Unsalted butter (2 tablespoons) — Stirred in at the end for a silky, professional finish.
For the Meringue
Egg whites (4 large, room temperature) — Room temp whites whip up faster and get higher volume. Separate them carefully over a small bowl so no yolk gets in. Even a drop of yolk can prevent the whites from whipping.
Cream of tartar (½ teaspoon) — Stabilizes the egg whites. It helps them hold their shape and prevents weeping.
Granulated sugar (½ cup / 100g) — For sweetness and structure.
Equipment Needed
You don’t need fancy gadgets for this. Here’s what I actually use:
9-inch pie dish — Glass or ceramic works best so you can see the bottom browning. Metal pans can over-brown the crust.
Rolling pin — A standard wooden one is fine. I like a French-style straight pin because it gives me better control.
Medium saucepan — For cooking the lemon filling. A heavy-bottomed pan prevents scorching.
Whisk — For the filling and the meringue. A balloon whisk is ideal for incorporating air.
Electric hand mixer or stand mixer — For the meringue. Hand-whisking takes about 10 minutes of intense effort. I use a hand mixer to save my arms.
Pastry brush — Optional, but helpful for brushing away loose flour or washing down the sides of the pan if sugar crystals form.
Silicone spatula — For stirring the filling and scraping the bowl.
How to Make It: Step-by-Step
Alright, let’s make this! I’m walking you through exactly how I do it, including the little tricks I’ve picked up over the years.
Step 1: Make the Pie Crust (15 minutes + chilling)
In a large bowl, whisk together the flour, salt, and sugar. Add the cold, cubed butter and shortening. Use a pastry cutter or your fingers to work the fat into the flour until you have pea-sized pieces. Some larger chunks are okay—they create flaky layers. Sprinkle in ice water, one tablespoon at a time, mixing gently with a spatula until the dough just starts to come together. Don’t overwork it!
Divide the dough into two discs (one slightly larger than the other). Wrap tightly in plastic wrap and refrigerate for at least 1 hour. This relaxes the gluten and re-chills the butter. While the dough chills, preheat your oven to 375°F (190°C).
Step 2: Blind Bake the Crust
On a floured surface, roll out the larger disc of dough into a 12-inch circle. Carefully transfer it to your pie dish, pressing it gently into the edges. Trim the overhang to about ½ inch. Place the dish in the freezer for 15 minutes while you make the filling. This helps the crust hold its shape.
Line the chilled crust with parchment paper and fill with pie weights or dried beans. Bake for 15 minutes. Remove the weights and parchment, then bake for another 5-7 minutes until the crust is light golden brown. Let it cool completely on a wire rack. This step is crucial—if you pour warm filling into a warm crust, it gets soggy.
Step 3: Make the Lemon Filling
In a medium saucepan, whisk together the sugar and cornstarch. Slowly whisk in the water, lemon juice, and lemon zest. Cook over medium heat, whisking constantly, until the mixture thickens and comes to a boil. This takes about 5-7 minutes. Once it boils, keep whisking for 1 full minute to cook out the cornstarch taste.
In a small bowl, whisk the egg yolks. Temper them by slowly adding a ladle of the hot lemon mixture while whisking the yolks constantly. Then pour the yolk mixture back into the saucepan. Whisk and cook for another 1-2 minutes until very thick and glossy. Remove from heat and stir in the 2 tablespoons of butter until melted and smooth.
Pour the hot filling into the cooled pie crust. Smooth the top. This is the perfect time to make your meringue!
Step 4: Make the Meringue
In a clean, dry bowl (any grease will ruin the meringue), beat the egg whites and cream of tartar on medium speed until soft peaks form. This means when you lift the beaters, the peaks curl over. Gradually add the ½ cup sugar, one tablespoon at a time, while beating on high speed. Continue beating until stiff, glossy peaks form. This means when you lift the beaters, the peaks stand straight up.
Spread the meringue over the hot lemon filling. Seal the edges by pressing the meringue against the crust to prevent shrinking. You can use a spatula to create swirls and peaks for a rustic look.
Step 5: Bake and Cool
Bake the assembled pie at 350°F (175°C) for 15-18 minutes, or until the meringue peaks are golden brown. Watch it carefully near the end—sugar burns quickly!
Let the pie cool on a wire rack for at least 2 hours before slicing. This allows the filling to set completely. If you cut it too soon, it will be runny.
Expert Tips & Tricks
Here’s everything I’ve learned from making this dozens of times. These tips will save you from my mistakes.
Keep Everything Cold — For the crust, cold butter is non-negotiable. If your kitchen is warm, put your flour and butter in the fridge for 30 minutes before starting. Warm butter melts into the flour, resulting in a tough, dense crust instead of a flaky one.
Don’t Skip the Blind Bake — Lemon filling is wet. If you don’t pre-bake the crust, the bottom will be soggy and undercooked. Blind baking ensures a crisp, sturdy base that can hold the juicy filling.
Temper Your Eggs — Adding hot lemon mixture directly to egg yolks will scramble them. Always temper them by adding a little hot liquid slowly while whisking. This creates a smooth, creamy filling without lumps.
Seal the Meringue — Spread the meringue all the way to the edges of the crust. If there’s a gap, the filling can leak out, and the meringue might shrink away from the crust during baking.
Use Room Temp Egg Whites — Cold egg whites take longer to whip and don’t reach the same volume. Separate them while they’re cold (easier to separate), but let them sit out for 20-30 minutes before whipping.
Watch the Oven — Meringue burns easily. If your peaks are browning too fast, tent the pie with aluminum foil. You want golden brown, not dark brown.
Variations & Substitutions
Once you’ve nailed the basic version, here’s how you can mix it up. I’ve tried all of these.
Lemon Blueberry Pie — Add 1 cup of fresh or frozen blueberries to the lemon filling before adding the meringue. The berries burst and create beautiful purple streaks. My kids love this version.
Key Lime Pie Style — Substitute the lemon juice with key lime juice and use key lime zest. It’s tarter and more tropical. Works great with a graham cracker crust too.
Gluten-Free Crust — Use a 1:1 gluten-free flour blend for the crust. The technique is the same. I’ve used Bob’s Red Mill and it works well.
Dairy-Free Option — Skip the butter in the filling and use a dairy-free butter alternative in the crust. The meringue is naturally dairy-free.
Coconut Twist — Add ½ cup of shredded coconut to the meringue before baking. It adds a nice texture and flavor contrast.
Serving & Storage
How to Serve: I usually serve this pie with a dollop of whipped cream and a sprinkle of extra lemon zest. It’s beautiful on its own, but the whipped cream adds a nice richness. Pair it with a cup of Earl Grey tea or a glass of sparkling water with lemon.
Side Dishes: This pie is light enough to stand alone as a dessert. But if you want sides, try these creamy coconut lime mocktail for a refreshing drink that complements the citrus.
Storage: Store leftovers in the refrigerator, covered with plastic wrap or in an airtight container, for up to 4 days. The meringue may soften slightly, but the flavor remains great.
Reheating: Do not reheat this pie. The meringue will become sticky and the crust will lose its crunch. Serve it cold or at room temperature.
Freezing: I don’t recommend freezing this pie. The meringue weeps and becomes rubbery when thawed. The filling also changes texture. It’s best enjoyed fresh.
Nutrition Information
I’m not a nutritionist, but here’s the breakdown if you’re tracking. This is a rich dessert, so portion control is key.
Per Slice (1/8 of pie):
- Calories: 320
- Protein: 4g
- Carbs: 52g
- Fiber: 1g
- Sugar: 38g
- Fat: 12g
- Saturated Fat: 6g
Look, this is a dessert with sugar, butter, and eggs. It’s not a health food. But it’s better than store-bought, and you know exactly what’s in it. When I make this for Easter, I serve smaller slices and let people go back for seconds if they want.
Final Thoughts
So that’s my homemade lemon meringue pie with flaky crust for Easter desserts! I’ve probably talked your ear off at this point, but when you make a recipe this often, you have a lot to say about it. This pie has saved my holidays more times than I can count. It’s my answer to “what’s for dessert” when I want something impressive but manageable. My family is happy, my guests are happy, and I’m happy because I’m not stressed about cooking.
Make it yours! Try different add-ins, swap in your favorite herbs, or adjust the lemon level to your taste. The best recipes are the ones you adapt to your family’s tastes. If you make this, drop a comment and let me know what you think! I love hearing how recipes turn out in your kitchen. And if something doesn’t work, tell me that too—I’m here to help troubleshoot.
Happy baking! And I hope your kitchen smells half as good as mine does right now.
Frequently Asked Questions
Can I use bottled lemon juice?
You can, but I strongly recommend against it. Bottled juice lacks the bright, fresh aroma and complexity of fresh lemons. It also often contains preservatives that can affect the taste. Fresh juice makes a huge difference in this recipe.
Why did my meringue weep?
Weeping happens when the meringue isn’t cooked enough or when sugar isn’t fully dissolved. Make sure you beat the sugar into the egg whites until the mixture feels smooth between your fingers, not gritty. Also, ensure the pie is baked long enough for the meringue to set.
Can I make this ahead of time?
Yes! You can make the crust and filling up to 2 days ahead. Store them separately in the fridge. Assemble and bake the meringue the day you plan to serve it. This is the best way to ensure the crust stays flaky and the meringue stays fresh.
How do I know when the lemon filling is done?
The filling is done when it thickens enough to coat the back of a spoon and leaves a clear path when you run your finger through it. It should look glossy and smooth, not watery.
Can I use a pre-made crust?
You can, but a homemade flaky crust is so much better. If you’re short on time, you can buy a high-quality frozen crust, but blind bake it thoroughly to prevent sogginess. For the best results, take the time to make your own.
Why did my crust shrink?
Crust shrinks if the gluten isn’t relaxed or if it’s stretched too much when rolling. Let the dough chill for at least 1 hour. Roll it gently from the center outward, and don’t stretch it into the pan. If it does shrink slightly during baking, that’s normal.
Pin This Recipe!

Homemade Lemon Meringue Pie
- Total Time: 45 minutes
- Yield: 8 servings 1x
Description
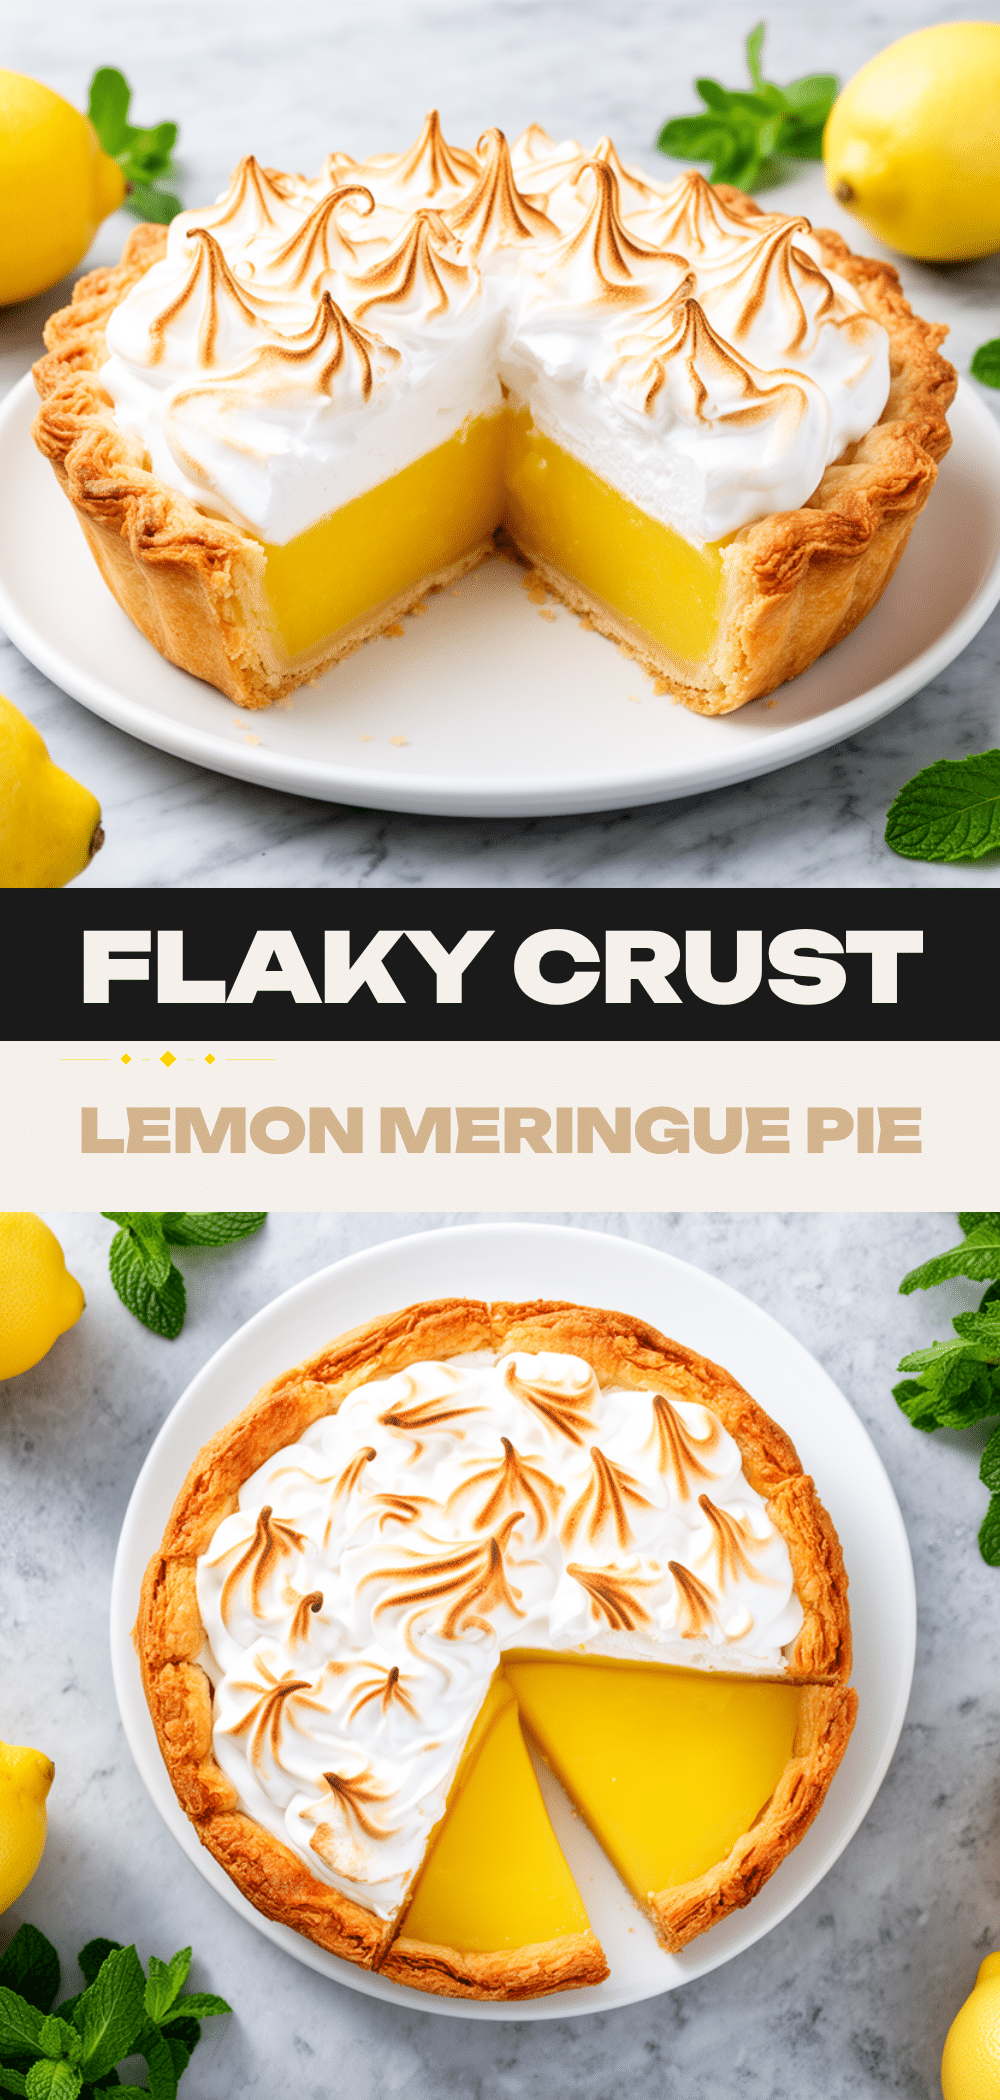
A fail-proof, show-stopping lemon meringue pie with a flaky homemade crust, bright lemon filling, and toasted meringue. Perfect for Easter or any holiday gathering.
Ingredients
- 1 ¼ cups (150g) all-purpose flour
- ½ cup (113g) unsalted butter, very cold and cubed
- ½ cup (113g) vegetable shortening
- 4–6 tablespoons ice water
- ½ teaspoon salt
- 1 tablespoon granulated sugar
- 1 cup (200g) granulated sugar
- ¼ cup (30g) cornstarch
- 1 ½ cups (360ml) water
- ½ cup (120ml) fresh lemon juice (from 3–4 lemons)
- 2 teaspoons lemon zest
- 4 large egg yolks
- 2 tablespoons unsalted butter
- 4 large egg whites, room temperature
- ½ teaspoon cream of tartar
- ½ cup (100g) granulated sugar
Instructions
- In a large bowl, whisk together flour, salt, and sugar. Add cold butter and shortening, working it into the flour until pea-sized pieces form.
- Sprinkle in ice water one tablespoon at a time, mixing gently until dough comes together. Divide into two discs, wrap in plastic, and refrigerate for at least 1 hour.
- Preheat oven to 375°F (190°C). Roll out the larger dough disc into a 12-inch circle and transfer to a 9-inch pie dish. Trim edges and freeze for 15 minutes.
- Line the chilled crust with parchment and fill with pie weights. Bake for 15 minutes, remove weights, and bake 5-7 more minutes until golden. Cool completely.
- In a saucepan, whisk sugar and cornstarch. Slowly whisk in water, lemon juice, and zest. Cook over medium heat, whisking constantly, until thickened and boiling (5-7 minutes).
- Whisk egg yolks in a small bowl. Temper by slowly adding a ladle of hot lemon mixture while whisking. Pour back into saucepan and cook 1-2 minutes until thick.
- Remove from heat and stir in 2 tablespoons butter until melted. Pour into cooled crust.
- In a clean, dry bowl, beat egg whites and cream of tartar until soft peaks form. Gradually add ½ cup sugar while beating on high until stiff, glossy peaks form.
- Spread meringue over hot filling, sealing edges against the crust. Bake at 350°F (175°C) for 15-18 minutes until golden brown.
- Cool on a wire rack for at least 2 hours before slicing.
Notes
Keep all ingredients for the crust very cold to ensure flakiness. Blind bake the crust to prevent a soggy bottom. Temper egg yolks slowly to avoid scrambling. Seal meringue edges to prevent shrinking. Do not freeze this pie as the meringue texture will suffer.
- Prep Time: 15 minutes
- Cook Time: 30 minutes
- Category: Dessert
- Cuisine: American
Nutrition
- Serving Size: 1 slice (1/8 of pie)
- Calories: 320
- Sugar: 38
- Fat: 12
- Saturated Fat: 6
- Carbohydrates: 52
- Fiber: 1
- Protein: 4
Keywords: lemon meringue pie, easter dessert, homemade pie, flaky crust, lemon curd, meringue recipe, holiday baking



