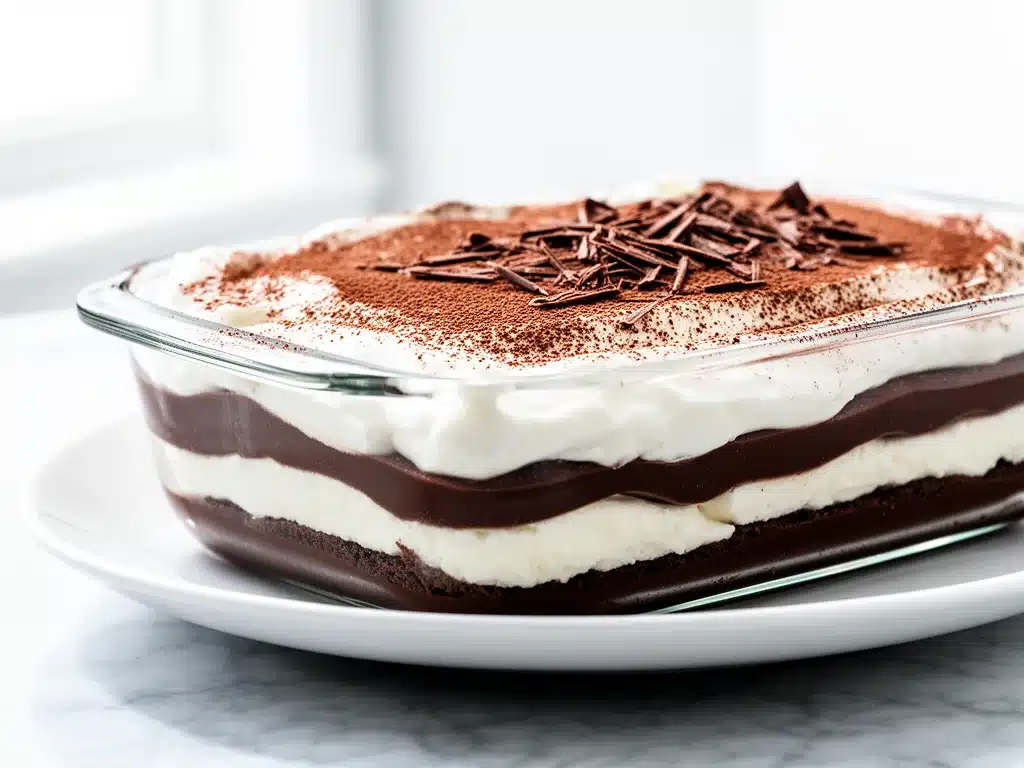
I’ll admit it. I’ve been making this no-bake chocolate lasagna at least once a month for the last year. Sometimes twice. If I’m being honest, it’s partly because it’s dangerously easy, and partly because my family treats it like a religious experience every time I pull it out of the fridge. We’re talking serious, reverent silence while everyone digs into their slice, followed by frantic requests for “just one more piece.”
It started during a chaotic holiday season. I had zero energy for baking, my oven was broken (don’t ask), and I needed something that looked impressive enough to put in front of guests but required less effort than assembling IKEA furniture. I threw together what I thought would be a quick chocolate mousse with some graham crackers, hoping it would tide us over. What ended up happening was the opposite. My husband stared at it, took a bite, and said, “You’re never making regular dessert again.”
That was the moment no-bake chocolate lasagna with whipped layers was born. It’s not just a dessert; it’s a lifesaver. It’s the kind of recipe that saves you when you’re tired, when you’re hosting last-minute, or when you just need a chocolate fix without turning your kitchen into a flour bomb. The layers are distinct, the textures are perfect, and the flavor is rich without being overly sweet. I’ve tweaked it a dozen times, but the core structure has stayed exactly the same because it just works.
People always assume it’s complicated because it’s called “lasagna,” but there’s no cooking, no boiling water, and no complicated techniques. It’s literally just layering ingredients in a dish. I’ve made this for potlucks where people asked for the recipe three times, and I’ve made it for lazy Sunday nights when I just wanted to binge-watch a show with a fork in hand. If you’re looking for a dessert that delivers maximum flavor with minimum effort, you’re in the right place. This is the one you’ll make on repeat, I promise.
Why You’ll Love This Recipe
There are a lot of no-bake desserts out there, but this one has completely won over my household. It’s become my go-to for any occasion where I want to look like I put in effort but actually spent most of the time chilling. Here’s why I keep coming back to this no-bake chocolate lasagna with whipped layers:
- Zero Baking Required — Seriously, you don’t even need to turn on the oven. This is huge for hot summer days or when you’re just done with heat. I’ve made this in July when the house was 85 degrees, and it was a lifesaver. No oven, no sweat.
- Make-Ahead Friendly — This dessert actually needs time to set. I love that I can assemble it the night before and let the fridge do the hard work. It’s perfect for meal planning. I’ll make it on Sunday, and it’s ready for any guest who drops by on Tuesday.
- Texture Perfection — The magic is in the layers. You get the crunch of the cookies, the creaminess of the whipped filling, and the richness of the chocolate pudding. It’s like eating a layered truffle. The contrast between the soft whipped layers and the slightly firm cookie base is what makes it addictive.
- Only 5 Main Ingredients — You probably have most of these in your pantry or fridge right now. Cream cheese, whipped topping, instant pudding, chocolate syrup, and graham crackers. That’s it. No fancy, hard-to-find items. It’s budget-friendly and accessible.
- Visually Stunning — When you cut into it, those distinct layers are gorgeous. It looks like something you’d buy at a fancy bakery, but you made it in 20 minutes. It’s a great way to impress people without spending hours in the kitchen.
- Customizable — While I love the classic version, you can swap ingredients to fit your taste. Use chocolate graham crackers, add nuts, or swap the pudding flavor. It’s a blank canvas for chocolate lovers.
This recipe has saved me from takeout runs more times than I can count. It’s reliable, delicious, and always gets a compliment. If you’re tired of complicated desserts that require a dozen tools and three hours of prep, this is your answer.
Ingredients You’ll Need
Here’s the best part: you don’t need a special trip to the store for this. The ingredient list is short, simple, and mostly pantry staples. I’m particular about quality on a couple of these, so I’ll tell you exactly what to look for.
For the Cookie Base
Graham Crackers (1 sleeve / about 24 squares) — The foundation of this dessert. I use standard honey graham crackers for that classic flavor. You can use chocolate graham crackers if you want an extra chocolate kick, but the honey ones balance the sweetness well. Make sure they’re fresh; stale crackers won’t absorb the moisture correctly.
For the Whipped Layers
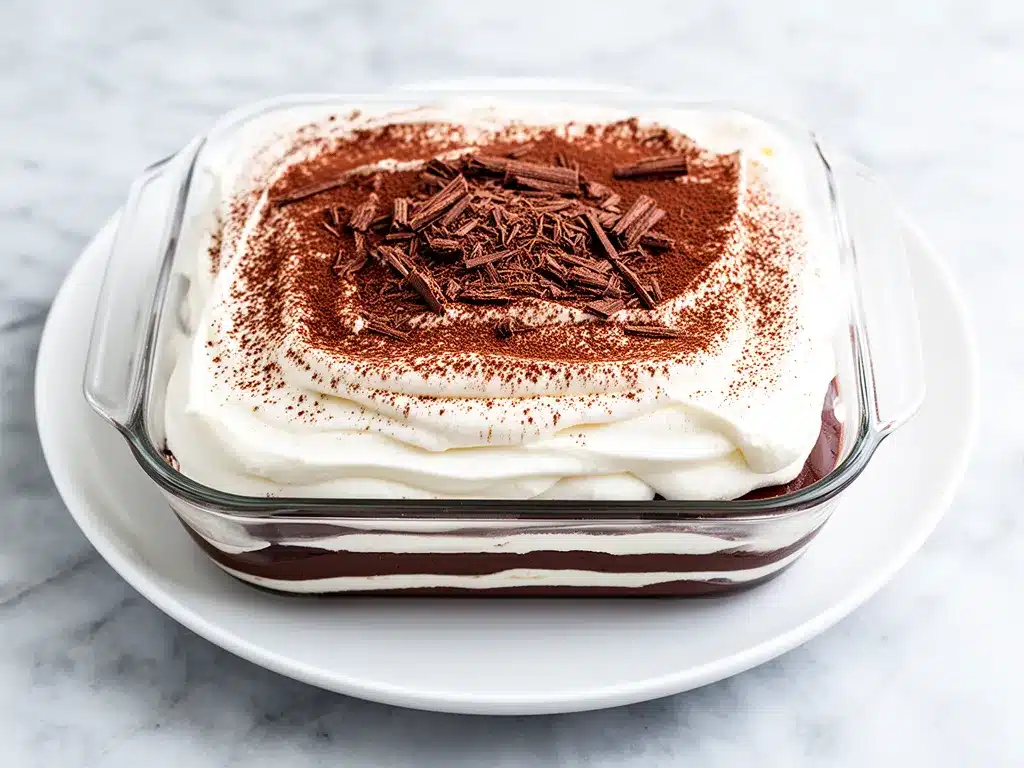
Cream Cheese (8 oz / 225g, softened) — This is crucial for structure and tang. You need full-fat, brick-style cream cheese. The tub “spread” stuff has too much air and moisture, which will make your layers runny. Let it sit on the counter for 30 minutes before mixing so it blends smoothly.
Whipped Topping (16 oz / 450g, thawed) — I use Cool Whip or a store-brand equivalent. Thaw it in the fridge the night before. Do not microwave it to thaw, or it will turn into soup. Fold it gently into the cream cheese mixture to keep the air in. This is what gives the lasagna its light, fluffy texture.
Instant Chocolate Pudding Mix (2 boxes / 3.4 oz each) — Yes, dry mix. Do not make it with milk. You’re using it as a thickener and flavoring agent. The dry powder helps absorb moisture from the cream cheese and whipped topping, keeping the layers firm. Jell-O brand works great, or any generic store brand.
Chocolate Fudge Syrup (1 cup / 240ml) — This is the glue and the flavor booster. I use Hershey’s Chocolate Syrup for its classic taste and consistency. Don’t use hot fudge sauce from the jar; it’s too thick and will clump. You want a pourable syrup that mixes easily into the cream cheese.
For the Topping
Extra Whipped Topping (16 oz / 450g, thawed) — For the top layer. This is where you can get fancy. I usually just spread it on, but you can pipe it if you want to look professional.
Chocolate Shavings or Sprinkles (Optional) — For garnish. I buy a bar of dark chocolate and shave it with a peeler. It looks way better than store-bought sprinkles and adds a nice crunch.
Chopped Walnuts or Pecans (Optional) — If you like a bit of nutty crunch. I sprinkle them between the layers or on top. It adds a nice texture contrast to the soft cream.
Equipment Needed
You don’t need fancy gadgets for this. Here’s what I actually use in my kitchen:
- 9×13 Inch Baking Dish — Glass or ceramic works best. I use a Pyrex dish because I can see the layers through the bottom if I’m feeling showy. It needs to be deep enough to hold all the layers without overflowing.
- Electric Mixer — Handheld or stand mixer. You need to beat the cream cheese until it’s smooth before adding the whipped topping. Doing this by hand is possible but takes forever and your arms will hurt. I’ve tried it; don’t do it.
- Spatula — A large, flexible silicone spatula is essential for folding the whipped topping and spreading the layers evenly. I have a few, but I use the big one for this recipe.
- Measuring Cups and Spoons — Standard stuff. The pudding mix needs to be measured correctly to ensure the layers set properly.
- Knife or Pizza Cutter — For slicing. A sharp knife works, but a pizza cutter is easier for clean slices without squishing the layers. I keep a dedicated pizza cutter just for desserts.
- Plastic Wrap — To cover the dish while it chills. This prevents the top from drying out or absorbing fridge smells. I always cover it tightly.
Pro Tip: If you don’t have an electric mixer, soften your cream cheese thoroughly and use a whisk, but be prepared for a workout. The texture won’t be as smooth, and that might affect how well the layers hold.
How to Make It: Step-by-Step
Alright, let’s make this! I’m walking you through exactly how I do it, including the little tricks I’ve picked up to ensure your layers stay distinct and delicious.
Step 1: Prep Your Base (5 minutes)
Take your graham crackers and break them into pieces that fit your 9×13 dish. You want a single layer covering the bottom. Don’t worry about perfect squares; just make sure there are no gaps. Press them down firmly with your hands or the bottom of a glass. This creates a solid foundation that won’t get soggy too quickly. I usually break them by hand because it’s faster than cutting, and the irregular edges actually help the layers stick together better.
Step 2: Make the Cream Cheese Mixture (5 minutes)
In a large bowl, beat the softened cream cheese until it’s completely smooth and creamy. No lumps allowed. If there are lumps, they’ll show up in your final layers. Add the entire box of instant chocolate pudding mix and the chocolate syrup. Mix on low speed until combined, then increase to medium speed for 2 minutes. The mixture will thicken slightly. This is the first creamy layer. It should be thick enough to hold its shape when spread.
Step 3: Fold in the Whipped Topping (3 minutes)
Now, gently fold in the thawed whipped topping. Use a spatula and cut down the middle, scrape the bottom, and fold over. Repeat until it’s fully incorporated. Be gentle here; you’re trying to keep the air in the whipped topping so the layers stay light. If you stir too much, it will deflate and become dense. The mixture should be fluffy and uniform.
Step 4: Assemble Layer 1 (2 minutes)
Spread half of the cream cheese mixture over the graham cracker base. Use your spatula to create an even layer. Smooth the top as much as possible. This is your first chocolate layer. It should be about half an inch thick. If it’s too thin, the dessert won’t feel substantial. If it’s too thick, you might run out of ingredients for the top layers.
Step 5: Add Layer 2 (2 minutes)
Crush another sleeve of graham crackers (or use half of a new sleeve) and sprinkle them evenly over the cream cheese layer. This creates a barrier that prevents the next layer from mixing with the first, keeping the distinct “lasagna” look. Press them down lightly. Then, spread the remaining cream cheese mixture over the crackers. Smooth it out. You should now have a base, a cream layer, a cracker layer, and another cream layer.
Step 6: Top and Chill (1 minute prep, 4+ hours chill)
Spread the remaining whipped topping over the top layer. This is your decorative layer. You can leave it plain or add chocolate shavings, sprinkles, or chopped nuts. Once it’s topped, cover the dish tightly with plastic wrap. Place it in the refrigerator for at least 4 hours, but overnight is best. This chilling time is non-negotiable. It allows the graham crackers to soften slightly and the layers to set so they hold together when sliced. If you cut it too soon, it will be a mess.
Total Time: About 20 minutes active, plus 4+ hours chilling.
Built-in Troubleshooting
- Layers are running together: Your whipped topping might have been too warm, or you overmixed the cream cheese. Make sure everything is cool and fold gently.
- Base is too soggy: You might have left it out too long before chilling. Or you didn’t press the crackers down firmly enough. The crackers need to be compacted to resist moisture.
- Layers are too thin: Measure your ingredients carefully. If you use less cream cheese or whipped topping than called for, the layers will be thin and less satisfying.
Expert Tips & Tricks
Here’s everything I’ve learned from making this dozens of times. These tips will save you from my mistakes and ensure your lasagna is perfect.
Softened Cream Cheese is Key
I can’t stress this enough. If your cream cheese is cold, it will be lumpy, and you’ll end up with white streaks in your chocolate layers. Cut it into cubes and let it sit on the counter for 30-60 minutes. If you’re in a hurry, microwave it in 5-second bursts, checking frequently. It should be soft but not melted.
Don’t Skip the Chilling Time
I know it’s tempting to dig in right away, but resist. The dessert needs time to set. If you cut it after 1 hour, it will slide apart. After 4 hours, it’s good. After overnight, it’s perfect. The flavors meld together, and the texture becomes consistent. Plan ahead.
Use a Pizza Cutter for Slicing
A regular knife can squish the soft layers. A pizza cutter rolls through cleanly, giving you sharp, distinct edges. Wipe the blade between cuts for the cleanest slices. This is a small trick that makes a huge difference in presentation.
Customize Your Garnish
Don’t just leave it plain. I love adding a drizzle of extra chocolate syrup on top before serving. Or sprinkle crushed peppermint candies for a holiday twist. The possibilities are endless. Make it your own.
Keep it Cold
Once you take it out of the fridge to serve, try to keep it cold. The whipped topping can melt if it sits out for too long. Serve it in small slices, as it’s quite rich and creamy.
Variations & Substitutions
Once you’ve nailed the basic version, here’s how you can mix it up. I’ve tried all of these, and they all work well.
Cookie Swap
Instead of graham crackers, use vanilla wafers, Oreos, or Nilla Wafers. Oreos make it more like an Oreo cheesecake. Vanilla wafers make it softer and sweeter. Experiment to find your favorite.
Flavor Twists
Strawberry: Use strawberry pudding mix and strawberry syrup. Top with fresh strawberries. It’s a summer classic.
Mint: Add a teaspoon of peppermint extract to the cream cheese mixture. Top with crushed peppermint candies. Great for holidays.
Caramel: Use vanilla pudding and caramel syrup. Top with chopped pecans. It’s like a caramel cheesecake.
Gluten-Free
Use gluten-free graham crackers or gluten-free vanilla wafers. Everything else is naturally gluten-free. Just check your pudding mix and syrup labels to ensure they’re certified GF.
Dairy-Free
Use dairy-free cream cheese, dairy-free whipped topping (like coconut whipped cream), and dairy-free chocolate syrup. The texture might be slightly different, but it’s still delicious. My lactose-intolerant friends love this version.
Lower Sugar
Use sugar-free pudding mix and sugar-free chocolate syrup. You can also use a low-fat cream cheese, but the texture will be less rich. It’s a trade-off, but it works if you’re watching sugar intake.
Serving & Storage
How to Serve: I usually serve this straight from the fridge. It’s best cold. Slice it into squares or rectangles. I like to dust it with cocoa powder or powdered sugar before serving for a professional look. Pair it with fresh berries or a dollop of plain whipped cream if you want to lighten it up.
Side Dishes: This dessert is rich, so pair it with something light. A simple green salad or some fresh fruit works well. I also like it with a cup of black coffee or a glass of cold milk.
Storage Instructions:
Refrigerator: Store in an airtight container or covered tightly with plastic wrap for up to 5 days. It actually gets better after day 2 as the flavors meld. I’ve never had it go bad, but it’s usually gone by day 3.
Freezing: I don’t recommend freezing this. The whipped topping can become grainy or watery when thawed. The texture won’t be the same. It’s best enjoyed fresh from the fridge.
Reheating: Do not reheat. This is a cold dessert. Serving it warm will cause the layers to collapse and the whipped topping to melt. Keep it cold.
Nutrition Information
I’m not a nutritionist, but here’s the breakdown if you’re tracking. Keep in mind that this is a rich dessert, so portion control is key.
Per Serving (based on 12 servings):
- Calories: 350
- Protein: 4g
- Carbs: 45g
- Fiber: 1g
- Sugar: 30g
- Fat: 18g
- Saturated Fat: 10g
- Cholesterol: 35mg
- Sodium: 250mg
What’s Good: It provides some calcium from the cream cheese. It’s also relatively quick to make, so you’re not spending hours in the kitchen.
What to Know: It’s high in sugar and fat due to the cream cheese, whipped topping, and chocolate syrup. If you’re watching your intake, consider smaller slices or using the sugar-free/dairy-free variations mentioned above.
My Take: Look, this is a treat. It’s not a health food. But it’s homemade, so you know what’s in it. It’s better than store-bought desserts loaded with preservatives. Enjoy it in moderation, and you’ll be happy.
Final Thoughts
So that’s my no-bake chocolate lasagna with whipped layers! I’ve probably talked your ear off at this point, but when you make a recipe this often, you have a lot to say about it.
This has saved weeknight desserts more times than I can count. It’s my answer to “what’s for dessert” when I’m tired, don’t want to bake, and still want something that tastes really good. My kids are happy, my husband’s happy, and I’m happy because I’m not stressed about cooking.
Make it yours! Try different cookies, swap the pudding flavor, or add your favorite toppings. The best recipes are the ones you adapt to your family’s tastes. If you make this, drop a comment and let me know what you think! I love hearing how recipes turn out in your kitchen. And if something doesn’t work, tell me that too—I’m here to help troubleshoot.
Happy cooking! And I hope your kitchen smells half as good as mine does right now.
Frequently Asked Questions
Can I use homemade whipped cream instead of Cool Whip?
You can, but the texture will be different. Homemade whipped cream is lighter and less stable. It might not hold the layers as well, especially if the room is warm. If you use homemade, make sure it’s very stiffly whipped. I prefer Cool Whip for its stability, but homemade works if you’re careful.
Why did my layers run together?
This usually happens if the cream cheese wasn’t fully softened before mixing, or if you overmixed the whipped topping. Also, if the dessert wasn’t chilled long enough, the layers won’t set. Make sure to chill it for at least 4 hours, preferably overnight.
Can I make this in a different size dish?
Yes, but the layers will be thicker or thinner. If you use an 8×8 dish, the layers will be thicker, and you might need to adjust the chilling time. If you use a larger dish, the layers will be thinner, and you might run out of ingredients. Stick to 9×13 for the best results.
How long does it last in the fridge?
It lasts up to 5 days in the fridge, covered tightly. It actually gets better after day 2 as the flavors meld. I’ve never had it go bad, but it’s usually gone by day 3.
Can I freeze this dessert?
I don’t recommend it. The whipped topping can become grainy or watery when thawed. The texture won’t be the same. It’s best enjoyed fresh from the fridge.
What if I don’t have instant pudding mix?
You can use homemade pudding, but it will be wetter and might make the layers soggy. If you use homemade, reduce the amount of liquid in the recipe or chill it longer. Instant pudding is key for the dry, thick texture.
Can I add nuts?
Absolutely! Chopped walnuts, pecans, or even peanuts add a nice crunch. Sprinkle them between the layers or on top. I love adding them for texture contrast.
Pin This Recipe!
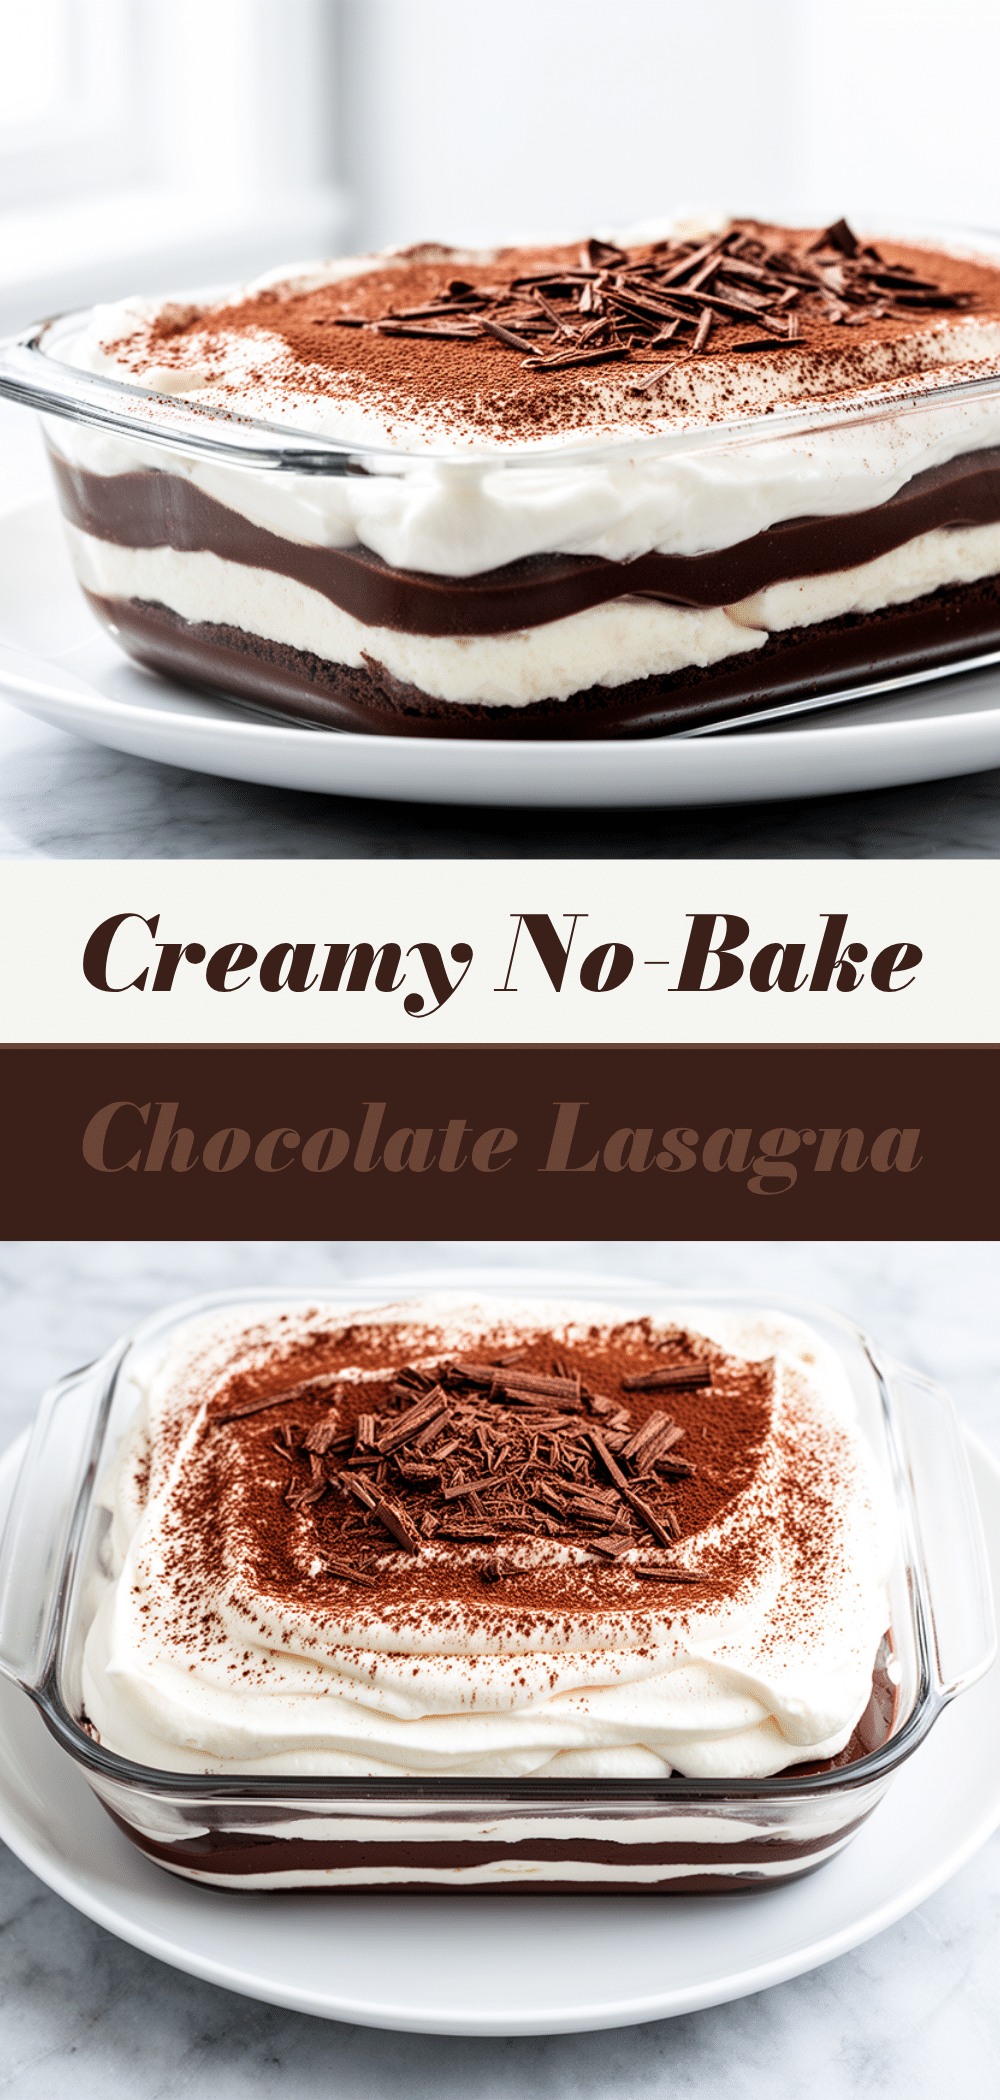
No-Bake Chocolate Lasagna: 5-Ingredient Dessert
- Total Time: 4 hours 20 minutes
- Yield: 12 servings 1x
Description
A rich, layered no-bake dessert featuring graham crackers, cream cheese, whipped topping, and chocolate pudding. It requires zero baking and is perfect for make-ahead entertaining.
Ingredients
- 1 sleeve (about 24 squares) honey graham crackers
- 8 oz (225g) full-fat brick-style cream cheese, softened
- 2 boxes (3.4 oz each) instant chocolate pudding mix (dry)
- 1 cup (240ml) chocolate fudge syrup
- 16 oz (450g) whipped topping, thawed (for filling)
- 16 oz (450g) whipped topping, thawed (for topping)
- Chocolate shavings or sprinkles (optional, for garnish)
- Chopped walnuts or pecans (optional, for garnish)
Instructions
- Break graham crackers into pieces to form a single, solid layer at the bottom of a 9×13 inch dish. Press down firmly.
- In a large bowl, beat the softened cream cheese until smooth. Add the dry instant chocolate pudding mix and chocolate syrup. Mix on low until combined, then medium for 2 minutes until thickened.
- Gently fold in 16 oz of thawed whipped topping using a spatula until fully incorporated and fluffy.
- Spread half of the cream cheese mixture over the graham cracker base.
- Sprinkle another sleeve of crushed graham crackers over the cream layer to create a barrier.
- Spread the remaining cream cheese mixture over the second cracker layer.
- Top with the remaining 16 oz of whipped topping.
- Cover tightly with plastic wrap and refrigerate for at least 4 hours, preferably overnight, to set.
- Slice with a pizza cutter and garnish with chocolate shavings or nuts before serving.
Notes
Ensure cream cheese is fully softened to avoid lumps. Do not microwave whipped topping to thaw; let it thaw in the fridge. The dessert must chill for at least 4 hours to set properly. Do not freeze as the texture of the whipped topping may become grainy.
- Prep Time: 20 minutes
- Cook Time: 0 minutes
- Category: Dessert
- Cuisine: American
Nutrition
- Serving Size: 1 slice
- Calories: 350
- Sugar: 30
- Sodium: 250
- Fat: 18
- Saturated Fat: 10
- Carbohydrates: 45
- Fiber: 1
- Protein: 4
Keywords: no-bake dessert, chocolate lasagna, graham cracker dessert, easy dessert, make-ahead dessert, whipped cream dessert, chocolate pudding dessert



