There was a specific Tuesday last October when I stood in my kitchen, staring at a loaf of pumpkin bread that looked like a dense brick and tasted like cardboard. I had followed a fancy blog recipe that called for brown sugar, brown butter, three different types of flour, and a glaze made from cream cheese that I somehow managed to split into a watery mess. I was frustrated. I was tired. And I was ready to just buy the stuff from the grocery store bakery next time.
But then I remembered my grandmother’s approach. She didn’t use a mixer. She didn’t have fancy spices in a cabinet. She just had pumpkin, sugar, eggs, and whatever oil she had on hand. It was simple. It was forgiving. And it was always good.
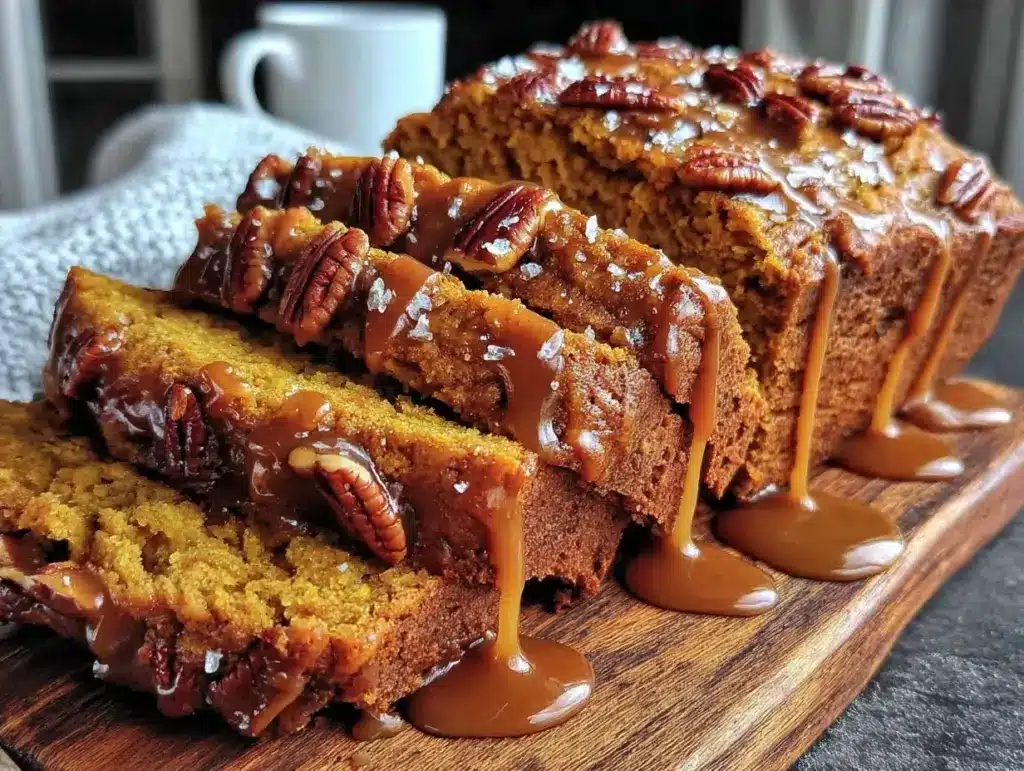
So I stripped this recipe down to the bone. I removed the complexity, the unnecessary steps, and the ingredients that usually cause beginners to panic. What I ended up with is this Fall Pumpkin Bread with Brown Butter Maple Glaze. It uses only seven core ingredients for the loaf itself. It’s beginner-proof because you literally can’t mess it up if you follow the basic steps. It’s moist, spiced perfectly, and topped with a glaze that tastes like autumn in a drizzle.
I’ve made this loaf at least a dozen times since that brick disaster. I’ve tested it with my skeptical husband (who thinks all homemade bread is dry), my niece (who only likes sugary treats), and even my neighbor who claims she “can’t bake.” They all loved it. This is the one you’ll make on repeat. It’s the definition of comfort food that actually tastes like it was made with care, not confusion.
Why You’ll Love This Beginner-Proof Pumpkin Bread
If you’re on the fence about baking, let me convince you. This isn’t just another pumpkin recipe; it’s a confidence builder. Here’s why this loaf has taken over my fall baking rotation:
- Seven Ingredients Only — Seriously. Seven. Flour, sugar, pumpkin, oil, eggs, spices, and baking soda. That’s it. You don’t need a pantry full of exotic flours or weird extracts. If you can count to seven, you can make this.
- One Bowl Method — No electric mixer needed. No stand mixer drama. You just whisk the wet stuff, add the dry stuff, stir, and bake. Cleanup takes thirty seconds. This is the easiest recipe I have, right up there with my keto flourless peanut butter cookies in terms of pure simplicity.
- Brown Butter Magic — Most pumpkin bread recipes just use melted butter. I browned it first. It adds this deep, nutty, toasty flavor that makes the bread taste like it came from a high-end bakery. But don’t worry, I’ll walk you through it so it’s foolproof.
- Moist Without Being Heavy — The secret? Using oil instead of butter in the batter itself. Oil keeps bread moist at room temperature, while butter can make it dense. The brown butter goes *only* in the glaze, so you get the flavor without the heavy texture.
- Forgiving Timing — Unlike cakes where a minute over bakes them, this bread is pretty chill. It’s dense enough that it won’t collapse if you open the oven door too early. It’s built for beginners who might be distracted by a phone call or a barking dog.
This is the loaf that makes your whole house smell like a cozy cabin. It’s perfect for breakfast with coffee, an afternoon snack with tea, or dessert with a scoop of vanilla ice cream. It’s the kind of bread that disappears fast, so you’ll want to make two loaves. Trust me on this one.
Ingredients You’ll Need
Here’s the best part: you probably have most of this already. I’m not asking you to go to three different stores for this. This is a pantry-staple, fridge-clearout kind of recipe. Let’s break down what you need and why it matters.
For the Pumpkin Bread
All-purpose flour (2 cups / 250g) — This is your base. Don’t try to substitute with whole wheat unless you want a denser, heartier loaf. For that soft, tender crumb, stick with white all-purpose flour. I use Gold Medal because it’s cheap and reliable.
Baking soda (1 teaspoon) — This is your leavening agent. It helps the bread rise. Make sure it’s fresh! If your baking soda has been sitting in the back of the cabinet for six months, it might not work. Test it by dropping a little in vinegar—if it fizzles, it’s good.
Pumpkin pie spice (2 teaspoons) — This is the flavor profile. If you don’t have a blend, mix 1 teaspoon cinnamon, ½ teaspoon ginger, ½ teaspoon nutmeg, and ¼ teaspoon cloves. But honestly, just buy the blend. It saves time and tastes consistent.
Salt (½ teaspoon) — Don’t skip this. Salt enhances the pumpkin flavor. Without it, the bread tastes flat and sweet. It’s a flavor balancer, not just a seasoning.
Granulated sugar (¾ cup / 150g) — This adds sweetness and helps with browning. You can use brown sugar if you want a deeper molasses note, but white sugar keeps the crumb lighter. I stick with white for that classic pumpkin bread taste.
Vegetable oil (½ cup / 120ml) — I use vegetable or canola oil. Olive oil works but adds a distinct flavor that might clash with the spices. Oil is key for moisture. Butter would make this bread dry, so stick with oil in the batter.
Eggs (2 large) — Room temperature eggs mix better, but cold eggs work fine too. Just don’t use tiny eggs; use large ones. They provide structure and richness.
Pure pumpkin puree (1 cup / 245g) — CRITICAL: Do not use pumpkin pie filling. That comes pre-sweetened and spiced, and your bread will be a sugary mess. Use 100% pure pumpkin puree from a can or a fresh roasted batch. I use Libby’s because it’s consistent, but any plain puree works.
For the Brown Butter Maple Glaze
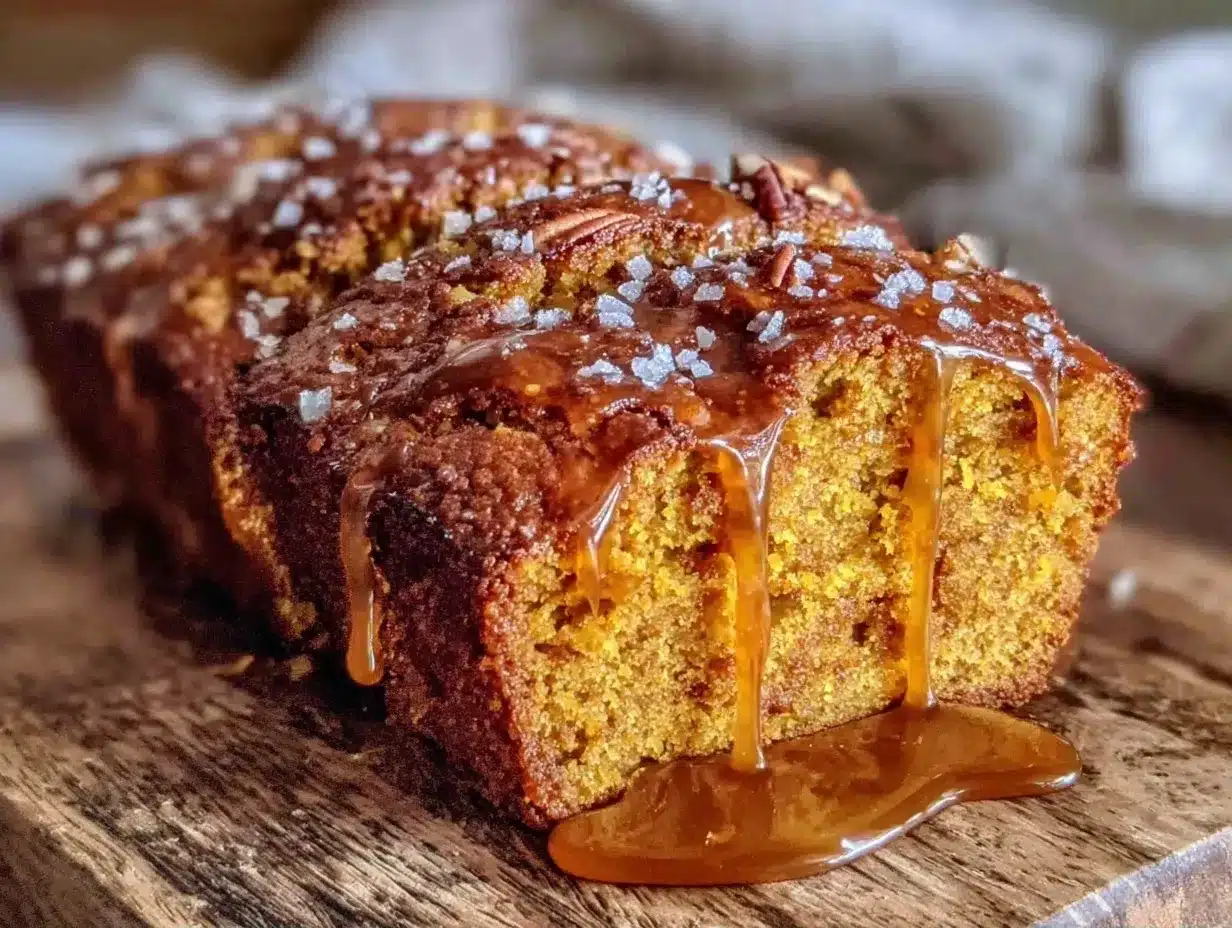
Unsalted butter (4 tablespoons / 57g) — This is where the magic happens. You’re going to brown this butter. Unsalted gives you control over the saltiness, especially since the glaze has maple syrup.
Powdered sugar (1 cup / 120g) — Also called confectioners’ sugar. Sift it if it’s lumpy. It dissolves easily into the warm butter to create a smooth glaze.
Maple syrup (2 tablespoons) — Use real maple syrup, not pancake syrup. The difference in flavor is night and day. Real maple syrup adds that distinct fall aroma. If you’re out, honey works, but maple is the authentic choice here.
Milk (1-2 tablespoons) — Just enough to thin the glaze to a drizzle consistency. Whole milk or half-and-half works best for richness.
Equipment Needed
You don’t need fancy gadgets for this. Here’s what I actually use, and what you can swap out.
9×5 inch loaf pan — Standard size. If you don’t have one, a muffin tin works great for mini loaves (reduce bake time to 20-25 minutes). Grease it well with butter or non-stick spray. I like to line the bottom with parchment paper for easy removal.
Medium mixing bowl — Any bowl that’s big enough to hold the flour and pumpkin. I use a ceramic bowl because it’s heavy and doesn’t slide around.
Whisk — For mixing the dry ingredients and the wet ingredients. A fork works in a pinch, but a whisk makes it faster and ensures no lumps.
Small saucepan — For browning the butter. A light-colored pan is best so you can see the color change. Stainless steel or non-stick works.
Small bowl — For mixing the glaze. The same size as your mixing bowl, but smaller.
Wooden spoon or spatula — For stirring the batter. A spatula is good for scraping the sides of the bowl to get all the flour incorporated.
Wire cooling rack — Essential for letting the bread cool before glazing. If you glaze it while it’s hot, the glaze will melt and soak into the bread, leaving you with nothing but a soggy top.
How to Make It: Step-by-Step
Alright, let’s make this! I’m walking you through exactly how I do it, including the little tricks I’ve picked up so you don’t have to guess.
Step 1: Prep Your Oven and Pan (5 minutes)
Preheat your oven to 350°F (175°C). Grease your 9×5 loaf pan with butter or cooking spray. I like to dust it with a little flour after greasing, tapping out the excess. This prevents sticking. If you’re using parchment paper, just grease the parchment.
Step 2: Mix the Dry Ingredients (2 minutes)
In your medium bowl, whisk together the flour, baking soda, pumpkin pie spice, and salt. Whisking is important here because it distributes the baking soda evenly. If you don’t whisk, you might get a spot of baking soda that tastes soapy. Do this first so it’s ready when you need it.
Step 3: Mix the Wet Ingredients (3 minutes)
In a separate bowl (or the same one if you’re washing it, but separate is easier), whisk the sugar, oil, eggs, and pumpkin puree. Mix until it’s smooth and uniform. The pumpkin puree can be thick, so make sure you’re breaking up any lumps. The mixture should look like thick orange batter.
Step 4: Combine Wet and Dry (2 minutes)
Pour the wet mixture into the dry ingredients. Stir gently with a wooden spoon or spatula. Stop as soon as the flour disappears. Do not overmix! Overmixing develops gluten, which makes bread tough. You want a tender crumb, so a few small lumps are okay. I usually give it 10-15 stirs and then stop.
Step 5: Bake (50-60 minutes)
Pour the batter into the prepared loaf pan. Smooth the top with your spatula. Bake in the preheated oven for 50-60 minutes. Here’s the trick: check it at 50 minutes. Insert a toothpick into the center. If it comes out clean or with just a few moist crumbs, it’s done. If it has wet batter on it, bake for 5 more minutes. Every oven is different, so trust the toothpick test, not just the timer.
Step 6: Cool Completely (1 hour)
Let the bread cool in the pan for 10 minutes, then transfer it to a wire rack to cool completely. This is the hardest part, I know. But if you glaze it warm, the glaze will slide off. Be patient. Grab a cup of tea and wait. This is where the flavors settle and the texture firms up.
Step 7: Make the Brown Butter Glaze (5 minutes)
While the bread cools, make the glaze. Melt the butter in a small saucepan over medium heat. Swirl it occasionally. It will foam up, then settle. Watch for the color change—it will turn golden brown and smell nutty. This takes about 3-5 minutes. Don’t walk away! It goes from brown to burnt in seconds.
Remove from heat. Whisk in the powdered sugar, maple syrup, and milk until smooth. It will thicken quickly as the butter cools. If it’s too thick, add another teaspoon of milk. If it’s too thin, add a sprinkle more powdered sugar.
Step 8: Glaze and Serve
Drizzle the glaze over the completely cooled loaf. Use a knife to spread it a bit if you want even coverage. Let it set for 10 minutes before slicing. Slice with a serrated knife for clean cuts. Serve with coffee or tea, and maybe a side of fall maple cinnamon chai latte for the full autumn experience.
Expert Tips & Tricks
Here’s everything I’ve learned from making this dozens of times. These tips will save you from my mistakes.
Brown Butter Like a Pro
Browning butter sounds scary, but it’s just watching paint dry with a nutty reward. The key is low-medium heat. If the heat is too high, the milk solids in the butter burn before they brown. You want a golden amber color, not dark brown. And when you see it change, remove it from the heat immediately. The pan is still hot and will keep cooking.
Don’t Overmix the Batter
I said this once, but it’s worth saying again. Overmixing makes pumpkin bread dense and chewy instead of soft and cake-like. Mix until you *just* can’t see streaks of flour. A few lumps are fine. Your bread will be tender and moist.
Use Room Temperature Eggs
It sounds like a baker’s pretension, but room temperature eggs emulsify better with the oil and sugar. Cold eggs can cause the batter to separate slightly. Take your eggs out of the fridge 15 minutes before you start. Or run them under warm water for a minute.
Check the Toothpick Early
Ovens vary wildly. My oven runs hot, so my bread is often done in 50 minutes. Your oven might take 65. Don’t wait until the timer goes off to check. Start testing at 45 minutes. A clean toothpick means it’s done. A wet toothpick means it needs more time.
Store Properly
This bread stays fresh at room temperature for up to 3 days if wrapped tightly in plastic wrap or stored in an airtight container. It also freezes beautifully for up to 3 months. Wrap the whole loaf or individual slices in plastic, then foil. Thaw at room temperature.
Variations & Substitutions
Once you’ve nailed the basic version, here’s how you can mix it up. I’ve tried all of these.
Add-Ins
Walnuts or Pecans — Fold ½ cup of chopped nuts into the batter before baking. Adds crunch and pairs perfectly with the maple glaze. Toast the nuts first for extra flavor.
Chocolate Chips — Stir in ½ cup semi-sweet chocolate chips. It turns this into a dessert bread. My kids love this version.
White Chocolate Chips — Pairs beautifully with the pumpkin and maple. Less sweet than regular chocolate chips, so it balances the glaze.
Flavor Twists
Orange Glaze — Swap the maple syrup for orange juice in the glaze. Add a teaspoon of orange zest to the batter. Bright and citrusy.
Cinnamon Roll Style — Swirl cinnamon sugar into the batter before baking. Top with a cream cheese glaze instead of maple. It tastes like a cinnamon roll loaf.
Dietary Modifications
Gluten-Free — Use a 1:1 gluten-free flour blend. The texture might be slightly crumblier, but it still works. I’ve used Bob’s Red Mill and it’s fine.
Dairy-Free — Use coconut oil instead of vegetable oil in the batter. For the glaze, use coconut milk instead of dairy milk and maple syrup is naturally dairy-free. The brown butter step won’t work, so skip it or use dairy-free butter.
Vegan — Use flax eggs (2 tablespoons ground flaxseed + 6 tablespoons water) instead of eggs. Use coconut oil in the batter and dairy-free butter in the glaze. It’s not quite the same, but it’s good.
Serving & Storage
How to Serve: I usually serve this straight from the rack, sliced thick. It looks rustic and homemade. Pair it with coffee, tea, or hot chocolate. It’s also great for brunch, especially if you’re serving it alongside egg breakfast muffins for a hearty morning spread.
Side Dishes: A simple apple salad, roasted nuts, or a bowl of yogurt with granola works well. It’s rich enough that you don’t need much else.
Storage: Keep it at room temperature in an airtight container for up to 3 days. Do not refrigerate—it will dry out the bread. If you need to store it longer, freeze it. Wrap tightly in plastic and foil. Thaw at room temperature.
Reheating: You don’t really need to reheat this bread, but if you want it warm, microwave a slice for 10-15 seconds. It brings back that fresh-baked texture.
Nutrition Information
I’m not a nutritionist, but here’s the breakdown if you’re tracking. This is a treat, so enjoy it in moderation.
Per Slice (1/10 of loaf):
- Calories: 220
- Protein: 3g
- Carbs: 32g
- Fiber: 1g
- Sugar: 18g
- Fat: 10g
- Saturated Fat: 4g
- Cholesterol: 35mg
- Sodium: 180mg
What’s Good: It has a decent amount of fiber from the pumpkin. It’s not loaded with protein, but it’s not empty calories either. The pumpkin adds some vitamins.
What to Know: It’s high in sugar due to the glaze. If you want to reduce sugar, skip the glaze or use less maple syrup. The oil adds healthy fats, but it’s still calorie-dense.
My Take: This is comfort food. It’s sweet, spiced, and satisfying. It’s not a health food, but it’s better than store-bought bread full of preservatives. When I make it, I eat one slice and enjoy it slowly. It’s worth the calories.
Final Thoughts
So that’s my go-to Fall Pumpkin Bread with Brown Butter Maple Glaze. I’ve probably talked your ear off at this point, but when you make a recipe this often, you have a lot to say about it.
This loaf has saved my fall mornings. It’s my answer to “what’s for breakfast” when I want something cozy but don’t have time for a complicated routine. My kids are happy, my husband’s happy, and I’m happy because I’m not stressed about cooking. It’s simple, it’s forgiving, and it tastes amazing.
Make it yours! Try different add-ins, swap in your favorite nuts, or adjust the spice level. The best recipes are the ones you adapt to your family’s tastes. If you make this, drop a comment and let me know what you think! I love hearing how recipes turn out in your kitchen. And if something doesn’t work, tell me that too—I’m here to help troubleshoot.
Happy baking! And I hope your kitchen smells half as good as mine does right now.
Frequently Asked Questions
Can I use canned pumpkin pie filling instead of pure pumpkin?
No, please don’t. Pumpkin pie filling is already sweetened and spiced. If you use it, your bread will be overly sweet and the texture will be wrong. Use 100% pure pumpkin puree. It’s unsweetened and unspiced, so you control the flavor. It’s a small can, so it won’t take up much space in your fridge.
Why did my pumpkin bread turn out dense?
Usually, this means you overmixed the batter. Once you add the wet ingredients to the dry, mix just until combined. Overmixing develops gluten, which makes bread tough. Also, check your baking soda. If it’s old, it won’t help the bread rise, leaving it dense.
Can I make this ahead for a party?
Absolutely. You can bake the bread 2 days ahead and store it wrapped at room temperature. Make the glaze the day of and drizzle it on before serving. If you freeze the bread, thaw it overnight in the fridge, then glaze. It tastes just as good as fresh.
Why did my brown butter burn?
Browning butter is tricky because it goes from perfect to burnt quickly. The key is medium-low heat and constant attention. Swirl the pan frequently. When you see it turn golden brown and smell nutty, remove it from the heat immediately. The residual heat will continue to cook it. If it smells like burnt popcorn, start over.
Can I use honey instead of maple syrup in the glaze?
You can, but the flavor will be different. Maple syrup has a distinct fall taste that pairs well with pumpkin. Honey is sweeter and has a floral note. If you use honey, reduce the amount slightly because it’s sweeter. I prefer maple, but honey works in a pinch.
How do I store leftovers?
Wrap the loaf tightly in plastic wrap or store it in an airtight container at room temperature for up to 3 days. Do not refrigerate, as it will dry out the bread. For longer storage, freeze the loaf (un-glazed) for up to 3 months. Thaw at room temperature before glazing.
Can I bake this in a muffin tin?
Yes! Grease the muffin tin well or use liners. Bake for 20-25 minutes. Check with a toothpick at 20 minutes. These make great individual portions for gifting or lunchboxes. They also cool faster, so you can glaze them sooner.
Pin This Recipe!
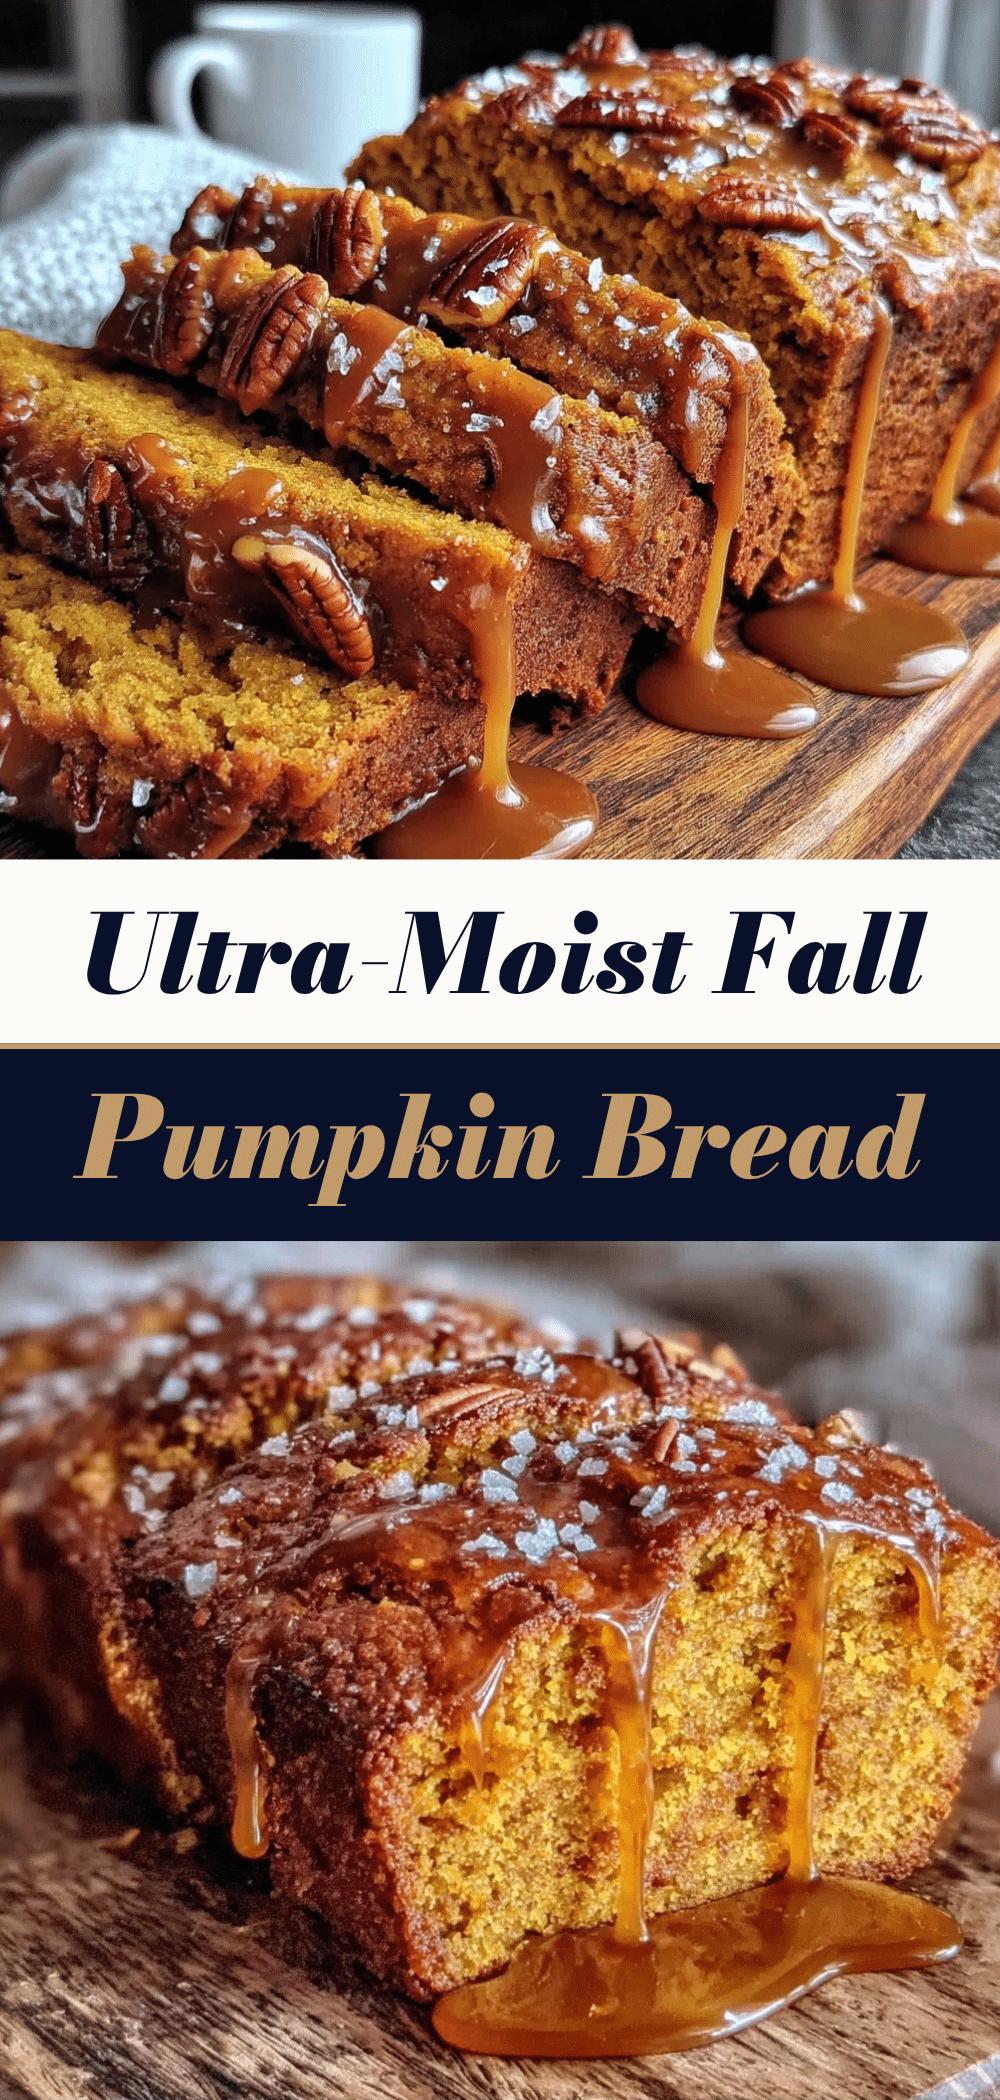
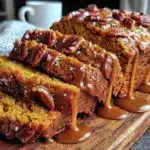
Fall Pumpkin Bread with Brown Butter Maple Glaze
- Total Time: 1 hour 15 minutes
- Yield: 10 servings 1x
Description
A beginner-proof, moist pumpkin bread made with only seven core ingredients and topped with a rich brown butter maple glaze. This forgiving recipe requires no mixer and results in a tender, spiced loaf perfect for fall.
Ingredients
- 2 cups (250g) all-purpose flour
- 1 teaspoon baking soda
- 2 teaspoons pumpkin pie spice
- ½ teaspoon salt
- ¾ cup (150g) granulated sugar
- ½ cup (120ml) vegetable oil
- 2 large eggs
- 1 cup (245g) pure pumpkin puree
- 4 tablespoons (57g) unsalted butter (for glaze)
- 1 cup (120g) powdered sugar (for glaze)
- 2 tablespoons maple syrup (for glaze)
- 1–2 tablespoons milk (for glaze)
Instructions
- Preheat oven to 350°F (175°C). Grease a 9×5 inch loaf pan with butter or cooking spray, optionally dusting with flour or lining with parchment paper.
- In a medium bowl, whisk together the flour, baking soda, pumpkin pie spice, and salt until evenly combined.
- In a separate bowl, whisk the sugar, vegetable oil, eggs, and pumpkin puree until smooth and uniform.
- Pour the wet ingredients into the dry ingredients. Stir gently with a wooden spoon or spatula just until the flour disappears. Do not overmix; a few small lumps are okay.
- Pour the batter into the prepared loaf pan and smooth the top.
- Bake for 50-60 minutes. Check at 50 minutes by inserting a toothpick into the center; it should come out clean or with moist crumbs. If wet, bake for 5 more minutes.
- Let the bread cool in the pan for 10 minutes, then transfer to a wire rack to cool completely.
- While the bread cools, melt the butter in a small saucepan over medium heat. Swirl occasionally until it turns golden brown and smells nutty (3-5 minutes). Remove from heat immediately.
- Whisk the browned butter, powdered sugar, maple syrup, and milk into the saucepan until smooth. Add more milk if too thick or more sugar if too thin.
- Drizzle the glaze over the completely cooled loaf. Let it set for 10 minutes before slicing with a serrated knife.
Notes
Do not use pumpkin pie filling; use 100% pure pumpkin puree. Do not overmix the batter to avoid a dense texture. Ensure baking soda is fresh for proper rising. Brown butter requires constant attention to prevent burning. Store at room temperature in an airtight container for up to 3 days; do not refrigerate.
- Prep Time: 15 minutes
- Cook Time: 50-60 minutes
- Category: Dessert
- Cuisine: American
Nutrition
- Serving Size: 1 slice (1/10 of loa
- Calories: 220
- Sugar: 18
- Sodium: 180
- Fat: 10
- Saturated Fat: 4
- Carbohydrates: 32
- Fiber: 1
- Protein: 3
Keywords: pumpkin bread, fall baking, beginner recipe, brown butter glaze, maple glaze, easy bread, one bowl recipe, autumn treats