I’ll be honest with you. For years, I treated my sourdough starter like a high-maintenance houseplant that only spoke to me in whispers of vinegar and sadness. I spent hours indoors, sweating over a hot oven, trying to coax that dense, doughy mess into something resembling bread. It was exhausting. And the results? Usually a brick that could double as a doorstop. I’d slice into it, sigh, and then order pizza. There I was, paying $20 for thin, soggy crust when I had the potential for something infinitely better sitting on my counter.
Then came the Tuesday that changed everything. It was one of those busy weeknights where the sun was setting at 6:30 PM, my kids were arguing over whose turn it was to put on shoes, and I was running on three hours of sleep. I didn’t want pizza. I wanted something warm, something that tasted like comfort but didn’t require me to stand in a sweltering kitchen for two hours. I looked at my bubbling starter, looked at the grill in the backyard, and thought, “Why not?”
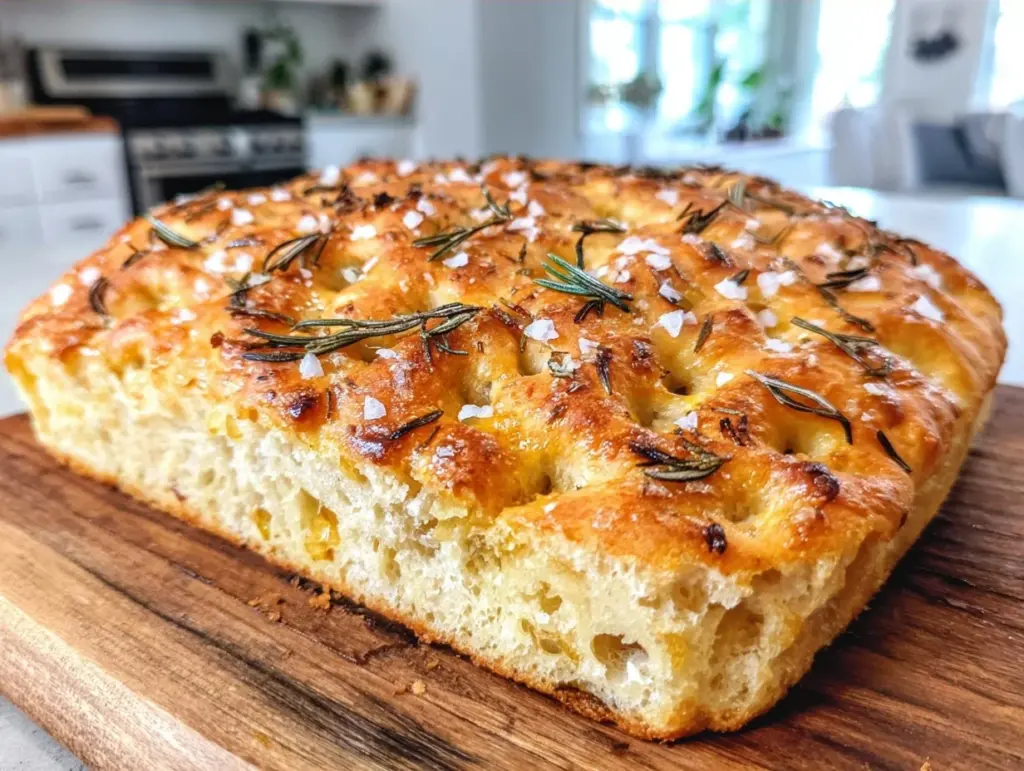
I fired up the gas grill, set it up for indirect heat, and slathered that sourdough dough in olive oil, rosemary, and sea salt. I put it on the grates, closed the lid, and waited. Ten minutes later, the smell hit me. It wasn’t just the smell of baking bread; it was the smell of smoke. Charred edges. A crisp, blistered bottom that cracked when you pressed it. Fluffy, airy interior infused with a hint of hickory and oak.
My kids stopped arguing. My husband walked out of the house, took one bite, and said, “Did you order pizza? Because this is better.” That was the moment I realized I had been doing it wrong. Baking sourdough focaccia isn’t about fighting the indoor oven’s uneven heat. It’s about using the grill’s consistent, radiant warmth to create that perfect, rustic crust without the hassle. This foolproof sourdough focaccia perfect for busy weeknights isn’t just a recipe; it’s my ticket out of the kitchen and into the backyard. And trust me, once you try it, you’ll never go back.
Why You’ll Love This Grilled Sourdough Focaccia
There are about ten reasons I keep making this, but here are the big ones that have it on my weekly rotation.
It’s Actually Foolproof — Seriously, if you can boil water and chop an onion, you can make this. The dough is sticky, yes, but it’s forgiving. I’ve walked my teenage son through it over FaceTime while I was at work, and he nailed it. The grill does the heavy lifting; you just add the oil and herbs.
Zero Indoor Oven Heat — This is the game-changer for me. It’s hot outside, I don’t want to make my house a sauna. Whether it’s 80 degrees in July or 30 degrees in January, the grill handles the temperature. You get that professional bakery char without the kitchen meltdown.
Flavor That Takes It Up a Notch — Indoor baked bread is good. Grilled bread is addictive. The smoke infuses the crumb in a way that’s subtle but noticeable. It adds a depth of flavor that you just can’t replicate in a conventional oven. Plus, the direct radiant heat creates those iconic focaccia dimples with a crispy, caramelized bottom.
Weeknight Friendly — I know, “sourdough” and “weeknight” don’t usually go together. But this recipe uses a simple mix-and-wait method. I mix the dough in the morning, let it rest in the fridge (or on the counter if I’m lucky), and then just shape it and grill it when I get home. It takes about 45 minutes from start to finish on the grill. That’s dinner.
Makes Amazing Leftovers — Actually tastes better the next day. I deliberately make extra for lunch throughout the week. Cold or reheated, it holds up way better than store-bought bread. I use it for sandwiches, dip it in olive oil, or just eat it straight out of the bag like a responsible adult (I am not).
Budget-Smart — You probably have all the ingredients already. Flour, water, salt, starter, olive oil. That’s it. It costs pennies per loaf compared to artisanal bakery bread, and it tastes leagues better. It’s less than one meal at a fast-food place, and you get two loaves.
This is my go-to when I need dinner to just work. No complicated techniques, no weird ingredients, just reliable, delicious food that makes everyone happy. It’s the perfect excuse to fire up the grill on a random Tuesday.
Ingredients You’ll Need
Here’s the best part: you probably have most of this already. The beauty of focaccia is its simplicity. I’m particular about three ingredients here, and I’ll tell you exactly why.
For the Dough
Active Sourdough Starter (1 cup / 240g) — This needs to be bubbly and active. Feed it 4-6 hours before you plan to bake. If it’s sluggish, your bread will be dense. I use my daily feed starter, which is kept in the fridge and fed the night before. It’s reliable every time.
Warm Water (1.5 cups / 360ml) — Not hot, just warm to the touch. Think bathwater temperature. This helps activate the yeast in the starter and gets the gluten moving. Cold water slows things down too much for a weeknight bake.
All-Purpose Flour (3.5 cups / 440g) — I use King Arthur All-Purpose because it has a good protein content for structure but stays tender. Bread flour works too, but it can get chewy. I prefer the soft, pillowy texture that AP flour gives in focaccia. Cake flour is too weak; skip it.
Salt (2 teaspoons / 12g) — Fine sea salt is best. I like Maldon for finishing, but table salt or kosher salt works fine for mixing. Don’t skimp. Salt controls fermentation and builds flavor.
For the Topping (The Good Stuff)
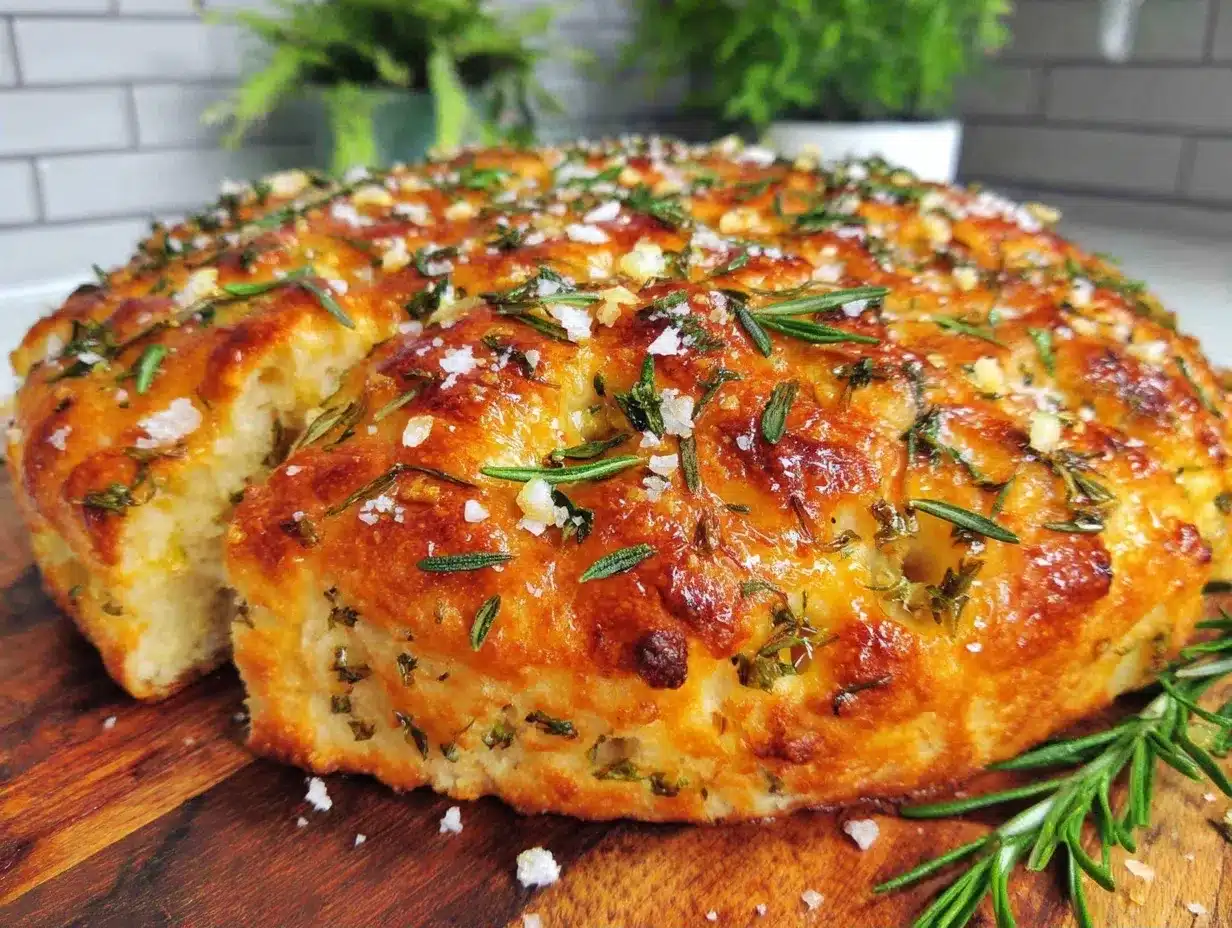
Extra Virgin Olive Oil (1/2 cup / 120ml) — Yes, half a cup. This is non-negotiable. The oil creates the crispy bottom and keeps the crumb moist. Use a decent oil here—something you’d eat with a spoon. I keep a bottle of Califa Farms or a local cold-pressed oil just for this.
Fresh Rosemary (2 tablespoons, chopped) — Fresh is key. Dried rosemary is too woody and bitter for this. I grow it in a pot on the patio, so I’m always close to fresh sprigs. If you don’t have rosemary, thyme or oregano work well too.
Flaky Sea Salt (1 tablespoon) — For sprinkling on top before grilling. This gives you those salty crunches that contrast with the soft bread. I use Maldon because it flakes easily.
Garlic Cloves (2-3, thinly sliced) — Optional, but highly recommended. Thinly sliced garlic gets crispy in the oil and adds a savory punch. I scatter them over the dough before it goes on the grill.
Cherry Tomatoes (1/2 cup, halved) — I love pressing these into the dimples. They roast slightly and add a burst of acidity. Great for summer when tomatoes are cheap and plentiful.
Black Olives (1/4 cup, sliced) — A Mediterranean touch. Kalamata or Castelvetrano both work. I add these when I want to lean into the Italian vibe.
Butter (2 tablespoons, melted) — Brushed on top after grilling. This adds richness and helps the herbs stick. It’s the finishing touch that makes it taste like restaurant-quality bread.
Quick Tip: I keep a small bowl of olive oil and herbs ready before I start grilling. Once the dough is on the grill, things move fast. You don’t want to be hunting for rosemary while the bread is cooking.
Equipment Needed
You don’t need fancy equipment for this. Here’s what I actually use.
Grill (Gas or Charcoal) — I use a Weber Kettle for charcoal and a big gas grill for convenience. Both work great. The key is being able to set up for indirect heat. You’re not searing the bread; you’re baking it with ambient heat. If you have a two-zone fire setup, perfect. If not, just push coals to one side or turn off burners on one side.
9×13 Inch Pan or Aluminum Foil Tray — I usually line a 9×13 pan with heavy-duty foil and oil it generously. This makes transferring the dough to the grill easy and cleanup a breeze. You can also just shape the dough directly on a piece of foil, but a pan gives you better shape retention.
Instant-Read Thermometer — I’m obsessed with this. It’s like $10 from IKEA and makes life easier. Internal temp should hit 190°F-200°F. No more guessing if it’s done.
Pastry Brush — For slathering on the olive oil and the butter finish. Silicone brushes are easier to clean, but natural bristles hold more oil. I use both.
Dough Scraper — Sourdough dough is sticky. A bench scraper is your best friend for handling it without adding extra flour. I keep mine right next to my mixing bowl.
Grill Grates (Cleaned) — Make sure your grill grates are clean. I scrub them with a wire brush before heating. You don’t want old charred bits ruining your fresh bread.
Cooling Rack — Essential. Focaccia needs to breathe after grilling, or it gets soggy on the bottom. I never skip this step.
Optional but nice:
- Grill Basket — If you’re worried about the dough falling through, a basket works, but I prefer direct contact with the grates for better char.
- Wood Chips — Soaked hickory or applewood chips add a nice smoke flavor. I toss them in a foil pouch with holes poked in them for charcoal grills.
How to Make It: Step-by-Step
Alright, let’s make this! I’m walking you through exactly how I do it, including the little tricks I’ve picked up from burning loaves in the past.
Step 1: Mix the Dough (5 minutes)
In a large bowl, combine the warm water and active sourdough starter. Whisk them together until the starter is dissolved. Add the flour and salt. Mix with a wooden spoon or your hands until a shaggy, sticky dough forms. Don’t overwork it. You want it to be cohesive but still quite wet. This high hydration is what makes focaccia so airy. Cover the bowl with a damp towel or plastic wrap and let it rest for 30 minutes. This is called autolyse, and it helps the gluten develop without kneading.
Step 2: The Fold (2 minutes)
After 30 minutes, wet your hands with water (this prevents sticking) and fold the dough. Grab one side, pull it up, and fold it over the center. Do this for all four sides. You’re just strengthening the structure. Cover again and let it rest for another 30 minutes. If you have time, do one more fold after another 30 minutes. Three folds total is ideal, but for a busy weeknight, two is fine.
Step 3: The Cold Rest (Overnight or 4+ Hours)
Here’s the secret to flavor. Put the covered bowl in the fridge for at least 4 hours, or ideally overnight. This slow fermentation develops that complex sourdough taste. If you’re in a rush, you can let it rise on the counter for 4-6 hours, but the fridge is better for flavor and easier timing. I usually mix it in the morning, let it sit in the fridge all day, and grill it after work.
Step 4: Prepare the Grill (10 minutes)
When you’re ready to bake, preheat your grill to medium-high, about 375°F-400°F. Set it up for indirect heat. If using charcoal, bank the coals to one side. If using gas, turn on only the outer burners. You want the center to be cool enough to hold a hand for 5 seconds, but the edges to be hot. Clean the grates thoroughly.
Step 5: Shape the Dough (10 minutes)
Generously oil a 9×13 inch pan lined with foil. Pour the dough into the pan. It will be sticky. Wet your hands again and gently press the dough into the corners. Don’t try to stretch it thin; let it expand naturally. Use your fingers to create those classic dimples. Press down firmly with your fingertips, leaving deep indentations all over. This is where you add your toppings. Drizzle generously with olive oil, making sure it pools in the dimples. Sprinkle with flaky salt, rosemary, garlic, and any other toppings you’re using.
Step 6: Grill the Focaccia (20-25 minutes)
Place the pan on the cool part of the grill (indirect heat). Close the lid. This is crucial. You’re baking the bread with ambient heat, not direct flame. Check the temp with your thermometer; you want the grill to stay around 375°F. Rotate the pan halfway through cooking for even browning. The bread is done when the bottom is deep golden brown and crispy, and the internal temperature reaches 190°F-200°F. It should sound hollow when you tap the bottom.
Step 7: Finish and Serve (5 minutes)
Remove the pan from the grill. Let it cool in the pan for 5 minutes, then transfer to a wire rack. While it’s still hot, brush the top with melted butter. This adds a luxurious sheen and flavor. Slice into squares and serve immediately. The aroma will draw people in from the house.
Total Time: About 45 minutes active, plus rising time (overnight recommended).
Yields: One 9×13 pan, about 12-16 squares.
Expert Tips & Tricks
Here’s everything I’ve learned from making this dozens of times. These tips will save you from my mistakes.
Indirect Heat is Non-Negotiable
If you put the dough over direct flame, it will burn on the bottom before it cooks inside. The goal is gentle, even heat. Think of it like an outdoor oven. If your grill runs hot, move the pan further from the heat source.
Don’t Skimp on the Oil
The oil is flavor and texture. If you use too little, the bread will be dry and tough. I’ve tried using 1/4 cup, and it’s just not the same. The oil should pool visibly in the dimples. It’s worth the calories.
Use a Thermometer
I used to judge doneness by color, but grill temps vary wildly. A thermometer guarantees success. 190°F is the sweet spot. Undercooked bread is gummy; overcooked is dry.
Keep the Lid Closed
Every time you open the lid, you lose heat and smoke. Try to resist the urge to peek. Check at the 20-minute mark, then again at 25. Patience pays off.
Rest Before Cutting
I know it’s tempting to slice it hot, but the structure is still setting. Let it rest for 5-10 minutes. It’ll be easier to cut and the texture will be better.
Common Mistakes (and how to avoid them):
- Mistake: Dough sticks to the pan. Fix: Oil the pan generously. I even oil the foil if I’m using it. And wet your hands before handling the dough.
- Mistake: Bread is raw in the middle. Fix: Your grill was too hot. Lower the heat and cook longer. Or, the dough was too thick. Flatten it more before grilling.
- Mistake: Burnt bottom. Fix: Too close to direct heat. Move the pan to the cooler side of the grill.
Variations & Substitutions
Once you’ve nailed the basic version, here’s how you can mix it up. I’ve tried all of these.
Herb Garden Focaccia
Swap rosemary for a mix of thyme, oregano, and basil. Great for spring and summer herbs.
Sausage and Fennel
Crumble cooked Italian sausage over the dough before adding oil. The fat from the sausage infuses the bread. My husband’s favorite.
Fig and Prosciutto
Add halved fresh figs and torn prosciutto before grilling. It’s elegant and perfect for entertaining. Serve with arugula and balsamic glaze.
Spicy Jalapeño
Add sliced jalapeños and diced red onion. A Southwest twist that pairs well with grilled meats.
Dietary Modifications:
- Gluten-Free — Use a 1:1 gluten-free flour blend. The dough will be stickier, so handle with wet hands. Works surprisingly well.
- Dairy-Free — Skip the butter finish. Brush with more olive oil instead.
Serving & Storage
I usually serve this straight from the rack at the dinner table—it looks rustic and stays warm. But here are other ways I’ve enjoyed it:
Side Dishes:
- Grilled vegetables (zucchini, peppers, eggplant)
- A simple green salad with lemon vinaigrette
- Marinara sauce for dipping
- Charcuterie board
Storage Instructions:
- R Refrigerator: Store in an airtight container for up to 3 days. The bread will stale faster in the fridge, so room temp is better.
- Freezing: Wrap tightly in foil and plastic wrap. Freeze for up to 2 months. Thaw at room temp and refresh in a 350°F oven for 5 minutes.
Pro Tip: If leftovers are drying out, spritz with water and reheat in the grill for 5 minutes. It’ll taste almost fresh.
Nutrition Information
I’m not a nutritionist, but here’s the breakdown if you’re tracking. Keep in mind, the olive oil adds significant calories, but it’s healthy fat.
Per Serving (based on 12 squares):
| Nutrient | Amount |
|---|---|
| Calories | 280 |
| Protein | 6g |
| Carbs | 35g |
| Fiber | 2g |
| Fat | 12g |
| Sodium | 320mg |
My Take:
Look, this is comfort food with olive oil and flour. It’s not a diet recipe. But it’s way better than store-bought, and the sourdough fermentation makes it easier to digest than regular bread. I eat a reasonable portion and enjoy it. If you want to lighten it up, reduce the oil by half, but you’ll sacrifice that crispy crust.
Final Thoughts
So that’s my foolproof sourdough focaccia perfect for busy weeknights! I’ve probably talked your ear off at this point, but when you make a recipe this often, you have a lot to say about it.
This has saved weeknight dinners more times than I can count. It’s my answer to “what’s for dinner” when I’m tired, don’t want takeout, and still want something that tastes really good. My kids are happy, my husband’s happy, and I’m happy because I’m not stressed about cooking. Plus, it’s a great excuse to spend time outside.
Make it yours! Try different add-ins, swap in your favorite herbs, adjust the salt. The best recipes are the ones you adapt to your family’s tastes. And if you’re looking for other ways to use your sourdough starter, check out my sourdough breakfast toast for a quick morning treat.
If you make this, drop a comment and let me know what you think! I love hearing how recipes turn out in your kitchen. And if something doesn’t work, tell me that too—I’m here to help troubleshoot. Happy grilling!
Frequently Asked Questions
Q: Can I use store-bought dough?
A: You can, but the sourdough flavor is what makes this special. If you’re in a pinch, yes, but I recommend making the dough. It’s easier than you think.
Q: Why did my focaccia turn out flat?
A: Your starter might have been inactive. Make sure it’s bubbly and doubles in size before mixing. Also, don’t punch down the dough when shaping; gentle handling keeps the air bubbles.
Q: Can I use a charcoal grill?
A: Absolutely. Charcoal gives a better smoke flavor. Just manage the coals for indirect heat. I often add a handful of soaked wood chips for extra aroma.
Q: How do I know when the grill is the right temperature?
A: Hold your hand over the grill grate. If you can hold it there for 4-5 seconds, it’s around 375°F. If it’s 2 seconds, it’s too hot.
Q: Can I make this ahead?
A: Yes! Mix the dough the night before, let it rise in the fridge. Shape it in the morning, let it come to room temp, then grill it. Or shape it, cover, and refrigerate for up to 24 hours before grilling.
Q: What if I don’t have a 9×13 pan?
A: Use two smaller pans (like 8×8 or a round 9-inch cake pan). Adjust cooking time slightly; smaller pans cook faster.
Q: Can I freeze grilled focaccia?
A: Yes. Let it cool completely, wrap tightly in foil and plastic. Freeze for up to 2 months. Reheat in the oven or grill to crisp it up.
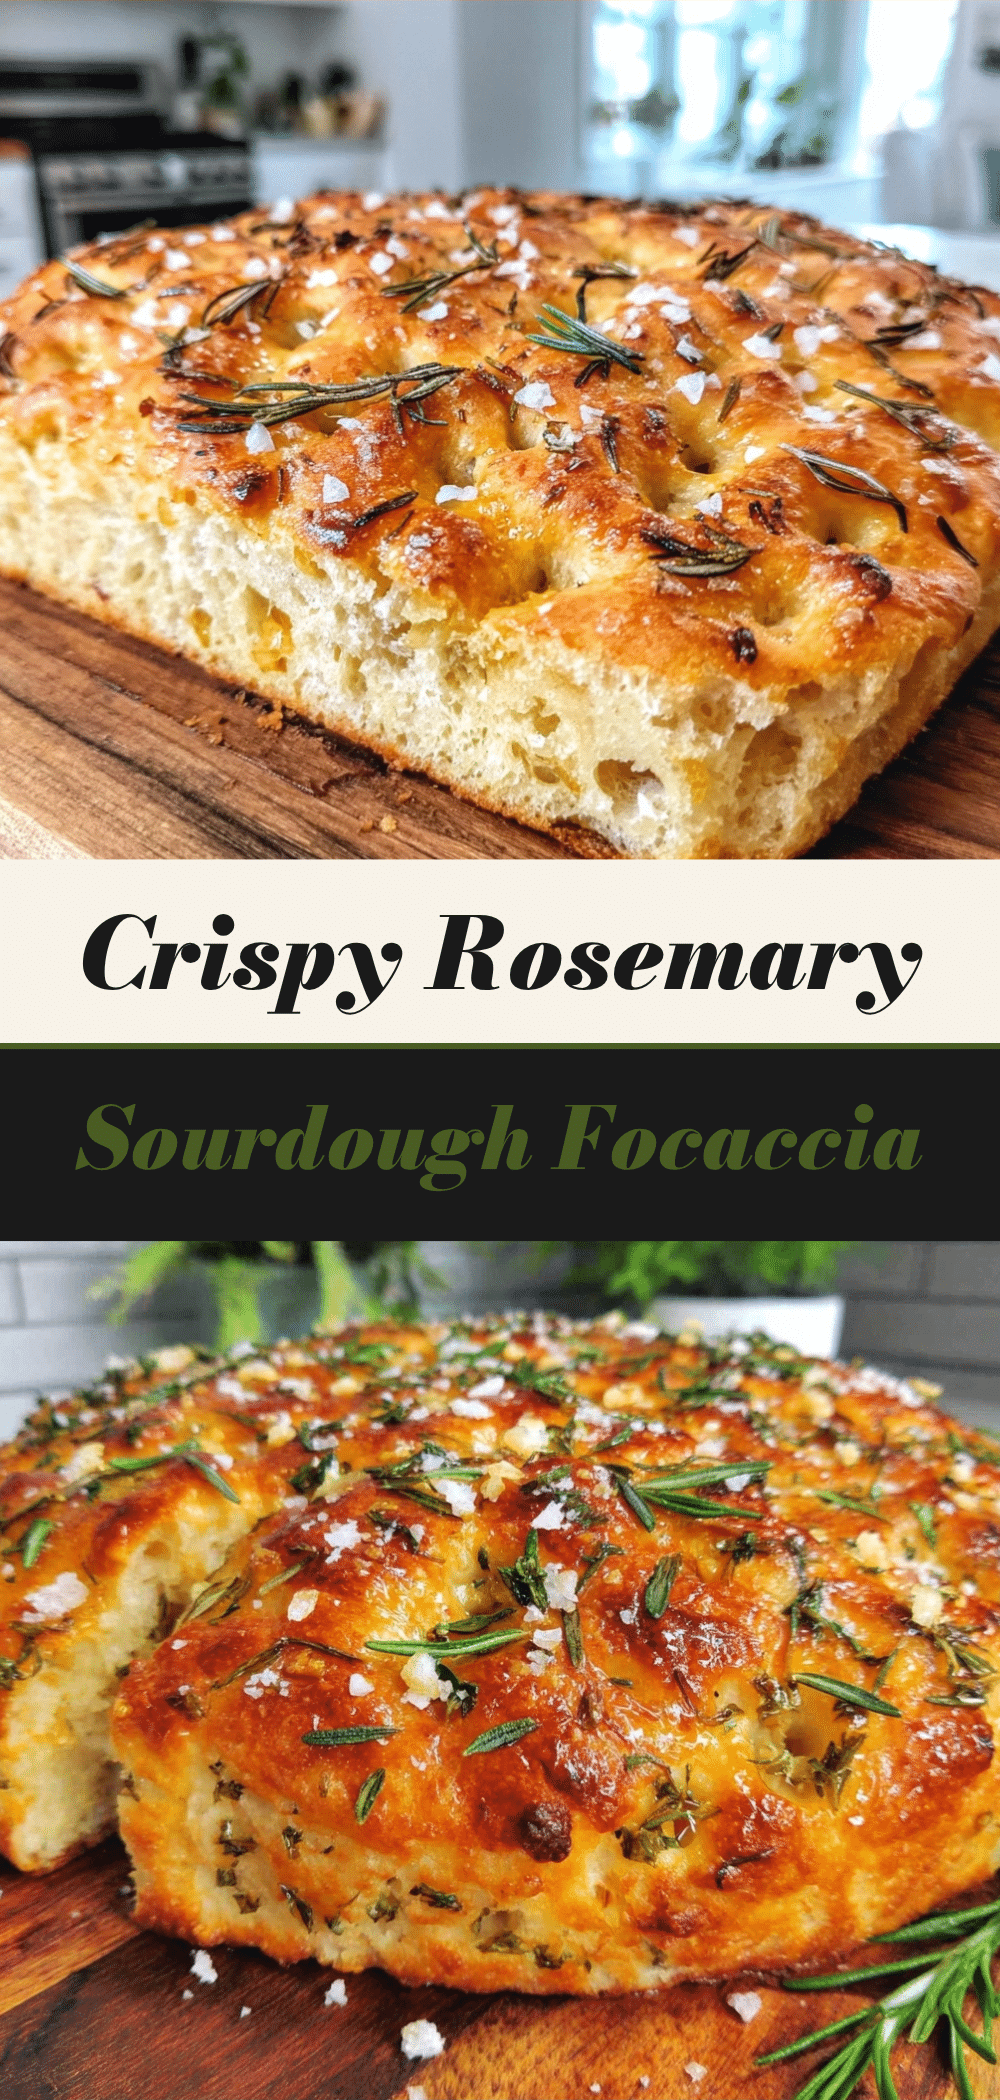
Pin This Recipe!
Foolproof Sourdough Focaccia: Perfect on the Grill
- Total Time: 70 minutes
- Yield: 12-16 servings 1x
Description
A rustic, smoky sourdough focaccia baked on a grill using indirect heat. This recipe yields a crispy, blistered crust and fluffy interior infused with olive oil, rosemary, and subtle smoke flavor, perfect for busy weeknights.
Ingredients
- 1 cup (240g) active sourdough starter
- 1.5 cups (360ml) warm water
- 3.5 cups (440g) all-purpose flour
- 2 teaspoons fine sea salt
- 1/2 cup (120ml) extra virgin olive oil
- 2 tablespoons fresh rosemary, chopped
- 1 tablespoon flaky sea salt (for topping)
- 2–3 garlic cloves, thinly sliced (optional)
- 1/2 cup cherry tomatoes, halved (optional)
- 1/4 cup black olives, sliced (optional)
- 2 tablespoons melted butter (for finishing)
Instructions
- In a large bowl, whisk warm water and active sourdough starter until dissolved. Add flour and salt, mixing until a shaggy, sticky dough forms. Cover and rest for 30 minutes (autolyse).
- Wet hands and perform a fold: pull one side of the dough up and fold over the center. Repeat for all four sides. Cover and rest for another 30 minutes. Repeat once more if time permits.
- Place the covered bowl in the refrigerator for at least 4 hours or overnight for slow fermentation.
- Preheat grill to medium-high (375°F-400°F) and set up for indirect heat (coals to one side or burners off on one side). Clean grates thoroughly.
- Generously oil a 9×13 inch pan lined with foil. Pour in the dough and gently press into corners. Create deep dimples with fingertips.
- Drizzle generously with olive oil, ensuring it pools in the dimples. Sprinkle with flaky salt, rosemary, garlic, and other toppings.
- Place the pan on the cool part of the grill (indirect heat). Close lid and grill for 20-25 minutes, rotating halfway through, until internal temperature reaches 190°F-200°F and bottom is golden brown.
- Remove from grill and let cool in pan for 5 minutes. Transfer to a wire rack. Brush top with melted butter while hot. Slice and serve.
Notes
Ensure the grill is set up for indirect heat to prevent burning. Do not skimp on olive oil for a crispy crust. Use a thermometer to ensure the bread is fully cooked (190°F-200°F). Let the bread rest before cutting to allow structure to set.
- Prep Time: 45 minutes
- Cook Time: 25 minutes
- Category: Side Dish
- Cuisine: Italian
Nutrition
- Serving Size: 1 square (approx. 1/
- Calories: 280
- Sugar: 1
- Sodium: 320
- Fat: 12
- Saturated Fat: 3
- Carbohydrates: 35
- Fiber: 2
- Protein: 6
Keywords: sourdough focaccia, grilled bread, weeknight dinner, outdoor cooking, sourdough starter recipes, easy bread, rustic bread



