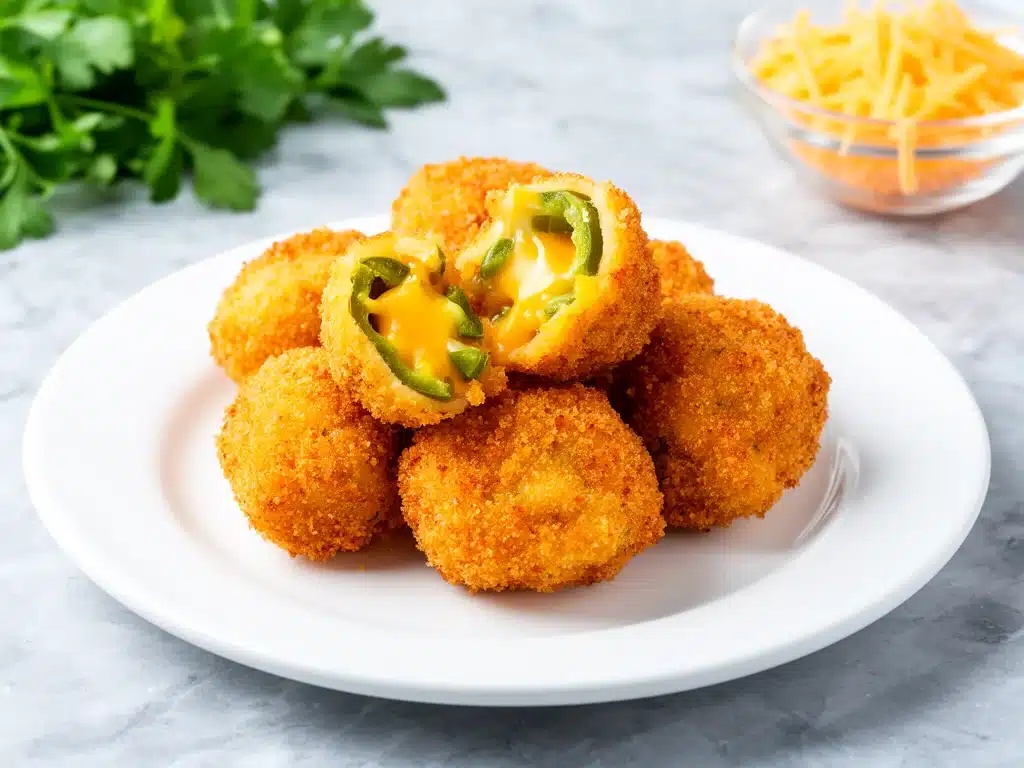
I have a confession to make. For years, I was the person who bought the frozen bag of jalapeño poppers from the grocery store freezer aisle. You know the ones. They’re in those crinkly plastic bags, usually sitting next to the frozen pizza rolls, looking like little orange pillows of guilt. I’d throw a handful into a basket while waiting in line for milk, thinking, Hey, it’s just a little snack. It’s not a meal.
But here’s the thing about those frozen poppers. They taste like… well, like something that’s been sitting in a freezer for six months. The breading was soggy before it even hit the oven, and the cheese filling? It tasted more like processed dairy product than actual cheddar. I loved the idea of them—the crunch, the heat, the gooey center—but I hated the reality.
Then, last month, I was hosting a casual dinner party. I had way too many guests and way too little time to cook a proper meal. I remembered a friend telling me she makes her own poppers from scratch, and I thought, How hard can it be? It’s just peppers and cheese.
I was wrong. It’s not just peppers and cheese. It’s about technique. It’s about getting that coating crispy without burning the jalapeños. It’s about balancing the heat so it’s exciting, not painful. I made a batch that night, and honestly? They were better than any appetizer I’d ever bought. My guests asked for the recipe before the main course was even served. That’s when I knew I had to stop buying them forever.
These Crispy Baked Jalapeno Cheddar Poppers are my new go-to. They’re ready in 15 minutes (if you prep while the oven heats up), they’re baked not fried, and they deliver that restaurant-quality crunch without the grease. Plus, they’re perfect for busy weeknights when you need something to snack on while you wait for dinner to finish cooking. Or, you know, just eat them straight out of the oven like I do.
Why You’ll Love This Recipe
I’ve made these poppers at least ten times in the last three months. They’ve become a staple in my kitchen for game days, last-minute guests, and those moments when I need a little comfort food that doesn’t require a lot of effort. Here’s why they’ve earned a permanent spot in my recipe rotation.
Actually Crispy, Not Soggy — I’ve tried every coating method out there. The secret isn’t just the breadcrumbs; it’s the double-dip technique with the buttermilk and the specific type of panko I use. When you bake them right, they stay crispy for at least 10 minutes after coming out of the oven. That’s huge for a stuffed pepper.
Lightning Fast — This isn’t a recipe where you spend an hour prepping. If you have your ingredients ready, you can have these in the oven in 5 minutes. Total time from start to finish is about 15-20 minutes. I make these on weeknights when I’m tired and just want a snack that feels special.
Budget-Friendly — Jalapeños are cheap. Cream cheese and cheddar are pantry staples for me. I usually spend less than $5 on a batch that serves 6-8 people as an appetizer. That’s cheaper than a single order of appetizers at a bar.
Customizable Heat — Not everyone likes things super spicy. With this recipe, you control the heat. Want mild? Remove all the seeds. Want it to burn? Leave them all in. I like to keep half the seeds for a medium kick that my kids can handle (with some milk nearby).
Perfect for Sharing — These disappear fast. Like, really fast. I’ve lost count of how many times I’ve made a batch and had none left before my husband got home from work. They’re the ultimate crowd-pleaser.
This recipe has saved me from buying low-quality frozen appetizers so many times. It’s easy, it’s delicious, and it makes you look like a hostess with the mostess—even if you’re wearing sweatpants.
Ingredients You’ll Need
Here’s the best part: you probably have most of this already. I’m particular about a few things here, specifically the cheese and the coating, because that’s where the magic happens. But overall, this is a simple pantry-friendly list.
For the Filling
Cream cheese (8 ounces / 225g, softened) — This is the base. It needs to be softened to room temperature so it mixes smoothly. If you try to mix cold cream cheese, you’ll get lumps, and no one wants lumpy poppers. I usually take it out of the fridge 20 minutes before I start.
Sharp cheddar cheese (1 cup / 100g, shredded) — I use sharp cheddar for the punchy flavor. Mild cheddar is too boring. And please, shred your own cheese. Pre-shredded cheese has anti-caking agents that stop it from melting properly. You want that gooey, stretchy center. Trust me on this.
Garlic powder (½ teaspoon) — Adds depth without adding moisture. Fresh garlic can make the filling watery, which ruins the texture. Powder is the way to go here.
Onion powder (½ teaspoon) — Complements the garlic. If you don’t have onion powder, a tiny bit of finely minced fresh onion works, but powder is easier and more consistent.
Cayenne pepper (¼ teaspoon) — Optional, but I add this for a little extra kick behind the heat of the jalapeño. If you’re sensitive to spice, skip this or use just a pinch.
Salt and black pepper (to taste) — Don’t forget to season the filling! It’s easy to overlook, but the cream cheese needs salt to bring out the flavors.
For the Coating
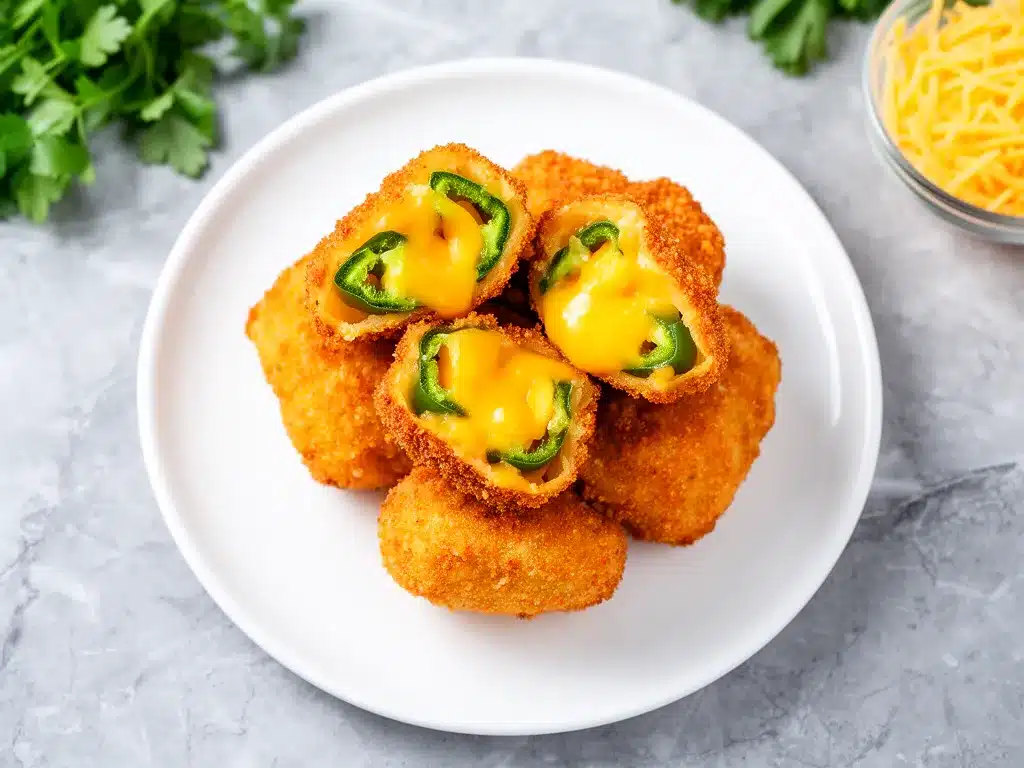
Jalapeños (12-16 large peppers) — Look for peppers that are firm and have a consistent shape. I prefer larger peppers because they’re easier to stuff. If you can’t find large ones, just use more smaller peppers. Wear gloves when handling these! I learned that the hard way.
Buttermilk (1 cup / 240ml) — This is my secret weapon. Buttermilk helps the breading stick better than milk or water, and it adds a tiny bit of tang that cuts through the richness of the cheese. If you don’t have buttermilk, you can make a substitute (see tips below).
Panko breadcrumbs (1.5 cups / 150g) — Regular breadcrumbs are too fine and dense. Panko creates those big, crispy flakes that make baked poppers feel like fried ones. I always keep a bag of panko in my pantry for this exact purpose.
Smoked paprika (½ teaspoon) — Adds a subtle smoky flavor that pairs beautifully with the jalapeño. It also gives the coating a nice golden color.
Garlic salt (½ teaspoon) — Adds that savory crunch. I use garlic salt specifically for the coating so I can control the seasoning in the filling separately.
Optional: Dill weed or parsley (1 tablespoon, chopped) — I like to add a little fresh herb to the breadcrumbs for color and a fresh bite. It’s not traditional, but I love it.
Substitutions
No buttermilk? Mix 1 cup of milk with 1 tablespoon of lemon juice or white vinegar. Let it sit for 5 minutes until it curdles slightly. It works almost as well.
Gluten-free? Use gluten-free panko breadcrumbs. They’re widely available now and work great. Just make sure to check the label.
Lighter version? Use low-fat cream cheese and skim milk. It won’t be as rich, but it’s still tasty. I usually save this version for when I’m trying to be “healthy” (which is rarely).
Equipment Needed
You don’t need fancy equipment for this. Here’s what I actually use. Most of this is stuff you already have in your kitchen.
Baking sheet — I use a standard 13×18 inch sheet. Line it with parchment paper or a silicone baking mat. I prefer silicone because cleanup is instant. No scrubbing stuck-on cheese!
Small knife — You need a sharp knife to slice the jalapeños. A dull knife will crush the pepper and make it harder to work with. I use my paring knife for this.
Paring knife or small spoon — To remove the seeds and membranes. I usually use the tip of my paring knife to scoop them out. It’s faster than using a spoon.
Three shallow bowls — You’ll need three bowls for the breading station: one for buttermilk, one for the breadcrumb mixture, and maybe one for extra breadcrumbs if you run low. I use pie dishes or shallow casserole dishes.
Mixing bowl — A medium bowl for mixing the cream cheese filling. A rubber spatula is helpful here to get everything smooth.
Whisk — For mixing the breadcrumbs with the spices. It ensures the seasoning is evenly distributed.
Optional: Pastry bag or ziplock bag — If you’re fancy, you can put the filling in a ziplock bag, snip off the corner, and pipe it into the peppers. It’s cleaner and neater than using a spoon. I do this when I have guests coming over and want things to look pretty.
Optional: Kitchen shears — Some people prefer to cut the jalapeños in half lengthwise and remove the seeds with scissors. It’s a valid method, but I find a knife gives me more control.
How to Make It: Step-by-Step
Alright, let’s make these! I’m walking you through exactly how I do it, including the little tricks I’ve picked up over the years. This is easier than it looks.
Step 1: Prep Your Oven and Pan (2 minutes)
Preheat your oven to 400°F (200°C). Line a baking sheet with parchment paper or a silicone mat. I always do this first because it saves time later, and I don’t want to be scrambling to line the pan while my peppers are waiting.
Step 2: Prepare the Jalapeños (5 minutes)
Wash the jalapeños and pat them dry. Wear gloves. Seriously. Jalapeño oil gets on your hands and can burn your eyes if you touch them later. If you don’t have gloves, wash your hands thoroughly with soap and water immediately after handling.
Slice each jalapeño in half lengthwise. Use the tip of your knife or a small spoon to scoop out the seeds and white membranes. This is where most of the heat lives. If you want mild poppers, remove all the seeds. If you want them spicy, leave some in. I usually leave about half the seeds in for a medium kick.
Place the halves cut-side up on your prepped baking sheet. You don’t need to do anything else to them yet.
Step 3: Make the Filling (3 minutes)
In a mixing bowl, combine the softened cream cheese, shredded cheddar, garlic powder, onion powder, cayenne (if using), salt, and pepper. Mix until smooth and well combined. If it’s too thick, add a splash of milk. If it’s too thin, add a little more cheese.
I like to taste the filling before stuffing. It should be flavorful on its own. If it tastes bland, add more salt or spices now. You can’t add flavor after they’re baked.
Step 4: Stuff the Peppers (3 minutes)
Take a spoonful of the cheese mixture and press it into each jalapeño half. Don’t overfill them, or the cheese will spill out and burn. A little goes a long way. I usually use about 1-2 tablespoons per half, depending on the size of the pepper.
If you’re using the ziplock bag method, put the filling in the bag, snip the corner, and pipe it in. It’s neater and faster. I do this when I’m feeling organized.
Step 5: Set Up the Breading Station (2 minutes)
In one shallow bowl, pour the buttermilk. In another shallow bowl, mix the panko breadcrumbs, smoked paprika, garlic salt, and herbs (if using). Whisk the dry ingredients together so the spices are evenly distributed.
Step 6: Coat the Poppers (3 minutes)
This is the fun part. Pick up a stuffed jalapeño half. Dip it into the buttermilk, making sure it’s fully coated. Let any excess drip off. Then, press it into the breadcrumb mixture. Make sure all sides are covered, especially the top where the cheese is.
Press the breadcrumbs into the pepper gently so they stick. If a spot is bare, just press more breadcrumbs onto it. Place the coated popper back on the baking sheet. Repeat with all the peppers.
Pro Tip: Don’t crowd the peppers on the sheet. Leave a little space between them so the hot air can circulate and make them crispy on all sides.
Step 7: Bake (10-12 minutes)
Place the baking sheet in the preheated oven. Bake for 10-12 minutes, or until the breadcrumbs are golden brown and crispy, and the peppers are tender. I usually check them at the 10-minute mark. If the breadcrumbs are browning too fast, you can tent them with foil.
Keep an eye on them. Ovens vary. You want them golden, not burnt.
Step 8: Serve
Remove from the oven and let them cool for 2-3 minutes. The cheese will be molten hot, so let it settle a bit. Serve warm with ranch dressing, sour cream, or a spicy mayo for dipping. They’re best eaten immediately while they’re still crispy.
Total Time: About 20 minutes (5 minutes prep, 10-12 minutes bake).
Expert Tips & Tricks
Here’s everything I’ve learned from making these dozens of times. These tips will save you from my mistakes.
Softened Cream Cheese is Non-Negotiable
If your cream cheese is cold and firm, you’ll have lumps in your filling. Lumps mean uneven distribution of flavor. I usually take it out of the fridge 20-30 minutes before I start. If I forget, I microwave it for 10-15 seconds. Just don’t melt it—just soften it.
Don’t Skip the Buttermilk
I tried using milk once, and the breadcrumbs fell off. Buttermilk is thicker and stickier, which helps the coating adhere. If you don’t have buttermilk, use the lemon juice/milk substitute. It makes a big difference.
Panko is Better Than Regular Breadcrumbs
Regular breadcrumbs are dense and can get soggy. Panko is airy and crispy. It mimics the texture of fried breading without the oil. I always buy panko specifically for baked appetizers.
Pat the Peppers Dry
After washing the jalapeños, make sure they’re completely dry before stuffing. Moisture on the outside can make the coating slide off. A paper towel works great for this.
Double Dip for Extra Crunch
If you want really thick, crunchy coating, dip the pepper in buttermilk, then breadcrumbs, then buttermilk again, then breadcrumbs again. It’s extra work, but it’s worth it for parties.
Watch the Heat
Jalapeños can burn quickly. If your oven runs hot, check them at 8 minutes. You want the breadcrumbs golden, not black.
Common Mistakes (and how to avoid them)
Mistake: Coating falls off. Fix: Make sure the peppers are dry and the buttermilk is thick enough. Press the breadcrumbs firmly into the cheese.
Mistake: Cheese spills out. Fix: Don’t overstuff. Leave a little room at the top. The cheese will expand slightly as it melts.
Mistake: Peppers are raw. Fix: Bake for the full 10-12 minutes. Jalapeños need time to soften. If they’re still crunchy, give them 2 more minutes.
Variations & Substitutions
Once you’ve nailed the basic version, here’s how you can mix it up. I’ve tried all of these, and they’re all delicious.
Smoked Cheddar Version
Swap the sharp cheddar for smoked cheddar. It adds a smoky depth that pairs perfectly with the smoked paprika in the coating. This is my favorite variation.
Blue Cheese Version
Swap half the cheddar for crumbled blue cheese. It’s tangy and bold. Great with a honey mustard dipping sauce. My husband loves this one.
Chicken Version
Add ½ cup of cooked, shredded chicken to the filling. It makes it more filling and adds protein. I do this when I want it to be more of a snack meal.
Spicy Jalapeño Version
Use habanero peppers instead of jalapeños. They’re smaller, so you’ll need more, and they’re much hotter. Use gloves! This is for the brave.
Vegan Version
Use vegan cream cheese and vegan cheddar shreds. For the coating, use oat milk instead of buttermilk and vegan panko. It works surprisingly well. My vegan friend requested this version, and it was a hit.
Gluten-Free Version
Use gluten-free panko breadcrumbs. Everything else is naturally gluten-free. Just check your spices to make sure they don’t have hidden gluten.
Low-Carb Version
Use crushed pork rinds or almond flour instead of breadcrumbs. It’s lower in carbs and still crispy. I make this when I’m watching my carb intake.
Serving & Storage
How to Serve:
I usually serve these straight from the baking sheet. They look rustic and homemade. But here are other ways I’ve enjoyed them:
Dipping Sauces:
- Ranch dressing: Classic. Always a hit.
- Spicy mayo: Mix mayo with sriracha and lime juice. It’s tangy and spicy.
- Sour cream: Simple and creamy. Good for balancing the heat.
- Honey mustard: Sweet and tangy. Pairs well with the smoked cheddar.
Side Dishes:
These are appetizers, so they don’t need sides. But if I’m serving them as a snack with dinner, I might have some creamy crockpot sausage and peppers or a simple green salad on the table.
Storage Instructions:
Refrigerator:
Store leftovers in an airtight container for up to 3 days. The coating will soften in the fridge, but they’re still good cold or reheated.
Reheating:
Best method: Reheat in the oven at 350°F (175°C) for 5-7 minutes. This brings back the crispiness.
Microwave method: Heat in 30-second intervals. They’ll get soggy, but they’re still edible. I only do this when I’m lazy.
Freezing:
You can freeze them before baking. Coat them, place them on a baking sheet, and freeze until solid. Then transfer to a freezer bag. Bake from frozen, adding 5 minutes to the cook time. They freeze well! I do this when I want to have them ready for a last-minute party.
Pro Tip: If you’re reheating, don’t use the microwave if you want them crispy. The oven or an air fryer is best.
Nutrition Information
I’m not a nutritionist, but here’s the breakdown if you’re tracking. Keep in mind that these are appetizers, so portions vary.
Per Serving (based on 2 poppers):
- Calories: 180
- Protein: 8g
- Carbs: 12g
- Fiber: 1g
- Sugar: 2g
- Fat: 12g
- Saturated Fat: 6g
- Cholesterol: 30mg
- Sodium: 350mg
What’s Good:
- Decent protein from the cheese
- Calcium from the dairy
- Lower in calories than fried versions
What to Know:
- Higher in fat and sodium due to cheese and breading
- Contains dairy and gluten
- Calories can vary based on pepper size and coating thickness
My Take:
Look, these are indulgent. They’re cheesy, crunchy, and spicy. They’re not a diet food. But they’re better than fried versions, and you control the ingredients. When I make them, I enjoy them as a treat. Balance is key.
Final Thoughts
So that’s my take on Crispy Baked Jalapeno Cheddar Poppers! I’ve probably talked your ear off at this point, but when you make a recipe this often, you have a lot to say about it.
This recipe has saved me from buying low-quality frozen appetizers so many times. It’s my answer to “what’s for a snack” when I’m tired, don’t want takeout, and still want something that tastes really good. My kids are happy, my husband’s happy, and I’m happy because I’m not stressed about cooking.
Make it yours! Try different cheeses, adjust the heat, or add different herbs. The best recipes are the ones you adapt to your family’s tastes. And if you make these, drop a comment and let me know what you think! I love hearing how recipes turn out in your kitchen.
Happy cooking! And I hope your kitchen smells half as good as mine does right now.
Frequently Asked Questions
Can I use frozen jalapeños?
You can, but fresh jalapeños are much better. Frozen peppers can be watery and limp, which makes them harder to stuff and coat. If you must use frozen, thaw them completely and pat them very dry. But fresh is the way to go.
Why did my coating fall off?
This usually happens if the peppers weren’t dry enough or if you didn’t press the breadcrumbs firmly into the cheese. Make sure to pat the peppers dry after washing, and press the coating on with your fingers to help it stick.
Can I make these ahead of time?
Yes! You can stuff and coat them up to 24 hours in advance. Store them in the fridge, covered, until you’re ready to bake. Just add a minute or two to the baking time if they’re cold from the fridge.
How spicy are these?
It depends on how many seeds you leave in. Jalapeños can range from mild to medium-hot. If you remove all the seeds and membranes, they’ll be mild. If you leave them in, they’ll be spicy. I usually leave half the seeds in for a medium kick.
Can I use regular breadcrumbs instead of panko?
You can, but the texture won’t be as crispy. Panko is lighter and airier, which gives that fried-like crunch. If you only have regular breadcrumbs, it will still taste good, but it won’t be as crunchy.
What dipping sauce goes best with these?
Ranch is the classic choice. But I also love a spicy mayo (mayo + sriracha + lime) or a honey mustard. Anything creamy or tangy works well to balance the heat and richness.
Pin This Recipe!
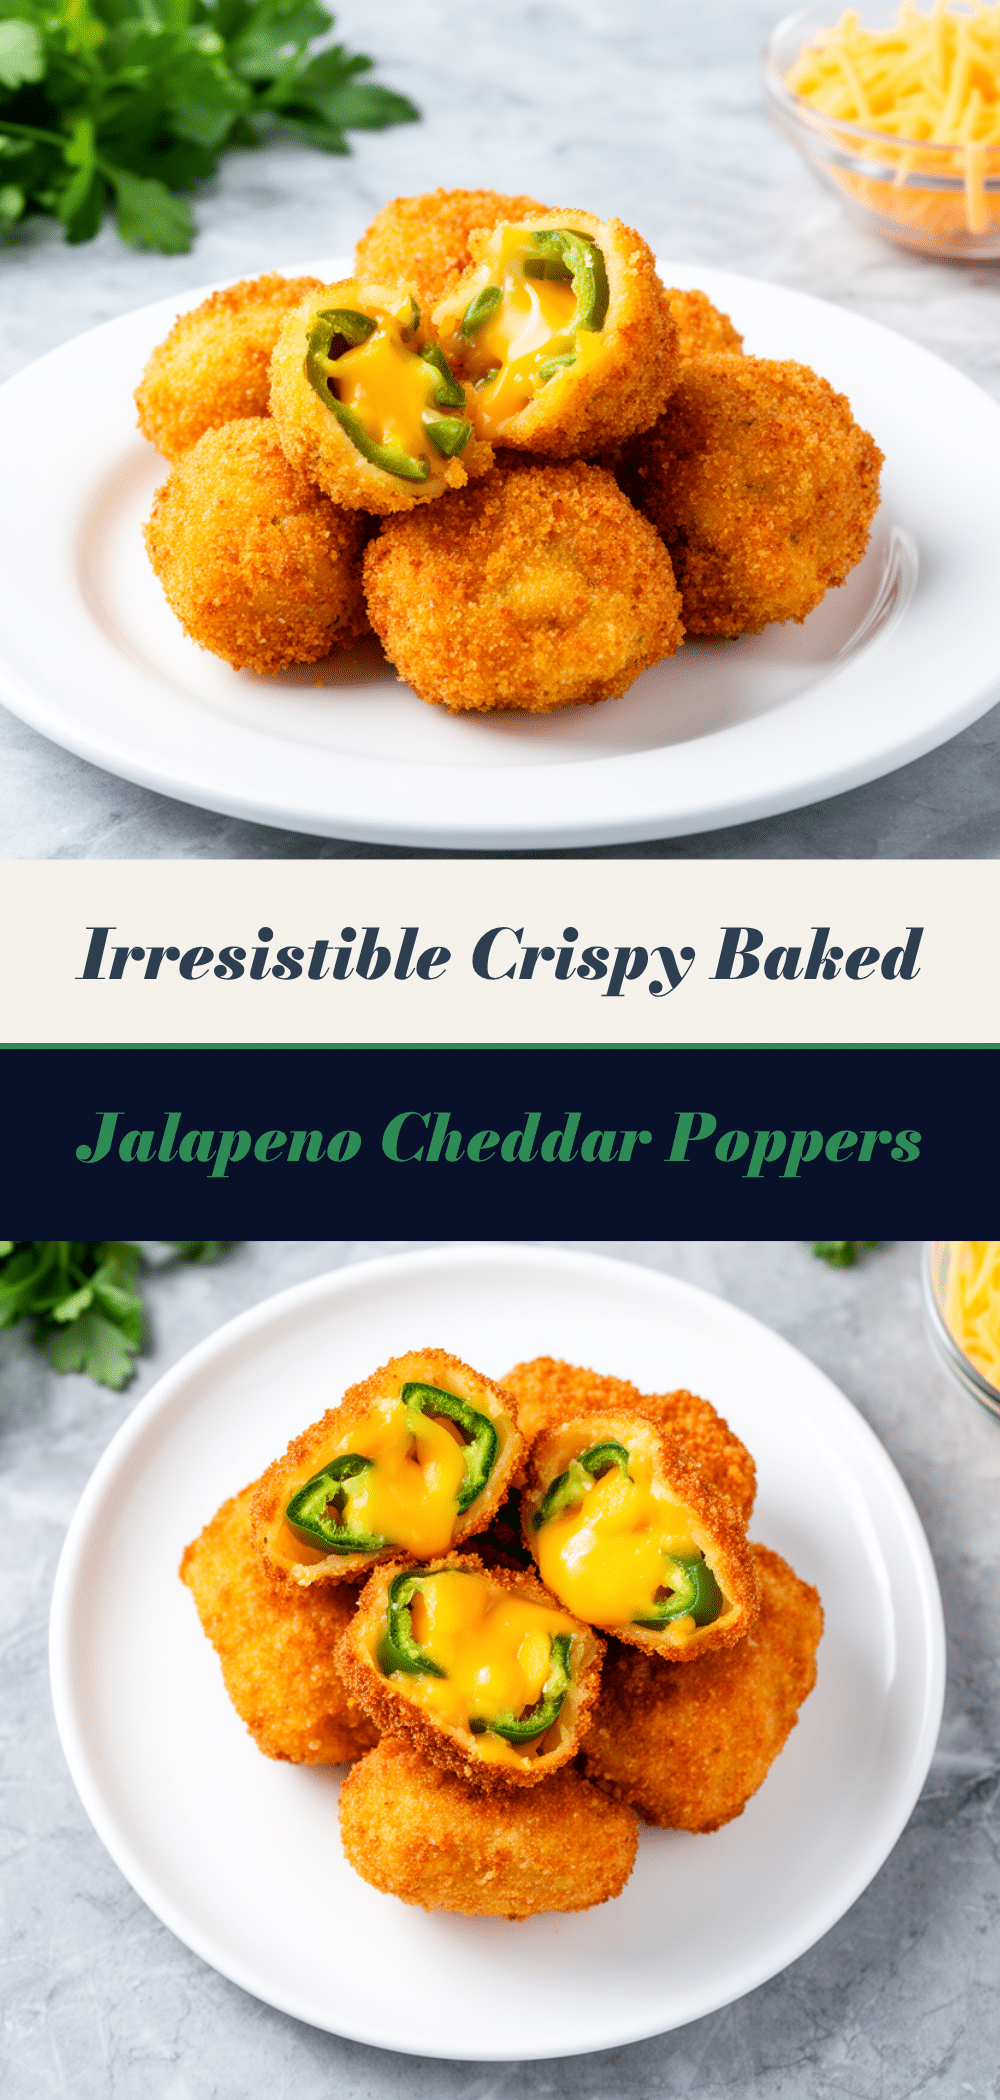
Crispy Baked Jalapeno Cheddar Poppers
- Total Time: 15-20 minutes
- Yield: 6-8 servings 1x
Description
These crispy baked jalapeno cheddar poppers are a lightning-fast, budget-friendly appetizer that delivers restaurant-quality crunch without the grease. Perfect for game days or busy weeknights, they are easy to customize for heat level and dietary needs.
Ingredients
- 12–16 large jalapeño peppers
- 8 ounces (225g) cream cheese, softened
- 1 cup (100g) sharp cheddar cheese, shredded
- 1/2 teaspoon garlic powder
- 1/2 teaspoon onion powder
- 1/4 teaspoon cayenne pepper (optional)
- Salt and black pepper to taste
- 1 cup (240ml) buttermilk
- 1.5 cups (150g) panko breadcrumbs
- 1/2 teaspoon smoked paprika
- 1/2 teaspoon garlic salt
- 1 tablespoon chopped dill weed or parsley (optional)
Instructions
- Preheat oven to 400°F (200°C). Line a baking sheet with parchment paper or a silicone mat.
- Wear gloves and wash jalapeños. Slice them in half lengthwise and remove seeds and membranes using a knife or spoon.
- In a mixing bowl, combine softened cream cheese, shredded cheddar, garlic powder, onion powder, cayenne, salt, and pepper. Mix until smooth.
- Stuff each jalapeño half with the cheese mixture, using about 1-2 tablespoons per half. Do not overfill.
- Set up a breading station: pour buttermilk into one shallow bowl. In another, mix panko, smoked paprika, garlic salt, and herbs.
- Dip each stuffed jalapeño into the buttermilk, let excess drip off, then press firmly into the breadcrumb mixture to coat all sides.
- Place coated poppers on the baking sheet, ensuring they are not crowded.
- Bake for 10-12 minutes until breadcrumbs are golden brown and crispy, and peppers are tender.
- Remove from oven and let cool for 2-3 minutes before serving warm with dipping sauces.
Notes
Wear gloves when handling jalapeños to avoid skin irritation. Ensure cream cheese is softened to room temperature to avoid lumps. Pat peppers dry before stuffing to help the coating adhere. For extra crunch, double-dip in buttermilk and breadcrumbs. Can be frozen before baking for later use.
- Prep Time: 5 minutes
- Cook Time: 10-12 minutes
- Category: Appetizer
- Cuisine: American
Nutrition
- Serving Size: 2 poppers
- Calories: 180
- Sugar: 2
- Sodium: 350
- Fat: 12
- Saturated Fat: 6
- Carbohydrates: 12
- Fiber: 1
- Protein: 8
Keywords: jalapeno poppers, baked appetizer, cream cheese, cheddar, panko, spicy snack, game day food, easy recipes, gluten-free option, vegan option



