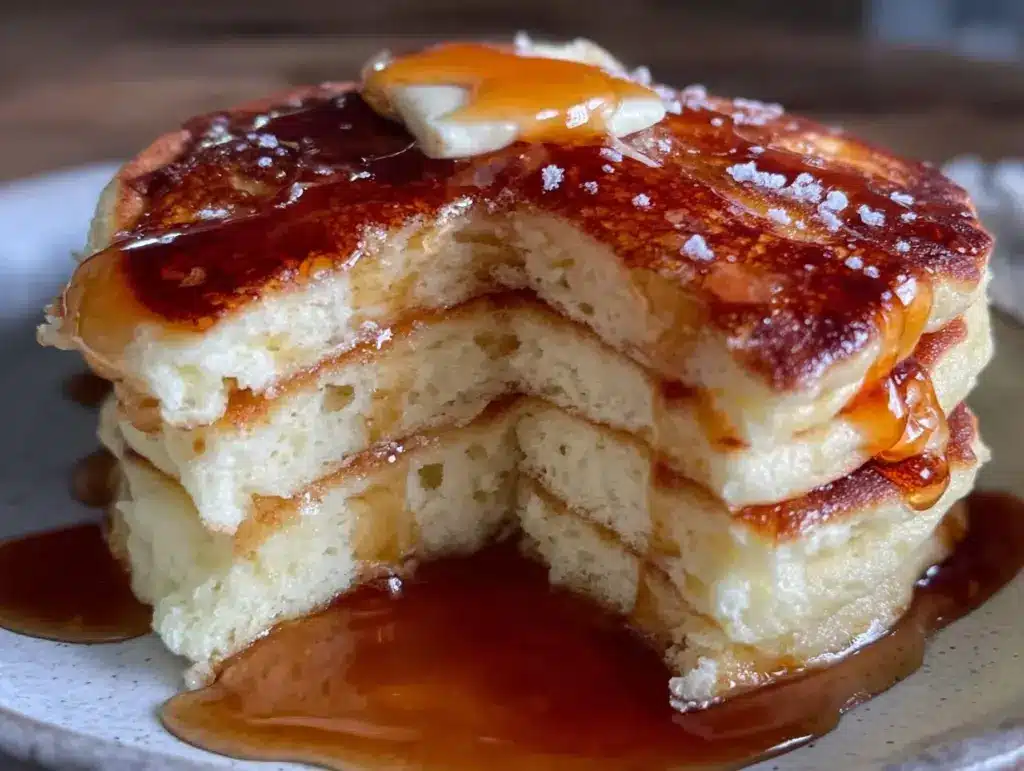
I used to think breakfast was just a chore. You know the type: grab a granola bar from the car console, maybe chug a coffee while driving, and pretend you’re not starving by 10 AM. It’s functional, sure, but it’s not exactly joyful. That changed last spring when I stumbled into a tiny pancake house in Portland during a rainstorm. I ordered the “soufflé pancakes” because I was bored of flat, dense griddles, and I got handed a stack so tall and jiggly it looked like it might collapse if I breathed on it too hard.
I cut into it, and the center was warm, custardy, and impossibly light. It tasted like a cloud that had been sweetened with maple syrup. I ate it in three bites, staring at the empty plate, thinking, “I have to make this at home.”
Here’s the thing: making Japanese soufflé pancakes at home is not as intimidating as it sounds, but it does require patience. I’ve made these Ultra-Fluffy Japanese Souffle Pancakes with Maple Butter probably forty times now. Some were flat. Some were overcooked. One batch was essentially a giant, delicious omelet. But I stuck with it because the payoff is worth every second of whisking.
These aren’t your average Sunday morning pancakes. They don’t use baking powder to rise; they use air. They are a study in texture and technique, resulting in a breakfast that feels like a treat but actually fuels you with real protein and whole grains. If you’ve ever wanted to feel like you’re at a high-end brunch without leaving your kitchen, this is the recipe. It’s the ultimate weekend fuel, and once you master the meringue, you’ll never go back to flat cakes again.
Why You’ll Love This Recipe
There are a few reasons I keep coming back to this stack of fluffy goodness, but let’s be honest: it’s mostly about the texture. But there’s more to it than just being fancy.
Impossibly Light Texture — These pancakes are literally held up by whipped egg whites. They jiggly. They spring back when you poke them. Eating one feels less like chewing and more like biting into a warm, sweet cloud. It’s a sensory experience that wakes you up in a way caffeine alone can’t.
Actually Good for You — Most pancake recipes are mostly flour and sugar. This version uses whole wheat flour and eggs, giving you solid protein and fiber right from the start. I’ve framed this as “breakfast fuel” because it keeps me full until lunch without the sugar crash. It’s comfort food that actually supports your energy levels.
The Maple Butter Finish — The recipe calls for a simple maple butter sauce that you pour over the top. It’s rich, salty, and sweet, and it transforms the simple pancake into something decadent. It’s the kind of topping that makes you close your eyes and sigh.
Great for Special Diets — Because we’re using whole wheat flour and skipping the heavy chemical leaveners, these are a bit easier on the digestion than traditional fluffy pancakes. If you’re watching your gluten intake, you can easily swap in a 1:1 gluten-free flour blend, and they still rise beautifully. I’ve made these for my gluten-free sister, and she couldn’t tell the difference.
Impresses Everyone — Whether it’s your picky kids, your health-conscious partner, or your guests, this dish gets reactions. It looks impressive, smells incredible (vanilla and butter are a winning combo), and tastes like you spent hours in the kitchen (even though it only takes about 45 minutes).
This is my go-to when I want to slow down and enjoy the morning. It’s not just breakfast; it’s a moment of calm in a busy day.
Ingredients You’ll Need
Don’t let the technique scare you—the ingredients are straightforward. You probably have most of this already. I’m particular about a few things here, specifically the flour and the butter, so pay attention to those details.
For the Pancake Batter:
Whole wheat flour (1 cup / 120g) — I use whole wheat pastry flour if I can find it because it’s softer, but regular whole wheat works too. It adds that nutty, wholesome flavor and keeps you full. If you want lighter pancakes, you can swap half for all-purpose flour.
Eggs (2 large, separated) — This is crucial. You need to separate the yolks from the whites carefully. No yolk in the whites, or they won’t whip up properly. Room temperature eggs whip better, so take them out of the fridge 20 minutes before you start.
Milk (¼ cup / 60ml) — I use whole milk for richness, but almond or oat milk works fine if you’re dairy-free. Just make sure it’s not ice-cold.
Maple syrup (2 tablespoons) — Real maple syrup, not pancake syrup. The flavor of the syrup in the batter is subtle but adds depth. It pairs perfectly with the maple butter topping.
Vanilla extract (1 teaspoon) — Good quality vanilla makes a huge difference. I use pure vanilla bean paste if I have it, because you get those little specks everywhere.
Cornstarch (1 teaspoon) — This helps tenderize the gluten in the whole wheat flour, making the pancakes softer. It’s a secret weapon.
Cream of tartar (½ teaspoon) — This stabilizes the egg whites. You can use lemon juice instead, but cream of tartar gives that classic soufflé stability.
Salt (½ teaspoon) — Just a pinch to balance the sweetness.
For the Maple Butter Topping:
Unsalted butter (2 tablespoons) — High-quality butter matters here since it’s the main flavor. I use European-style butter if I’m feeling fancy.
Maple syrup (1 tablespoon) — Just enough to sweeten the butter sauce without making it runny.
Pinch of salt — Enhances the maple flavor.
Optional Add-ins:
Fresh berries — Blueberries or strawberries add a nice tartness to cut the richness.
Whipped cream — If you’re going all out, a dollop of vanilla whipped cream is amazing.
Pro Tip: I always measure my flour by weight if I have a scale. If you’re using cups, spoon the flour into the cup and level it off. Don’t scoop directly from the bag, or you’ll pack it down and end up with dense pancakes.
Equipment Needed
You don’t need fancy gadgets, but having the right tools makes the difference between a good pancake and a great one.
Two large bowls — One for the yolks and one for the whites. Make sure they are completely clean and dry. Any grease will prevent the egg whites from whipping.
Hand mixer or stand mixer — Whipping egg whites by hand is possible but exhausting. I use my hand mixer, and it takes about 3-4 minutes to get stiff peaks. If you’re strong, you can do it with a whisk, but be prepared for some arm workout.
Non-stick skillet or griddle — I use a 6-inch non-stick skillet for individual pancakes. It helps me control the heat better. A large griddle works too, but you’ll need to cook in batches.
Spatula — A thin, flexible spatula is best for flipping delicate soufflé pancakes without tearing them.
Small saucepan — For melting the maple butter.
Silicone brush — Optional, but helpful for greasing the pan lightly.
Timer — Seriously. These pancakes cook slowly, and if you forget them, they burn. Set a timer for every step.
How to Make It: Step-by-Step
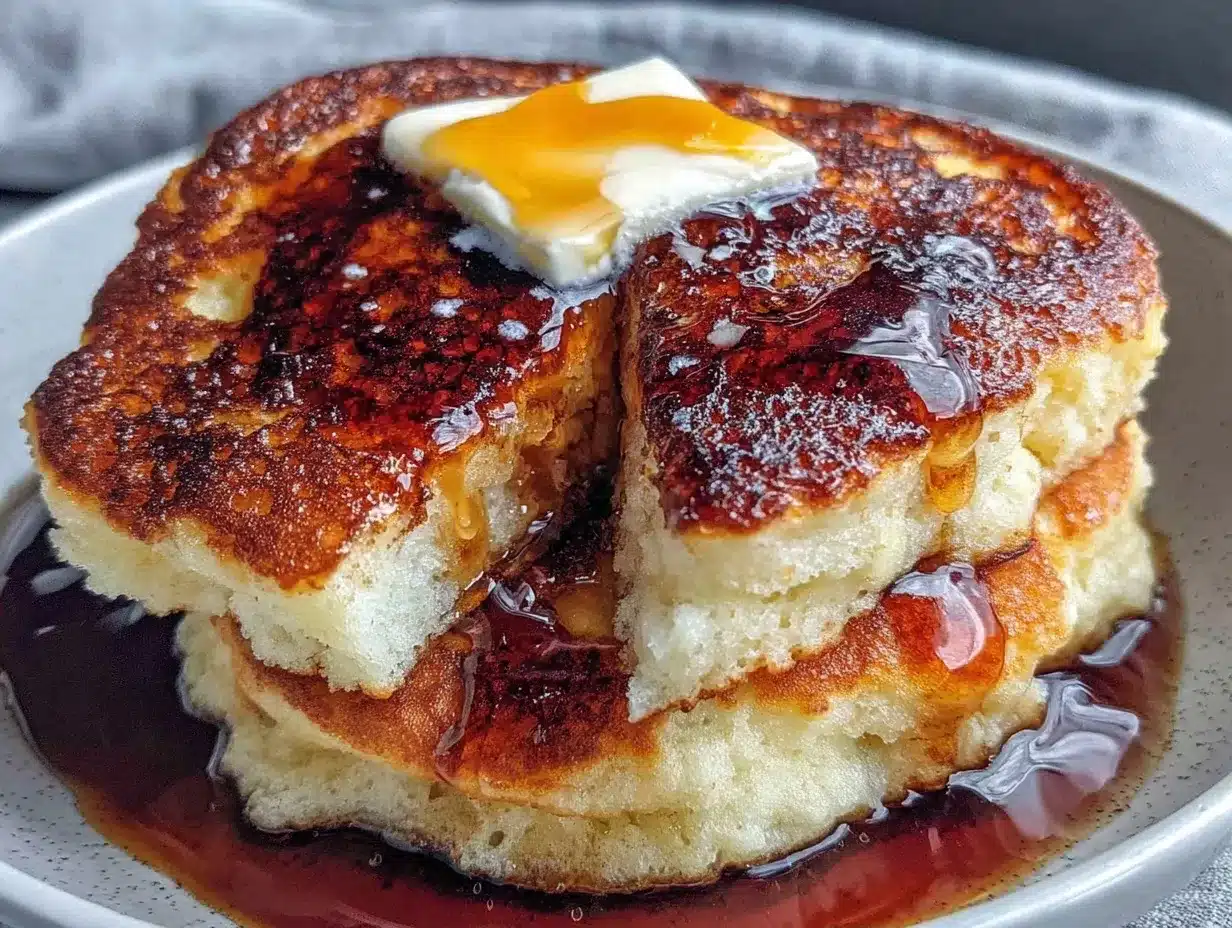
Alright, let’s make these! The process is simple, but it requires attention. I’m walking you through exactly how I do it, including the little tricks I’ve picked up over forty attempts.
Step 1: Prepare Your Egg Whites
Separate your eggs. Put the yolks in one bowl and the whites in another. Make sure there’s absolutely no yolk in the whites. Add the cream of tartar and a pinch of salt to the whites. Using your mixer, beat on medium-high speed until soft peaks form. Then, add half the sugar (if using any) and beat until stiff, glossy peaks form. The whites should stand up straight when you lift the beater. Do not overbeat, or they’ll become grainy.
Step 2: Mix the Wet Ingredients
In a separate bowl, whisk the egg yolks, milk, maple syrup, and vanilla extract until smooth. This mixture should be pale and creamy.
Step 3: Combine Dry Ingredients
Whisk the whole wheat flour, cornstarch, and remaining salt in a small bowl. Then, gently fold the dry ingredients into the yolk mixture. Mix just until combined. Do not overmix; a few lumps are fine. You want to keep the gluten relaxed so the pancakes stay tender.
Step 4: Fold in the Meringue
This is the most important step. Add about one-third of the whipped egg whites to the yolk mixture and gently fold it in to lighten the batter. Then, add the remaining whites. Use a spatula to gently fold the whites into the batter. Cut down through the middle, scrape the bottom, and fold over the top. Rotate the bowl and repeat. Stop when you no longer see white streaks. The batter should be airy and voluminous. If you overmix here, you’ll deflate the air you worked so hard to create.
Step 5: Cook the Pancakes
Heat your non-stick skillet over low heat. Lightly grease with butter or oil. Scoop about ¼ cup of batter into the pan, shaping it into a circle with the back of your spoon. Cover the pan with a lid. This is crucial—the steam helps cook the center.
Cook for 3-4 minutes. You’ll see bubbles form on top and the edges will set. Do not flip yet! The top should look set but still slightly wet.
Step 6: Flip and Finish
Gently flip the pancake. Cover and cook for another 2-3 minutes on the other side. The second side cooks faster, so watch it closely. It should be golden brown. Remove to a plate and cover loosely with foil to keep warm.
Repeat with the remaining batter, re-greasing the pan lightly between batches. You’ll get about 4-6 pancakes.
Step 7: Make the Maple Butter
While the pancakes cook, melt the butter in a small saucepan over low heat. Stir in the maple syrup and a pinch of salt. Keep it warm but not boiling.
Step 8: Serve
Stack the pancakes high. Drizzle generously with the warm maple butter. Add fresh berries if you like. Serve immediately while they’re still jiggly.
Expert Tips & Tricks
Here’s everything I’ve learned from making this dozens of times. These tips will save you from my mistakes.
Don’t Skip the Lid
The lid is non-negotiable. These pancakes are thick, and without steam, the center will remain raw while the outside burns. The lid traps the heat and cooks them through gently.
Low and Slow Heat
If your pan is too hot, the outside will burn before the inside sets. Keep the heat on low. If you’re unsure, test a small drop of batter first. It should sizzle gently, not roar.
Stiff Peaks Matter
Your egg whites need to be stiff and glossy. If they’re soft, the pancakes won’t rise enough. If they’re dry and clumpy, you’ve overbeaten them. Aim for that shiny, stiff peak.
Be Gentle When Folding
It’s tempting to mix everything thoroughly, but you’re trying to preserve air bubbles. Fold slowly and deliberately. It’s a dance, not a scramble.
Keep Them Warm
Since you cook them in batches, the first ones will get cold. Keep them in a low oven (200°F) on a wire rack while you cook the rest. This keeps them warm without steaming and getting soggy.
Common Mistakes:
- Pancakes are flat: You deflated the egg whites when folding, or the whites weren’t stiff enough.
- Pancakes are raw in the middle: The heat was too low, or you didn’t cook them long enough. Try increasing the heat slightly next time.
- Pancakes are burnt: The heat was too high. Lower it and cook slower.
Variations & Substitutions
Once you’ve nailed the basic version, here’s how you can mix it up. I’ve tried all of these.
Gluten-Free Version
Swap the whole wheat flour for a high-quality 1:1 gluten-free flour blend. I recommend Bob’s Red Mill or King Arthur. They work beautifully. Add an extra teaspoon of cornstarch for tenderness.
Dairy-Free Version
Use almond or oat milk instead of dairy milk. For the maple butter, use a dairy-free butter alternative or coconut oil. The texture remains the same.
Chocolate Chip
Fold a handful of dark chocolate chips into the batter after folding in the egg whites. They melt into pockets of gooey goodness.
Berry Blast
Toss ½ cup of fresh blueberries in a little flour, then fold them into the batter. The flour coating prevents them from sinking to the bottom.
Matcha Green Tea
Add 1 teaspoon of matcha powder to the dry ingredients. It adds a beautiful green color and a subtle earthy flavor that pairs well with maple.
Protein Boost
I sometimes add a scoop of vanilla protein powder to the dry ingredients. It makes them denser, so I reduce the flour slightly and add a splash more milk. It’s a great option for post-workout breakfasts.
Serving & Storage
How to Serve:
I serve these straight from the pan, stacked high on a plate. The maple butter should be warm so it melts into the layers. Fresh berries add a nice contrast. I also like a dusting of powdered sugar for extra elegance.
Side Dishes:
These are rich, so I keep sides light. A simple green salad with lemon vinaigrette cuts the richness. Or, if you want a hearty breakfast, pair them with crispy bacon or smoked salmon (check out my smoked salmon bagel recipe for inspiration on how to prep salmon ahead of time).
Storage:
These pancakes are best eaten fresh. They lose their fluffiness if stored and reheated. However, if you must store them, keep them in an airtight container in the fridge for up to 2 days. Reheat gently in a toaster or a low oven to restore some crispness.
Freezing:
You can freeze them, but the texture will change. They’ll be softer and less jiggly. Freeze in a single layer, then transfer to a bag. Reheat in a toaster oven.
Meal Prep:
I don’t recommend meal prepping these for the week. Make them fresh on weekends. If you need a quick weekday breakfast, try my egg breakfast muffins instead—they’re perfect for grabbing and going.
Nutrition Information
I’m not a nutritionist, but here’s the breakdown if you’re tracking. Remember, these are made with whole wheat flour and eggs, so they’re nutrient-dense.
Per Serving (based on 4 pancakes):
- Calories: 280
- Protein: 12g
- Carbs: 32g
- Fiber: 4g
- Fat: 12g
- Sugar: 14g (from maple syrup)
What’s Good:
High protein from eggs, fiber from whole wheat flour, and no refined sugar (just maple syrup). It’s a balanced breakfast that fuels your morning.
What to Know:
The maple butter adds extra fat and sugar, so use it moderately if you’re watching your intake. The whole wheat flour provides sustained energy, so you won’t crash later.
My Take:
This is not a diet food. It’s a treat. But it’s a *good* treat. It’s made with real ingredients that nourish your body. I eat these on weekends when I want to slow down and enjoy my food. It’s about balance, not restriction.
Final Thoughts
So that’s my go-to Ultra-Fluffy Japanese Souffle Pancakes with Maple Butter! I know it sounds like a lot of work, but once you get the hang of folding the egg whites and managing the low heat, it becomes a ritual. I love the quiet time it takes to make these. It forces me to slow down, whisk, and fold, and the result is a breakfast that feels like a hug.
These pancakes have saved my weekend mornings. They’re my answer to “what’s for breakfast” when I want something special but also something that actually keeps me full and energized. My kids love the jiggly texture, and my husband loves the maple butter. I love that they’re made with whole foods and don’t leave me feeling sluggish.
Make it yours! Try different berries, add chocolate chips, or swap the maple syrup for honey. The best recipes are the ones you adapt to your tastes. If you make this, drop a comment and let me know how they turned out! I love hearing about your kitchen adventures.
Happy cooking! And I hope your kitchen smells as good as mine does right now.
Frequently Asked Questions
Why are my pancakes flat?
This usually happens if the egg whites weren’t stiff enough, or if you deflated them when folding. Make sure you whip the whites until they form stiff, glossy peaks. Also, be gentle when folding—don’t mix vigorously. And don’t skip the lid! The steam is essential for rising.
Can I use all-purpose flour instead of whole wheat?
Yes, you can. All-purpose flour will make the pancakes lighter and fluffier, but you’ll lose some of the nutty flavor and fiber. If you want the best of both worlds, use half whole wheat and half all-purpose.
How do I keep the pancakes warm while I cook the rest?
Place the cooked pancakes on a wire rack in a 200°F oven. This keeps them warm without steaming them, which would make them soggy. Don’t stack them while they’re hot, or they’ll sweat and lose their fluffiness.
Can I make the batter ahead of time?
No. The egg whites will deflate if you let the batter sit. You need to cook these immediately after mixing. It’s a fresh-every-time recipe.
Why did my pancakes burn on the outside but stay raw inside?
The heat was too high. Japanese soufflé pancakes need low, slow heat. If your pan is too hot, the outside cooks too fast. Lower the heat and give them more time. Patience is key!
Can I freeze these pancakes?
You can, but the texture won’t be the same. They’ll be softer and less jiggly when reheated. If you need to freeze them, freeze them in a single layer, then store in a bag. Reheat in a toaster oven for the best results.
What’s the best way to reheat leftovers?
If you have leftovers (unlikely, but possible), reheat them in a toaster or a low oven. The microwave will make them rubbery. If you must use the microwave, do it in short bursts and cover with a damp paper towel.
Pin This Recipe!
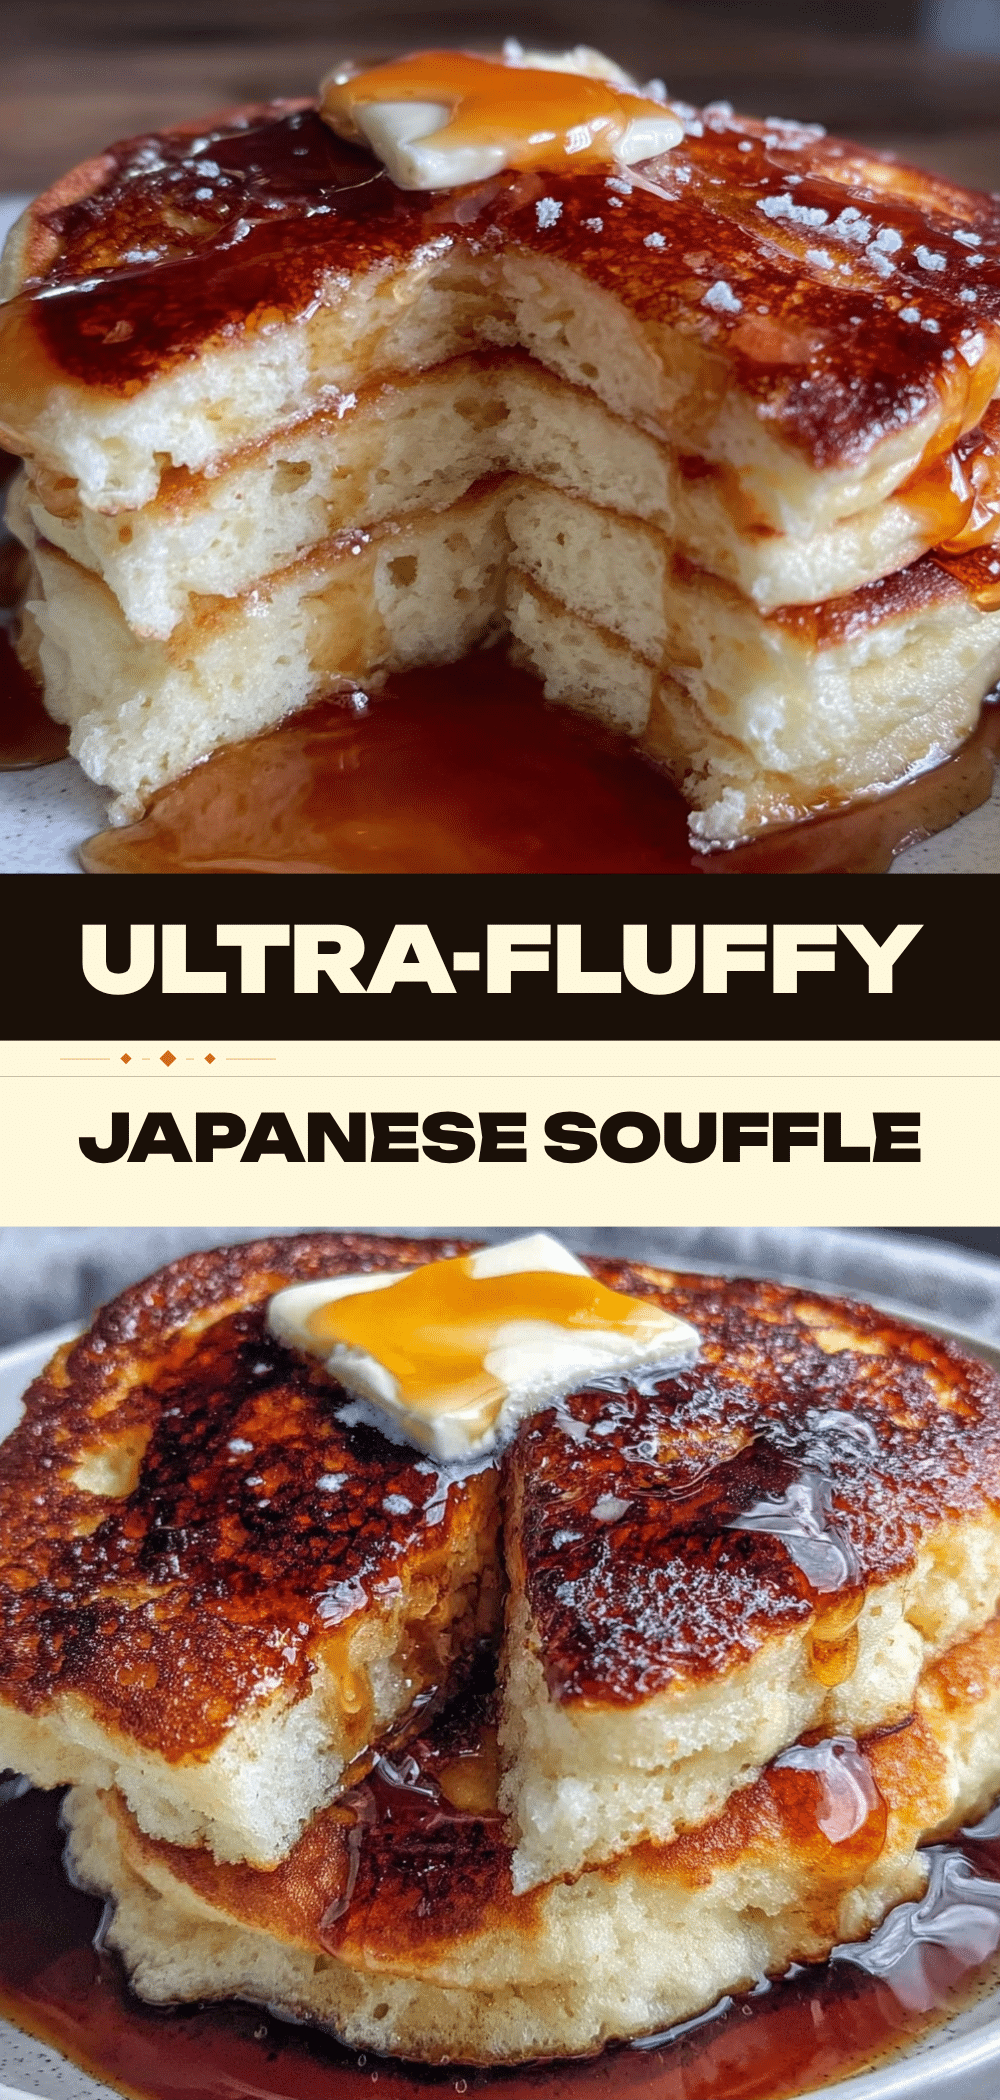
Ultra-Fluffy Japanese Souffle Pancakes with Maple Butter
- Total Time: 45 minutes
- Yield: 4 servings 1x
Description
Impossibly light and jiggly Japanese-style pancakes made with whipped egg whites and whole wheat flour, served with a rich maple butter topping.
Ingredients
- 1 cup (120g) whole wheat flour
- 2 large eggs, separated
- ¼ cup (60ml) milk
- 2 tablespoons maple syrup
- 1 teaspoon vanilla extract
- 1 teaspoon cornstarch
- ½ teaspoon cream of tartar
- ½ teaspoon salt
- 2 tablespoons unsalted butter (for topping)
- 1 tablespoon maple syrup (for topping)
- Pinch of salt (for topping)
Instructions
- Separate eggs, ensuring no yolk gets into the whites. Add cream of tartar and a pinch of salt to the whites.
- Beat egg whites on medium-high speed until stiff, glossy peaks form.
- In a separate bowl, whisk egg yolks, milk, 2 tablespoons maple syrup, and vanilla extract until smooth.
- Whisk whole wheat flour, cornstarch, and remaining salt in a small bowl.
- Gently fold dry ingredients into the yolk mixture until just combined.
- Fold one-third of the whipped egg whites into the yolk mixture to lighten it.
- Gently fold in the remaining egg whites until no white streaks remain.
- Heat a non-stick skillet over low heat and lightly grease.
- Scoop ¼ cup batter into the pan, shaping into a circle. Cover with a lid.
- Cook for 3-4 minutes until bubbles form and edges set.
- Gently flip the pancake, cover, and cook for another 2-3 minutes until golden brown.
- Repeat with remaining batter, keeping cooked pancakes warm in a 200°F oven.
- Melt 2 tablespoons butter with 1 tablespoon maple syrup and a pinch of salt for the topping.
- Stack pancakes and drizzle with warm maple butter. Serve immediately.
Notes
Do not skip the lid; steam is essential for cooking the center. Keep heat low to prevent burning. Egg whites must be stiff and glossy. Do not make batter ahead of time as egg whites will deflate. For gluten-free, use a 1:1 gluten-free flour blend.
- Prep Time: 15 minutes
- Cook Time: 30 minutes
- Category: Breakfast
- Cuisine: Japanese
Nutrition
- Serving Size: 4 pancakes per servi
- Calories: 280
- Sugar: 14
- Sodium: 350
- Fat: 12
- Saturated Fat: 6
- Carbohydrates: 32
- Fiber: 4
- Protein: 12
Keywords: Japanese pancakes, souffle pancakes, fluffy pancakes, breakfast recipe, whole wheat pancakes, maple butter, gluten-free option



