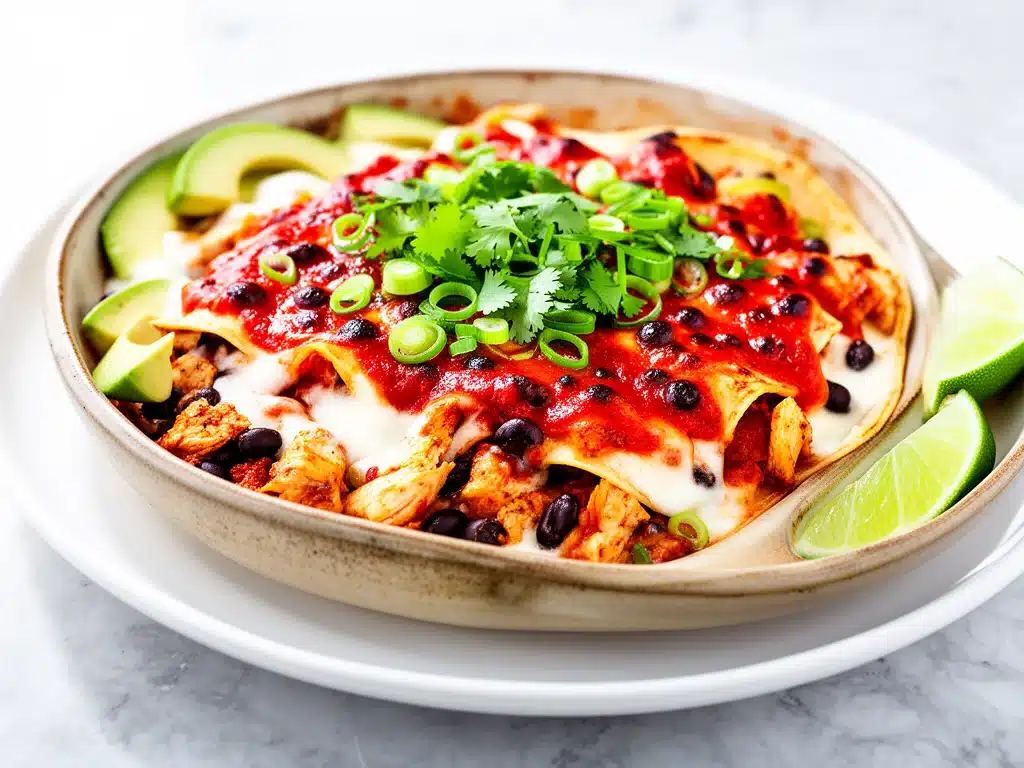
I still remember the exact moment I decided to stop ordering takeout enchiladas. It was a Tuesday in November, raining sideways, and I was starving. I’d ordered from that place down the street—the one with the glowing sign that promised “authentic flavors.” Thirty minutes later, the box arrived. Inside, the tortillas were soggy, the sauce was just ketchup with red dye, and the chicken tasted like it had been reheating since 1998. I ate three bites, pushed the rest away, and swore I’d never do it again.
That night, I raided my fridge. I had leftover rotisserie chicken (from Sunday’s dinner), a can of black beans that had been hiding in the back of the pantry, and some frozen corn. I didn’t have time to roll individual enchiladas. I didn’t have the patience for the mess. So I did something radical: I stacked it all in a baking dish. I crisped the chicken, mashed the beans, and poured cheese over everything like it was going out of style.
What came out of the oven wasn’t just dinner. It was a revelation. The chicken stayed crispy on top, the beans were creamy and spiced, and the whole thing tasted like something from a Mexican restaurant—but faster, cheaper, and infinitely better. That was three years ago. Since then, I’ve made this crispy chicken and black bean enchilada casserole at least once a month. It’s become my secret weapon for busy weeknights when I want comfort food without the effort.
If you’re tired of soggy tortillas and complicated recipes, this is your answer. It’s one pan, one pot, and zero rolling. Just layers of flavor, cheese, and that perfect golden-brown crust that makes your kitchen smell like a taco shop. Let’s get into why this dish has completely replaced takeout in our house.
Why You’ll Love This Crispy Chicken and Black Bean Enchilada Casserole
There are about ten reasons I keep making this, but here are the big ones that will change your weeknight routine.
Stupid Simple Assembly — Seriously, if you can shred chicken and drain a can of beans, you can make this. I’ve walked my teenage son through it over FaceTime while I was at work. There’s no rolling, no messy filling distribution, and no waiting for individual tortillas to soften. You just layer it.
Lightning Fast — 30 minutes from start to finish, and only 15 of those are active cooking. I make this on weeknights when I get home at 7pm, exhausted. The rotisserie chicken saves the day, and the casserole bakes while I shower and change. By the time I’m out, dinner is ready.
Crispy Texture Magic — Most enchilada casseroles end up soupy. Not this one. By toasting the chicken and using a thick bean base, the top gets genuinely crispy. It’s that contrast—crunchy top, creamy middle—that keeps me coming back. It’s basically a deconstructed enchilada with better texture.
Crowd-Pleaser — I’ve served this to my vegetarian sister (she skips the chicken and adds extra beans), my gluten-free neighbor (corn tortillas work perfectly), and my I-only-eat-chicken dad (he asks for extra cheese). Everyone loves it. It’s the ultimate compromise dish.
Makes Amazing Leftovers — Actually tastes better the next day. The flavors meld overnight, and the cheese sets into this deliciously gooey layer. I deliberately make extra for lunch throughout the week. It reheats beautifully in the microwave without getting rubbery.
Budget-Smart — Feeds 4-6 people for under $15. That’s less than one meal at a fast-food place, and it’s infinitely healthier. I keep the key items stocked just so I can make this on a whim when the grocery budget is tight.
This is my go-to when I need dinner to just work. No complicated techniques, no weird ingredients, just reliable, delicious food that makes everyone happy. And it looks impressive enough for guests, if you’re feeling fancy.
Ingredients You’ll Need
Here’s the best part: you probably have most of this already. I’m particular about three ingredients here, and I’ll tell you exactly why.
For the Base
Rotisserie Chicken (2 cups, shredded / about 300g) — This is your time-saver. Use store-bought or leftover roast chicken. Shred it with two forks. I prefer dark meat for flavor, but white meat works too. Just make sure it’s not too dry—toss it in a little oil before mixing.
Black Beans (1 can, 15 oz / 425g) — Drain and rinse well. This removes the starchy liquid that can make the casserole mushy. I use low-sodium so I can control the salt. If you’re using dry beans, soak them overnight and boil until tender—it’s worth it, but canned is fine for weeknights.
Corn Tortillas (12-15 small / 15-17 cm) — Use corn, not flour. Corn holds up better in casseroles and doesn’t get soggy as quickly. Look for fresh ones at the grocery store—they’re softer and easier to layer. If you only have dry ones, warm them in the microwave for 10 seconds to pliable.
Enchilada Sauce (2 cups / 480ml) — Homemade is best, but store-bought is totally fine. I like a medium heat. If you want more spice, add a diced jalapeño. The sauce needs to be thick enough to coat the back of a spoon. Thin sauce = soggy casserole.
For the Flavor
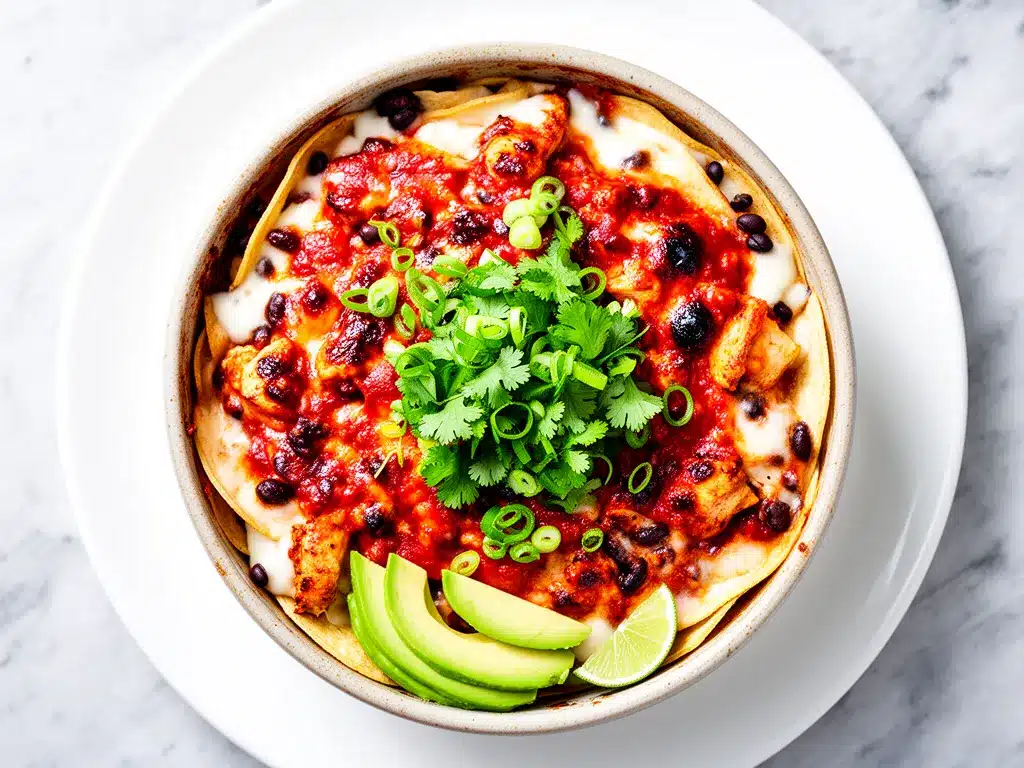
Onion (1 medium, diced / about 150g) — Yellow onion works best. Sweet onions are too mild. I sauté it first to build a flavor base. It’s not strictly necessary, but it adds depth that makes the dish taste homemade.
Garlic (3 cloves, minced / about 1 tablespoon) — Fresh only. No jarred garlic in this recipe. It adds a sharpness that balances the rich cheese.
Cumin (1 teaspoon) — Ground cumin is essential. It gives that earthy, warm enchilada flavor. Don’t skip it. If you don’t have it, the dish will taste flat.
Chili Powder (1 teaspoon) — Not cayenne. Chili powder is a blend. It adds color and mild heat. Adjust based on your spice tolerance.
Shredded Mexican Blend Cheese (2 cups / 200g) — Use a block and shred it yourself. Pre-shredded cheese has anti-caking agents that prevent it from melting smoothly. I use a mix of cheddar and Monterey Jack for meltiness. You can also use Oaxaca cheese if you can find it—it’s the traditional choice.
Optional Add-ins:
Frozen Corn (½ cup / 75g) — Thawed. Adds sweetness and crunch. I throw this in whenever I have it.
Diced Jalapeños (2 tablespoons) — Fresh or pickled. For extra heat. I add pickled for a tangy kick.
Fresh Cilantro (¼ cup, chopped) — For garnish. Adds freshness and color. Don’t cook it in—add it at the end.
Common Questions
Can I use flour tortillas? Yes, but they’ll get softer and less distinct. Corn is traditional and holds up better. If you use flour, layer them carefully so they don’t tear.
Where do I find fresh corn tortillas? Usually in the refrigerated section near the dairy or produce. Look for brands like Mission or La Tortilla Factory.
Can I make this ahead? Yes! Assemble it up to 24 hours ahead and refrigerate. Add 10-15 minutes to the baking time if cooking from cold.
Equipment Needed
You don’t need fancy equipment for this. Here’s what I actually use.
9×13-inch Baking Dish — I use a ceramic dish. It distributes heat evenly. Glass works too, but ceramic keeps the bottom crispy. Make sure it’s deep enough—this dish is tall.
Large Skillet — 12-inch stainless steel or cast iron. For sautéing the onions and garlic. I prefer stainless because it doesn’t react with the acidic sauce.
Sharp Knife — For chopping onions and jalapeños. Dull knives make you cry more—learned this the hard way with onions.
Colander — For draining beans and corn. Or just use the lid to drain—I do this when I’m lazy.
Box Grater — For shredding cheese. Or food processor if you’re grating lots of cheese. I use the large holes.
Measuring Cups and Spoons — Pretty standard stuff. Dollar store versions work fine.
Optional but nice:
Pastry Brush — For brushing sauce on the tortillas. Saves sauce and adds flavor. I use a silicone brush.
Instant-Read Thermometer — Not really needed for this recipe, but good to have for chicken.
How to Make It: Step-by-Step
Alright, let’s make this! I’m walking you through exactly how I do it, including the little tricks I’ve picked up.
Step 1: Prep Your Ingredients (5 minutes)
Before you start cooking, shred your chicken, drain the beans, and dice the onion. I know it seems fussy, but it makes the actual cooking way less stressful. Grate your cheese while you’re at it. Once you start cooking, things move fast. Set out your baking dish.
Step 2: Sauté the Aromatics (3 minutes)
Heat 1 tablespoon of oil in a large skillet over medium heat. Add the diced onion and cook for 2-3 minutes until it starts to soften and smell sweet. Add the minced garlic and cook for 1 minute, stirring constantly. The garlic should smell amazing but not brown—browned garlic tastes bitter.
Step 3: Mix the Filling (2 minutes)
Add the shredded chicken, drained black beans, cumin, chili powder, and corn (if using) to the skillet. Stir well to combine. Let it heat through for 1 minute. Taste and adjust salt if needed. This mixture is your filling. It should be moist but not watery.
Step 4: Layer the Casserole (5 minutes)
Spread ½ cup of enchilada sauce on the bottom of the baking dish. This prevents the tortillas from sticking. Lay down a single layer of tortillas. Don’t overlap them too much—they’ll expand. Spread half the chicken/bean mixture over the tortillas. Sprinkle with ½ cup of cheese. Pour ½ cup of sauce over the cheese. Repeat the layers: tortillas, filling, cheese, sauce. Finish with a final layer of tortillas, sauce, and the remaining cheese.
Step 5: Bake Until Bubbly (20 minutes)
Preheat your oven to 375°F (190°C). Place the baking dish in the center of the oven. Bake for 20 minutes. The cheese should be melted and bubbling, and the top should start to turn golden. If you want it crispier, broil for 1-2 minutes at the end. Watch it closely—cheese burns fast.
Step 6: Rest and Serve (5 minutes)
Remove from the oven and let it rest for 5 minutes. This lets the layers set so it’s easier to cut. Garnish with fresh cilantro, diced avocado, and a dollop of sour cream. Serve immediately.
Total Time: About 30 minutes (15 minutes active, 20 minutes baking)
Built-in Troubleshooting
- Casserole is too dry? Add more sauce between layers. The tortillas absorb liquid.
- Tortillas are soggy? You used too much thin sauce. Use thicker sauce or reduce it on the stove first.
- Top isn’t crispy? Broil for an extra minute. Or use less sauce on the top layer.
Expert Tips & Tricks
Here’s everything I’ve learned from making this dozens of times. These tips will save you from my mistakes.
Drain Your Beans Well
This is the #1 tip. Wet beans = watery casserole. I rinse them under cold water and shake them in the colander for a full minute. I forgot this once and the bottom was soupy. Now I always drain and rinse thoroughly.
Warm Your Tortillas
Cold tortillas crack when you layer them. Warm them in the microwave for 10 seconds or in a dry skillet for 30 seconds each. They’ll be pliable and easy to work with. This is a small step that makes a big difference.
Use Thick Sauce
If your enchilada sauce is runny, simmer it in a pan for 5 minutes to reduce it. Thick sauce = better texture. I learned this the hard way with a casserole that looked like soup.
Crispy Top Trick
For extra crunch, sprinkle a little panko breadcrumbs or crushed tortilla chips on top before baking. It adds a nice texture contrast. I do this when I want to feel fancy.
Room Temperature Cheese
Cold cheese takes longer to melt. Let it sit out for 15 minutes before using. If I forget, I grate it and let it sit on the counter. It melts more evenly.
Common Mistakes (and how to avoid them)
Mistake: Casserole is too salty
Fix: Use low-sodium beans and sauce. Taste the filling before layering. You can always add salt, but you can’t take it away.
Mistake: Tortillas are tough
Fix: Use fresh tortillas. If using dry ones, steam them first. Old tortillas stay tough no matter what.
Mistake: Layers slide apart
Fix: Let it rest for 5 minutes after baking. This sets the cheese and binds the layers.
Variations & Substitutions
Once you’ve nailed the basic version, here’s how you can mix it up. I’ve tried all of these.
Spicy Version
Add diced jalapeños to the filling and use hot enchilada sauce. Top with pickled jalapeños. My friend who loves heat requests this version.
Veggie-Loaded
Add 1 cup of sautéed bell peppers and zucchini to the filling. This is how I get my kids to eat vegetables. They don’t even notice.
Cheese Lover’s
Double the cheese. Use a mix of cheddar, Monterey Jack, and queso fresco. It’s richer and more indulgent. I make this for game day.
Lighter Version
Use light shredded cheese and Greek yogurt instead of sour cream. It’s thinner but still good. I make this when I’m trying to be “healthy.”
Mushroom Lover’s
Sauté 8oz sliced mushrooms with the onions. Cook until golden brown. Adds earthiness and makes it feel fancier.
Dietary Modifications:
Gluten-Free
Use corn tortillas (check labels to ensure no wheat cross-contamination). Everything else is naturally gluten-free. I’ve used Mission corn tortillas and they work great.
Dairy-Free
Replace cheese with dairy-free shreds (like Violife or Daiya) and sour cream with cashew cream. It’s different but still tasty. My lactose-intolerant friend requests this version.
Vegan
Skip the chicken and add extra beans or tofu. Use vegan cheese and enchilada sauce. Add nutritional yeast for flavor.
Serving & Storage
How to Serve:
I usually serve this straight from the baking dish at the dinner table—it looks rustic and stays warm. But here are other ways I’ve enjoyed it:
Side Dishes:
- Simple green salad with lime vinaigrette
- Roasted sweet potatoes
- Cilantro-lime rice
- Chips and salsa
Toppings Bar:
When I have guests, I put out: extra sour cream, diced avocado, fresh cilantro, lime wedges, hot sauce. Everyone customizes their bowl.
Storage Instructions:
Refrigerator:
Store in an airtight container for up to 4 days. The sauce will thicken in the fridge—totally normal.
Reheating:
Best method: Add to a skillet with a splash of water or broth over low heat. Stir until heated through.
Microwave method: Heat in 30-second intervals, stirring between. Add a splash of water if it’s too thick.
Never works: Trying to reheat in the oven without covering. It dries out. Always cover with foil.
Freezing:
This freezes well! Assemble the casserole, wrap tightly in plastic and foil, and freeze for up to 3 months. Thaw in the fridge overnight and bake as directed. I do this for meal prep.
Pro tip: If leftovers are drying out, stir in a tablespoon of broth or water when reheating. Brings back that creamy texture.
Nutrition Information
I’m not a nutritionist, but here’s the breakdown if you’re tracking.
Per Serving (based on 6 servings):
- Calories: 450
- Protein: 25g
- Carbs: 42g
- Fiber: 8g
- Sugar: 4g
- Fat: 18g
- Saturated Fat: 8g
- Cholesterol: 45mg
- Sodium: 680mg
- Calcium: 220mg
What’s Good:
- High protein from chicken and beans
- Good fiber from black beans
- Calcium from cheese
- More filling than it looks
What to Know:
- Higher in calories from cheese and sauce
- Contains dairy and gluten (unless modified)
- Moderate sodium (use low-sodium ingredients to reduce)
My Take:
“Look, this is comfort food with cheese and sauce. It’s not a diet recipe. But it’s way better than takeout, costs less, and I know exactly what’s in it. When I want to make it lighter, I use the light cheese version and load up on vegetables. But usually? I just eat a reasonable portion and enjoy it.”
Final Thoughts
So that’s my go-to crispy chicken and black bean enchilada casserole! I’ve probably talked your ear off at this point, but when you make a recipe this often, you have a lot to say about it.
This has saved weeknight dinners more times than I can count. It’s my answer to “what’s for dinner” when I’m tired, don’t want takeout, and still want something that tastes really good. My kids are happy, my husband’s happy, and I’m happy because I’m not stressed about cooking.
Make it yours! Try different add-ins, swap in your favorite vegetables, adjust the spice level. The best recipes are the ones you adapt to your family’s tastes.
If you make this, drop a comment and let me know what you think! I love hearing how recipes turn out in your kitchen. And if something doesn’t work, tell me that too—I’m here to help troubleshoot.
Happy cooking! And I hope your kitchen smells half as good as mine does right now.
Frequently Asked Questions
Can I use flour tortillas instead of corn?
You can, but they’ll get softer and less distinct. Corn is traditional and holds up better in casseroles. If you use flour, layer them carefully so they don’t tear. I prefer corn for the texture contrast.
Why did my casserole turn out watery?
Usually means you didn’t drain the beans well enough, or you used too much thin sauce. Drain and rinse the beans thoroughly. If your sauce is runny, simmer it to reduce it before using. Also, let the casserole rest for 5 minutes after baking—it thickens as it cools.
Can I make this ahead for a dinner party?
Absolutely. Assemble the casserole up to 24 hours ahead and refrigerate. When ready to bake, add 10-15 minutes to the cooking time since it’s starting cold. This is my go-to for stress-free entertaining.
Why did my tortillas crack when I layered them?
They were too cold or dry. Warm them in the microwave for 10 seconds or in a dry skillet for 30 seconds each before layering. They’ll be pliable and easy to work with. This is a common mistake I made early on.
Can I freeze this casserole?
Yes! Assemble the casserole, wrap tightly in plastic and foil, and freeze for up to 3 months. Thaw in the fridge overnight and bake as directed. It reheats beautifully. I do this for meal prep.
How do I reheat leftovers without it getting dry?
Add a splash of water or broth to a skillet, add your leftover casserole, and heat gently over low heat, stirring frequently. The extra liquid brings back the creamy texture. Microwave sort of works but tends to dry it out. If you do microwave, definitely add a splash of water first and heat in short bursts, stirring between.
Can I double this recipe?
Yes! Double everything and use a 9×13-inch dish (or two smaller ones). The cooking times stay the same. I do this when I’m meal-prepping or feeding a crowd. Just make sure your baking dish is deep enough.
Pin This Recipe!
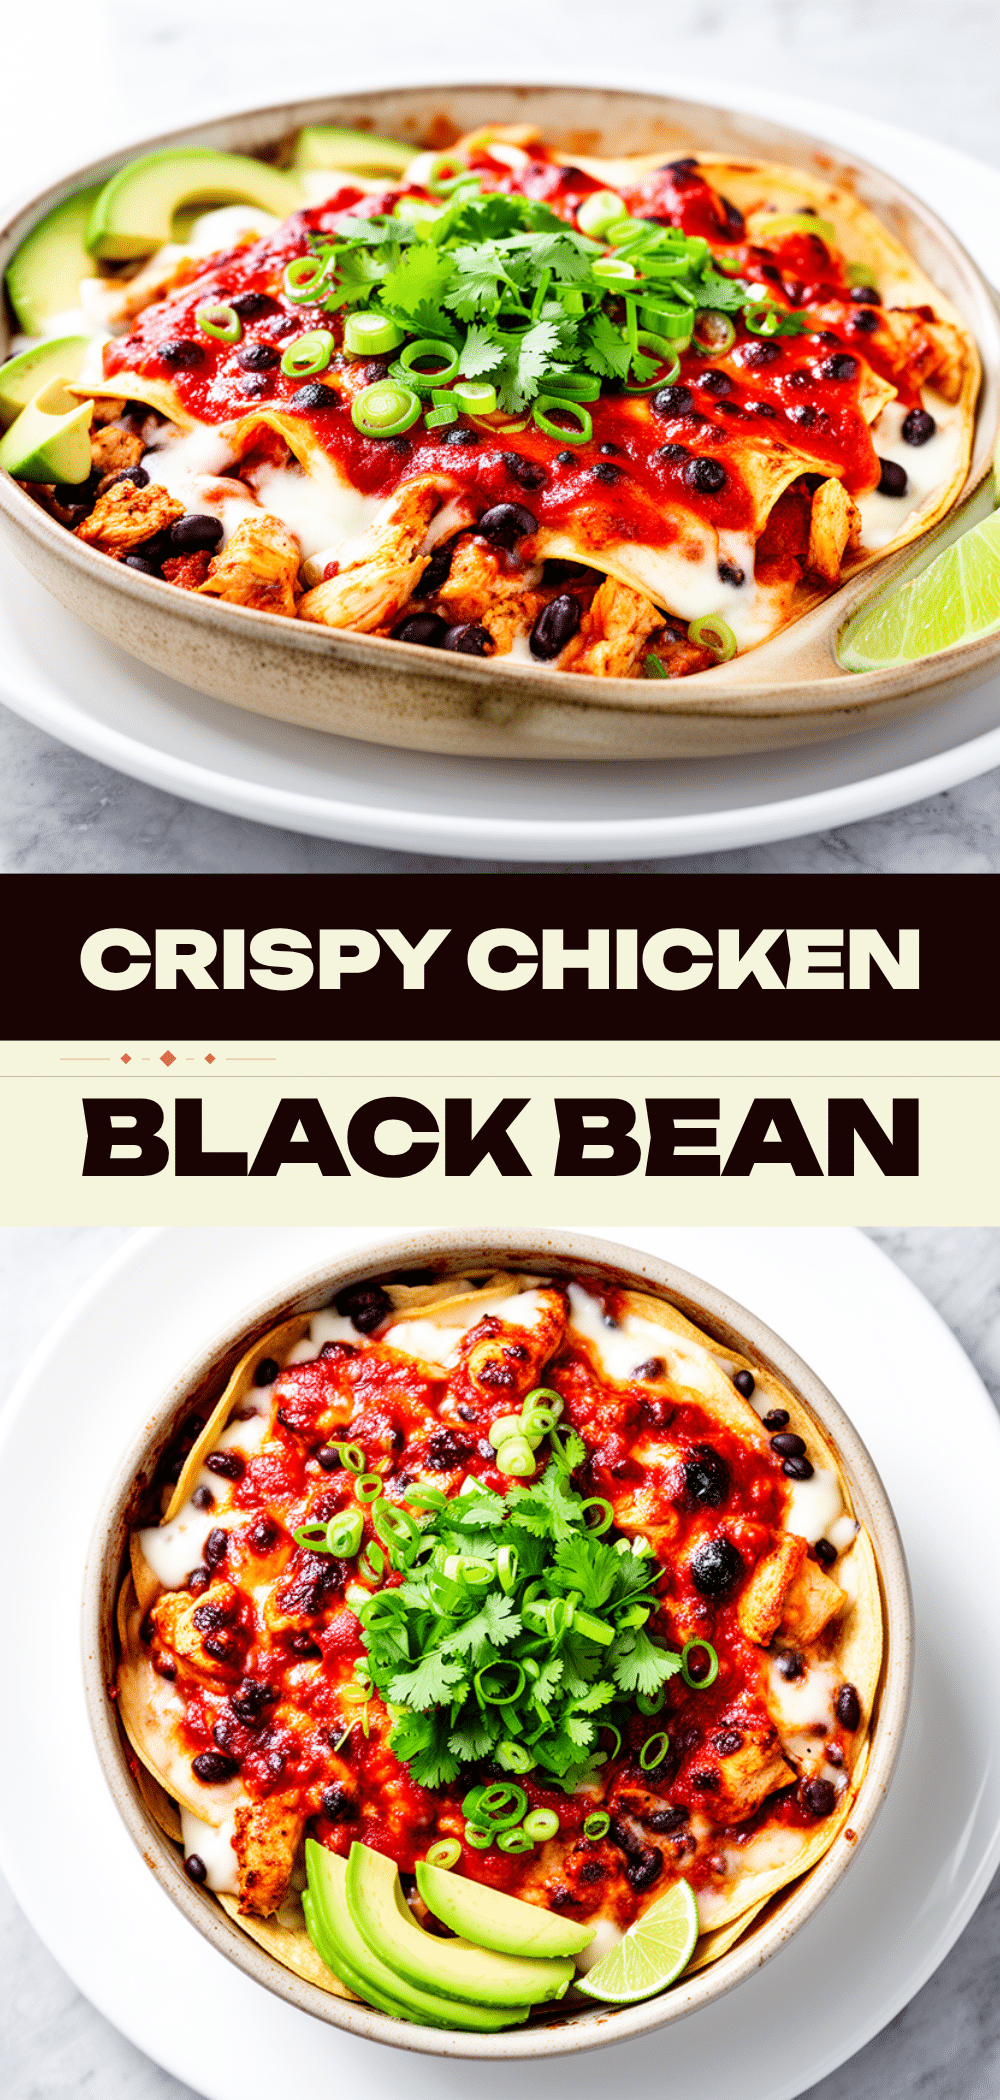
Crispy Chicken and Black Bean Enchilada Casserole
- Total Time: 30 minutes
- Yield: 6 servings 1x
Description
A quick, one-dish weeknight dinner featuring layers of crispy rotisserie chicken, spiced black beans, and corn tortillas baked in enchilada sauce with melted cheese.
Ingredients
- 2 cups shredded rotisserie chicken (about 300g)
- 1 can (15 oz / 425g) black beans, drained and rinsed
- 12–15 small corn tortillas
- 2 cups (480ml) enchilada sauce
- 1 medium yellow onion, diced
- 3 cloves garlic, minced
- 1 teaspoon ground cumin
- 1 teaspoon chili powder
- 2 cups (200g) shredded Mexican blend cheese
- 1 tablespoon oil
- Optional: ½ cup frozen corn, thawed
- Optional: 2 tablespoons diced jalapeños
- Optional: ¼ cup fresh cilantro, chopped
Instructions
- Preheat oven to 375°F (190°C).
- Heat 1 tablespoon of oil in a large skillet over medium heat. Add diced onion and cook for 2-3 minutes until softened.
- Add minced garlic and cook for 1 minute until fragrant.
- Add shredded chicken, drained black beans, cumin, chili powder, and corn (if using) to the skillet. Stir to combine and heat through for 1 minute.
- Spread ½ cup of enchilada sauce on the bottom of a 9×13-inch baking dish.
- Layer tortillas, half the chicken/bean mixture, ½ cup cheese, and ½ cup sauce. Repeat layers.
- Finish with a final layer of tortillas, remaining sauce, and remaining cheese.
- Bake for 20 minutes until cheese is melted and bubbling. Broil for 1-2 minutes for extra crispiness if desired.
- Let rest for 5 minutes before serving. Garnish with cilantro, avocado, and sour cream.
Notes
Drain and rinse beans thoroughly to prevent a watery casserole. Warm tortillas in the microwave for 10 seconds to make them pliable. Use thick enchilada sauce to avoid sogginess. Let the casserole rest for 5 minutes after baking to allow layers to set.
- Prep Time: 15 minutes
- Cook Time: 20 minutes
- Category: Main Course
- Cuisine: Mexican
Nutrition
- Serving Size: 1 slice
- Calories: 450
- Sugar: 4
- Sodium: 680
- Fat: 18
- Saturated Fat: 8
- Carbohydrates: 42
- Fiber: 8
- Protein: 25
Keywords: enchilada casserole, chicken and black bean, weeknight dinner, one pot meal, crispy chicken, mexican food, rotisserie chicken recipe



