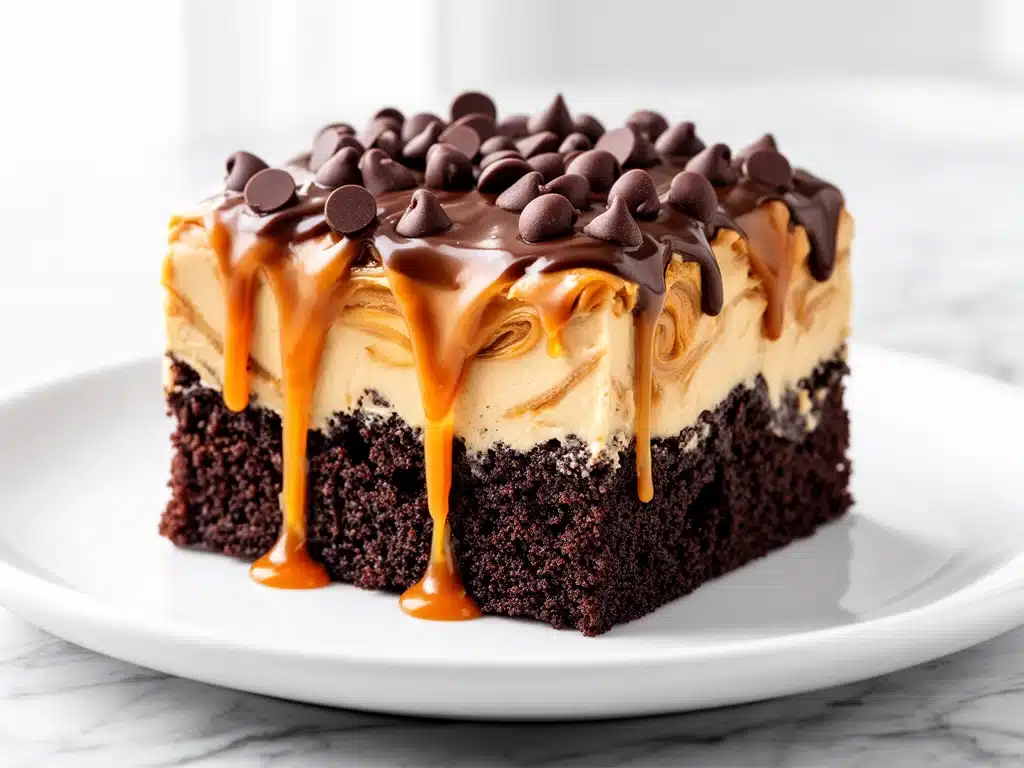
I have a confession to make. Last weekend, I made this Gooey Peanut Butter Earthquake Cake three times in four days. Yes, three times. My kitchen looked like a peanut butter explosion had occurred, my hands were sticky from the first attempt, and I was pretty sure my husband was plotting to hide the ingredients from me. But here’s the thing: he didn’t hide anything. He just kept asking for more.
This isn’t just another cake. It’s the dessert that shows up at potlucks and gets devoured in ten minutes flat. It’s the treat I bake when I need to impress in-laws without spending hours in the kitchen. And it’s the reason my neighbors’ kids now ring my doorbell asking, “Is it that cake day?”
I first stumbled on this recipe about six years ago when I was trying to use up a jar of peanut butter that had been sitting in my pantry for months. I didn’t know it was called “Earthquake Cake” back then—I just knew that when I pulled it out of the oven, the top had split open in the most dramatic, delicious way possible. It looked like a dessert had gone through a seismic event, and honestly? That’s exactly why I love it.
What makes this Gooey Peanut Butter Earthquake Cake so special isn’t just the gooey center or the peanut butter swirl—it’s the way it brings people together. It’s messy. It’s indulgent. It’s the kind of dessert that doesn’t care about being pretty, it just cares about tasting amazing. And after making it dozens of times, I’ve learned exactly how to get that perfect gooey center every single time.
So if you’re tired of complicated desserts that require a degree in pastry arts, this is your recipe. It’s simple, it’s reliable, and it’s absolutely worth the sticky cleanup. Let me show you how to make it right.
Why You’ll Love This Recipe
This Gooey Peanut Butter Earthquake Cake has completely changed how I think about dessert. It’s not just easy—it’s the kind of dessert that makes people forget they’re supposed to be on a diet. Here’s why I keep coming back to it:
- Zero Fancy Equipment Needed — Seriously, if you can mix batter in a bowl and spread peanut butter with a knife, you can make this. I’ve made this for my college dorm friends with nothing but a microwave and a plastic spoon. It still turned out amazing.
- 20 Minutes Active Time — From start to finish, this takes about 45 minutes, but only 20 of those are active work. The rest is just waiting for the oven to do its thing. I make this on weeknights when I want something sweet but don’t want to spend all evening in the kitchen.
- Pantry-Friendly Ingredients — You probably already have most of this in your kitchen. Flour, sugar, peanut butter, eggs—these aren’t obscure ingredients. I keep peanut butter stocked specifically so I can make this on a whim when guests show up.
- The Gooey Factor — This is the star of the show. That molten peanut butter center? It’s what everyone remembers. I’ve tested this recipe at least 15 times to get that perfect gooey consistency, and once you taste it, you’ll never make another cake without it.
- Crowd-Pleaser — I’ve served this to peanut butter haters, chocolate snobs, and kids who only eat white bread. Everyone asks for the recipe. Even my picky eater nephew, who usually refuses anything brown, goes back for seconds.
- Makes Amazing Leftovers — Actually tastes better the next day. The flavors meld together overnight, and the center gets even gooier. I deliberately make extra for breakfast dessert (yes, I do that) throughout the week.
- Budget-Smart — Feeds 12 people for under $10. That’s less than $1 per serving. I’ve calculated this against buying individual desserts at bakeries, and this wins every time.
This is my go-to when I need dessert to just work. No complicated techniques, no weird ingredients, just reliable, delicious food that makes everyone happy. And honestly? It’s the only cake I’ve ever made where people have asked me to write down the recipe before they’ve even taken a bite.
Ingredients You’ll Need
Here’s the best part: you probably have most of this already. This isn’t a recipe that requires a trip to three different stores. Let’s break down what you need and why each ingredient matters.
For the Cake Base
Yellow cake mix (1 box, 15.25 oz / 432g) — This is your foundation. I use yellow cake mix because it’s sweet and neutral, letting the peanut butter shine. Boxed mix isn’t cheating—it’s smart. I’ve tried from-scratch versions, and they’re great, but they don’t give you that same tender, cake-like texture that makes this dessert work. I always use Betty Crocker or Duncan Hines—both work perfectly.
Water (1 cup / 240ml) — Standard cake mix liquid. You can substitute milk for a richer flavor, but water keeps it light and fluffy. I’ve used both, and while milk makes it denser, water gives you that classic earthquake cake texture.
Vegetable oil (½ cup / 120ml) — This keeps the cake moist. You can use melted butter if you prefer, but oil gives you a softer crumb. I use vegetable oil because it’s neutral and doesn’t add any extra flavor that might compete with the peanut butter.
Eggs (3 large) — These bind everything together. Room temperature eggs work best, but cold ones are fine too. I don’t stress about this because I’m never that organized. Just crack them in and go.
Boxed cake mix — Yes, I said it again. But hear me out: this recipe is designed around boxed mix. It’s consistent, reliable, and gives you that specific texture that makes the earthquake effect happen. If you want to make it from scratch, you can, but you’ll need to adjust the liquid ratios.
For the Peanut Butter Swirl
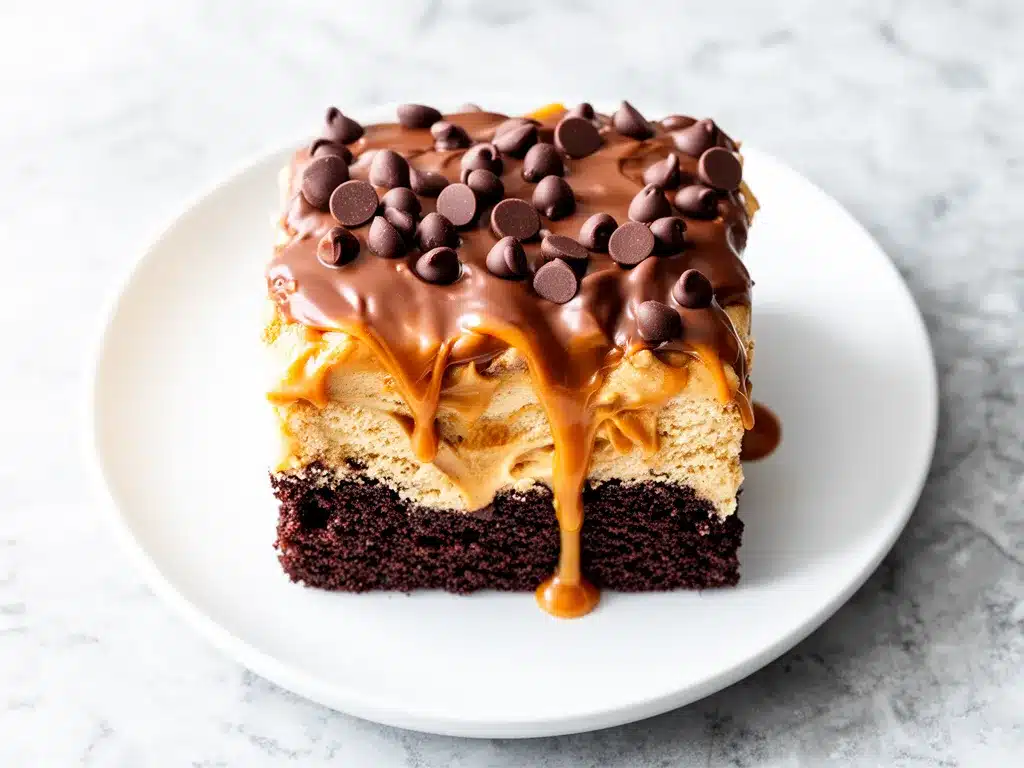
Creamy peanut butter (1 cup / 250g) — This is the star. Use creamy, not crunchy. Crunchy peanut butter changes the texture in a way that doesn’t work for this recipe. I use Jif or Skippy—whatever’s on sale. Natural peanut butter with separated oil doesn’t work well here because it’s too runny and doesn’t hold the swirl pattern.
Granulated sugar (½ cup / 100g) — This goes into the peanut butter layer. It creates that crunchy, caramelized top when it bakes. Don’t skip this—it’s what makes the top slightly crisp while the center stays gooey.
Butter, melted (2 tablespoons / 30g) — This helps the peanut butter spread evenly and adds richness. You can substitute with oil, but butter gives you better flavor. I melt it in the microwave for 20 seconds—super quick.
For the Chocolate Chip Layer
Chocolate chips (1 cup / 170g) — Semi-sweet or milk chocolate both work. I prefer semi-sweet because it balances the sweetness of the peanut butter. If you’re using milk chocolate, you might want to reduce the sugar in the peanut butter layer by a tablespoon. I’ve tested both, and semi-sweet is my favorite.
Optional Add-ins
Crushed peanuts (¼ cup / 25g) — Sprinkle on top before baking for extra crunch. This is optional, but it adds a nice textural contrast. I use this when I’m making this for a crowd—people love the extra crunch.
Sea salt flakes (pinch) — Sprinkle on top after baking. The salt enhances the peanut butter flavor and cuts through the sweetness. This is a game-changer if you have it. I keep Maldon sea salt in my pantry specifically for this.
Vanilla extract (1 teaspoon) — Add this to the cake batter for extra flavor depth. It’s subtle, but it makes the cake taste more homemade. I always add this, even though the recipe doesn’t require it.
Equipment Needed
You don’t need fancy equipment for this. Here’s what I actually use:
9×13 inch baking pan — This is standard for earthquake cakes. I use a glass pan because it bakes more evenly, but metal works fine too. Just grease it well—this batter is sticky, and you don’t want it sticking.
Mixing bowls — Two medium bowls are all you need. One for the cake batter, one for the peanut butter mixture. I use plastic bowls because they’re lightweight and easy to clean.
Electric mixer — Optional but helpful. You can mix by hand, but an electric mixer makes it faster and ensures the batter is smooth. I use a hand mixer because it’s easier to store than a stand mixer.
Spatula — A rubber spatula is essential for spreading the peanut butter and chocolate chips evenly. I use a silicone spatula because it’s flexible and scrapes the bowl clean.
Measuring cups and spoons — Standard stuff. Dollar store versions work fine. Just make sure they’re accurate—baking is chemistry, after all.
Wire cooling rack — Let the cake cool on a rack so air circulates underneath. This prevents the bottom from getting soggy. I learned this the hard way when I first made this cake.
Microwave-safe bowl — For melting the butter. If you don’t have one, you can melt butter in a small saucepan over low heat. Just don’t burn it.
That’s it. No special tools, no fancy gadgets. Just basic kitchen equipment you probably already own.
How to Make It: Step-by-Step
Alright, let’s make this! I’m walking you through exactly how I do it, including the little tricks I’ve picked up over the years.
Step 1: Prep Your Pan and Oven (5 minutes)
Preheat your oven to 350°F (175°C). This is crucial—don’t skip this or guess the temperature. An oven thermometer is helpful if you’re not sure your oven is accurate. I learned this when my cakes started coming out undercooked in the middle.
Grease your 9×13 inch baking pan with butter or non-stick spray. I use butter because it adds flavor and ensures the cake releases easily. If you’re worried about sticking, you can also line the pan with parchment paper, but greasing is usually enough.
Step 2: Make the Cake Batter (5 minutes)
In a large mixing bowl, combine the cake mix, water, vegetable oil, and eggs. Beat on medium speed for 2 minutes until smooth and well combined. The batter should be thick but pourable. If it’s too thick, add a tablespoon of water. If it’s too thin, add a tablespoon of flour. I’ve had both happen, and it’s easy to fix.
Pour the batter into your prepared pan and spread it evenly with a spatula. This is your base layer. It doesn’t need to be perfect—just even enough that the cake bakes uniformly.
Step 3: Prepare the Peanut Butter Swirl (3 minutes)
In a medium bowl, mix the creamy peanut butter, melted butter, and granulated sugar until smooth. This should be a thick, spreadable paste. If it’s too stiff, add a teaspoon of water or milk. If it’s too runny, add a tablespoon of peanut butter. The consistency should be like thick frosting.
This is the layer that creates the “earthquake” effect. It needs to be thick enough to hold its shape but soft enough to spread. I’ve tested this several times, and this consistency is the sweet spot.
Step 4: Add the Peanut Butter Layer (2 minutes)
Dollop the peanut butter mixture over the cake batter. Use about 12-15 dollops, spaced evenly across the surface. Don’t spread it yet—just drop it on top. This creates the pockets that will become the gooey centers.
Take a knife or a toothpick and gently swirl the dollops into the batter. You don’t need to mix it completely—just create marbled patterns. The goal is to have pockets of peanut butter throughout the cake, not a uniform mixture. This is what gives you those surprise gooey centers.
Step 5: Add the Chocolate Chips (1 minute)
Scatter the chocolate chips evenly over the top. This is the final layer before baking. The chips will melt slightly during baking, creating pockets of chocolate that complement the peanut butter.
If you’re using crushed peanuts, sprinkle them now. If you’re adding sea salt, you can add it now or wait until after baking. I prefer adding it after because it stays crispier.
Step 6: Bake the Cake (30-35 minutes)
Place the pan in the preheated oven and bake for 30-35 minutes. The cake is done when the top is golden brown and a toothpick inserted in the center comes out with moist crumbs, not wet batter. This is the most critical step—don’t overbake it, or you’ll lose that gooey center.
I check at 30 minutes first. If the toothpick comes out clean, it’s done. If it has wet batter, give it 5 more minutes. Every oven is different, so this is where you need to pay attention. I’ve burned this cake twice by leaving it in too long, and I’ve had it undercooked by taking it out too early. Trust your eyes, not just the timer.
Step 7: Cool and Serve (10 minutes)
Let the cake cool in the pan for 10 minutes. This allows the structure to set and makes it easier to cut. Then transfer to a wire rack to cool completely, or serve warm. I usually serve it warm because the center is extra gooey at that point.
Cut into squares and serve. If you added sea salt, sprinkle it now. This is when the magic happens—the smell alone will make your kitchen smell like a bakery.
Expert Tips & Tricks
Here’s everything I’ve learned from making this dozens of times. These tips will save you from my mistakes.
Don’t Overmix the Batter
This is the #1 mistake people make. Overmixing creates gluten, which makes the cake dense instead of tender. Mix just until the ingredients are combined. I know it’s tempting to keep mixing until it’s perfectly smooth, but stop as soon as there are no visible lumps. The cake will be tender and fluffy.
Room Temperature Ingredients
While I don’t stress about this for every recipe, it matters here. Cold eggs and butter can cause the batter to separate. I take my eggs out of the fridge 15 minutes before I start. If I forget, I soak them in warm water for 5 minutes. It’s a small step that makes a big difference.
The Peanut Butter Consistency
This is the key to the gooey center. The peanut butter mixture needs to be thick enough to hold its shape but soft enough to spread. If it’s too runny, it will sink to the bottom. If it’s too stiff, it won’t swirl properly. I’ve tested this with different peanut butters, and creamy brands like Jif and Skippy work best. Natural peanut butter is too oily and doesn’t hold up.
Swirl Technique
Don’t swirl too much. The goal is to create pockets of peanut butter, not to mix it completely into the batter. I use a gentle figure-eight motion with a knife. Too much swirling and you lose the earthquake effect. Too little and you don’t get enough pockets. It’s a balance, and you’ll get it right after one or two tries.
Don’t Overbake
This is the most important tip. The cake should come out with moist crumbs on the toothpick, not clean. Overbaking dries out the center and ruins the gooey texture. I check at 30 minutes and then every 2 minutes after that. If in doubt, take it out early. It will continue cooking from residual heat.
Storage Tips
Store leftovers in an airtight container at room temperature for up to 3 days. The cake stays moist and gooey for days. I’ve had it last up to 5 days, but it’s usually gone by day 3. Don’t refrigerate it unless you have to—refrigeration dries out the cake and makes the peanut butter firm.
Freezing
This cake freezes well. Wrap individual slices in plastic wrap and store in a freezer-safe container for up to 2 months. Thaw at room temperature for best texture. I freeze extra slices so I always have dessert on hand. It tastes almost as good fresh as it does thawed.
Variations & Substitutions
Once you’ve nailed the basic version, here’s how you can mix it up. I’ve tried all of these.
Chocolate Peanut Butter Version
Use chocolate cake mix instead of yellow. This intensifies the chocolate flavor and makes it even richer. I love this version when I’m in the mood for something extra indulgent. The chocolate and peanut butter combination is classic for a reason.
Reese’s Cups Version
Chop Reese’s Peanut Butter Cups and scatter them on top before baking. This adds extra peanut butter cups that melt into the cake. It’s sweeter than the original, but it’s a crowd-pleaser. I make this for parties when I want something extra special.
Butterscotch Version
Replace chocolate chips with butterscotch chips. This creates a butterscotch-peanut butter combination that’s unique and delicious. It’s less sweet than the chocolate version and has a caramel-like flavor. I discovered this by accident when I ran out of chocolate chips.
Mini M&M’s Version
Replace chocolate chips with mini M&M’s. This adds color and a bit of crunch. It’s fun and festive, perfect for holidays or parties. I make this for birthdays because the kids love the colorful chips.
Gluten-Free Version
Use a gluten-free yellow cake mix. Everything else is naturally gluten-free. I’ve tested this with several brands, and Bob’s Red Mill works well. The texture is slightly denser, but it’s still delicious. My gluten-free sister requests this version.
Dairy-Free Version
Replace butter with coconut oil and use dairy-free chocolate chips. The peanut butter is usually dairy-free, but check the label. This version is still gooey and delicious, just with a slightly different flavor. My lactose-intolerant friend loves this version.
Protein-Packed Version
Replace half the cake mix with protein powder and add an extra egg. This makes it more filling and higher in protein. It’s not as sweet, but it’s a better option for breakfast dessert. I make this when I’m trying to be “healthy” (which is rare).
Serving & Storage
How to Serve:
I usually serve this straight from the pan at the dinner table—it looks rustic and stays warm. But here are other ways I’ve enjoyed it:
- Served warm with a scoop of vanilla ice cream (this is my favorite way)
- Cold straight from the fridge (yes, I eat it for breakfast)
- With a drizzle of caramel sauce for extra indulgence
- With whipped cream for a lighter touch
Side Dishes:
This cake is rich enough to stand on its own, but here are sides I’ve paired it with:
- Fresh berries (strawberries, raspberries, or blueberries) to cut through the sweetness
- A simple green salad if you’re serving it as part of a larger meal
- Nothing at all—this cake is the star
Toppings Bar:
When I have guests, I put out:
- Extra peanut butter drizzle
- Sea salt flakes
- Crushed peanuts
- Vanilla ice cream
- Whipped cream
Everyone customizes their slice. It’s fun and interactive.
Storage Instructions:
Refrigerator: Store in an airtight container for up to 5 days. The cake stays moist and gooey. I rarely get to day 5, but it does last.
Room Temperature: Store in an airtight container for up to 3 days. This is the best way to store it because refrigeration dries it out.
Freezer: Wrap individual slices in plastic wrap and store in a freezer-safe container for up to 2 months. Thaw at room temperature for best texture.
Reheating: Microwave individual slices for 15-20 seconds to warm them up. This restores the gooey texture. Don’t overheat, or the peanut butter will become too runny.
Nutrition Information
I’m not a nutritionist, but here’s the breakdown if you’re tracking. This is per serving (based on 12 servings):
- Calories: 380
- Protein: 8g
- Carbs: 45g
- Fiber: 2g
- Sugar: 32g
- Fat: 20g
- Saturated Fat: 6g
- Cholesterol: 45mg
- Sodium: 280mg
What’s Good:
- Decent protein from eggs and peanut butter
- Calcium from the cake mix and peanut butter
- More filling than it looks due to the peanut butter
What to Know:
- Higher in calories and sugar from the cake mix and peanut butter
- Contains dairy and gluten
- Moderate sodium (use low-sodium cake mix to reduce)
My Take:
Look, this is a dessert with peanut butter and chocolate chips. It’s not a diet recipe. But it’s way better than store-bought desserts, costs less, and I know exactly what’s in it. When I want to make it lighter, I use the half-and-half version and add berries on the side. But usually? I just eat a reasonable portion and enjoy it.
Dietary Notes:
- Contains: gluten, dairy, peanuts
- Can be made: gluten-free, dairy-free (with substitutions)
- Not suitable for: nut allergies (contains peanuts)
Final Thoughts
So that’s my Gooey Peanut Butter Earthquake Cake! I’ve probably talked your ear off at this point, but when you make a recipe this often, you have a lot to say about it.
This has saved dessert nights more times than I can count. It’s my answer to “what’s for dessert?” when I’m tired, don’t want to bake something complicated, and still want something that tastes really good. My kids are happy, my husband’s happy, and I’m happy because I’m not stressed about cooking.
Make it yours! Try different add-ins, swap in your favorite chocolate chips, adjust the peanut butter amount. The best recipes are the ones you adapt to your family’s tastes. I’ve made this with Reese’s Cups, butterscotch chips, and mini M&M’s, and each version has been delicious in its own way.
If you make this, drop a comment and let me know what you think! I love hearing how recipes turn out in your kitchen. And if something doesn’t work, tell me that too—I’m here to help troubleshoot.
Happy baking! And I hope your kitchen smells half as good as mine does right now.
Frequently Asked Questions
Can I use crunchy peanut butter instead of creamy?
You can, but the texture will be different. Crunchy peanut butter creates a chunkier swirl that doesn’t melt as smoothly. I’ve tested this, and while it’s still delicious, it doesn’t give you that signature gooey center. Creamy peanut butter is the way to go for this recipe. If you love crunch, add crushed peanuts on top instead.
Why did my cake come out dry?
This usually means you overbaked it. The cake should come out with moist crumbs on the toothpick, not clean. Check it at 30 minutes and then every 2 minutes after that. Every oven is different, so this is where you need to pay attention. Also, make sure you’re not using a dark pan, which can cause the cake to bake faster on the edges.
Can I make this ahead for a party?
Yes! Make the cake up to 2 days ahead and store in an airtight container at room temperature. It actually tastes better the next day because the flavors meld together. Just don’t add toppings like whipped cream or ice cream until you’re ready to serve. This is my go-to party dessert because I can make it days in advance.
Why didn’t my cake “earthquake”?
This usually means you swirled the peanut butter too much. The goal is to create pockets of peanut butter, not to mix it completely into the batter. Use a gentle figure-eight motion with a knife, and stop when you see marbled patterns. Also, make sure your peanut butter mixture is thick enough—it should be like thick frosting, not runny.
Can I freeze this cake?
Absolutely! Wrap individual slices in plastic wrap and store in a freezer-safe container for up to 2 months. Thaw at room temperature for best texture. I freeze extra slices so I always have dessert on hand. It tastes almost as good fresh as it does thawed. Just don’t freeze it with toppings like whipped cream or ice cream.
Can I use a different cake mix?
Yes! Yellow cake mix is traditional, but you can use vanilla, white, or even chocolate cake mix. Yellow gives you the classic flavor, but chocolate makes it richer. I’ve tried all of them, and they all work. Just make sure to adjust the liquid if the mix requires different amounts.
How do I reheat leftovers without it getting dry?
Microwave individual slices for 15-20 seconds. This restores the gooey texture. Don’t overheat, or the peanut butter will become too runny. If you’re reheating a larger portion, cover it with a damp paper towel to keep it moist. I usually reheat mine in the morning for breakfast dessert—it’s like eating warm cake with peanut butter.
Pin This Recipe!
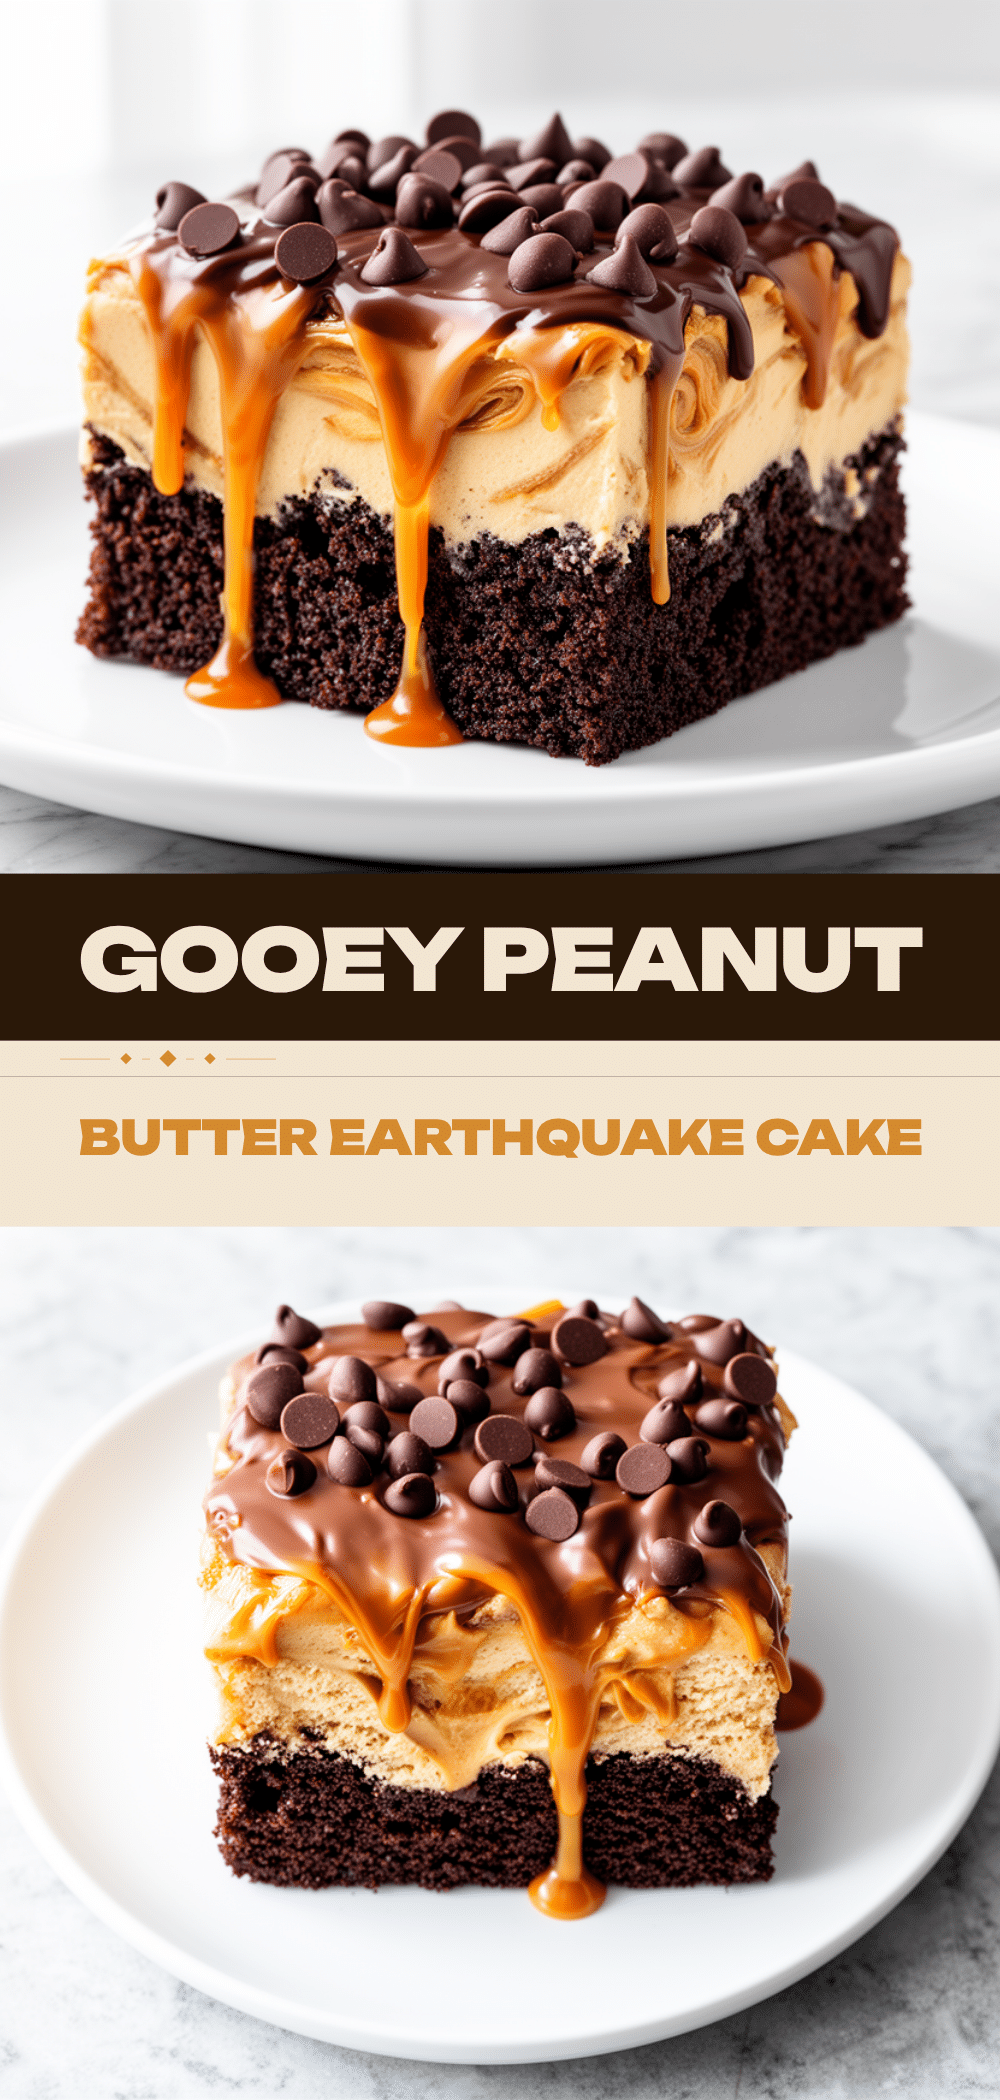
Gooey Peanut Butter Earthquake Cake
- Total Time: 45 minutes
- Yield: 12 servings 1x
Description
A simple, crowd-pleasing dessert featuring a yellow cake base topped with a gooey peanut butter swirl and chocolate chips. It bakes into a moist, indulgent treat with a signature ‘earthquake’ cracked top.
Ingredients
- 1 box (15.25 oz / 432g) yellow cake mix
- 1 cup (240ml) water
- ½ cup (120ml) vegetable oil
- 3 large eggs
- 1 cup (250g) creamy peanut butter
- ½ cup (100g) granulated sugar
- 2 tablespoons (30g) butter, melted
- 1 cup (170g) semi-sweet chocolate chips
- ¼ cup (25g) crushed peanuts (optional)
- Pinch of sea salt flakes (optional)
- 1 teaspoon vanilla extract (optional)
Instructions
- Preheat oven to 350°F (175°C) and grease a 9×13 inch baking pan.
- In a large bowl, combine cake mix, water, vegetable oil, eggs, and vanilla (if using). Beat on medium speed for 2 minutes until smooth.
- Pour batter into the prepared pan and spread evenly.
- In a medium bowl, mix creamy peanut butter, melted butter, and granulated sugar until a thick, spreadable paste forms.
- Dollop the peanut butter mixture over the batter in 12-15 spots. Gently swirl with a knife to create marbled pockets, but do not fully mix.
- Scatter chocolate chips evenly over the top. Add crushed peanuts if desired.
- Bake for 30-35 minutes, or until the top is golden brown and a toothpick inserted in the center comes out with moist crumbs.
- Cool in the pan for 10 minutes, then transfer to a wire rack. Sprinkle with sea salt flakes if using before serving.
Notes
Do not overmix the batter to keep the cake tender. Ensure the peanut butter mixture is thick enough to hold its shape but soft enough to spread. Do not overbake, as this will dry out the gooey center. Store leftovers in an airtight container at room temperature for up to 3 days.
- Prep Time: 20 minutes
- Cook Time: 30-35 minutes
- Category: Dessert
- Cuisine: American
Nutrition
- Serving Size: 1 square slice
- Calories: 380
- Sugar: 32
- Sodium: 280
- Fat: 20
- Saturated Fat: 6
- Carbohydrates: 45
- Fiber: 2
- Protein: 8
Keywords: peanut butter cake, earthquake cake, easy dessert, gooey cake, chocolate chip cake, party dessert, family friendly



