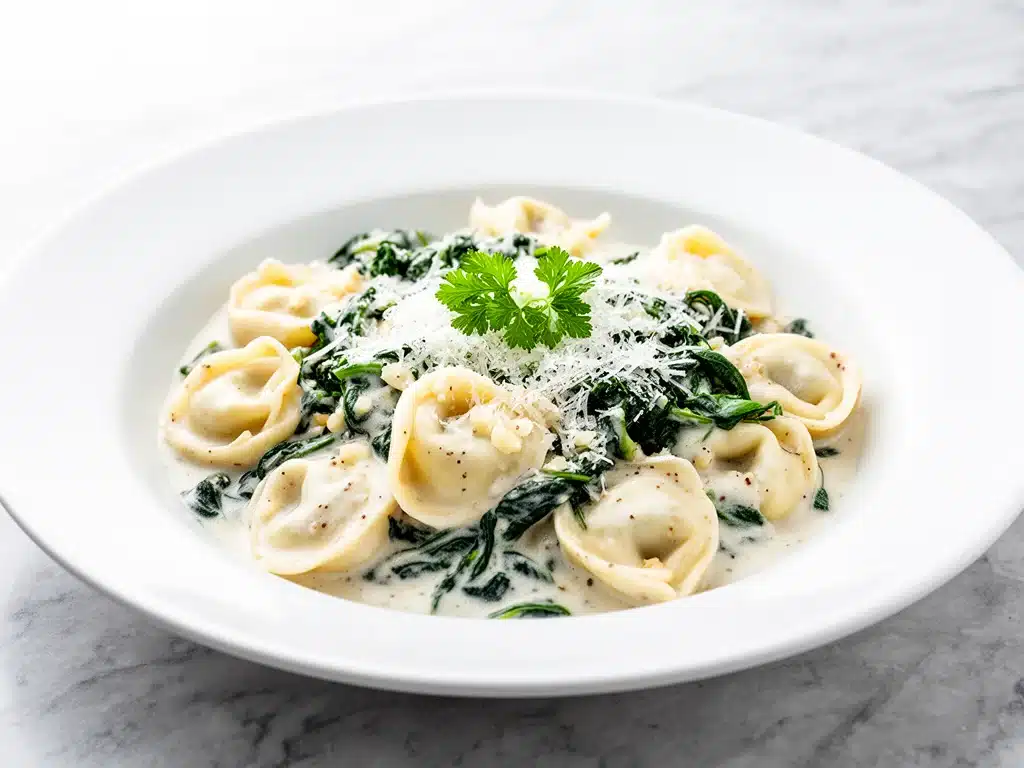
Last Tuesday, I was standing in the frozen food aisle, holding a bag of generic cheese tortellini, when my husband gently pointed out that we actually had a $10 bag of fresh, high-end cheese tortellini sitting in our freezer from a holiday party three weeks ago. It was the “good stuff.” The kind with the delicate, thin pasta that usually gets overcooked into a gummy mess. I should have thrown it out. Instead, I threw it into a pan with garlic, cream, and spinach.
Thirty minutes later, my husband came home from work, took one bite, and said, “Is this from that Italian place downtown? Because I would have paid $22 for this.” I laughed. I told him it was the freezer burn special. But honestly? It was better than takeout. Better than delivery. Better than anything I’ve ever ordered off a menu.
This creamy garlic tortellini recipe has become my secret weapon. It’s my go-to when I’m tired, when I don’t want to clean up a mountain of dishes, and when I still want to feel like I’m eating a gourmet meal. I’ve made this at least fifteen times in the last six months, tweaking the garlic ratio (more is always better) and the spinach amount (I’m obsessed with leafy greens right now). Every single time, it comes out perfect. Creamy, garlicky, comforting, and surprisingly elegant for a weeknight dinner.
If you’ve ever felt like making pasta from scratch is too much work, or if you’re stuck in a rut of the same three dinners, this is your answer. It’s simple, it’s forgiving, and it tastes like you spent hours simmering a sauce. Spoiler alert: you didn’t. You just boiled some tortellini and whisked some cream. Let me show you how to make the best homemade creamy garlic tortellini with spinach, and why it’s about to replace your takeout habit.
Why You’ll Love This Creamy Garlic Tortellini Recipe
There are about ten reasons I keep making this, but here are the big ones that keep me coming back to the stove.
Stupid Simple — Seriously, if you can boil water and mince garlic, you can make this. I’ve walked my teenage daughter through it over FaceTime while she was at college. She didn’t burn it once. That’s how easy it is. There’s no complex technique, no tempering eggs, no confusing steps. Just chop, pour, stir, eat.
Lightning Fast — 25 minutes from start to finish, and only 10 of those are active cooking. I make this on weeknights when I get home at 7pm, hungry and grumpy. The tortellini cooks in 3-4 minutes. The sauce takes 10. It’s done before I can even finish scrolling through my phone.
Pantry-Friendly (With One Twist) — You probably have most of this already. Olive oil, garlic, cream, parmesan, spinach. The only thing you might need to grab is fresh cheese tortellini. But honestly, frozen works too (more on that in the tips). I keep the key items stocked just so I can make this on a whim when I don’t know what to cook.
Crowd-Pleaser — I’ve served this to my vegetarian sister, my meat-eating dad, and my friend who claims she “doesn’t like pasta.” Everyone loved it. The garlic flavor is bold enough to satisfy foodies, but the creaminess is comforting enough for picky eaters. It’s a universal hit.
Makes Amazing Leftovers — Actually tastes better the next day. The sauce thickens and clings to the pasta even more. I deliberately make extra for lunch throughout the week. It reheats beautifully in the microwave with a splash of milk.
Budget-Smart — Feeds 4 people for under $20. That’s less than two large pizzas or a single fancy dinner for two at a restaurant. When you factor in the quality of ingredients, it’s a steal.
This is my go-to when I need dinner to just work. No complicated techniques, no weird ingredients, just reliable, delicious food that makes everyone happy. And yes, it really is better than takeout. Trust me on this.
Ingredients You’ll Need
Here’s the best part: you probably have most of this already. I’m particular about three ingredients here, and I’ll tell you exactly why. Don’t skimp on the good stuff where it counts.
For the Base
Fresh Cheese Tortellini (1 package / 20oz or 560g) — This is the star. I prefer fresh tortellini from the refrigerated section because the pasta is tender and cooks evenly. It has a delicate flavor that absorbs the sauce beautifully. If you can’t find fresh, high-quality frozen cheese tortellini works too. Just don’t use the dried kind—it’s too hard and won’t hold the creamy sauce the same way. I always buy the brand with the thin pasta sheets.
Butter (2 tablespoons / 30g) — I use unsalted butter so I can control the salt. Butter adds that rich, velvety mouthfeel that oil just can’t match. It’s non-negotiable for this level of comfort.
Olive Oil (1 tablespoon / 15ml) — I use extra virgin olive oil here. It adds a fruity, grassy note that balances the richness of the cream and butter. Don’t skip it; it prevents the garlic from burning too quickly.
For the Flavor
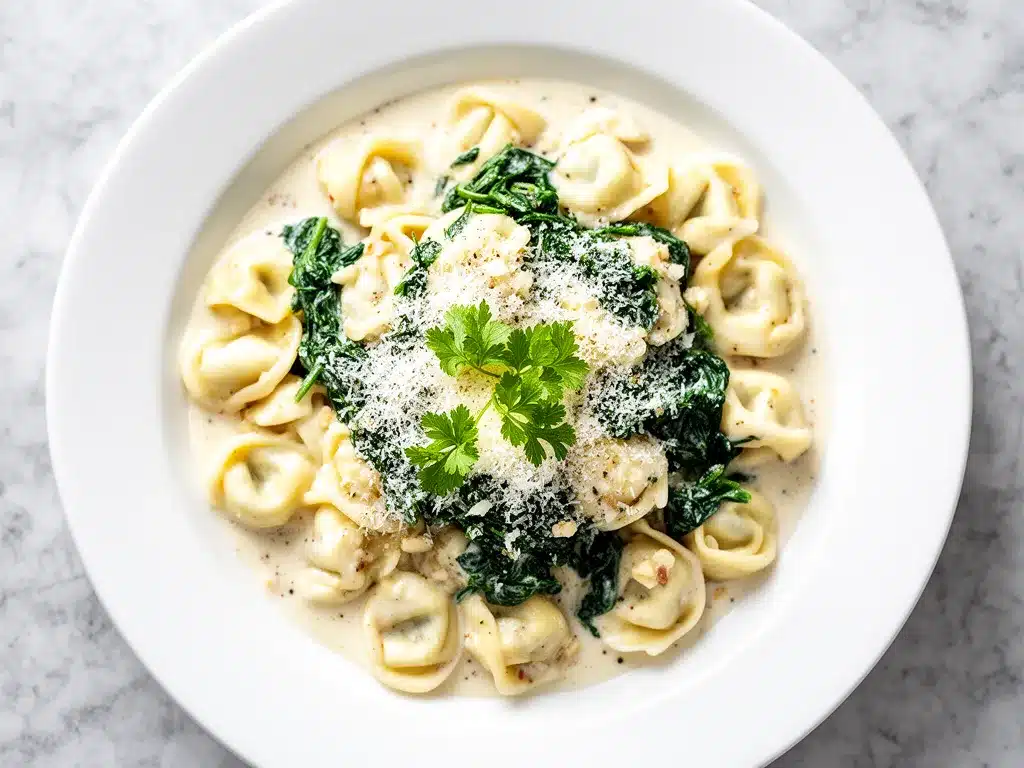
Garlic (6-8 cloves, minced / about 3-4 tablespoons) — Yes, 6 to 8 cloves. Don’t be scared. This is “garlic tortellini.” Fresh only—no jarred garlic in this recipe. Jarred garlic has a metallic aftertaste that ruins the delicate sauce. If you hate chopping garlic, buy pre-peeled cloves from the produce section. They’re worth the extra dollar.
Heavy Cream (1.5 cups / 360ml) — Full-fat only. Half-and-half makes it too thin. Whole milk makes it watery. Trust me on this. The fat content is what makes the sauce luxurious and stable. If you’re worried about calories, you can use half-and-half, but the texture will be lighter and less indulgent.
Chicken or Vegetable Broth (½ cup / 120ml) — I use low-sodium broth so I can control the saltiness. Vegetable broth works perfectly if you want a vegetarian version. It adds depth and prevents the sauce from being too heavy or cloying.
Parmesan Cheese (1 cup / 100g, freshly grated) — Buy the block and grate it yourself. Pre-grated Parmesan is coated in cellulose (anti-caking agent) which makes it clump instead of melt smoothly. It takes 3 minutes to grate and makes a huge difference in the sauce’s texture. I use a microplane for the finest grate.
Italian Seasoning (1 teaspoon) — Or use equal parts dried basil and oregano. This adds that classic Italian aroma. If you have fresh basil, save it for garnish.
Red Pepper Flakes (½ teaspoon) — Optional but adds a nice kick. It cuts through the richness of the cream. Start with less if you’re sensitive to spice, but I love the warmth it adds.
For the Greens
Fresh Spinach (4-5 cups / about 120-150g) — I use baby spinach because it’s tender and wilts instantly. It adds color, nutrition, and a slight bitterness that balances the creamy sauce. You can also use kale (remove stems) or Swiss chard, but spinach is the easiest. It looks like a lot, but it shrinks down to nothing.
Salt and Black Pepper — To taste. I usually add a generous crack of black pepper at the end for aroma.
Optional Add-ins: I sometimes throw in cooked chicken, shrimp, or sun-dried tomatoes. But honestly? The classic version is perfect on its own.
Equipment Needed
You don’t need fancy equipment for this. Here’s what I actually use.
Large Skillet or Dutch Oven — I use a 12-inch stainless steel skillet. It needs to be wide enough to toss the pasta without it sticking out. My cast iron works great too, but stainless steel is easier for cleaning. Just make sure it has a lid if you want to steam the spinach, though I usually just let it wilt open.
Large Pot — For boiling the tortellini. A 6-quart pot is ideal. You need enough water for the pasta to move freely. My ancient pot from college still works fine.
Sharp Knife — For mincing garlic. Dull knives make you cry more—learned this the hard way. A good chef’s knife is worth the investment.
Peeling Board — Any size works. I use plastic for easier cleanup.
Wooden Spoon or Silicone Spatula — For stirring. Silicone works great for scraping the bottom of the pan to get all those browned bits (fond) into the sauce.
Microplane or Box Grater — For the Parmesan. Or food processor if you’re grating lots of cheese, but for one cup, hand-grating is faster.
Colander — For draining pasta. Or just use the lid to drain—I do this when I’m lazy.
Measuring Cups and Spoons — Pretty standard stuff. Dollar store versions work fine.
Garlic Press — Optional. I prefer mincing by hand for texture, but a press saves time. If you use a press, just be aware the garlic will cook faster.
How to Make It: Step-by-Step
Alright, let’s make this! I’m walking you through exactly how I do it, including the little tricks I’ve picked up over the years.
Step 1: Prep Your Ingredients (5 minutes)
Before you start cooking, mince your garlic, grate your Parmesan, and measure out your cream and broth. I know it seems fussy, but it makes the actual cooking way less stressful. Once you start cooking, things move fast. Grate the cheese while the water boils. Set everything out in little bowls. This is called “mise en place,” but I just call it “not burning dinner.”
Step 2: Boil the Tortellini (3-4 minutes)
Bring a large pot of salted water to a boil—it should taste like the ocean. Add the tortellini and cook according to package directions. Fresh tortellini cooks incredibly fast, usually in 3-4 minutes. Frozen takes 5-6. IMPORTANT: Before draining, scoop out ½ cup of pasta water and set it aside. This starchy water is magic for the sauce. Drain the pasta and set it aside. Do not rinse it! Rinsing washes away the starch that helps the sauce cling.
Step 3: Sauté the Aromatics (2-3 minutes)
While the pasta cooks, heat the butter and olive oil in a large skillet over medium heat. Add the minced garlic and red pepper flakes. Cook for 1-2 minutes, stirring constantly. The garlic should smell amazing and fragrant but NOT brown. Browned garlic tastes bitter. If it starts to sizzle too loudly, lower the heat. You want soft, golden garlic, not burnt bits.
Step 4: Build the Sauce (5-6 minutes)
Pour in the chicken broth and let it simmer for 1 minute to deglaze the pan (scrape up any browned bits from the bottom). Add the heavy cream and Italian seasoning. Stir well and let it simmer gently for 3-4 minutes. The sauce will thicken slightly. It should coat the back of a spoon. If it’s bubbling too vigorously, turn the heat down. You want a gentle simmer, not a rolling boil.
Step 5: Add the Cheese (2 minutes)
Remove the skillet from heat. This is crucial. Add the grated Parmesan gradually, stirring constantly. The sauce will thicken as the cheese melts. If it gets too thick, add a splash of that reserved pasta water. The sauce should be creamy and smooth, not clumpy. If you add the cheese while the pan is still on high heat, it might separate or become grainy. Off heat is best.
Step 6: Wilt the Spinach (1-2 minutes)
Add the fresh spinach to the sauce. It looks like a mountain, but it will wilt down quickly. Stir it in until it’s completely submerged in the sauce and bright green. This takes about 1-2 minutes. If you’re using kale, you’ll need to cook it a bit longer.
Step 7: Combine and Finish (2 minutes)
Add the drained tortellini to the skillet. Toss everything together until the pasta is well coated. If the sauce is too thick, add more pasta water, a tablespoon at a time. If it’s too thin, let it sit for a minute—it’ll thicken up. Taste and adjust salt and pepper. Add a squeeze of lemon juice if you want brightness (optional, but I love it).
Step 8: Serve
Serve immediately topped with extra Parmesan, fresh black pepper, and a drizzle of olive oil. Fresh basil is amazing here if you have it. The steam rising off this dish is enough to make anyone happy.
Total Time: About 25 minutes (10 minutes active, 15 minutes mostly hands-off)
Expert Tips & Tricks
Here’s everything I’ve learned from making this dozens of times. These tips will save you from my mistakes.
Save That Pasta Water
This is the #1 tip. That starchy water is what makes the sauce cling to the tortellini perfectly. I forgot it once and the sauce was just okay instead of amazing. Now I set out a measuring cup before I even start cooking so I don’t forget. Keep it warm!
Don’t Skimp on Salt
Your pasta water should taste like seawater. Undersalted pasta tastes bland no matter how good your sauce is. I use about 1 tablespoon salt per pound of pasta. The tortellini itself is seasoned, but the pasta needs salt too.
Fresh Parmesan Only
Pre-grated Parmesan has anti-caking agents that make the sauce grainy. Grate your own from a block—takes 3 minutes and makes a huge difference. My husband can tell when I’ve been lazy and used pre-grated. It’s a dead giveaway.
Low Heat for Cheese
Always remove from heat before adding cheese. High heat makes cheese grainy and separated. I learned this the hard way with a grainy, broken sauce that looked awful. Off heat, always.
Room Temperature Cream
Cold cream can make the sauce seize up slightly. I take mine out of the fridge 15 minutes before cooking. If I forget, I microwave it for 15 seconds. It helps the sauce blend smoother.
Common Mistakes (and how to avoid them):
- Mistake: Sauce is too watery. Fix: Let it simmer longer, or add more cheese. Also, make sure you’re not adding too much pasta water at the end.
- Mistake: Tortellini is mushy. Fix: Cook 1 minute less than the package says. It’ll finish cooking in the sauce. Fresh tortellini goes from perfect to gummy very fast.
- Mistake: Everything is too salty. Fix: Use unsalted butter and low-sodium broth so you can control the salt. You can always add more, can’t take it away.
Pro Tricks I’ve Learned:
- For Restaurant-Quality Finish: Add a tablespoon of cold butter at the very end and swirl it in. Makes the sauce glossy and rich. This is called “monte au beurre” in French cooking, and it works wonders.
- For Extra Flavor: Toast the garlic and red pepper flakes in the oil for 30 seconds before adding onions (if using). Releases more flavor.
- For Better Texture: Toss the tortellini with a tiny bit of olive oil after draining (before adding to sauce). Prevents sticking.
Variations & Substitutions
Once you’ve nailed the basic version, here’s how you can mix it up. I’ve tried all of these.
Chicken Version
Add 2 cups diced cooked chicken (rotisserie works great) when you add the tortellini. My husband prefers this version—makes it more filling. Sear the chicken in the pan first, then remove, make the sauce, and add it back at the end.
Shrimp Version
Sauté 1lb of shrimp in the pan first, then remove. Make the sauce, add the tortellini, and toss the shrimp back in at the end. Cooks in 2 minutes.
Veggie-Loaded
Toss in 2 cups fresh spinach and 1 cup halved cherry tomatoes in the last minute. The spinach wilts right in. This is how I get my kids to eat vegetables. You can also add sun-dried tomatoes for a tangy kick.
Cajun Style
Swap Italian seasoning for Cajun seasoning. Add 1 teaspoon smoked paprika. Totally different vibe—spicy and smoky. Great with chicken.
Lighter Version
Use half-and-half instead of heavy cream, and reduce Parmesan to ½ cup. It’s thinner but still good. I make this when I’m trying to be “healthy.”
Mushroom Lover’s
Sauté 8oz sliced mushrooms with the garlic. Cook until golden brown. Adds earthiness and makes it feel fancier.
Lemon Garlic
Add zest of 1 lemon and 2 tablespoons lemon juice at the end. Brightens everything up. Great for summer.
Dietary Modifications:
- Gluten-Free: Use gluten-free tortellini. Everything else is naturally gluten-free. I’ve used Barilla gluten-free and it works great.
- Dairy-Free: Replace heavy cream with full-fat coconut cream and Parmesan with nutritional yeast (use ½ cup). It’s different but still tasty. My lactose-intolerant friend requests this version.
- Lower-Carb: Use zucchini noodles instead of pasta. Reduce sauce ingredients by half. I won’t lie—it’s not the same, but it works if you’re watching carbs.
Serving & Storage
How to Serve
I usually serve this straight from the skillet at the dinner table—it looks rustic and stays warm. But here are other ways I’ve enjoyed it:
Side Dishes: Garlic bread (obviously), simple green salad with balsamic vinaigrette, roasted broccoli or green beans, or Caesar salad (when I’m feeling fancy). A light salad cuts through the richness of the pasta.
Toppings Bar: When I have guests, I put out: extra Parmesan, red pepper flakes, fresh basil, lemon wedges, crispy bacon bits. Everyone customizes their bowl.
Wine Pairing: Not a wine expert, but my wine-snob friend says Pinot Grigio or Chardonnay works great with this. Something crisp to balance the cream.
Storage Instructions
Refrigerator: Store in an airtight container for up to 4 days. The sauce will thicken in the fridge—totally normal.
Reheating: Best method: Add to a skillet with a splash of milk or cream over low heat. Stir until heated through and creamy again. Microwave method: Heat in 30-second intervals, stirring between. Add a splash of milk if it’s too thick. Never works: Trying to reheat in the pot you cooked it in. It always burns on the bottom. Ask me how I know.
Freezing: Honestly, this doesn’t freeze well because of the dairy. The sauce separates when thawed. Make it fresh or store in the fridge for up to 4 days.
Meal Prep: Make the sauce on Sunday, store in the fridge. Cook pasta fresh each night. Takes 10 minutes and tastes way better than fully reheated pasta.
Pro tip: If leftovers are drying out, stir in a tablespoon of butter and a splash of milk when reheating. Brings back that creamy texture.
Nutrition Information
I’m not a nutritionist, but here’s the breakdown if you’re tracking.
Per Serving (based on 4 servings):
| Calories | 650 |
| Protein | 22g |
| Carbs | 58g |
| Fiber | 2g |
| Sugar | 3g |
| Fat | 32g |
| Saturated Fat | 18g |
| Cholesterol | 85mg |
| Sodium | 580mg |
| Calcium | 350mg |
What’s Good: Decent protein from pasta and Parmesan. Calcium from the cheese. Can add vegetables to boost nutrition. More filling than it looks.
What to Know: Higher in calories from cream and cheese. Contains dairy and gluten. Moderate sodium (use low-sodium broth to reduce).
My Take: Look, this is comfort food with cream and cheese. It’s not a diet recipe. But it’s way better than takeout, costs less, and I know exactly what’s in it. When I want to make it lighter, I use the half-and-half version and load up on vegetables. But usually? I just eat a reasonable portion and enjoy it.
Dietary Notes: Contains: gluten, dairy. Can be made: gluten-free, vegetarian. Not suitable for: vegan (without modifications), dairy-free (without modifications).
Final Thoughts
So that’s my go-to creamy garlic tortellini with spinach! I’ve probably talked your ear off at this point, but when you make a recipe this often, you have a lot to say about it.
This has saved weeknight dinners more times than I can count. It’s my answer to “what’s for dinner” when I’m tired, don’t want takeout, and still want something that tastes really good. My kids are happy, my husband’s happy, and I’m happy because I’m not stressed about cooking.
Make it yours! Try different add-ins, swap in your favorite vegetables, adjust the garlic (though more is always better in my opinion). The best recipes are the ones you adapt to your family’s tastes. If you’re looking for other easy dinners, you might also enjoy my creamy crockpot sausage and peppers for a slow-cooker option, or my honey garlic butter chicken if you’re craving something similar but with meat.
If you make this, drop a comment and let me know what you think! I love hearing how recipes turn out in your kitchen. And if something doesn’t work, tell me that too—I’m here to help troubleshoot.
Happy cooking! And I hope your kitchen smells half as good as mine does right now.
Frequently Asked Questions
Can I use milk instead of heavy cream?
You can, but the sauce will be much thinner and less rich. If you want to try it, use whole milk (not skim) and add 2 tablespoons of flour to thicken it. Whisk the flour into the milk before adding to the pan. I’ve done this when I ran out of cream—it works okay, just not as good as the real thing. Half-and-half is a better middle ground.
My sauce came out watery—what happened?
Usually means you didn’t let it simmer long enough to thicken, or you added too much pasta water at the end. Let the cream mixture simmer for a full 3-4 minutes before adding cheese. If it’s already watery, turn up the heat and let it reduce for another few minutes. The cheese will also thicken it up.
Can I make this ahead for a dinner party?
Sort of. Make the sauce up to 2 days ahead and store in the fridge. Cook the tortellini fresh right before serving (takes 3-4 minutes). Reheat the sauce gently and toss with hot pasta. It won’t be quite as good as fresh, but it’s close and saves you stress during the party. I do this all the time.
Why did my sauce get grainy/lumpy?
The heat was too high when you added the cheese, which made it seize up. Parmesan needs gentle heat. Always remove the pan from the burner before adding cheese, then stir it in off heat. If it’s already grainy, try whisking in a splash of warm cream—sometimes you can save it.
Can I use jarred garlic?
You can, but fresh tastes so much better in this recipe. Jarred garlic has a weird metallic taste that really shows up in cream sauces. If you must use it, use half the amount because it’s stronger. But honestly, mincing 6 cloves takes like 2 minutes. Buy pre-peeled garlic cloves if you want to save time.
How do I reheat leftovers without it getting dry?
Add a splash of milk or cream to a skillet, add your leftover pasta, and heat gently over low heat, stirring frequently. The extra liquid brings back the creamy texture. Microwave sort of works but tends to dry it out. If you do microwave, definitely add a splash of milk first and heat in short bursts, stirring between.
Can I double this recipe?
Absolutely! Double everything and use your biggest pot. The cooking times stay the same. I do this when I’m meal-prepping or feeding a crowd. Just make sure your skillet is big enough for the sauce—you might need to use two pans or a very large skillet.
Pin This Recipe!
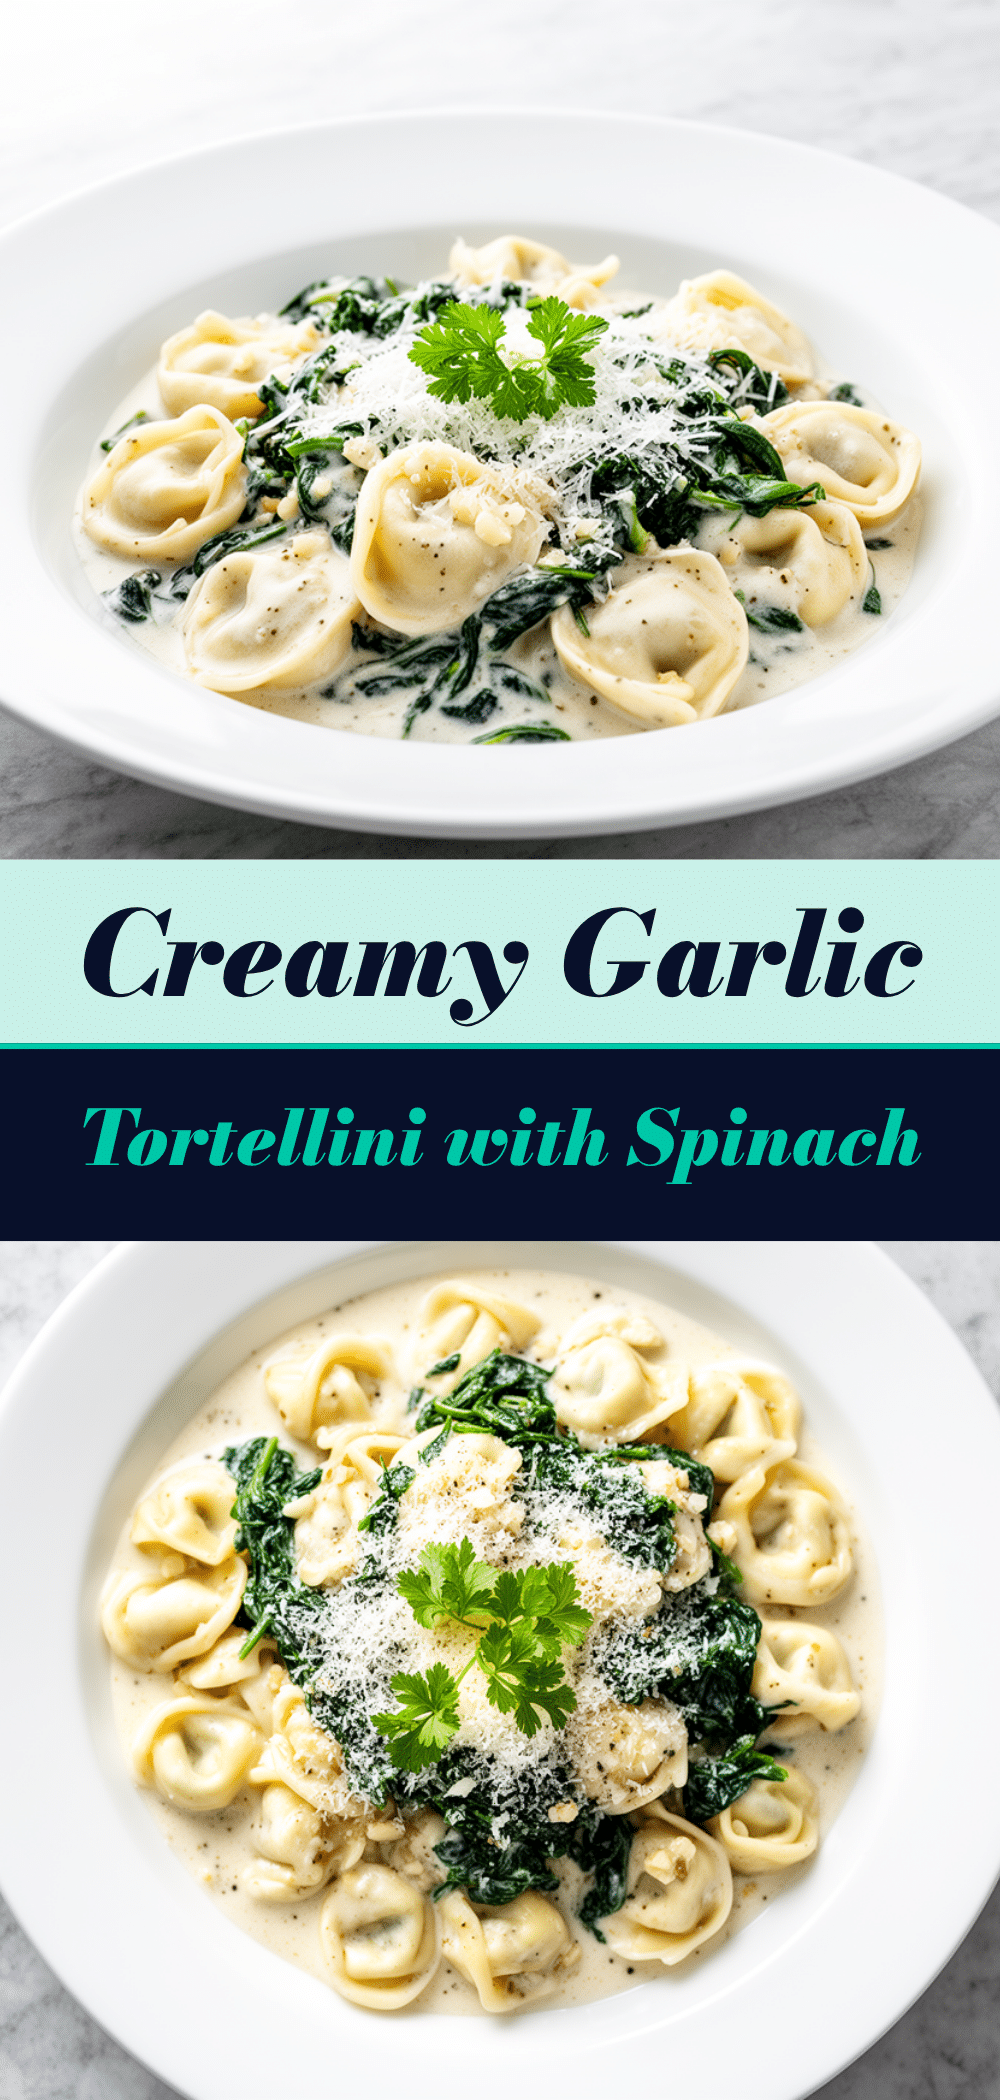
Creamy Garlic Tortellini: Best Homemade Recipe
- Total Time: 25 minutes
- Yield: 4 servings 1x
Description
A quick, 25-minute weeknight dinner featuring fresh cheese tortellini in a rich, garlicky cream sauce with spinach. This comforting dish is easier than takeout and tastes gourmet.
Ingredients
- 1 package (20oz / 560g) fresh cheese tortellini
- 2 tablespoons (30g) unsalted butter
- 1 tablespoon (15ml) extra virgin olive oil
- 6–8 cloves garlic, minced
- 1.5 cups (360ml) heavy cream
- ½ cup (120ml) low-sodium chicken or vegetable broth
- 1 cup (100g) freshly grated Parmesan cheese
- 1 teaspoon Italian seasoning
- ½ teaspoon red pepper flakes
- 4–5 cups (120-150g) fresh baby spinach
- Salt and black pepper, to taste
- Reserved pasta water, as needed
Instructions
- Prep ingredients: Mince garlic, grate Parmesan, and measure cream and broth.
- Boil tortellini in a large pot of salted water for 3-4 minutes (fresh) or 5-6 minutes (frozen). Before draining, reserve ½ cup of pasta water. Drain pasta and set aside.
- While pasta cooks, heat butter and olive oil in a large skillet over medium heat.
- Add minced garlic and red pepper flakes. Sauté for 1-2 minutes until fragrant but not browned.
- Pour in chicken broth and simmer for 1 minute to deglaze the pan.
- Add heavy cream and Italian seasoning. Simmer gently for 3-4 minutes until the sauce thickens slightly.
- Remove skillet from heat. Gradually stir in grated Parmesan until melted and smooth. Add a splash of reserved pasta water if too thick.
- Add fresh spinach to the sauce and stir until wilted (1-2 minutes).
- Add drained tortellini to the skillet and toss to coat evenly. Adjust consistency with more pasta water if needed.
- Season with salt and pepper to taste. Serve immediately with extra Parmesan and fresh basil if desired.
Notes
Use fresh tortellini for best texture; frozen works but avoid dried. Always remove from heat before adding cheese to prevent graininess. Reserve pasta water to help the sauce cling to the pasta. For a lighter version, substitute half-and-half for heavy cream.
- Prep Time: 5 minutes
- Cook Time: 20 minutes
- Category: Main Course
- Cuisine: Italian
Nutrition
- Serving Size: 1 plate
- Calories: 650
- Sugar: 3
- Sodium: 580
- Fat: 32
- Saturated Fat: 18
- Carbohydrates: 58
- Fiber: 2
- Protein: 22
Keywords: creamy garlic tortellini, easy weeknight dinner, pasta recipe, homemade tortellini, garlic cream sauce, spinach pasta, quick dinner, comfort food



