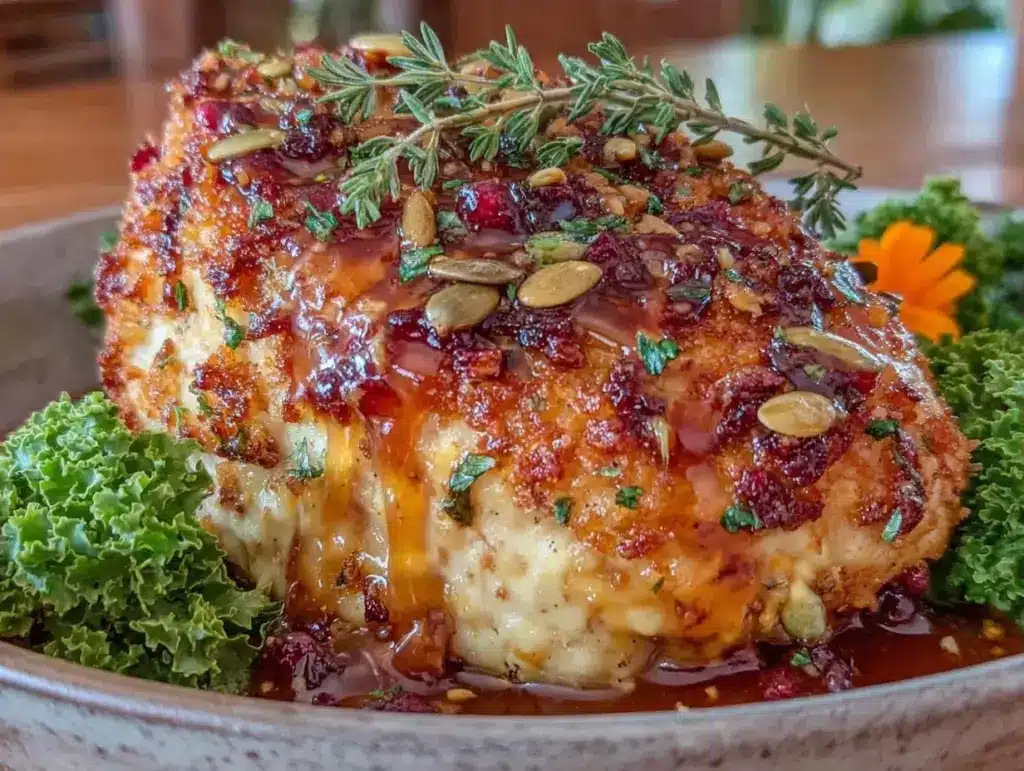
It was that specific kind of Tuesday where the air outside turned just a little bit crisp, and I realized summer was officially packing its bags. I’d been dreading dinner all afternoon because my usual go-to—creamy crockpot sausage and peppers—felt too heavy for the weather, and I didn’t want to fire up the oven for something complicated. I just wanted warmth. I wanted something that tasted like autumn but didn’t require a trip to the store at 5:30 PM.
So I opened the pantry, stared at a few sad-looking chicken breasts that were on the verge of going bad, and decided to make the simplest, crispiest baked chicken I could think of. I used pantry staples: flour, spices I already had, a little oil, and the oven. Ten minutes later, the smell of toasted paprika and garlic filled the house, and my kids actually sat down for dinner without complaining about “boring food.” That’s when I knew I had struck gold.
This First Day of Fall Crispy Baked Chicken Breast is exactly what it sounds like: simple, affordable, and ridiculously delicious. It’s not fancy. It doesn’t require buttermilk or a 24-hour marinating process. It’s for busy parents who need a reliable weeknight meal that feeds a family without breaking the bank. After testing this method about a dozen times (yes, I really do test recipes that many times for my own sanity), I’ve found the perfect balance of crunch and juiciness. Let me walk you through why this is going to become your new fall favorite.
Why You’ll Love This Recipe
There are about a million reasons I keep making this, but here are the big ones that matter most for real life:
- Stupid Simple — Seriously, if you can toss chicken in a bowl and dump it on a baking sheet, you can make this. I’ve taught my ten-year-old to make this on his own. It’s that foolproof.
- Pantry-Friendly — You probably have 90% of these ingredients already. Flour, paprika, garlic powder, onion powder, salt, pepper, and oil. No weird spices you’ll only use once a year.
- Budget-Smart — Chicken breasts are often on sale, and this recipe stretches them further because the coating adds volume and texture. Feeding four people for under $10 is a win in my book.
- Kid-Approved Crunch — My picky eater who usually only eats nuggets actually asked for seconds of this. The texture is similar to fried chicken but baked, so you feel slightly better about it, but the taste is just as good.
- Meal-Prep Hero — I make double batches on Sunday. These chicken breasts reheat beautifully in the fridge and stay tender. I slice them up for salads during the week or pack them in sandwiches.
This is my answer to “what’s for dinner” when I’m tired, broke, and just want good food. No stress, no fancy equipment, just solid, satisfying dinner that makes everyone happy.
Ingredients You’ll Need
Here’s the best part: this list is short. I’m particular about a few things here, but mostly, this is about using what you have.
For the Chicken
Chicken breasts (1.5 to 2 pounds / 700-900g) — I like boneless, skinless breasts. If they’re super thick, pound them down a bit so they cook evenly. Thinner pieces get crispier. You can use thighs, but the cooking time changes slightly, and breasts are what I usually have on hand.
All-purpose flour (½ cup / 60g) — This is the base of the crust. It creates that light, crispy shell. Don’t use self-rising flour; it changes the texture too much. If you need gluten-free, a 1:1 gluten-free flour blend works perfectly fine.
Egg (1 large) — This acts as the glue. It helps the flour stick to the chicken. Whisk it with a tablespoon of water or milk to make it easier to dip the chicken in.
Olive oil or vegetable oil (2-3 tablespoons) — You need some fat for browning. I use olive oil for flavor, but vegetable oil has a higher smoke point if you’re worried about burning. Either works.
For the Spice Rub
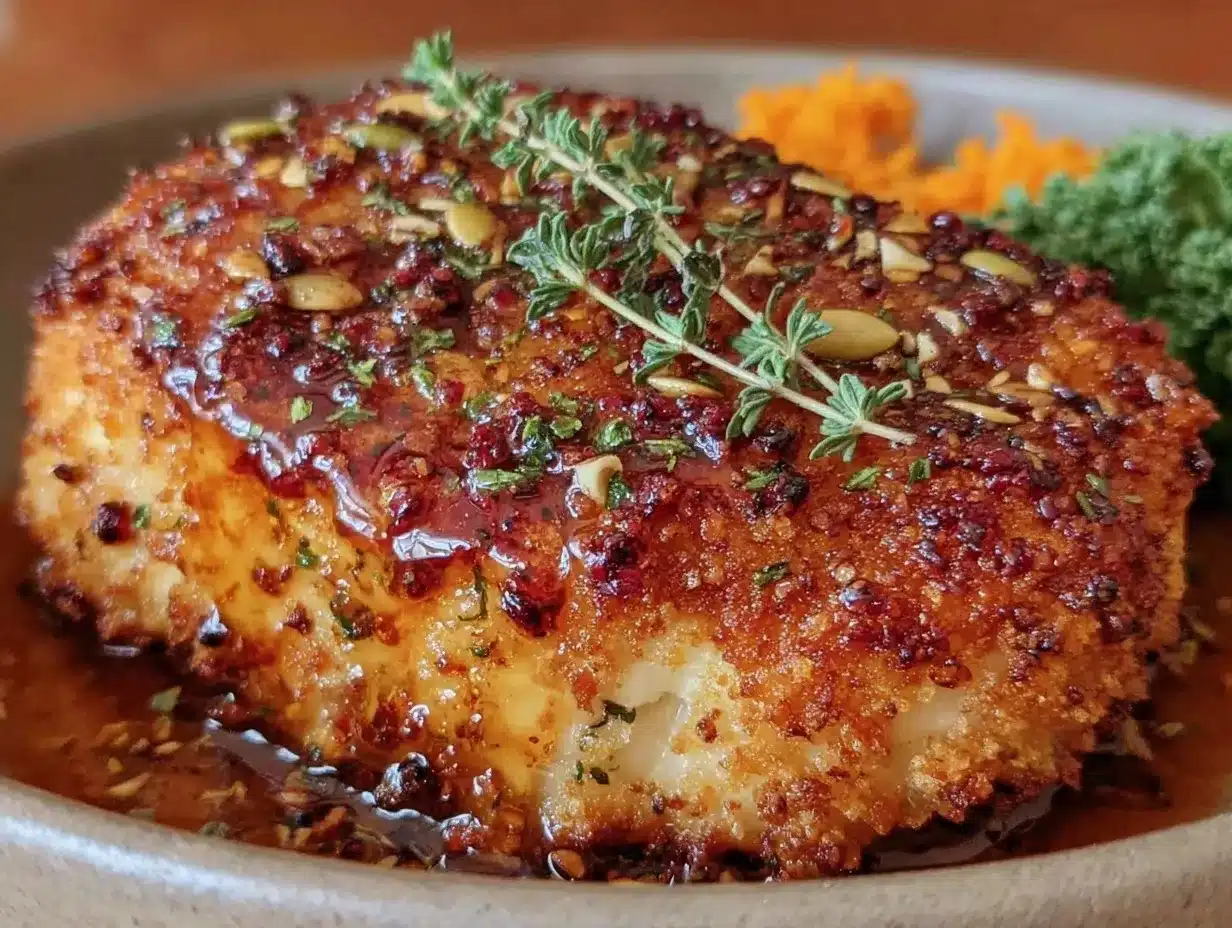
Paprika (2 teaspoons) — This is the star. It gives that beautiful golden-orange color and a subtle smoky sweetness. Use sweet paprika, not hot, unless you like spice. I buy the big jars because I use it for everything from honey garlic butter chicken to roasted veggies.
Garlic powder (1 teaspoon) — Not fresh garlic (which can burn in the oven), but the powder. It infuses the crust with flavor without burning. Trust me on this.
Onion powder (1 teaspoon) — Adds depth and savory notes. It’s a pantry staple for a reason.
Dried thyme (1 teaspoon) — This is the “fall” element. Thyme smells like autumn. If you don’t have it, oregano or Italian seasoning works, but thyme is my go-to for this vibe.
Salt and black pepper (1 teaspoon each) — Don’t skimp. The flour needs seasoning so the crust isn’t bland. Taste your flour mixture before you start dipping; it should taste good on its own.
Optional but recommended: A pinch of cayenne pepper if you want a tiny kick, or some grated Parmesan cheese mixed into the flour for extra umami.
Equipment Needed
You don’t need fancy gear. Here’s what I actually use:
Baking sheets — I use two large rimmed baking sheets. If you only have one, cook in two batches. Don’t crowd the chicken, or it’ll steam instead of crisp up.
Three shallow bowls — For the flour mixture, the egg wash, and the raw chicken (or you can do it in a bag, but bowls are easier to see). I use pie plates or shallow casserole dishes.
Cooking spray or extra oil — To lightly spray the chicken before baking. This helps it brown evenly.
Meat mallet or rolling pin — Optional, but I recommend pounding the chicken to an even thickness. Uneven chicken breasts cook unevenly, leading to dry edges and raw centers.
Instant-read thermometer — The most important tool for juicy chicken. It takes the guesswork out. Look for 165°F (74°C) in the thickest part.
How to Make It: Step-by-Step
Alright, let’s make this! I’m walking you through exactly how I do it, including the little tricks I’ve picked up over the years.
Step 1: Prep the Chicken (5 minutes)
Pat the chicken breasts dry with paper towels. Moisture is the enemy of crispiness. If the chicken is wet, the flour won’t stick properly. Then, place the breasts between two sheets of plastic wrap or in a zip-top bag. Use a meat mallet, the bottom of a heavy pan, or a rolling pin to pound them to an even ½-inch thickness. This ensures they cook at the same rate and get that perfect crunch.
Step 2: Mix the Dry Ingredients (2 minutes)
In a shallow bowl, whisk together the flour, paprika, garlic powder, onion powder, thyme, salt, and pepper. Taste it with your finger (it’s safe!). If it tastes bland, add a little more salt or paprika. You want this mixture to be flavorful on its own.
Step 3: Set Up the Dipping Station
Place the seasoned flour on the left, the whisked egg wash in the middle, and have a clean plate or tray on the right for the coated chicken. This assembly line method keeps your workspace organized and prevents cross-contamination.
Step 4: Coat the Chicken
Dip a chicken breast into the egg wash, letting the excess drip off. Then, press it firmly into the flour mixture. Use your hands to press the flour onto the chicken, ensuring every nook and cranny is covered. Flip and coat the other side. Shake off any excess flour. Repeat with all chicken breasts. I find that pressing the flour on makes the crust adhere better than just dumping it in.
Step 5: Arrange and Oil
Place the coated chicken on your baking sheets. Leave space between each piece. Lightly spray the tops with cooking spray or drizzle with a tiny bit of olive oil. This helps them brown in the oven. I usually spray both sides for maximum crispiness.
Step 6: Bake
Preheat your oven to 400°F (200°C). Bake for 18-22 minutes. Do not open the oven door for the first 15 minutes, or the temperature drop can affect the rise. The chicken is done when the internal temperature reaches 165°F (74°C) and the coating is golden brown and crispy.
Step 7: Rest and Serve
Let the chicken rest for 5 minutes before cutting. This allows the juices to redistribute. If you cut it immediately, all the juice runs out, and you end up with dry chicken. Resting is non-negotiable for juicy results.
Total Time: About 30 minutes (10 minutes prep, 20 minutes cook).
Expert Tips & Tricks
Here’s everything I’ve learned from making this dozens of times. These tips will save you from my mistakes.
Pound It Even
I can’t stress this enough. Thick chicken breasts cook unevenly. The edges dry out before the center is done. Pounding them to an even thickness means they cook uniformly and get crispy all over. It’s the #1 tip for better baked chicken.
Don’t Skip the Resting
Resting for 5 minutes is crucial. It keeps the chicken juicy. I know it’s tempting to cut into it right away, but patience pays off. The meat will be tender and flavorful, not rubbery.
Use a Thermometer
Cut into chicken to check doneness? No way. Use an instant-read thermometer. It’s cheap, accurate, and takes the stress out of guessing. Look for 165°F. If it’s 160°F, take it out; the residual heat will bring it to 165°F.
Double the Batch
Since this is so simple, I often double the recipe. I bake two sheets at once (rotate them halfway through). The leftovers are amazing cold in salads, sliced for sandwiches, or reheated in the oven. I keep them in the fridge for up to 4 days.
Make It Gluten-Free
Swap the all-purpose flour for a gluten-free 1:1 blend. The texture is slightly different but still crispy. You can also use panko breadcrumbs for an extra crunch, though it uses more ingredients.
Variations & Substitutions
Once you’ve nailed the basic version, here’s how you can mix it up. I’ve tried all of these.
Spicy Kick
Add ½ teaspoon of cayenne pepper or red pepper flakes to the flour mixture. This gives it a nice heat without overpowering the other flavors. My husband likes it this way.
Herb Garden
Add 1 tablespoon of fresh chopped parsley or rosemary to the flour. It adds a fresh, bright note that cuts through the richness. Great for spring or summer.
Cheesy Crust
Mix ¼ cup of grated Parmesan cheese into the flour. It adds a savory, nutty flavor and helps the crust brown faster. This is my favorite variation for kids.
Buttermilk Soak
If you have time, soak the chicken in buttermilk for 30 minutes before coating. It tenderizes the meat and adds a tangy flavor. This is closer to traditional fried chicken.
Veggie Side Pairing
This chicken goes great with roasted vegetables. Try tossing broccoli, carrots, or Brussels sprouts in olive oil and seasoning, then roasting them on a separate sheet at the same time. It’s a complete meal with minimal effort.
Serving & Storage
How to Serve:
I usually serve this straight from the oven with a simple side salad and some roasted potatoes or rice. It’s versatile enough to go with almost anything. For a fall vibe, I serve it with a side of apple slaw or mashed sweet potatoes. It’s comfort food at its best.
Storage:
Store leftovers in an airtight container in the fridge for up to 4 days. The crust will soften in the fridge, but that’s normal.
Reheating:
To keep the crispiness, reheat in the oven or toaster oven at 375°F for 10-15 minutes. Microwave it, and the crust gets soggy. I always reheat in the oven. If you’re in a rush, the air fryer is great for 3-4 minutes at 350°F.
Freezing:
You can freeze the cooked chicken for up to 3 months. Thaw in the fridge overnight and reheat in the oven. You can also freeze the uncooked, coated chicken on a baking sheet, then transfer to a freezer bag. Cook from frozen, adding 5-10 minutes to the cook time.
Nutrition Information
I’m not a nutritionist, but here’s the breakdown if you’re tracking. These are estimates per serving (based on 4 servings).
| Nutrient | Amount |
|---|---|
| Calories | 320 |
| Protein | 35g |
| Carbs | 12g |
| Fat | 12g |
| Fiber | 1g |
| Sugar | 0g |
What’s Good: High protein, low sugar, and relatively low carb. It’s a solid option for a balanced meal. What to Know: It contains gluten and dairy (if you use butter in the egg wash, though I usually just use egg). It’s not keto-friendly due to the flour, but you can make a low-carb version using almond flour or pork rind crumbs.
Look, this is simple, honest food. It’s not a diet recipe, but it’s wholesome and filling. When I want to make it lighter, I use less oil and serve it with extra vegetables. But usually? I just enjoy it as a tasty, satisfying meal.
Final Thoughts
So that’s my go-to First Day of Fall Crispy Baked Chicken Breast! It’s simple, it’s affordable, and it tastes amazing. I’ve made this so many times that it’s become muscle memory. It’s perfect for busy weeknights, meal prep, or just when you want something comforting without the fuss.
Make it yours! Add more spices, swap the herbs, or serve it with your favorite sides. The best recipes are the ones you adapt to your family’s tastes. If you make this, drop a comment and let me know how it turned out! I love hearing how recipes work in your kitchen. And if something doesn’t work, tell me that too—I’m here to help troubleshoot.
Happy cooking! And I hope your kitchen smells half as good as mine does right now.
Frequently Asked Questions
Can I use chicken thighs instead of breasts?
Yes! Chicken thighs are juicier and more forgiving, but they have a different cooking time. Bake them at 400°F for 20-25 minutes, or until the internal temperature reaches 175°F for tender thighs. The coating might get darker faster, so keep an eye on them.
Why is my chicken dry?
Overcooking is the most common cause. Use a meat thermometer! Pull the chicken at 165°F. Also, pounding the chicken to an even thickness helps it cook evenly. If some parts are thicker, they take longer and dry out while the thinner parts finish.
Can I make this ahead of time?
Yes! Coat the chicken and store it in the fridge on a baking sheet for up to 24 hours. Bake it straight from the fridge, adding 2-3 minutes to the cook time. This is great for meal prep.
How do I keep the crust crispy?
Make sure the chicken is dry before coating, press the flour on firmly, and don’t overcrowd the baking sheet. Also, reheat in the oven or air fryer, not the microwave.
Can I bake this in an air fryer?
Absolutely! Air fry at 375°F for 10-12 minutes, flipping halfway through. It makes the crust extra crispy and cooks faster. Just don’t overcrowd the basket.
What sides go well with this?
Roasted vegetables, mashed potatoes, rice, salad, or crusty bread. It’s versatile and pairs well with almost anything. I often serve it with a simple green salad and some roasted sweet potatoes for a fall-themed meal.
Is this recipe gluten-free?
The base recipe uses all-purpose flour, so it’s not gluten-free. But you can easily swap it for a gluten-free 1:1 flour blend or panko breadcrumbs for a gluten-free version. The taste and texture will be slightly different but still delicious.
Pin This Recipe!
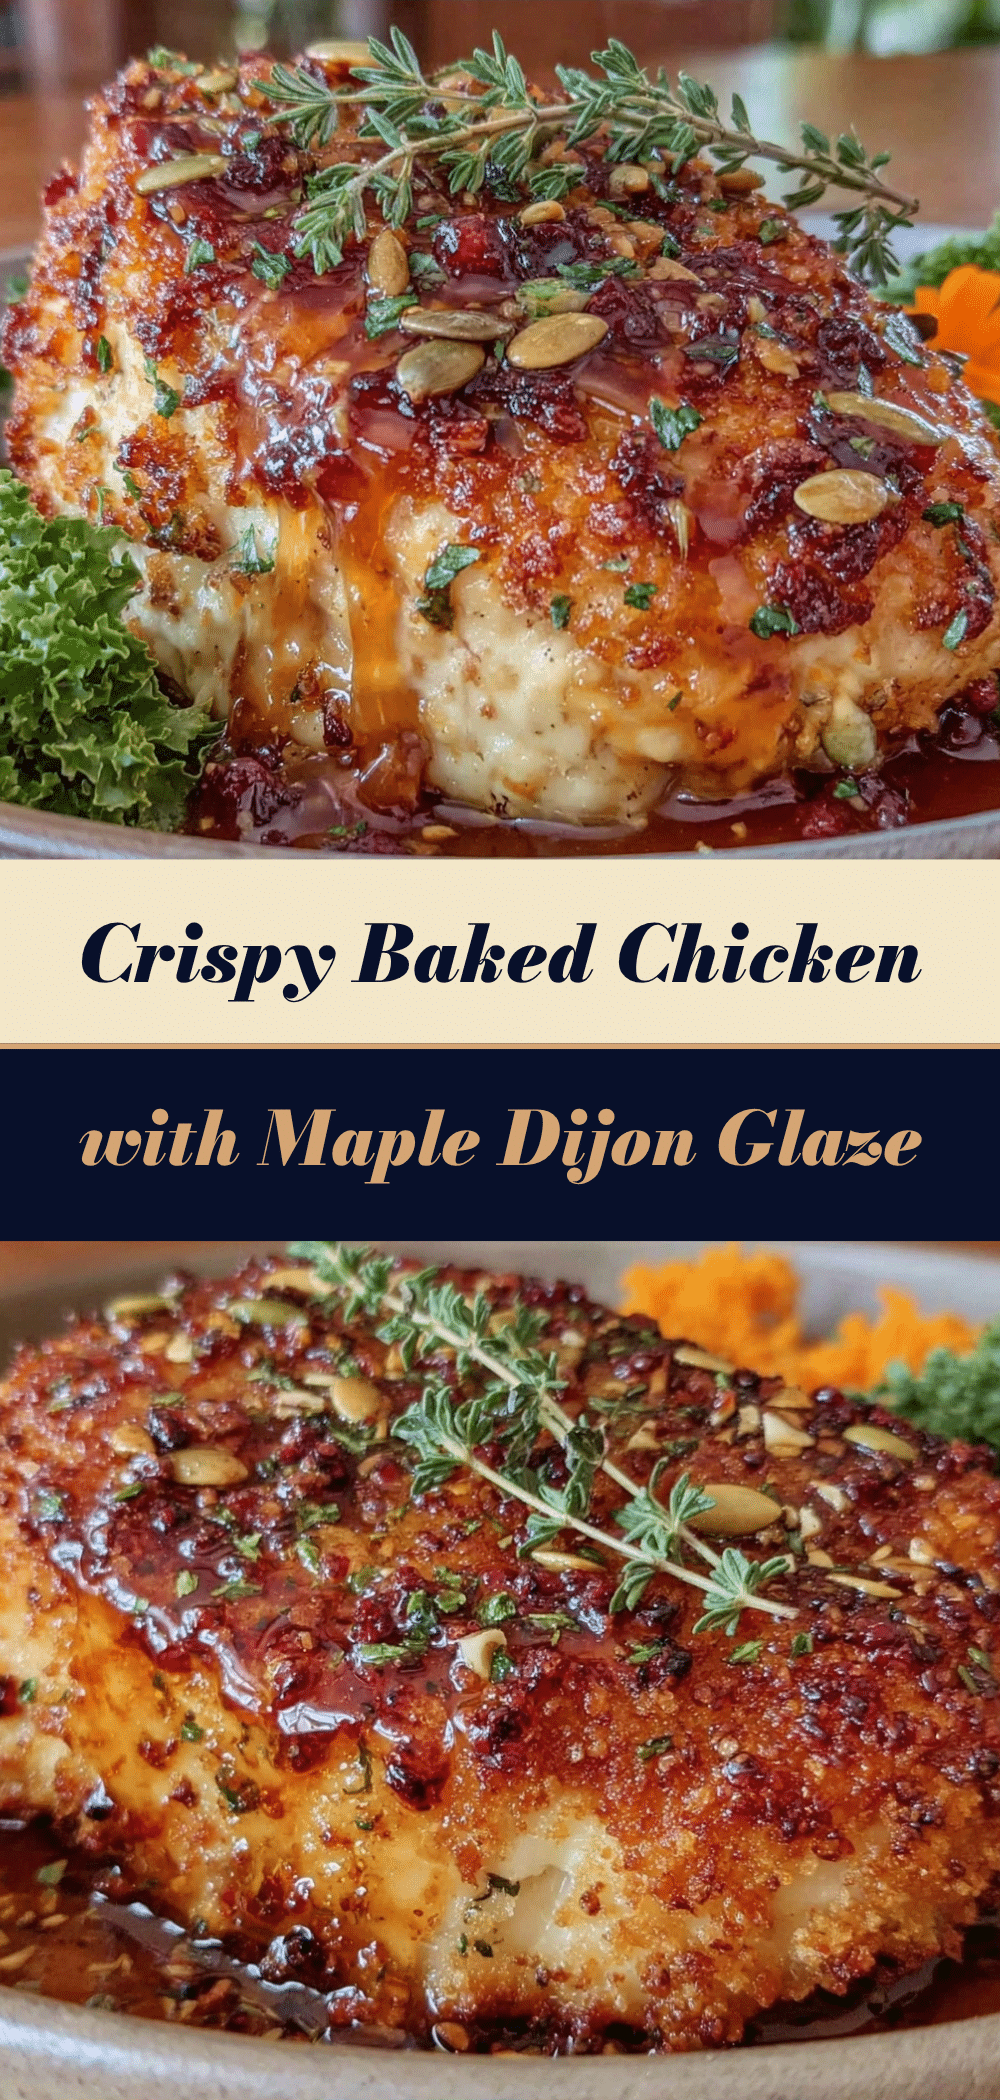
First Day of Fall Crispy Baked Chicken Breast: Easy Family Meal
- Total Time: 30 minutes
- Yield: 4 servings 1x
Description
A simple, affordable, and crispy baked chicken breast recipe using pantry staples. Perfect for busy weeknights, this foolproof meal delivers a crunchy coating and juicy meat without the hassle of deep frying.
Ingredients
- 1.5 to 2 pounds boneless, skinless chicken breasts
- ½ cup all-purpose flour (or gluten-free 1:1 blend)
- 1 large egg
- 1 tablespoon water or milk
- 2–3 tablespoons olive oil or vegetable oil
- 2 teaspoons paprika
- 1 teaspoon garlic powder
- 1 teaspoon onion powder
- 1 teaspoon dried thyme
- 1 teaspoon salt
- 1 teaspoon black pepper
- Cooking spray or extra oil for baking
Instructions
- Preheat oven to 400°F (200°C).
- Pat chicken breasts dry with paper towels to remove moisture.
- Place chicken between plastic wrap or in a bag and pound to an even ½-inch thickness.
- In a shallow bowl, whisk together flour, paprika, garlic powder, onion powder, thyme, salt, and pepper.
- In another bowl, whisk the egg with water or milk.
- Dip chicken into the egg wash, letting excess drip off.
- Press chicken firmly into the flour mixture, coating all sides. Shake off excess.
- Place coated chicken on rimmed baking sheets, leaving space between pieces.
- Lightly spray tops with cooking spray or drizzle with oil.
- Bake for 18-22 minutes without opening the oven door for the first 15 minutes.
- Chicken is done when internal temperature reaches 165°F (74°C) and coating is golden brown.
- Let chicken rest for 5 minutes before serving.
Notes
Pounding the chicken to an even thickness ensures even cooking and crispiness. Do not skip the resting period to keep the meat juicy. For a spicy kick, add cayenne pepper. For a cheesy crust, mix Parmesan into the flour. Can be made gluten-free by swapping flour for a 1:1 blend.
- Prep Time: 10 minutes
- Cook Time: 20 minutes
- Category: Main Course
- Cuisine: American
Nutrition
- Serving Size: 1 chicken breast
- Calories: 320
- Sodium: 600
- Fat: 12
- Saturated Fat: 3
- Carbohydrates: 12
- Fiber: 1
- Protein: 35
Keywords: baked chicken, crispy chicken, fall recipes, easy dinner, weeknight meals, family friendly, budget meals, healthy chicken



