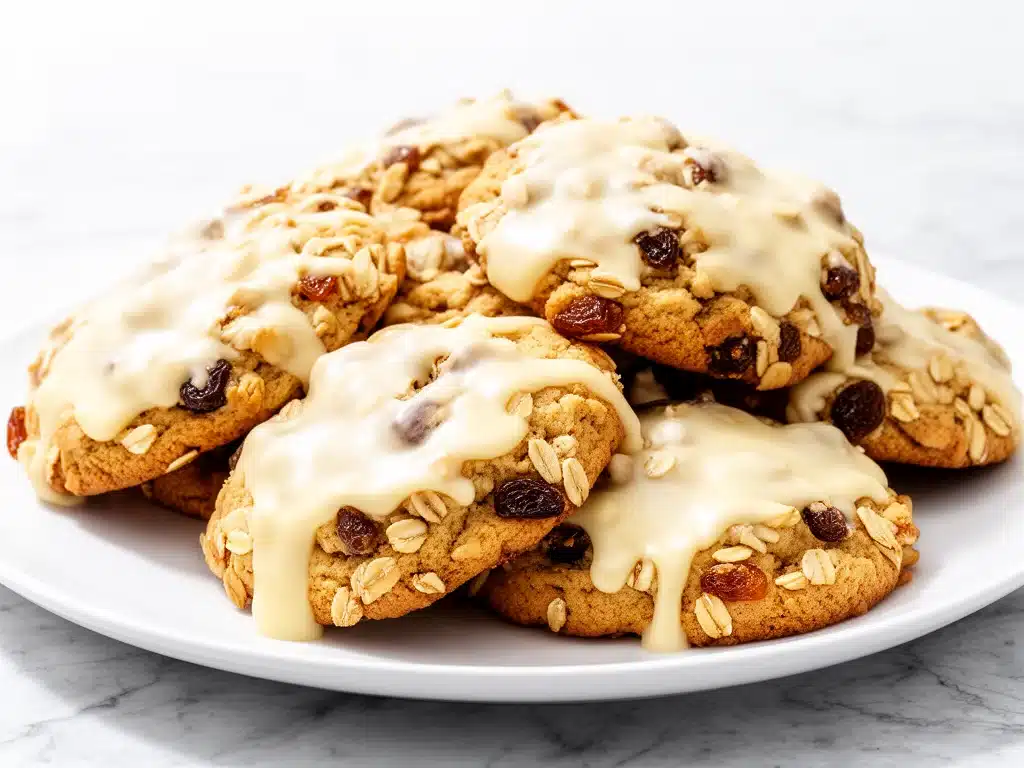
I have a confession to make: I used to hate oatmeal cookies. I’m talking about the dry, cardboard-like discs that tasted like sadness and stale oats. For years, I avoided them like they were going out of style. That changed last autumn when I was trying to recreate a specific memory from my college days. I was studying for finals, stressed out of my mind, and my roommate’s mom brought over a batch of these chewy, soft oatmeal cookies with a vanilla glaze. I remember sitting on her couch, eating one while it was still warm, and feeling the sugar melt into the chewy oats. It wasn’t just a cookie; it was comfort in a circle.
I’ve spent the last three years perfecting that exact texture. I wanted the cookie to have that distinct chewiness—not crisp, not cakey, but soft and dense with a little bit of resistance when you bite into it. And I wanted the glaze to be the kind that cracks slightly as you break it open, revealing the tender interior. After testing this chewy iced oatmeal cookies with vanilla glaze recipe at least fifteen times (and eating most of the failures), I finally nailed it. The secret isn’t just in the oats; it’s in how you handle the butter and sugar. This is hands-down the best method for achieving that bakery-style softness at home.
What I love most about these cookies is how versatile they are. They’re perfect for a cozy afternoon snack, a potluck contribution where you need something that appeals to both kids and adults, or even a breakfast treat if you’re feeling indulgent. Unlike best greek yogurt blueberry muffins, which are great for a lighter start to the day, these are pure comfort. They’re rich, sweet, and deeply satisfying. Once you try this version, you’ll realize that oatmeal cookies don’t have to be boring or healthy. They can be decadent, chewy, and absolutely delicious.
Why You’ll Love This Recipe
There are about ten reasons I keep coming back to this recipe, but here are the big ones that make it a staple in my baking rotation.
That Perfect Chew — Seriously, the texture is everything. I’ve tried recipes that use only brown sugar, and they turn out cakey. I’ve tried ones with too much flour, and they’re dry. This ratio of brown sugar to butter creates that dense, chewy center that melts in your mouth. It’s the kind of chew that makes you close your eyes when you take a bite.
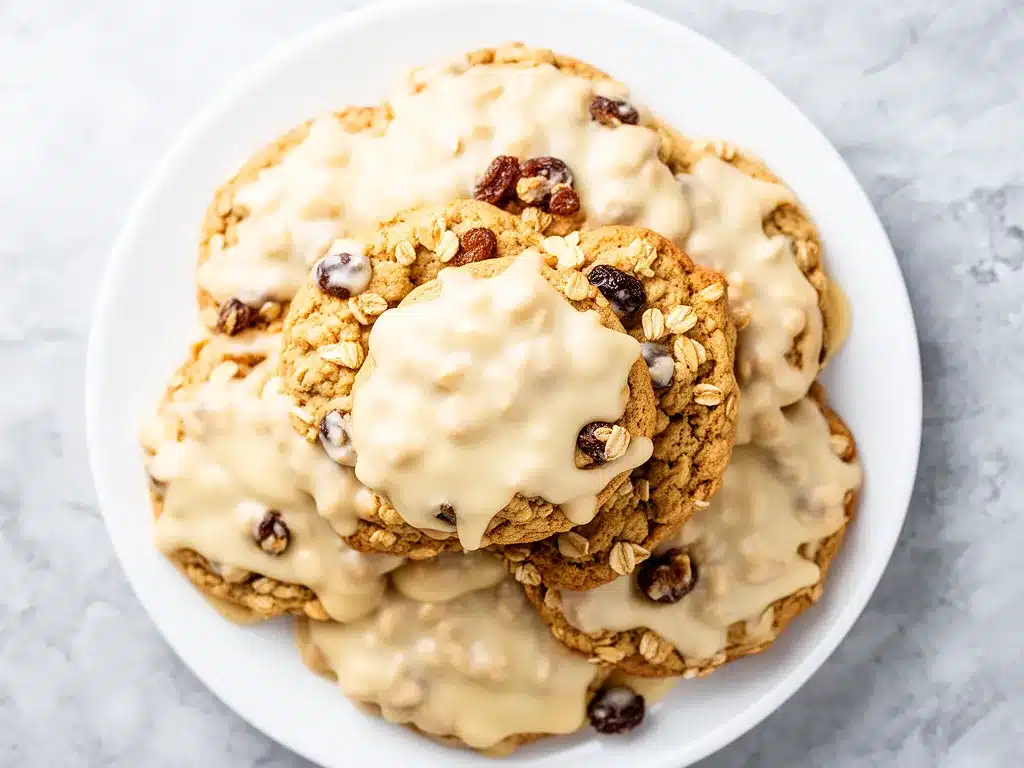
Glaze That Actually Sticks — Some oatmeal cookie glazes just slide right off or sit on top like a thick layer of icing. This vanilla glaze is thin enough to soak slightly into the warm cookie, creating a delicate crust that shatters when you break it. It’s not overwhelming; it enhances the oat flavor instead of masking it.
Stress-Free Baking — You don’t need fancy equipment or hard-to-find ingredients. I keep all of this in my pantry. If you can melt butter and whisk a glaze, you can make these. I’ve baked these while helping my kids with homework, and they never fail me. It’s a reliable, forgiving recipe that works even if you’re tired.
Make-Ahead Friendly — These cookies actually taste better the next day. The oats soften further, and the flavors meld together. I often bake them on Sunday and store them in an airtight container. They stay soft for up to five days, which is perfect for meal-prepping your sweet tooth. Unlike brown sugar peach caramel coffee cake, which is best fresh, these cookies hold up beautifully over time, making them ideal for gifting or packing in lunches.
Customizable — While the base recipe is perfect as is, these cookies are a blank canvas. Add chocolate chips, raisins, nuts, or even a pinch of cinnamon. I usually keep it simple, but I’ve experimented with adding a tablespoon of vanilla extract to the dough for extra depth. Whatever you choose, the chewy texture remains consistent.
Ingredients You’ll Need
Here’s the best part: you probably have most of this already. I’m particular about three ingredients here, and I’ll tell you exactly why.
Unsalted Butter (1 cup / 226g) — I use unsalted so I can control the salt level. You’ll need to soften it properly. If it’s too cold, it won’t cream well. If it’s melted, the cookies will spread too much. Room temperature is key. I take it out of the fridge about an hour before baking.
Brown Sugar (1 cup / 200g, packed) — This is the secret to the chew. Brown sugar contains molasses, which adds moisture and that deep, caramel-like flavor. Use light or dark brown sugar; I prefer dark for a richer taste. Pack it firmly into the cup for accuracy.
Granulated Sugar (½ cup / 100g) — This helps with the slight crispness on the edges while keeping the center chewy. It balances the moisture from the brown sugar.
Eggs (2 large) — Room temperature eggs incorporate better into the batter. I let them sit on the counter for 15 minutes if I forget to take them out earlier.
Vanilla Extract (1 teaspoon) — Use real vanilla, not imitation. It makes a huge difference in the flavor profile, especially with the glaze.
All-Purpose Flour (1 ½ cups / 190g) — Don’t over-measure! Spoon the flour into the measuring cup and level it off. Too much flour makes dry cookies.
Baking Soda (1 teaspoon) — This helps the cookies spread and brown. Make sure it’s fresh; old baking soda won’t work well.
Salt (½ teaspoon) — Enhances all the flavors. Don’t skip it, even if you’re making sweet cookies.
Old-Fashioned Oats (2 cups / 160g) — Use old-fashioned rolled oats, not quick oats or steel-cut oats. Quick oats make the cookies too cakey, and steel-cut oats are too hard. Old-fashioned oats give that classic chewy texture.
For the Vanilla Glaze:
Confectioners’ Sugar (1 ½ cups / 180g) — Sift this to remove lumps. You don’t want gritty glaze.
Milk (2-3 tablespoons) — I use whole milk for richness. Adjust for consistency.
Vanilla Extract (½ teaspoon) — Adds flavor to the glaze.
Pinch of Salt — Balances the sweetness.
Substitutions and Tips
Gluten-Free? — You can substitute the all-purpose flour with a 1:1 gluten-free flour blend. I’ve used Bob’s Red Mill, and it works well. Just make sure the oats are certified gluten-free.
Dairy-Free? — Use dairy-free butter and almond milk for the glaze. The texture might be slightly different, but it’s still delicious.
Quick Oats? — If you only have quick oats, pulse them in a food processor for a few seconds to break them down slightly, but don’t turn them into flour. They’ll make the cookies softer and less chewy.
Equipment Needed
You don’t need fancy equipment for this. Here’s what I actually use.
Large Mixing Bowl — I use a 4-quart bowl. It needs to be big enough to mix the dough without making a mess. Glass or ceramic works best.
Electric Mixer — Hand mixer or stand mixer. Creaming the butter and sugar by hand is possible but tiring. I use my hand mixer for 2 minutes. It’s worth the effort.
Measuring Cups and Spoons — For dry ingredients. I prefer metal measuring cups for accuracy.
Whisk — For the glaze. A small whisk works fine.
Baking Sheets — I use half-sheet pans. Dark pans can cause the bottoms to burn, so I line them with parchment paper. Light-colored pans are fine too.
Parchment Paper — Prevents sticking and makes cleanup easier. I never bake these without it.
Cooling Rack — Essential for cooling the cookies. You need to glaze them while they’re still slightly warm, so a rack helps them cool evenly.
Spatula — For scraping the bowl and mixing the dough. A silicone spatula is best.
Offset Spatula — For spreading the glaze. It gives you more control than a regular spoon.
How to Make It: Step-by-Step
Alright, let’s make this! I’m walking you through exactly how I do it, including the little tricks I’ve picked up.
Step 1: Prep Your Ingredients (5 minutes)
Before you start, make sure your butter is softened. It should yield slightly to pressure but not be oily. Measure out your oats, flour, baking soda, and salt. Have your glaze ingredients ready. Once you start mixing, things move fast.
Step 2: Cream the Butter and Sugars (3 minutes)
In a large bowl, beat the softened butter, brown sugar, and granulated sugar together on medium-high speed until light and fluffy. This usually takes about 2-3 minutes. You want the mixture to look pale and airy. This step incorporates air, which helps with the texture. Don’t rush this.
Step 3: Add Eggs and Vanilla (1 minute)
Beat in the eggs one at a time, mixing well after each addition. Add the vanilla extract. Scrape down the sides of the bowl with a spatula to ensure everything is incorporated. The mixture should look smooth.
Step 4: Mix Dry Ingredients (1 minute)
In a separate bowl, whisk together the flour, baking soda, and salt. Gradually add this to the wet ingredients, mixing on low speed until just combined. Be careful not to overmix. Overmixing develops gluten, which makes cookies tough. Stop as soon as you see no more streaks of flour.
Step 5: Fold in Oats (1 minute)
Stir in the old-fashioned oats using a spatula or spoon. The dough will be thick and sticky. If you want to add chocolate chips or raisins, do it now. I usually stick to plain oats, but feel free to customize.
Step 6: Chill the Dough (Optional but Recommended) (30 minutes)
If you have time, chill the dough in the fridge for 30 minutes. This helps the flavors meld and prevents the cookies from spreading too much. If you’re in a hurry, you can skip this, but the cookies might be thinner.
Step 7: Scoop and Bake (12-14 minutes)
Preheat your oven to 350°F (175°C). Line baking sheets with parchment paper. Scoop tablespoon-sized balls of dough onto the sheets, spacing them about 2 inches apart. They will spread. Bake for 12-14 minutes, or until the edges are golden brown but the centers are still soft. Do not overbake! They will continue to cook on the hot pan.
Step 8: Cool and Glaze (15 minutes)
Let the cookies cool on the baking sheet for 5 minutes, then transfer to a wire rack to cool completely. For the glaze, whisk together the confectioners’ sugar, milk, vanilla, and salt until smooth. Dip the top of each cookie into the glaze, letting the excess drip off. Place them back on the rack to set.
Expert Tips & Tricks
Here’s everything I’ve learned from making this dozens of times. These tips will save you from my mistakes.
Softened Butter is Key
If your butter is too cold, it won’t cream properly, and your cookies will be dense. If it’s too warm, they’ll spread too thin. Aim for room temperature. Test it by pressing your finger into it; it should leave an indent but not feel greasy.
Don’t Overbake
This is the most common mistake. The cookies should look slightly underdone in the center when you take them out. They’ll firm up as they cool. If you bake them until they’re firm, they’ll be dry.
Chill for Better Texture
Chilling the dough for even 15 minutes can make a big difference. It allows the oats to hydrate and the flavors to develop. I usually chill the dough overnight if I’m planning ahead.
Glaze Consistency
If the glaze is too thick, add more milk, one teaspoon at a time. If it’s too thin, add more sugar. You want it to be pourable but not watery. It should coat the back of a spoon.
Storage for Softness
Store cookies in an airtight container with a slice of bread. The bread releases moisture, keeping the cookies soft for days. I’ve done this with hot honey ground beef and sweet potato bowl leftovers, and it works for cookies too! (Okay, maybe not the beef, but the bread trick is real.)
Variations & Substitutions
Once you’ve nailed the basic version, here’s how you can mix it up. I’ve tried all of these.
Chocolate Chip Oatmeal
Add 1 cup of semi-sweet chocolate chips to the dough. Classic combination. The chocolate melts into the chewy oats.
Raisin Oatmeal
Add 1 cup of raisins. Soak them in hot water for 10 minutes first to plump them up. This adds bursts of sweetness.
Spiced Oatmeal
Add 1 teaspoon of cinnamon and ½ teaspoon of nutmeg to the dry ingredients. Warms up the flavor profile, perfect for fall.
White Chocolate Macadamia
Replace chocolate chips with white chocolate chips and macadamia nuts. Luxurious and sweet.
Gluten-Free
Use a 1:1 gluten-free flour blend. Ensure oats are certified gluten-free. The texture will be slightly more tender.
Dairy-Free
Use dairy-free butter and almond milk. The glaze will be slightly less creamy but still delicious.
Serving & Storage
How to Serve:
I usually serve these with a glass of cold milk. It’s the classic combo. They’re also great for picnics, potlucks, or as a dessert after dinner. Pair them with creamy coconut lime mocktail for a refreshing summer treat.
Storage:
Store in an airtight container at room temperature for up to 5 days. If you live in a humid climate, add a silica packet to keep them dry.
Freezing:
You can freeze the dough balls on a baking sheet, then transfer to a freezer bag. Bake from frozen, adding 1-2 minutes to the baking time. You can also freeze the baked cookies, but the glaze might get sticky. Thaw at room temperature.
Reheating:
If you want them warm, microwave for 10-15 seconds. They’ll be soft and gooey.
Nutrition Information
I’m not a nutritionist, but here’s the breakdown if you’re tracking. Note that these are estimates and can vary based on ingredients used.
Per Cookie (makes about 24 cookies):
- Calories: 180
- Protein: 3g
- Carbs: 28g
- Fiber: 1g
- Sugar: 18g
- Fat: 8g
- Saturated Fat: 5g
- Cholesterol: 25mg
- Sodium: 120mg
What’s Good:
- Oats provide some fiber and complex carbs.
- They’re a satisfying treat that can curb sweet cravings.
What to Know:
- High in sugar and saturated fat due to butter and glaze.
- Enjoy in moderation as part of a balanced diet.
My Take:
Look, these are cookies. They’re meant to be enjoyed. They’re not a health food, but they’re better than store-bought options because you control the ingredients. When I make them, I sometimes use half brown sugar and half coconut sugar to reduce refined sugar, but the texture changes slightly. I usually just enjoy a couple and call it a day.
Final Thoughts
So that’s my go-to chewy iced oatmeal cookies with vanilla glaze! I’ve probably talked your ear off at this point, but when you make a recipe this often, you have a lot to say about it.
This has saved my baking routine more times than I can count. It’s my answer to “what should I bake?” when I want something comforting and familiar. My kids love them, my husband begs for them, and I love making them because they’re reliable and delicious.
Make it yours! Try different add-ins, swap in your favorite nuts, or adjust the glaze thickness. The best recipes are the ones you adapt to your family’s tastes. If you make this, drop a comment and let me know what you think! I love hearing how recipes turn out in your kitchen. And if something doesn’t work, tell me that too—I’m here to help troubleshoot.
Happy baking! And I hope your kitchen smells half as good as mine does right now.
Frequently Asked Questions
Can I use quick oats instead of old-fashioned oats?
You can, but the texture will be different. Quick oats are thinner and will make the cookies softer and more cake-like. For that classic chew, old-fashioned rolled oats are best. If you must use quick oats, pulse them in a food processor for a few seconds to break them down slightly.
Why did my cookies spread too much?
This usually happens if the butter was too warm or if the dough wasn’t chilled. Make sure your butter is softened, not melted. Chilling the dough for 30 minutes helps firm up the fat, which prevents excessive spreading. Also, check your baking soda; if it’s old, it won’t activate properly.
Can I freeze the cookie dough?
Yes! Scoop the dough into balls and freeze them on a baking sheet. Once frozen, transfer them to a freezer bag. You can bake them straight from frozen, adding 1-2 minutes to the baking time. This is great for having fresh cookies on hand.
How do I store the glazed cookies?
Store them in an airtight container at room temperature for up to 5 days. If it’s humid, add a silica packet to keep them dry. They can also be frozen, but the glaze might get sticky. Thaw at room temperature before serving.
Can I make these gluten-free?
Yes, substitute the all-purpose flour with a 1:1 gluten-free flour blend. Make sure your oats are certified gluten-free. The texture might be slightly more tender, but they’ll still be delicious.
What if I don’t have a mixer?
You can mix the dough by hand, but it will take more effort. Cream the butter and sugars vigorously with a wooden spoon until light and fluffy. Then mix in the dry ingredients and oats with a spatula. It’s doable, just a bit of a workout.
Can I add other mix-ins?
Absolutely! Chocolate chips, raisins, chopped nuts, or even dried cranberries work well. Add about 1 cup of mix-ins to the dough. Just make sure not to overload the dough, or the cookies might fall apart.
Pin This Recipe!
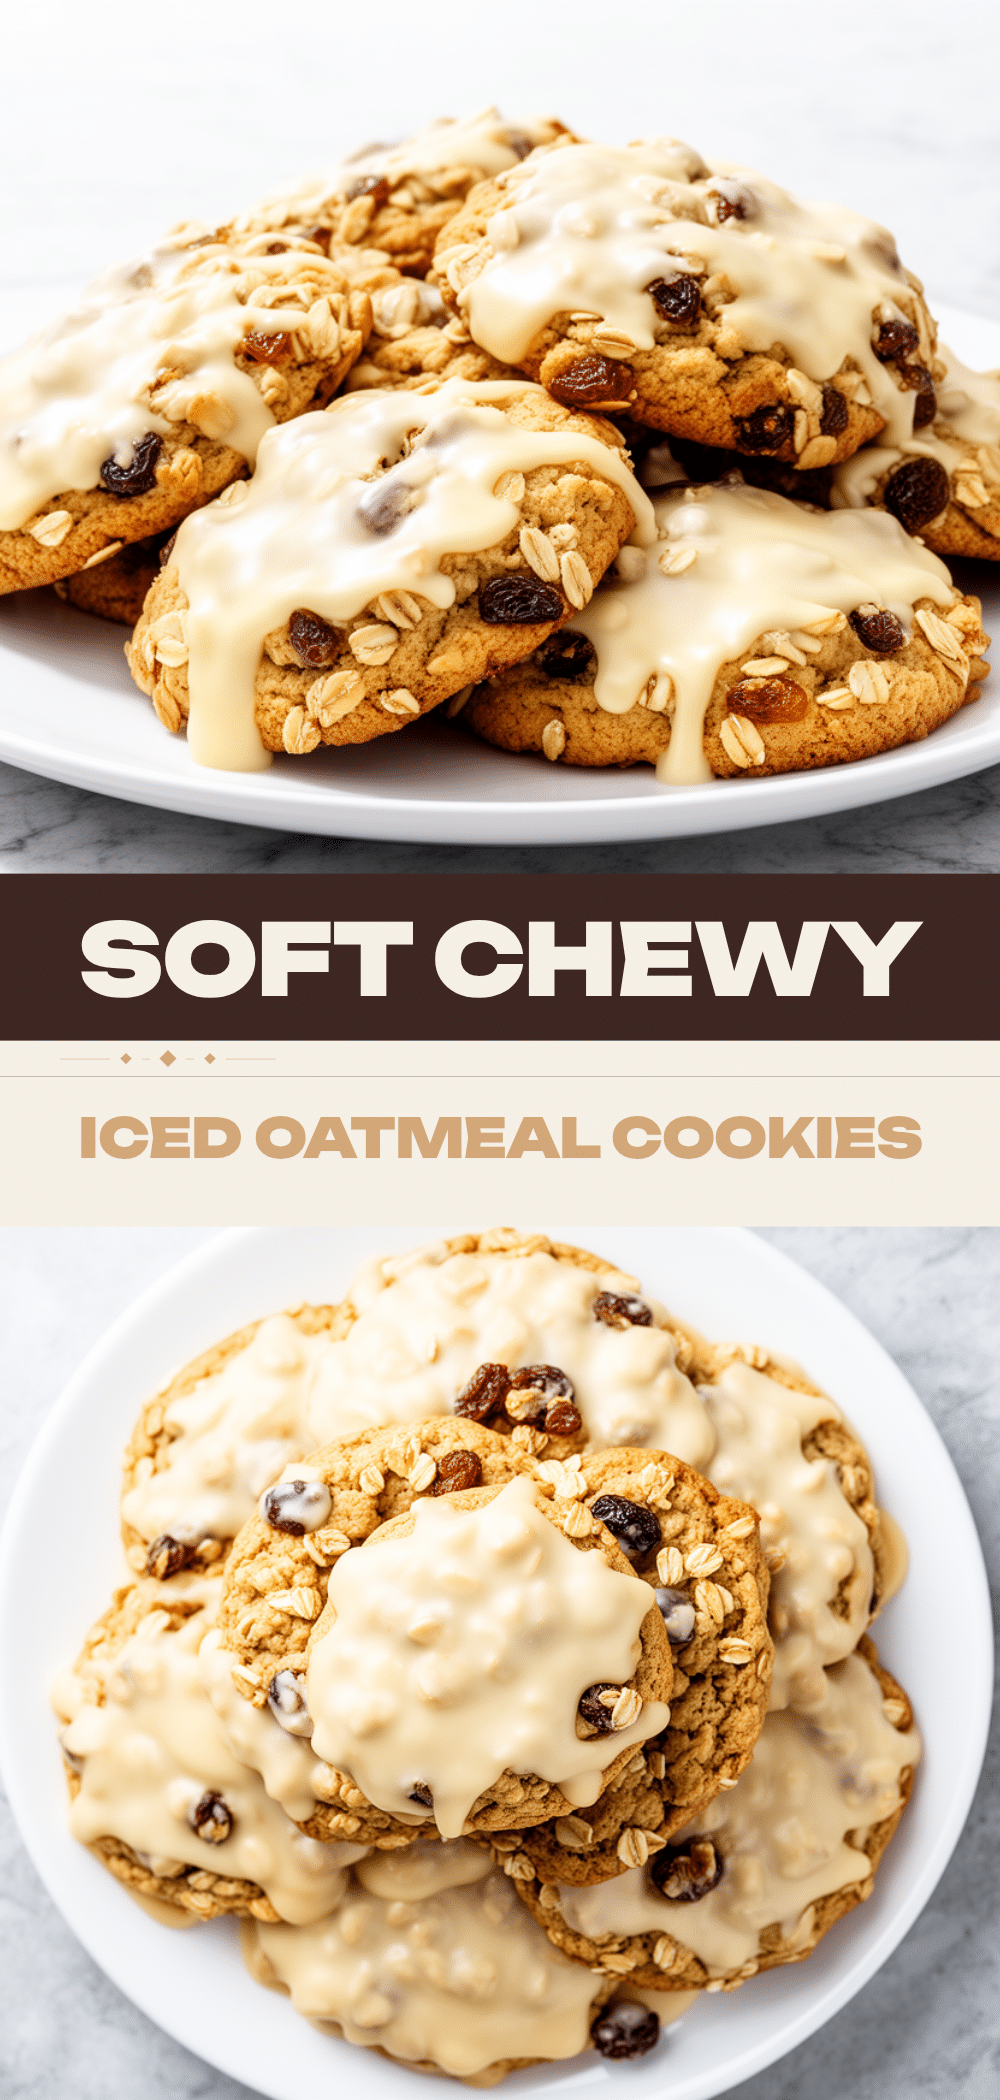

Chewy Iced Oatmeal Cookies with Vanilla Glaze
- Total Time: 45 minutes
- Yield: 24 cookies 1x
Description
These bakery-style oatmeal cookies are soft, dense, and chewy, topped with a delicate vanilla glaze that cracks slightly when broken. Perfect for snacking, potlucks, or meal-prepping.
Ingredients
- 1 cup (226g) unsalted butter, softened to room temperature
- 1 cup (200g) packed brown sugar (light or dark)
- 1/2 cup (100g) granulated sugar
- 2 large eggs, room temperature
- 1 teaspoon vanilla extract
- 1 1/2 cups (190g) all-purpose flour
- 1 teaspoon baking soda
- 1/2 teaspoon salt
- 2 cups (160g) old-fashioned rolled oats
- 1 1/2 cups (180g) confectioners’ sugar (for glaze)
- 2–3 tablespoons whole milk (for glaze)
- 1/2 teaspoon vanilla extract (for glaze)
- Pinch of salt (for glaze)
Instructions
- Preheat oven to 350°F (175°C) and line baking sheets with parchment paper.
- In a large bowl, beat the softened butter, brown sugar, and granulated sugar on medium-high speed for 2-3 minutes until light and fluffy.
- Beat in the eggs one at a time, mixing well after each addition, then add the vanilla extract. Scrape down the sides of the bowl.
- In a separate bowl, whisk together the flour, baking soda, and salt.
- Gradually add the dry ingredients to the wet ingredients, mixing on low speed until just combined. Do not overmix.
- Stir in the old-fashioned oats using a spatula. Add any mix-ins like chocolate chips or raisins if desired.
- For best results, chill the dough in the fridge for 30 minutes.
- Scoop tablespoon-sized balls of dough onto the prepared baking sheets, spacing them about 2 inches apart.
- Bake for 12-14 minutes, or until the edges are golden brown but the centers are still soft. Do not overbake.
- Let cookies cool on the baking sheet for 5 minutes, then transfer to a wire rack to cool slightly.
- Whisk together confectioners’ sugar, milk, vanilla extract, and a pinch of salt until smooth.
- Dip the top of each cookie into the glaze, let excess drip off, and place back on the rack to set.
Notes
Ensure butter is softened but not melted for proper creaming. Do not overbake; cookies will firm up as they cool. Chilling the dough helps prevent excessive spreading and improves texture. Store in an airtight container with a slice of bread to maintain softness.
- Prep Time: 15 minutes
- Cook Time: 12-14 minutes
- Category: Dessert
- Cuisine: American
Nutrition
- Serving Size: 1 cookie
- Calories: 180
- Sugar: 18
- Sodium: 120
- Fat: 8
- Saturated Fat: 5
- Carbohydrates: 28
- Fiber: 1
- Protein: 3
Keywords: oatmeal cookies, vanilla glaze, chewy cookies, baking, dessert, cookies with glaze, homemade cookies