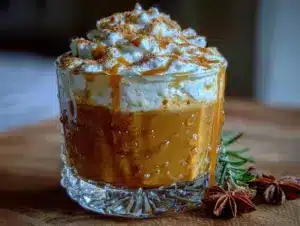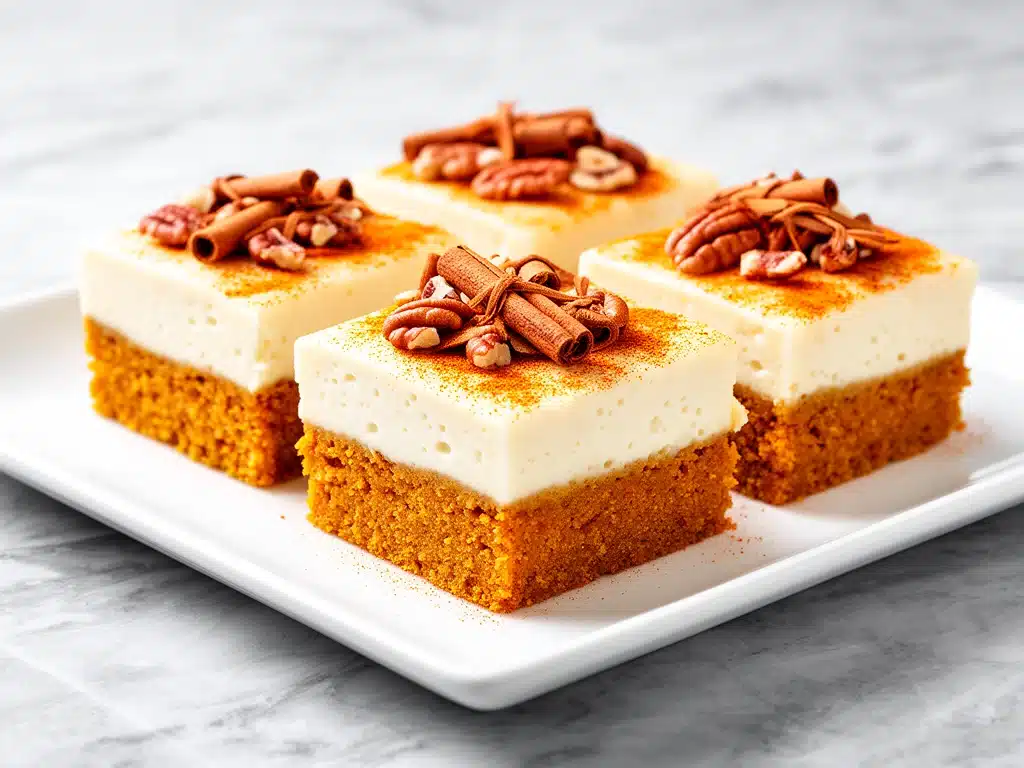
I still remember the panic rising in my chest like a rising dough. It was 6:00 PM on Thanksgiving Eve, and my oven was empty. I had promised my in-laws—specifically my mother-in-law, who judges a dessert by its crust-to-filling ratio from across the room—that I’d bring something special. Something homemade. Something that screamed “I tried hard but also look how effortless I am.”
The problem? I had zero time. The turkey was brining, the stuffing ingredients were chopped, and I was staring at a half-empty pantry like it owed me money. I needed a dessert that felt festive, looked impressive enough to put on a tiered stand, but required almost zero actual effort. I didn’t want to whip up a complicated pumpkin pie with a crust that might shrink and weep. I didn’t want to bake three dozen cookies that would get eaten in ten minutes and leave me with dirty dishes for days.
That’s when I decided to make these Fall Pumpkin Cream Cheese Bars with Cinnamon. I’ve been making this recipe for about five years now, and it has become the unsung hero of every fall gathering I attend. It’s the dessert that gets asked about for weeks. “Where did you get these?” people ask. “These are amazing, can I have the recipe?”
Here’s the truth: it’s not a secret. It’s just four main ingredients (plus pantry staples) and a whole lot of cinnamon. It’s dense, creamy, spiced perfectly for the season, and it keeps beautifully in the fridge for days. It’s the kind of bar that feels like a hug in dessert form. And the best part? You don’t need to be a pastry chef to make it work. I’ve made these while multitasking with a toddler on my hip. I’ve made these at 10 PM the night before a party because I forgot. They always work.
If you’re looking for a crowd-pleaser that doesn’t require a degree in baking, this is it. It’s better than the standard pumpkin pie, easier than a layered cake, and honestly? It’s the reason I’m invited back to dinner parties. Let’s get into why you’re going to love these bars, what you need, and how to make them without breaking a sweat.
Why You’ll Love This Pumpkin Cream Cheese Bar Recipe
There are about ten reasons I keep making these bars, but if I’m being honest, it usually comes down to these five specific benefits. These aren’t just buzzwords; these are the reasons this recipe has earned a permanent spot in my monthly rotation.
Stupid Simple Four-Ingredient Base — Seriously, the core of this recipe is just pumpkin puree, cream cheese, sugar, and spices. That’s it. I’ve walked my teenage son through making the filling over FaceTime while he was at college. He didn’t burn the kitchen down, and the bars turned out perfectly. If you can mix batter in a bowl, you can make this.
Make-Ahead Friendly — This is the #1 reason I choose these over pie. You can make these 2-3 days in advance. In fact, they taste better the next day because the flavors meld together. I made a batch on Sunday for a Tuesday dinner party, and my guests thought I’d spent hours on them. They have no idea I just grabbed a box of crust mix and some tubs of cream cheese.
Perfect Texture Contrast — There’s nothing worse than a soggy bar or a dry one. These bars hit that sweet spot: a slightly crisp, buttery shortbread crust (thanks to the brown sugar) and a filling that’s incredibly dense and fudgy, not airy like a mousse. It feels substantial. It feels like real dessert.
Crowd-Pleaser for All Ages — I’ve served these to my coffee-loving aunt, my sugar-craving nephews, and my diet-conscious sister. Everyone loves them. The cinnamon spice hits that nostalgic note for older relatives, while the cream cheese sweetness appeals to kids. It’s one of those rare dishes that actually satisfies every demographic at the table.
Budget-Smart — You probably have most of these ingredients already. Pumpkin puree is cheap, especially in the fall. Cream cheese is pantry-stable enough if you have a fridge. This feeds a crowd for under $10. That’s less than the cost of a single slice of fancy cheesecake at a restaurant.
This is my go-to when I need a dessert to just work. No complicated techniques, no weird ingredients, just reliable, delicious food that makes everyone happy. And if you love this vibe, you might also enjoy checking out my brown sugar peach caramel coffee cake—it has that same cozy, spiced-sugar vibe but with a fruity twist.
Ingredients You’ll Need
Here’s the best part: you probably have most of this already. This isn’t a recipe that requires a special trip to a specialty store. It’s built on basics that most home cooks keep stocked. I’m particular about three ingredients here, and I’ll tell you exactly why, but don’t worry if you’re missing something—I’ve got substitutions.
For the Shortbread Crust:
All-purpose flour (1 ½ cups / 190g) — This is your base. Don’t try to swap this for almond flour unless you want a gluten-free version, but even then, the texture changes. I use regular flour because it gives that classic shortbread snap. Measure it correctly! Spoon it into the cup and level it off. Don’t scoop and pack, or your crust will be tough.
Unsalted butter (½ cup / 115g, softened) — This is crucial. Softened, not melted. Melted butter will make the crust greasy. Softened butter creates that tender, crumbly texture. I take mine out of the fridge about 20 minutes before I start. If you forget, you can microwave it for 5-second bursts until it’s soft to the touch.
Brown sugar (½ cup / 100g, packed) — Light or dark? I use light brown sugar for a milder molasses flavor, but dark brown adds a deeper, caramel-like note. Both work. The brown sugar is what gives the crust its slight crispness and chew.
Granulated sugar (¼ cup / 50g) — This balances the brown sugar and helps with browning. It also adds a bit of crunch. Don’t skip it; it’s not just for sweetness.
Vanilla extract (1 teaspoon) — Pure vanilla, please. I know it’s tempting to use imitation, but in a recipe with so few ingredients, the vanilla flavor really shines. It adds warmth.
For the Cream Cheese Filling:
Full-fat cream cheese (8 oz / 225g, softened) — This is non-negotiable. Light cream cheese has too much water and will make your bars runny. Block cream cheese is better than tubs because tubs often have stabilizers that affect texture. Let it sit out until it’s pliable. If it’s cold, it won’t mix smoothly, and you’ll get lumps.
Granulated sugar (1 cup / 200g) — The filling is sweet. Don’t reduce this by more than 2 tablespoons, or it will taste sour from the cream cheese. The sugar balances the tang.
Pumpkin puree (1 cup / 240g) — Not pumpkin pie filling! Plain, 100% pure pumpkin. Pie filling has sugar and spices already added, which will throw off the balance. I usually buy a can, but you can also roast your own pumpkin if you’re feeling fancy. Just make sure it’s mashed smooth.
Heavy cream (2 tablespoons / 30ml) — This adds richness and helps the filling set properly. It makes it creamy rather than dense and dry. Half-and-half works in a pinch, but heavy cream is best.
Pumpkin pie spice (2 teaspoons) — Or make your own mix: 1 tsp cinnamon, ½ tsp ginger, ½ tsp nutmeg, ¼ tsp cloves. The spice blend is what makes this taste like “fall.” Don’t skip it, and don’t use just cinnamon alone unless you’re in a pinch (you can use 2 tsp cinnamon, but it won’t be as complex).
Cinnamon (1 teaspoon, plus extra for dusting) — I add cinnamon to the filling *and* sprinkle it on top. It adds a beautiful speckled look and an extra hit of flavor.
Optional Add-ins:
Walnuts or pecans (½ cup, chopped) — I sometimes press these into the crust before baking for extra crunch. They pair beautifully with the pumpkin.
White chocolate chips (¼ cup) — Swirl these into the filling before baking for a sweet, melty surprise. My kids love this variation.
Pro Tip: I always room-temperature my dairy ingredients. Cold cream cheese and cold butter are the enemies of smooth batter. If you’re rushing, a quick 15-second zap in the microwave for the cream cheese (until it’s just soft) saves the day.
Equipment Needed
You don’t need fancy equipment for this. Here’s what I actually use. Most of this is stuff you already have in your kitchen drawer.
9×9 Inch Baking Pan — This is the ideal size. It gives you the right thickness for bars. If you don’t have one, a 9×13 inch pan works, but your bars will be thinner, and the baking time will be shorter (check them 5-10 minutes early). I prefer the 9×9 because the edges get nice and crisp.
Parchment Paper — Essential. Line your pan with parchment, leaving an overhang on the sides. This is your “sling” to lift the bars out of the pan once they cool. Without this, you’ll be digging for bars with a knife, and they’ll break. Trust me on this.
Mixing Bowls — Two medium bowls. One for the crust, one for the filling. I use glass bowls because I can see through them and make sure I’ve mixed everything evenly.
Electric Mixer or Whisk — An electric hand mixer makes the filling smooth and lump-free in seconds. If you’re doing it by hand, use a sturdy whisk and get your arm workout in. You need to beat the cream cheese until it’s silky before adding the pumpkin.
Measuring Cups and Spoons — Standard stuff. Dollar store versions work fine. Just be accurate with the flour.
Knife or Bench Scraper — For cutting the bars. I use a sharp chef’s knife and wipe it clean between cuts for neat squares. A bench scraper is nice for cleaning up the pan edges.
Optional but nice:
Mini Muffin Tin — If you want to make individual mini bars, you can use this. Just reduce baking time to 15-18 minutes. Great for lunchboxes or party platters.
Sifter — If you’re dusting the top with powdered sugar and cinnamon after baking, a small sifter gives a pretty, even layer. A fork works too, but it’s less precise.
Tool Tip: I’m obsessed with my parchment paper rolls. They’re cheap and make cleanup literally zero. If you don’t use parchment, grease your pan heavily with butter, but you’ll still have sticky bits. Parchment is worth the few cents.
How to Make It: Step-by-Step
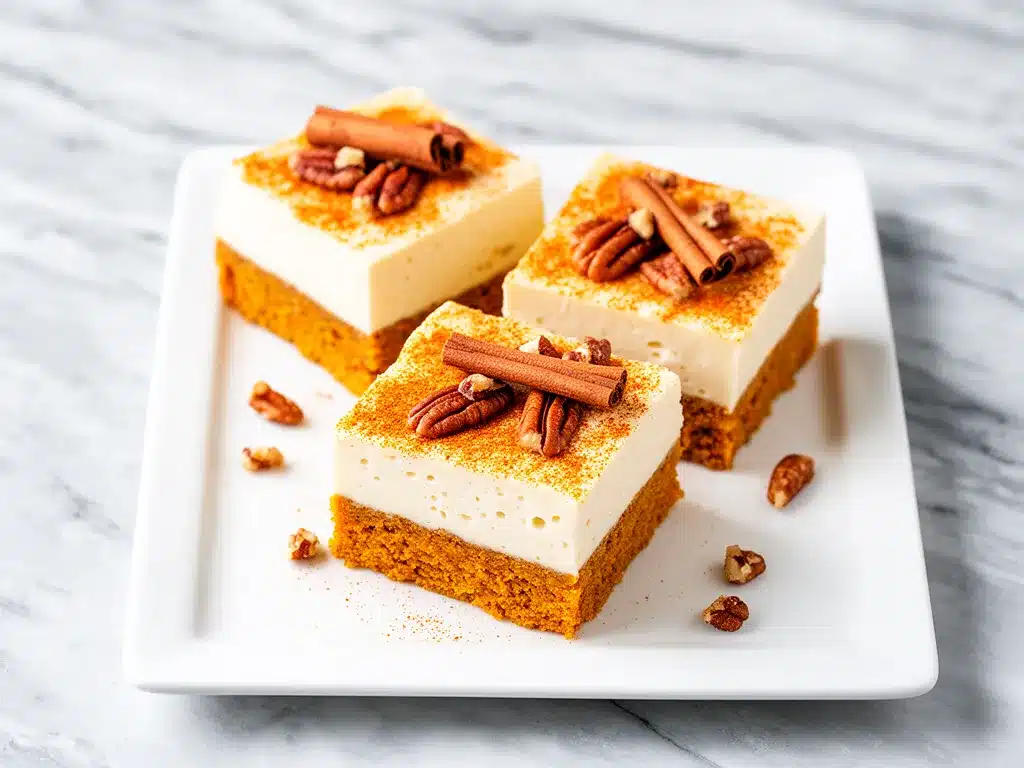
Alright, let’s make this! I’m walking you through exactly how I do it, including the little tricks I’ve picked up over the years. This is a one-bowl filling recipe, which means less washing up. Let’s go.
Step 1: Prep Your Pan and Oven (2 minutes)
Preheat your oven to 350°F (175°C). Line your 9×9 inch baking pan with parchment paper. I like to lay it down in a cross shape so you have overhang on all four sides. This makes lifting the finished bars out super easy. Don’t skip this step—it’s the difference between perfect bars and a mess.
Step 2: Make the Crust (3-4 minutes)
In a medium bowl, combine the flour, brown sugar, granulated sugar, and softened butter. Use your fingers, a fork, or a pastry cutter to mix this until it resembles coarse sand. The butter should be evenly distributed, and there should be no large chunks. If it’s too dry, add a teaspoon of water. If it’s too wet, add a sprinkle more flour.
Pro Tip: Press half of this mixture into the bottom of your prepared pan. Use the bottom of a measuring cup to press it down firmly and evenly. This creates a solid base that won’t get soggy. Save the rest for the top crumble.
Step 3: Make the Filling (5 minutes)
In a separate large bowl, beat the softened cream cheese and granulated sugar until smooth and creamy. This is crucial—if you have lumps of cream cheese, they’ll show up in the final product. Beat for at least 2 minutes on medium speed.
Add the pumpkin puree, heavy cream, pumpkin pie spice, and 1 teaspoon of cinnamon. Mix on low speed just until combined. Don’t overmix once the pumpkin is in, or you’ll incorporate too much air, which can cause cracking. Scrape down the sides of the bowl to make sure everything is incorporated.
Step 4: Assemble the Bars (2 minutes)
Pour the pumpkin cream cheese filling over the pressed crust in the pan. Use a spatula to spread it out evenly, getting into the corners. It should look smooth and glossy.
Take the remaining crumbly crust mixture and sprinkle it evenly over the top of the filling. Don’t press it down; just let it crumble naturally. This creates a beautiful, rustic top layer that bakes into a crunchy crust.
Visual Cue: It should look like a thick, spiced pie filling with a sandy topping. If you see big gaps, add a tiny bit more crumble.
Step 5: Bake (35-40 minutes)
Place the pan in the preheated oven. Bake for 35-40 minutes. You’ll know it’s done when the edges are set and slightly golden, and the center is just barely jiggly. It should not look wet or liquid in the middle. If the top is browning too quickly, cover it loosely with foil after 25 minutes.
Important: Do not overbake. These bars continue to cook as they cool in the pan. If you bake them until the center is firm, they’ll be dry and crumbly. A slight jiggle is your friend.
Step 6: Cool and Set (1 hour minimum)
Let the bars cool in the pan on a wire rack for at least 1 hour. This is the hardest part, I know. But if you cut them while hot, they’ll fall apart. The filling needs to set. For best results, let them cool completely, then refrigerate for 2-4 hours. This makes them much easier to cut into neat squares.
Step 7: Cut and Serve
Once cool, use the parchment overhang to lift the bars out of the pan. Place them on a cutting board. Use a sharp knife to cut into 16 squares. Wipe the knife clean between cuts for neat edges. Dust lightly with powdered sugar and a pinch of cinnamon if you want a pretty finish.
Total Time: About 1 hour 15 minutes (15 minutes active, 1 hour cooling/chilling).
Expert Tips & Tricks
Here’s everything I’ve learned from making these dozens of times. These tips will save you from my mistakes.
Room Temperature is Key
I cannot stress this enough. If your cream cheese is cold, your filling will be lumpy. If your butter is cold, your crust will be tough. Take everything out 30 minutes before you start. If you’re short on time, microwave the cream cheese in 5-second bursts until it’s soft. It’s not melted, just pliable.
Don’t Overmix the Filling
Once you add the pumpkin, mix just until combined. Overmixing incorporates air, which causes the bars to rise and then crack as they cool. We want a dense, fudgy texture, not a soufflé. Gentle folds are best.
The Crust Crumble Ratio
Some recipes use all the crust mixture on the bottom. I prefer half on the bottom, half on top. The top crumble adds a nice textural contrast to the soft filling. It also looks more rustic and homemade.
Chill Before Cutting
This is non-negotiable. Warm pumpkin bars are messy. Chilled pumpkin bars are clean, neat, and hold their shape. If you’re taking them to a party, make them the day before. They’ll be perfect.
Customize the Spice
If you’re not a fan of nutmeg, leave it out. If you love cinnamon, add an extra half teaspoon. This is your bar—make it taste how you like it. I sometimes add a pinch of cardamom for a floral note.
Avoiding the Soggy Bottom
If you’re worried about a soggy crust, you can pre-bake the bottom crust for 5-7 minutes before adding the filling. This sets the crust and prevents sogginess. It’s an extra step, but it guarantees a crisp base.
Pro Trick for Clean Cuts
Run your knife under hot water and dry it before each cut. This prevents the cream cheese from sticking to the blade and tearing the bars. It’s a small trick that makes a huge difference in presentation.
Variations & Substitutions
Once you’ve nailed the basic version, here’s how you can mix it up. I’ve tried all of these, and they all work.
Spiced Latte Version
Add 1 tablespoon of instant espresso powder to the filling. It enhances the pumpkin flavor without making it taste like coffee. This is perfect for coffee lovers.
Maple Pecan Bars
Replace half the sugar with maple syrup (reduce heavy cream by 1 tablespoon). Add ½ cup chopped pecans to the crust. The maple and pecan combo is incredible.
White Chocolate Swirl
Melt ¼ cup white chocolate chips with a teaspoon of coconut oil. Drizzle it over the filling before baking, then use a toothpick to swirl it in. It looks pretty and adds sweetness.
Gluten-Free Option
Use a 1:1 gluten-free flour blend for the crust. Make sure it contains xanthan gum, or add ½ teaspoon. The filling is naturally gluten-free. I’ve used Bob’s Red Mill blend, and it works great.
Dairy-Free Version
Use dairy-free cream cheese (like Kite Hill) and dairy-free butter. The texture might be slightly softer, but the flavor is still delicious. I’ve made this for my lactose-intolerant friend, and she loved it.
Mini Cupcakes
Divide the batter into a greased muffin tin. Bake at 350°F for 18-20 minutes. These are perfect for office parties or lunchboxes. They freeze well too!
Ingredient Substitutions:
- Pumpkin Puree: You can use sweet potato puree, but the flavor will be sweeter and less spiced. Adjust spices accordingly.
- Heavy Cream: Half-and-half works, but the bars will be slightly less rich. Coconut cream adds a tropical twist.
- Pumpkin Pie Spice: Use 1 tsp cinnamon, ½ tsp ginger, ¼ tsp nutmeg, and a pinch of cloves. It’s easy to mix up.
If you’re looking for other ways to use pumpkin puree, you might also like my healthy blueberry muffins—they’re a great breakfast option to pair with these bars!
Serving & Storage
How to Serve:
I usually serve these at room temperature, but they’re also delicious chilled. I like to pair them with a cup of hot coffee or tea. The cinnamon and spice complement the warmth perfectly. For a fancy touch, add a dollop of whipped cream and a sprinkle of toasted pumpkin seeds.
Side Dishes:
These bars are rich, so they don’t need much else. But if you’re serving a full meal, they go well with:
- Roasted vegetables (like the crispy roasted chickpea salad for a lighter option)
- Simple green salads with vinaigrette
- Hot apple cider
Storage Instructions:
Refrigerator: Store in an airtight container for up to 5 days. They actually taste better after day 1, as the flavors meld. Keep them in the fridge to prevent spoilage.
Freezing: Yes, you can freeze these! Wrap individual bars in plastic wrap, then place them in a freezer-safe bag. They’ll last for 2-3 months. Thaw in the fridge overnight. The texture remains soft and creamy.
Reheating: You don’t need to reheat these. But if you prefer warm bars, microwave for 10-15 seconds. Don’t overdo it, or they’ll get greasy.
Nutrition Information
I’m not a nutritionist, but here’s the breakdown if you’re tracking. These bars are rich, so a little goes a long way.
Per Serving (based on 16 bars):
- Calories: 220
- Protein: 4g
- Carbs: 28g
- Fiber: 1g
- Sugar: 18g
- Fat: 12g
- Saturated Fat: 7g
- Sodium: 180mg
What’s Good:
- Good source of calcium from the cream cheese
- Pumpkin adds a bit of Vitamin A
- Relatively low in protein, but that’s expected for a dessert
What to Know:
- Higher in sugar and fat due to the cream cheese and butter
- Contains dairy and gluten
- Portion control is key—these are dense!
My Take:
Look, this is dessert. It’s not a health food. But it’s homemade, so you know exactly what’s in it. When I want to make it lighter, I use less sugar and add more pumpkin. But usually? I just enjoy one square and pair it with a black coffee. It’s about balance.
Final Thoughts
So that’s my go-to Fall Pumpkin Cream Cheese Bars! I’ve probably talked your ear off at this point, but when you make a recipe this often, you have a lot to say about it. These bars have saved me more times than I can count. They’re my answer to “what dessert should I bring?” when I’m tired, don’t want takeout, and still want something that tastes really good.
My family loves them, my friends ask for the recipe, and I love that they’re so easy to make. They’re the perfect blend of comfort and convenience. Make them yours! Try different spices, add nuts, or swirl in chocolate. The best recipes are the ones you adapt to your tastes.
If you make these, drop a comment and let me know what you think! I love hearing how recipes turn out in your kitchen. And if something doesn’t work, tell me that too—I’m here to help troubleshoot. Happy baking, and I hope your kitchen smells like fall!
Frequently Asked Questions
Q: Can I use canned pumpkin pie filling instead of pure pumpkin?
A: No, don’t do it. Pumpkin pie filling already has sugar and spices added, which will throw off the sweetness and flavor balance of your bars. You’ll end up with bars that are too sweet and lack the fresh pumpkin taste. Stick to 100% pure pumpkin puree.
Q: Why did my bars crack on top?
A: Cracking is usually caused by overmixing the batter (which incorporates too much air) or overbaking. Make sure you mix gently after adding the pumpkin, and check your bars a few minutes before the timer goes off. They should still be slightly jiggly in the center.
Q: Can I make these in a 9×13 pan?
A: Yes, but the bars will be thinner. You’ll need to reduce the baking time by about 10-15 minutes. Keep a close eye on them, as thinner bars bake faster. The texture will be slightly different, but still delicious.
Q: How do I store leftovers?
A: Store them in an airtight container in the refrigerator for up to 5 days. They taste best chilled. If you prefer room temperature, let them sit out for 15-20 minutes before serving.
Q: Can I freeze these bars?
A: Yes! Wrap individual bars in plastic wrap and place them in a freezer-safe bag. They’ll last for 2-3 months. Thaw in the fridge overnight. The texture holds up well after freezing.
Q: What if I don’t have pumpkin pie spice?
A: Make your own! Mix 1 teaspoon cinnamon, ½ teaspoon ginger, ¼ teaspoon nutmeg, and a pinch of cloves. It’s easy to whip up and tastes just as good.
Q: Can I use light cream cheese?
A: I don’t recommend it. Light cream cheese has more water and less fat, which can make the filling runny and affect the texture. Full-fat cream cheese gives you that dense, fudgy consistency that makes these bars so good.
Pin This Recipe!
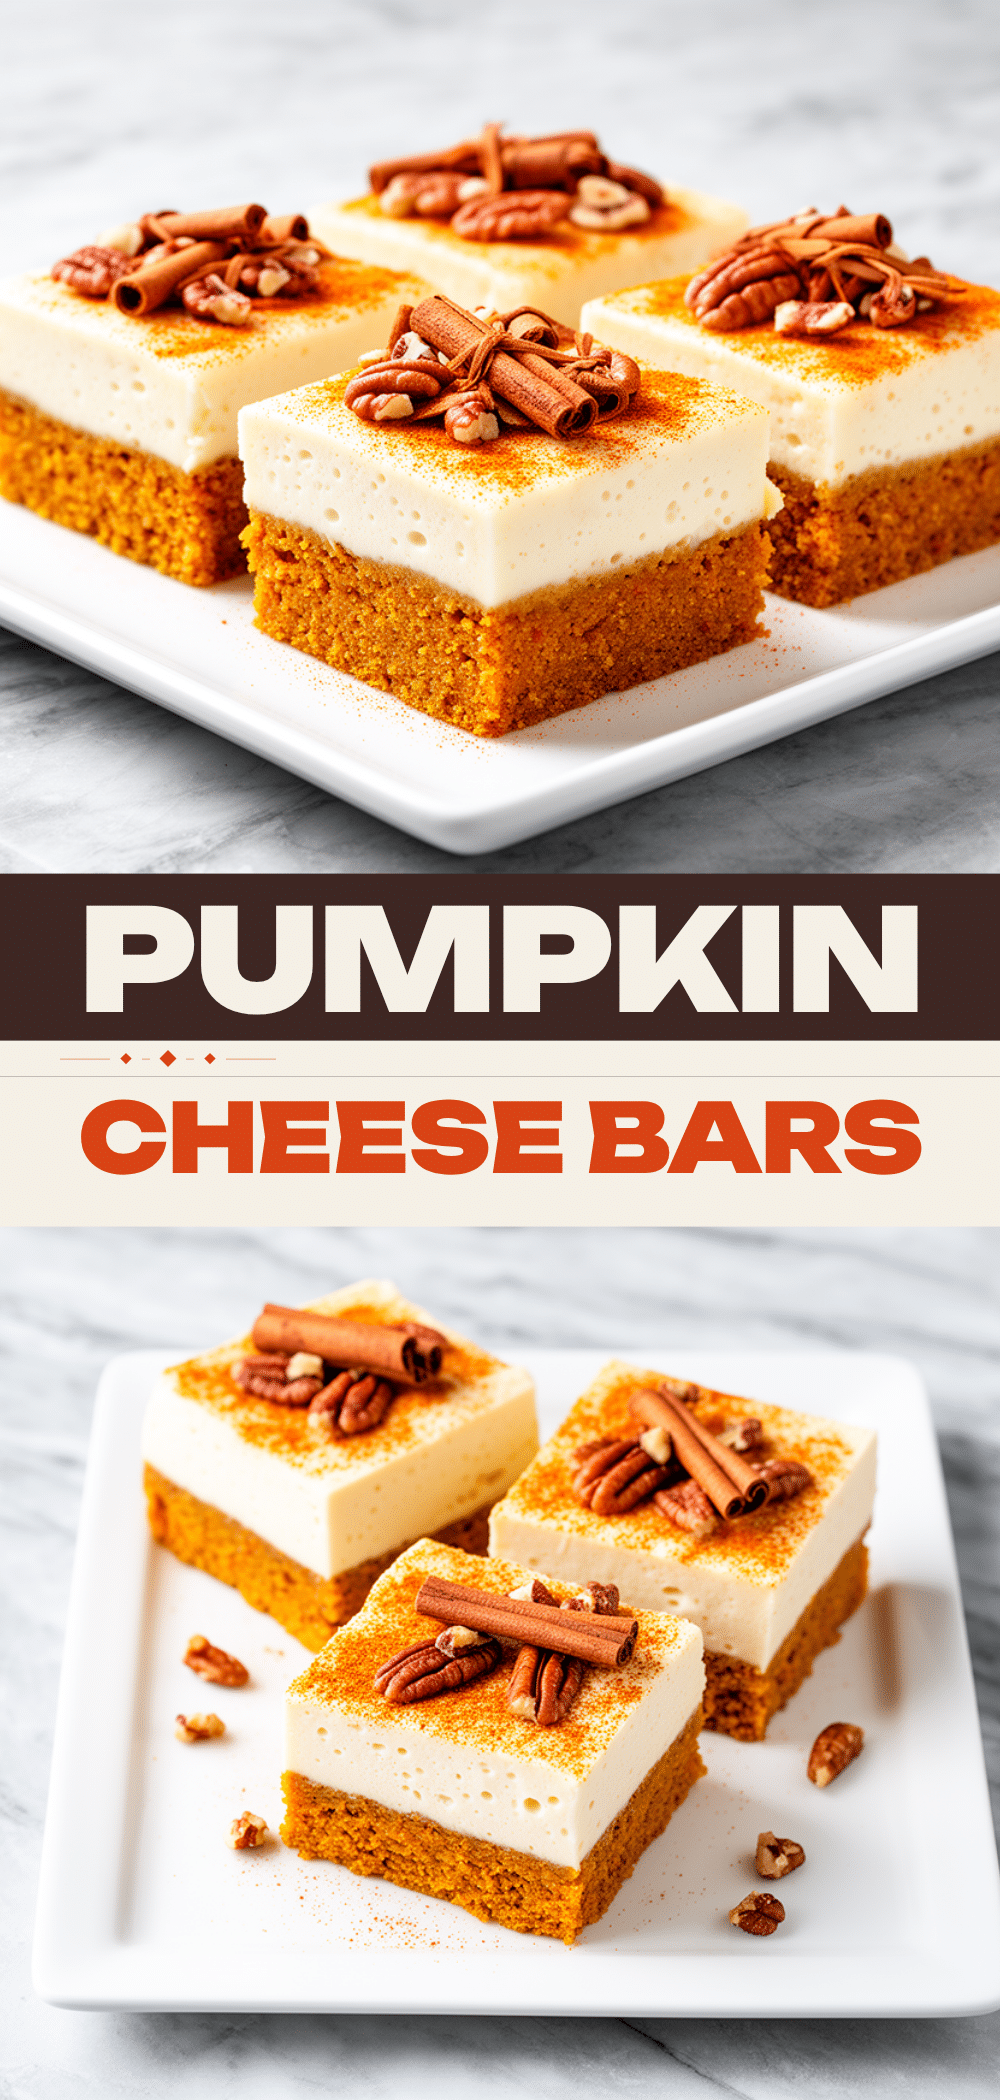
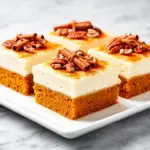
Fall Pumpkin Cream Cheese Bars
- Total Time: 1 hour 15 minutes
- Yield: 16 servings 1x
Description
A dense, creamy, and spiced pumpkin dessert with a buttery shortbread crust. This easy four-ingredient base recipe is make-ahead friendly, budget-smart, and perfect for fall gatherings.
Ingredients
- 1 ½ cups all-purpose flour
- ½ cup unsalted butter, softened
- ½ cup packed light brown sugar
- ¼ cup granulated sugar
- 1 teaspoon vanilla extract
- 8 oz full-fat cream cheese, softened
- 1 cup granulated sugar
- 1 cup pumpkin puree (not pie filling)
- 2 tablespoons heavy cream
- 2 teaspoons pumpkin pie spice
- 1 teaspoon cinnamon, plus extra for dusting
- Optional: ½ cup chopped walnuts or pecans
- Optional: ¼ cup white chocolate chips
Instructions
- Preheat oven to 350°F (175°C). Line a 9×9 inch baking pan with parchment paper, leaving an overhang on all sides.
- In a medium bowl, combine flour, brown sugar, granulated sugar, and softened butter. Mix until it resembles coarse sand.
- Press half of the crust mixture firmly into the bottom of the prepared pan. Save the rest for the top crumble.
- In a separate large bowl, beat softened cream cheese and 1 cup granulated sugar until smooth and creamy (about 2 minutes).
- Add pumpkin puree, heavy cream, pumpkin pie spice, and 1 teaspoon cinnamon to the cream cheese mixture. Mix on low speed just until combined.
- Pour the filling over the pressed crust and spread evenly.
- Sprinkle the remaining crumbly crust mixture evenly over the top of the filling.
- Bake for 35-40 minutes, or until edges are set and slightly golden, and the center is just barely jiggly. Cover with foil if browning too quickly.
- Cool in the pan on a wire rack for at least 1 hour. For best results, refrigerate for 2-4 hours to set.
- Lift bars out using parchment overhang, cut into 16 squares, and dust with powdered sugar and cinnamon if desired.
Notes
Ensure all dairy ingredients are at room temperature for a smooth batter. Do not overmix the filling after adding pumpkin to prevent cracking. Bars must be chilled before cutting for clean slices. Can be stored in the refrigerator for up to 5 days or frozen for 2-3 months.
- Prep Time: 15 minutes
- Cook Time: 40 minutes
- Category: Dessert
- Cuisine: American
Nutrition
- Serving Size: 1 bar
- Calories: 220
- Sugar: 18
- Sodium: 180
- Fat: 12
- Saturated Fat: 7
- Carbohydrates: 28
- Fiber: 1
- Protein: 4
Keywords: pumpkin bars, cream cheese bars, fall dessert, easy pumpkin recipe, Thanksgiving dessert, make-ahead dessert, pumpkin cream cheese