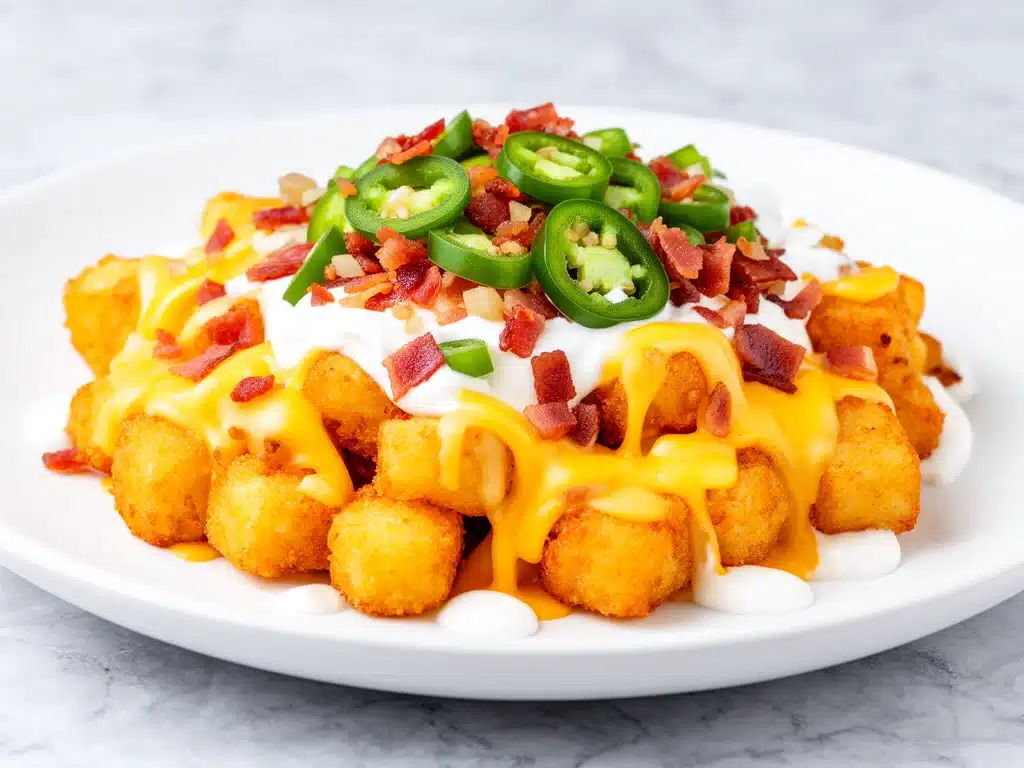
Let’s be honest: I used to think tater tots were just a side dish. You know the kind—served in a plastic basket at a diner, already getting soggy by the time you got to the table. I was wrong. So wrong. These Game Day Loaded Tater Tot Nachos have completely dethroned the potato chip in my household. They are crunchy, they are cheesy, and they are infinitely better than anything you can order from a delivery app.
Here’s the thing about game day snacks. You want something that looks impressive but doesn’t require you to stand in the kitchen while the first quarter is happening. You want food that’s easy to eat with your hands (no forks, please) and tastes like pure comfort. I’ve made these nachos for Super Bowl Sunday, for the big playoff game, and even for a casual Friday night with friends. Every single time, they disappear faster than the remote control.
This recipe has saved me from buying expensive, mediocre restaurant appetizers more times than I can count. It’s about $10 worth of ingredients to feed a crowd of 4-6 people. That is a steal. Plus, the combination of crispy tater tots, spicy jalapeños, and gooey cheese is honestly unmatched. If you’re looking for a snack that hits every craving, this is it. I’ve tested this method with frozen tots, homemade tots, and even sweet potato tots (more on that in the variations). But honestly? The classic frozen tater tot is the king here. It gives you that perfect salt-and-crunch base that holds up to all the heavy toppings.
I make these when I’m hosting because they’re a crowd-pleaser. Even my picky brother-in-law, who usually sticks to plain chicken wings, goes back for seconds of these. They’re warm, they’re messy in the best way possible, and they bring everyone to the same table. Seriously, I’ve had three different conversations happen around a platter of these nachos. That’s the power of good carbs and cheese.
Ingredients You’ll Need for Loaded Tater Tot Nachos
One of the best things about this recipe is how simple the ingredient list is. You probably have half of it in your pantry already. I’m not asking you to go out and buy exotic spices or hard-to-find cheeses. This is about using good, accessible ingredients and combining them the right way.
The Base
Frozen Tater Tots (24-32 oz / 680-900g) — I use the classic shredded potato tots. They’re widely available and consistent. Look for the ones that say “crispy” on the box. Avoid the ones that look like little cylinders; the shredded ones fry up better in the oven. I usually buy two bags because one isn’t enough for a real crowd.
The Cheese & Protein
Shredded Cheddar Cheese (2 cups / 225g) — Here’s a pro tip: buy a block of cheddar and shred it yourself. Pre-shredded cheese is coated in cellulose (a plant fiber) to keep it from clumping, and that coating prevents it from melting smoothly. Your nachos will be greasy and clumpy if you use the bag stuff. Freshly shredded cheese melts into that beautiful, gooey blanket we all love.
Ground Beef (1 lb / 450g) — I like to brown some seasoned ground beef and crumble it up. It adds a savory, meaty layer that makes these nachos feel like a full meal. If you want to skip the meat, you can use canned chili or just extra cheese. But the beef? It’s the game-changer. Season it with taco seasoning or just salt, pepper, and cumin.
Pepper Jack Cheese (1 cup / 115g) — I mix this with the cheddar for a little kick. If you’re sensitive to spice, stick to regular cheddar or add a diced jalapeño instead. But if you like heat, the Pepper Jack melts beautifully and adds that spicy flavor throughout.
The Toppings
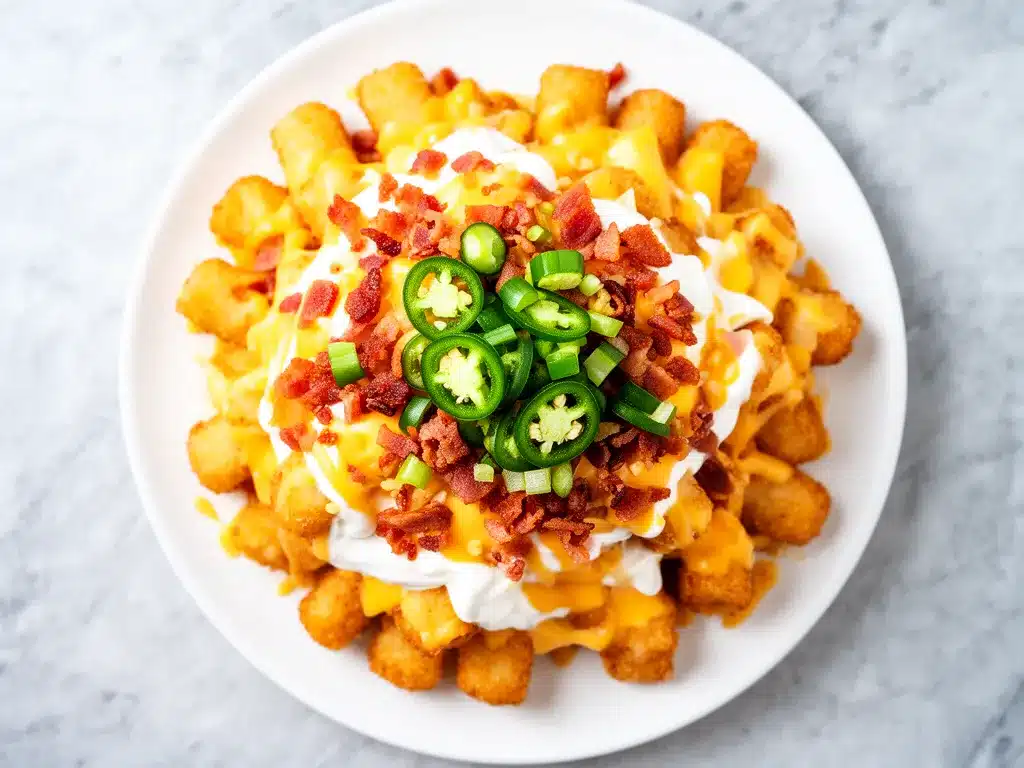
Jalapeños (1-2 fresh, sliced) — Fresh is best. If you can’t find fresh, canned sliced jalapeños work too, but rinse them first to remove that vinegary brine. I like a mix of mild and hot, depending on who’s eating them.
Black Beans (1 can / 15 oz, drained and rinsed) — This adds some fiber and makes the nachos more filling. I use low-sodium beans and rinse them really well so the nachos don’t get soggy.
Green Onions (3-4 stalks, sliced) — These add a fresh, oniony bite that cuts through the richness of the cheese. I save these for the very end so they stay bright green and crisp.
Sour Cream (½ cup) — For dolloping on top. Some people mix this with a little lime juice and cilantro, which is amazing. But plain is classic.
Tomatoes (2 medium, diced) — Fresh diced tomatoes add acidity. If you’re worried about sogginess, pat them dry with a paper towel first. Or, swap them for a quick pico de gallo.
Guacamole or Avocado (1 ripe avocado, mashed or sliced) — Creamy avocado balances the salty, crunchy tots perfectly. I prefer fresh guacamole over the jarred stuff for this. It’s worth the extra two minutes to mash it up.
Equipment Needed
You don’t need fancy gadgets for this. Here’s what I actually use in my kitchen:
Baking Sheet or Large Sheet Pan — I use a rimmed baking sheet. It needs to be large enough to fit a single layer of tots. If your oven is small, you might need two pans. A single layer is crucial; if you pile them too high, they steam instead of crisp up.
Large Skillet — For browning the ground beef. I use a 12-inch cast iron skillet because it holds heat well and makes cleanup easy. If you’re making the meat-free version, you can skip this.
Colander — For rinsing the beans. Essential step to remove excess starch and liquid.
Box Grater or Microplane — For shredding your own cheese. Trust me on this. It takes about 3 minutes and makes a huge difference in the final texture.
Paper Towels — You’ll use these to pat dry the tomatoes and drain the grease from the beef. Don’t skip the paper towel step; we want crunchy tots, not greasy ones.
How to Make It: Step-by-Step
Alright, let’s get these in the oven. This process is straightforward, but there are a few tricks to ensure your tots stay crispy and your cheese gets melty without burning.
Step 1: Preheat and Prep (5 minutes)
Preheat your oven to 400°F (200°C). Line a large baking sheet with parchment paper or aluminum foil for easy cleanup. I usually spray the parchment with a little cooking spray to help the tots stick slightly so they don’t slide around when you add toppings.
Step 2: Cook the Beef (8-10 minutes)
If you’re using ground beef, heat your skillet over medium-high heat. Add the beef, breaking it up with a wooden spoon as it cooks. Season with salt, pepper, and your favorite taco spices. Cook until browned and no pink remains. Drain the excess grease using a colander or blot with paper towels. You want the meat dry, not swimming in oil. Set aside.
Step 3: Crisp the Tots (10-12 minutes)
Spread the frozen tater tots in a single layer on the prepared baking sheet. Do not overcrowd! If they’re touching too much, they’ll steam. Bake them for 10-12 minutes, flipping halfway through, until they are golden brown and crispy. This step is non-negotiable. You need a sturdy base for all the toppings. If you skip this and put raw tots under cheese, you’ll end up with a mushy mess.
Step 4: Layer the Nachos (5 minutes)
Once the tots are crispy, remove them from the oven. Immediately start layering. First, sprinkle half of your shredded cheese over the hot tots. The residual heat will start melting it. Then, add the cooked ground beef (if using) and the black beans. Sprinkle the remaining cheese on top. This double-cheese layer ensures every bite has that gooey goodness.
Step 5: Melt and Finish (3-5 minutes)
Return the baking sheet to the oven for 3-5 minutes, just until the cheese is bubbly and melted. Keep an eye on it! You want the cheese melted, not browned. If your oven runs hot, check it at 3 minutes. Remove from the oven.
Step 6: Add Fresh Toppings (2 minutes)
This is where the magic happens. While the nachos are still hot, add the fresh toppings. Sprinkle the sliced jalapeños, diced tomatoes, and green onions over the top. Dollop with sour cream and guacamole. Serve immediately while the tots are still crunchy. If you let them sit too long, the steam from the toppings will soften the tots.
Expert Tips & Tricks for Perfect Nachos
I’ve made these nachos probably 20 times, and I’ve learned a few things along the way. Here’s how to avoid the common pitfalls.
Don’t Skip the Pre-Crisp
I know it’s tempting to just put frozen tots in the oven with the cheese and bake for 15 minutes. Don’t do it. The tots will burn before the cheese melts, or they’ll be soft and soggy. Pre-crisping them separately ensures a perfect texture. It adds five minutes, but it’s worth it.
Drain Your Beef Well
Greasy meat makes greasy nachos. After browning the beef, drain it thoroughly. If you’re using canned chili, heat it up separately and drain off excess liquid. Wet toppings are the enemy of crunchy tots.
Use a Mix of Cheeses
Cheddar alone can be a bit sharp. Mixing it with Pepper Jack or even a little Monterey Jack creates a smoother melt and more complex flavor. I also like to add a handful of shredded mozzarella for that stretchy pull.
Layer Smartly
Think of it like a lasagna. Base (tots) -> Cheese -> Meat/Beans -> Cheese -> Toppings. The cheese acts as glue. If you just pile meat on top of tots without cheese in between, it falls off. The cheese binds everything together.
Add Freshness at the End
Never bake the tomatoes, sour cream, or guacamole. They will separate, look weird, and lose their fresh flavor. Add them the second the nachos come out of the oven. The heat from the nachos will warm them slightly, but they’ll retain their texture and brightness.
Variations & Substitutions
Once you’ve mastered the basic version, here are some ways to mix it up. I’ve tried all of these, and they all work.
Chicken Nachos
Swap the ground beef for shredded rotisserie chicken or grilled chicken strips. Toss the chicken in some taco seasoning before adding it. This is a lighter option, though still indulgent.
Vegetarian Loaded Nachos
Skip the meat entirely. Add more beans, and throw in some sautéed mushrooms, bell peppers, and corn. I love adding a can of drained corn for some sweetness. It’s just as filling and delicious.
Sweet Potato Tater Tot Nachos
Use sweet potato tots instead of regular ones. They’re slightly sweeter and hold up well. Top with a lime crema (sour cream mixed with lime juice) and cilantro. This is a great alternative for guests who are watching their sugar intake slightly more.
Spicy Jalapeño Popper Nachos
Add cream cheese cubes between the layers of tots and cheese. Top with extra jalapeños. The cream cheese melts into pockets of creamy, spicy goodness. This is my favorite variation for game day.
Breakfast Nachos
Swap the tater tots for hash browns or breakfast potatoes. Add scrambled eggs, bacon bits, and cheddar. Top with hot sauce. This is perfect for a late morning hangover brunch.
Serving & Storage
These nachos are best served immediately. They are a hot, messy, communal dish. Here’s how to handle leftovers (if you have any).
How to Serve
I usually serve these straight from the baking sheet. It’s rustic and fun. Place the sheet on the table and let everyone dig in with forks or their hands. I like to have a bowl of extra sour cream and hot sauce on the side for people to customize their bites. Pair these with creamy coconut lime mocktail for a refreshing drink to balance the richness. The cool, sweet drink cuts through the spicy, salty nachos perfectly.
Side Dishes
Since these are heavy, I usually don’t serve a full meal alongside them. But if you’re hungry, a simple green salad or some cucumber slices works well. You can also serve them with creamy crockpot sausage and peppers if you’re making a larger spread. The sausage and peppers complement the Mexican flavors nicely without competing.
Storage
Leftovers can be stored in an airtight container in the fridge for up to 2 days. However, the tots will lose their crunch. To reheat, place them on a baking sheet in a 375°F oven for 10 minutes to crisp them back up. Add fresh toppings after reheating. Don’t microwave them, or they’ll be soft and sad.
Freezing
I don’t recommend freezing assembled nachos. The cheese will separate, and the tots will become mushy upon thawing. You can freeze the cooked beef or beans separately, but it’s not worth the effort for this recipe. Make it fresh whenever you want it.
Nutrition Information
I’m not a nutritionist, but here’s a rough breakdown if you’re tracking. Keep in mind this is a rich, indulgent snack.
Per Serving (based on 6 servings, including all toppings):
- Calories: 450
- Protein: 18g
- Carbs: 35g
- Fiber: 4g
- Sugar: 3g
- Fat: 28g
- Saturated Fat: 12g
- Sodium: 650mg
What’s Good:
Good source of protein from the beef and cheese. The beans add fiber. It’s filling, so you won’t be snacking an hour later.
What to Know:
Higher in calories and sodium due to the cheese, tots, and processed meat. If you’re watching your sodium, use low-sodium beans and cheese. If you’re watching calories, skip the beef and use less cheese.
My Take:
This is game day food. It’s not a diet meal. It’s meant to be enjoyed in moderation with friends. When I make it, I try to load up on the veggies (tomatoes, jalapeños, onions) to balance it out. But honestly? Sometimes I just eat the cheesy tots and call it a day.
Final Thoughts
So, there you have it. Game Day Loaded Tater Tot Nachos. I’ve talked your ear off about them, but when you make a recipe this often, you have a lot to say about it. These nachos have saved me from ordering overpriced, cold delivery food more times than I can count. They’re easy, cheap, and absolutely delicious.
I love that they bring everyone together. Whether it’s a Super Bowl party or a casual Friday night, these nachos are the star of the show. My kids love them, my friends love them, and I love that I can make them in under 30 minutes.
Make it yours! Try different cheeses, add different meats, or go full vegetarian. The best recipes are the ones you adapt to your tastes. If you make these, drop a comment and let me know what you think! I love hearing how recipes turn out in your kitchen. And if something doesn’t work, tell me that too—I’m here to help troubleshoot.
Happy snacking! And I hope your kitchen smells half as good as mine does right now.
Frequently Asked Questions
Can I use homemade tater tots?
Yes! Homemade tots work great, but they take longer to cook. You’ll need to bake them at 425°F for about 20-25 minutes until crispy before adding toppings. Just make sure they’re fully cooked and crisp, or they’ll be soggy under the cheese.
Why are my nachos soggy?
Usually, soggy nachos come from two things: overcrowding the pan or not draining wet ingredients enough. Make sure your tots are in a single layer and pre-crisped. Also, pat your tomatoes and beans dry with paper towels before adding them. Excess moisture is the enemy of crunch.
Can I make these ahead of time?
You can prep the components ahead of time. Cook the beef, shred the cheese, and dice the veggies in advance. But assemble and bake them right before serving. If you assemble them and let them sit, the tots will soften and the cheese will congeal. It’s best fresh from the oven.
Can I use cheese from a bag?
You can, but the results won’t be as good. Pre-shredded cheese has anti-caking agents that prevent it from melting smoothly. You’ll end up with clumps of cheese and a greasy layer of oil. For the best nachos, buy a block of cheddar and shred it yourself. It takes two minutes and makes a huge difference.
What meat can I use instead of beef?
Ground turkey, ground chicken, or shredded rotisserie chicken all work well. You can also use pulled pork or even bacon bits. For a vegetarian option, skip the meat and add more beans, corn, or sautéed vegetables. The key is to season whatever protein you use well.
How do I reheat leftovers?
Avoid the microwave if you can. It makes the tots soft. Instead, spread the leftovers on a baking sheet and bake at 375°F for 10-15 minutes until heated through and crispy again. Add fresh toppings like sour cream and guacamole after reheating.
Can I freeze these nachos?
I don’t recommend freezing assembled nachos. The texture of the tots and cheese will suffer. The tots will become mushy, and the cheese will separate. It’s best to make them fresh. If you have leftover cooked beef or beans, you can freeze those separately for up to 3 months.
Pin This Recipe!
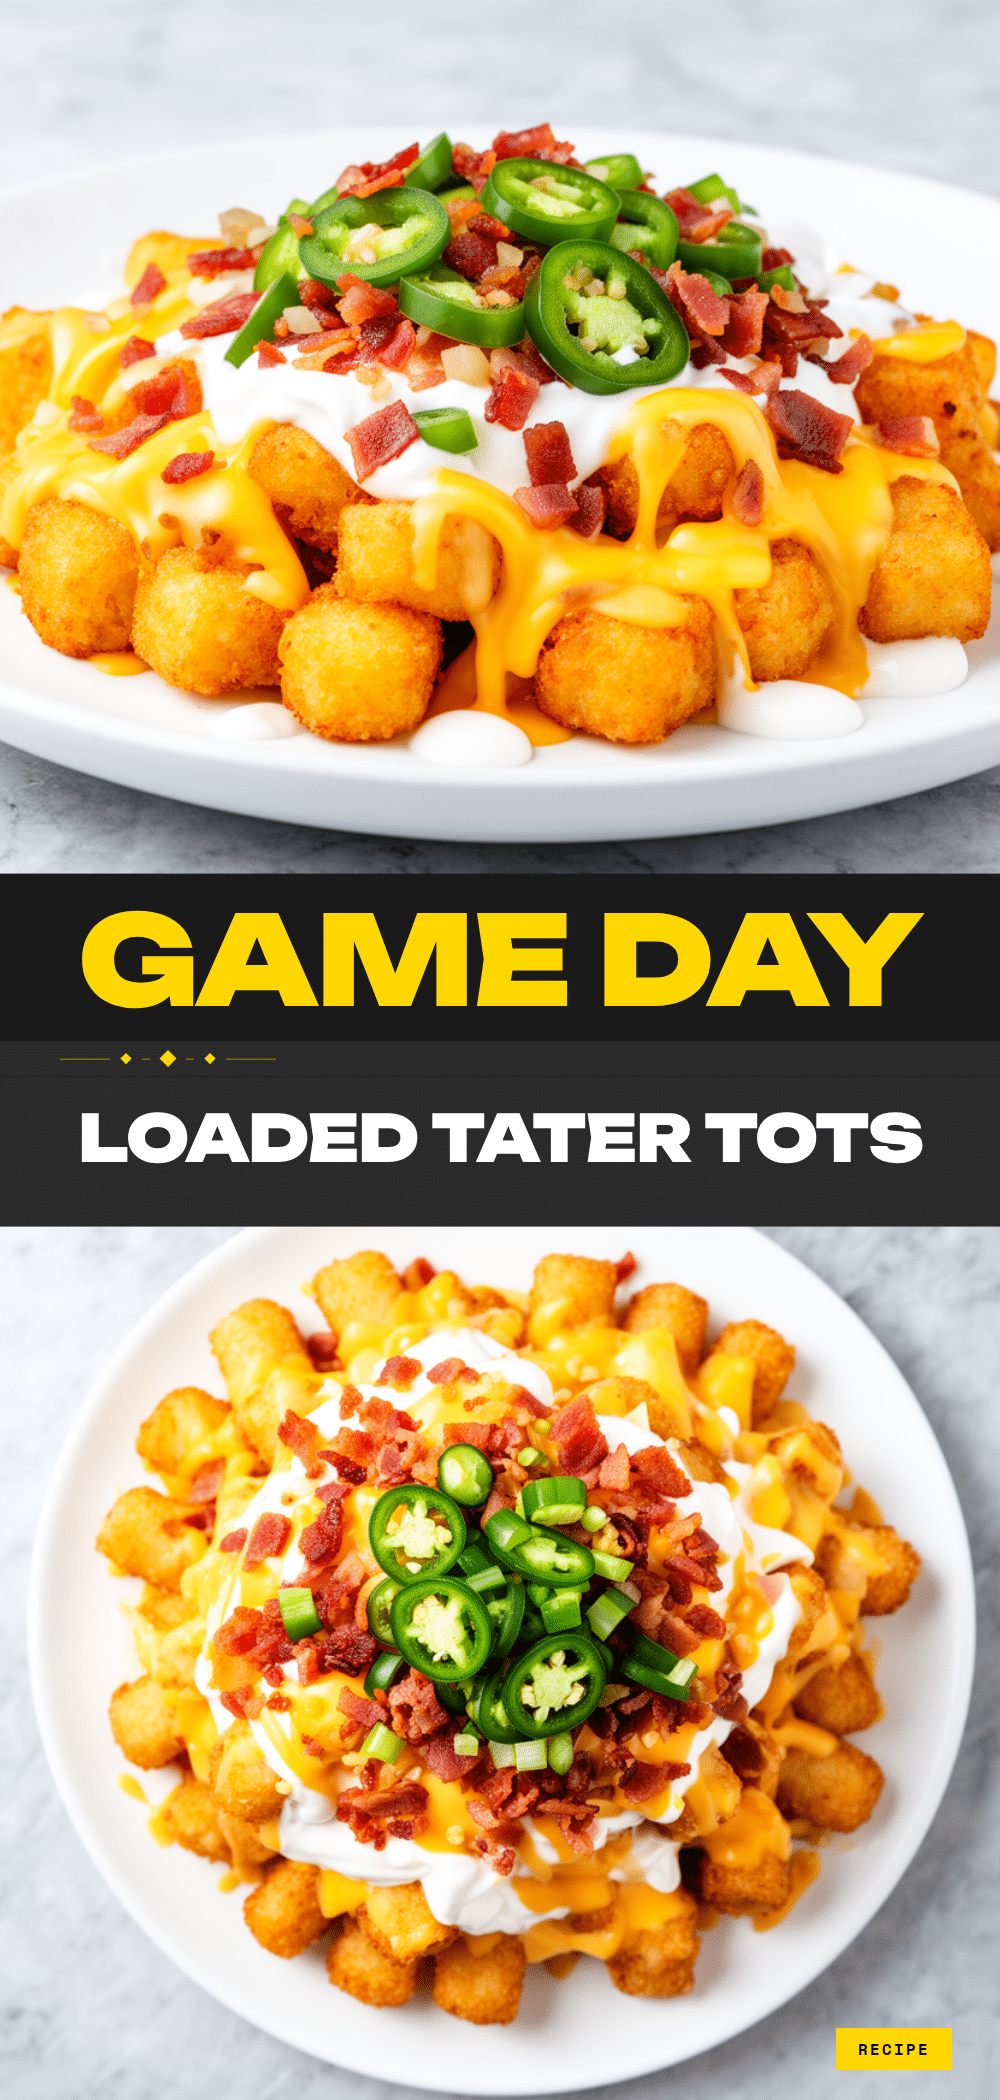

Game Day Loaded Tater Tot Nachos: Best Easy Snack
- Total Time: 35 minutes
- Yield: 6 servings 1x
Description
These Game Day Loaded Tater Tot Nachos are a crunchy, cheesy, and easy-to-make crowd-pleaser that dethrones potato chips. Featuring crispy baked tater tots, seasoned ground beef, black beans, and a mix of cheddar and pepper jack cheeses, topped with fresh jalapeños, tomatoes, and guacamole.
Ingredients
- 24–32 oz (680-900g) Frozen Tater Tots
- 1 lb (450g) Ground Beef
- 2 cups (225g) Shredded Cheddar Cheese
- 1 cup (115g) Pepper Jack Cheese
- 1 can (15 oz) Black Beans, drained and rinsed
- 1–2 fresh Jalapeños, sliced
- 2 medium Tomatoes, diced
- 3–4 stalks Green Onions, sliced
- 1 ripe Avocado, mashed or sliced (or 1 cup Guacamole)
- 1/2 cup Sour Cream
- Taco seasoning, salt, and pepper (for beef)
Instructions
- Preheat oven to 400°F (200°C). Line a large rimmed baking sheet with parchment paper or foil and lightly spray with cooking spray.
- Heat a large skillet over medium-high heat. Add ground beef and break it up with a wooden spoon. Season with salt, pepper, and taco spices. Cook until browned and no pink remains.
- Drain excess grease from the beef using a colander or blot with paper towels. Set aside.
- Spread frozen tater tots in a single layer on the prepared baking sheet. Do not overcrowd.
- Bake tots for 10-12 minutes, flipping halfway through, until golden brown and crispy.
- Remove baking sheet from oven. Sprinkle half of the shredded cheese over the hot tots.
- Layer the cooked ground beef and black beans over the cheese.
- Sprinkle the remaining cheese on top.
- Return to the oven for 3-5 minutes until the cheese is bubbly and melted.
- Remove from oven and immediately top with sliced jalapeños, diced tomatoes, and green onions.
- Dollop with sour cream and guacamole. Serve immediately while tots are still crunchy.
Notes
For best results, shred your own cheese to avoid anti-caking agents that prevent smooth melting. Ensure tater tots are in a single layer to crisp up rather than steam. Drain beef and beans thoroughly to maintain crunch. Add fresh toppings like sour cream and guacamole only after baking to prevent sogginess. Leftovers can be reheated in a 375°F oven for 10 minutes to restore crispiness.
- Prep Time: 15 minutes
- Cook Time: 20 minutes
- Category: Appetizer
- Cuisine: American
Nutrition
- Serving Size: 1 serving (approx. 1
- Calories: 450
- Sugar: 3
- Sodium: 650
- Fat: 28
- Saturated Fat: 12
- Carbohydrates: 35
- Fiber: 4
- Protein: 18
Keywords: tater tot nachos, game day snacks, easy appetizer, cheesy nachos, crowd pleaser, football snacks, loaded nachos