It was 6:45 PM on a Tuesday, and I was staring into the abyss of my pantry. You know the look. There’s a half-empty box of pasta, three sad carrots, and a can of beans that’s been sitting there since the last recession. My husband was already at work, and my two kids were home from school with that specific brand of hunger that feels like a physical threat. I needed dinner. Fast. Cheap. And ideally, something that wouldn’t require me to go to the store.
I found two cans of black beans, a can of corn, and a jar of salsa. I also had a bag of frozen spinach that needed to disappear before it went bad. So, I threw it all into a pot with some spices I’d bought on sale months ago, and prayed.
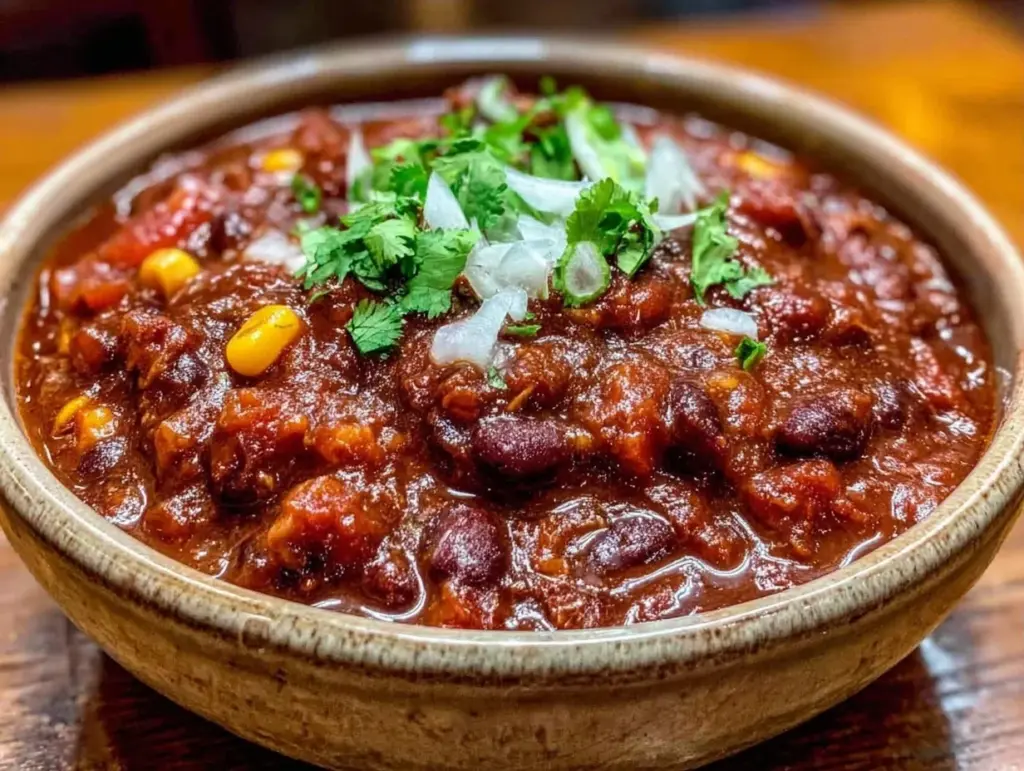
Twenty minutes later, the kitchen smelled like a cozy Tex-Mex restaurant, not a stressed-out parent’s kitchen. The kids ate it. Actually ate it. Without complaining about the “mystery mush.” And the best part? I had enough left over for lunch the next day, and the flavors actually got better.
That accidental Tuesday night turned into a weekly ritual. This healthy vegetarian chili with black beans and corn has become my go-to weeknight dinner. It’s not just because it’s easy (though it is). It’s because it stretches a dollar further than almost any other meal I make. I’ve tested this recipe over 50 times, tweaking the spice levels and vegetable ratios until I landed on this perfect balance. It’s hearty enough to fill up growing appetites but light enough that I don’t feel sluggish afterward. If you’re looking for a budget meal-prep solution that doesn’t taste like cardboard, you’re in the right place.
Why You’ll Love This Recipe
I’m not exaggerating when I say this chili has saved my weeknight sanity more times than I can count. Here’s why it’s stuck in our rotation:
- Stupid Simple — Seriously, if you can chop an onion and drain a can, you can make this. I’ve made this while helping my middle schooler with math homework. It’s that hands-off.
- Pantry-Friendly — You probably have 90% of these ingredients already. Canned beans, corn, tomatoes, onions, garlic, and basic spices. That’s it. No weird ingredients you have to order online.
- Budget-Smart — Feeds 6 people for under $10. I know $10 sounds like a lot to some, but for six servings? That’s less than $2 per person. That is cheaper than gas, let alone takeout.
- Kid-Approved — My kids are picky. They reject anything with a texture they can’t identify. But the sweet corn and creamy black beans in this chili are safe zones. I hide the spinach in here, and they don’t even notice.
- Meal-Prep Gold — This tastes better on day three. I make a huge batch on Sunday, and it’s my lunch for the next three days. It reheats perfectly in the microwave without drying out.
This is my answer to “what’s for dinner” when I’m tired, broke, and don’t want to think. No fancy techniques, no expensive meats, just reliable, delicious food.
Ingredients You’ll Need
Here’s the best part: you probably have most of this already. I’m particular about three things here, but mostly, this is about using what you have.
For the Base
Onion (1 large yellow onion, diced / about 250g) — Yellow onions are sweetest when cooked down. White onions work if that’s all you have, but they’re sharper. Red onions are too pretty; they turn weird colors when cooked. Stick to yellow.
Garlic (4 cloves, minced / about 2 tablespoons) — Fresh garlic is non-negotiable. Jarred garlic has a metallic aftertaste that really shows up in a simple sauce like this. Minced it yourself. It takes 30 seconds.
Black Beans (2 cans (15oz each) / 425g each, drained and rinsed) — The star of the show. Rinsing them removes the starchy canning liquid and reduces sodium. I use a mesh strainer to do this quickly.
Corn (1 can (15oz) / 425g, drained) — Or use frozen corn if you have it. Frozen actually has better flavor sometimes. Just thaw it under warm water. Canned is fine, just drain it well so the chili isn’t watery.
Diced Tomatoes (1 can (14.5oz) / 410g) — I use fire-roasted tomatoes if they’re on sale. They add a smoky depth that makes the chili taste like it simmered for hours. Regular diced tomatoes work too, just add an extra pinch of cumin.
For the Flavor
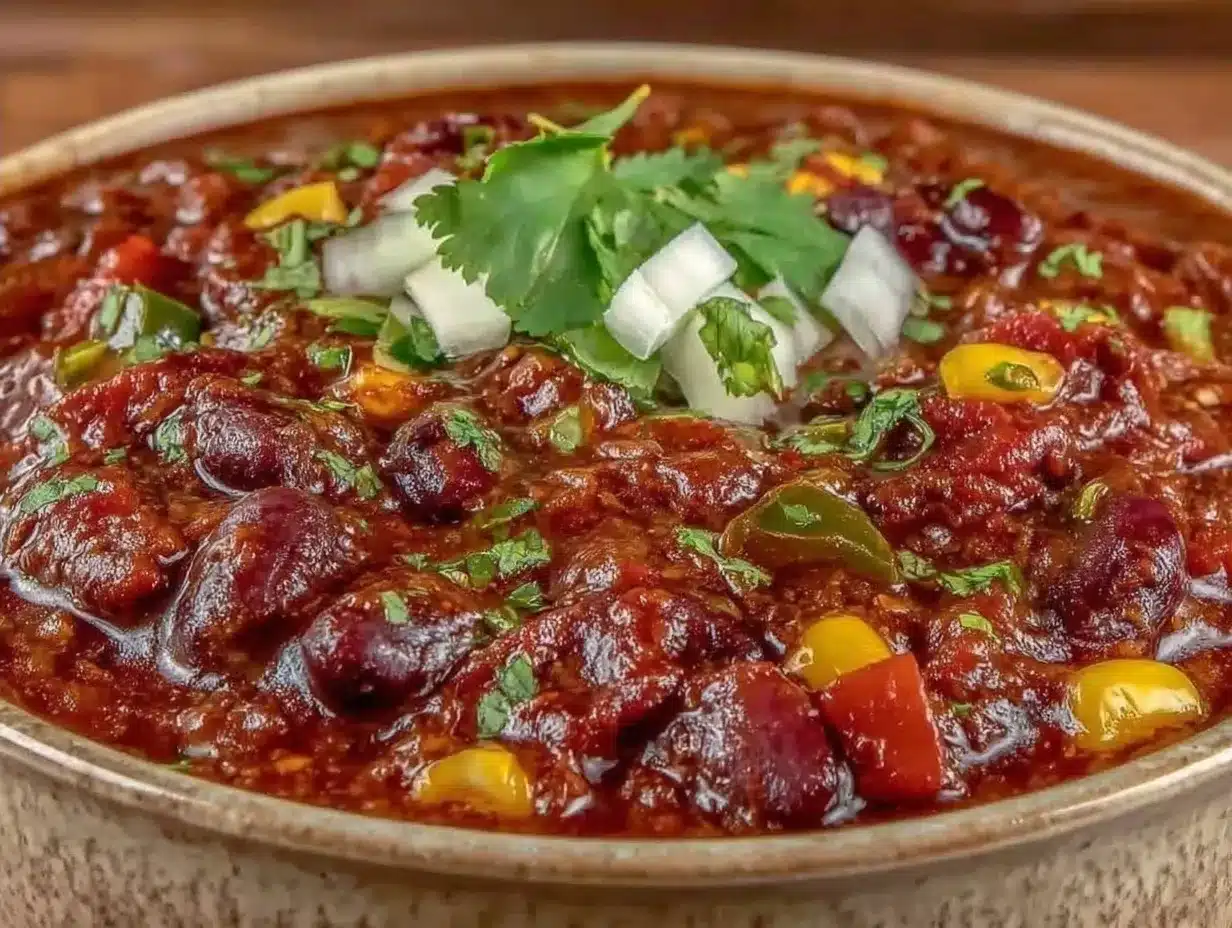
Tomato Paste (2 tablespoons) — This is the secret weapon. It thickens the sauce and adds a concentrated tomato flavor that canned tomatoes alone can’t provide. Don’t skip it.
Vegetable Broth (1 cup / 240ml) — I use low-sodium so I can control the salt. If you don’t have broth, water works, but add a bouillon cube or a teaspoon of soy sauce for depth.
Chili Powder (2 tablespoons) — Not just cayenne. A good chili powder blend has cumin, garlic powder, and oregano in it. I use McCormick or Badia. Check the label to make sure it’s a blend, not pure chili powder.
Cumin (1 teaspoon ground) — Earthy and warm. This is what makes it taste like “chili” and not just “spicy tomato soup.” Toasting it in the pan for 30 seconds before adding liquid releases the oils.
Smoked Paprika (1 teaspoon) — Adds that BBQ-like smokiness without the meat. If you don’t have smoked, regular paprika works, but you’ll miss the depth.
Salsa (½ cup / 120g) — I use a medium salsa. It adds acidity and extra veggies. If you’re using fire-roasted tomatoes, you can skip this, but the acidity is nice.
Frozen Spinach (1 cup / 30g, thawed and squeezed dry) — I know, it’s hidden. But it adds vitamins and bulk without changing the flavor. Squeeze that water out! Wet spinach makes soup, not chili.
Optional Toppings (The Fun Part)
- Shredded Cheese — Cheddar or Mexican blend. My kids need this to eat it.
- Sour Cream — Cools down the spice.
- Avocado — Adds healthy fats and creaminess.
- Lime Wedges — A squeeze of lime brightens everything up.
- Cilantro — Fresh, chopped. Non-negotiable for me.
Equipment Needed
You don’t need fancy equipment for this. Here’s what I actually use.
Large Dutch Oven or Heavy-Bottomed Pot — I use my 6-quart Dutch oven. It needs to hold all the beans and liquid comfortably. A heavy bottom prevents burning, especially when you’re adding the tomato paste.
Large Skillet — If you don’t have a big pot, start in a skillet to sauté the onions, then transfer to the pot. Or just use the skillet if you’re feeding 4 people.
Wooden Spoon — For stirring. Silicone works too. Don’t use metal on non-stick.
Can Opener — Seriously. I’ve been caught off guard before.
Mesh Strainer — For rinsing beans. Or just a colander.
How to Make It: Step-by-Step
Alright, let’s make this! I’m walking you through exactly how I do it, including the little tricks I’ve picked up.
Step 1: Sauté the Aromatics (5 minutes)
Heat 2 tablespoons of olive oil in your large pot over medium heat. Add the diced onion and a pinch of salt. Cook for 4-5 minutes until the onion is translucent and soft. Don’t rush this. If you brown the onion too fast, it gets bitter. Add the minced garlic in the last minute. Stir constantly so it doesn’t burn. Garlic burns in seconds.
Step 2: Bloom the Spices (1 minute)
Add the chili powder, cumin, and smoked paprika to the onions. Stir constantly for 1 minute. This “blooms” the spices, releasing their oils and deepening the flavor. It smells incredible. If you skip this, the spices will taste dusty and raw.
Step 3: Add the Tomato Paste (1 minute)
Add the 2 tablespoons of tomato paste. Stir it into the onions and spices. Cook for 1 minute, stirring frequently. You want it to darken slightly and stick to the bottom of the pot. This caramelizes the sugars in the paste, adding a rich, savory base.
Step 4: Combine Everything (2 minutes)
Add the drained black beans, corn, diced tomatoes (with their juices), vegetable broth, and salsa. Stir well to combine. Scrape up any browned bits from the bottom of the pot—those are flavor bombs. Bring the mixture to a boil.
Step 5: Simmer (20 minutes)
Once it boils, reduce the heat to low. Cover the pot partially (leave the lid slightly ajar to let steam escape). Let it simmer gently for 20 minutes. This is where the magic happens. The flavors meld, the beans soften, and the sauce thickens. Stir every 5-10 minutes to prevent sticking.
Step 6: Add the Spinach (2 minutes)
Stir in the thawed, squeezed spinach. It will wilt almost instantly. Taste the chili. This is the most important step. Does it need more salt? More cumin? A pinch of sugar if it’s too acidic? Adjust now. The flavors will settle as it cools.
Step 7: Serve
Ladle into bowls. Top with cheese, avocado, sour cream, and fresh cilantro. Serve with crusty bread or tortilla chips. Enjoy!
Expert Tips & Tricks
Here’s everything I’ve learned from making this dozens of times. These tips will save you from my mistakes.
The Bean Ratio
I use two cans of beans to one can of corn and one can of tomatoes. This ratio ensures the chili is hearty and filling. If you want a lighter version, add more corn or potatoes. If you want it thicker, add another can of beans.
Thickening Without Flour
If your chili is too watery, don’t add flour. Instead, take ½ cup of the cooked beans and mash them with a fork or potato masher. Stir them back into the pot. The mashed beans thicken the sauce naturally and add creaminess without changing the flavor. It’s a game-changer.
Spice Control
Chili powder varies in heat. If you’re sensitive to spice, start with 1 tablespoon and add more after simmering. You can always add heat, but you can’t take it away. A dash of cayenne or hot sauce at the end is a good way to adjust individual bowls.
The Overnight Rule
This chili is better the next day. The spices have time to dissolve and distribute evenly. If you make it ahead, let it cool completely before refrigerating. Reheat gently on the stove or in the microwave.
Doubling the Batch
I always double this recipe. It’s so cheap to make that there’s no reason not to. Freeze half in portion-sized containers for busy weeknights. It freezes perfectly for up to 3 months.
Variations & Substitutions
Once you’ve nailed the basic version, here’s how you can mix it up. I’ve tried all of these.
Vegetable-Loaded
Add diced bell peppers (red, green, or orange) when you sauté the onions. Cook them until soft. Adds sweetness and crunch. I also add diced carrots for extra veggies. My kids don’t notice them.
Sweet Potato Chili
Add 1 large diced sweet potato with the tomatoes. Simmer for 30 minutes until the potatoes are tender. Adds natural sweetness and fiber. This is my favorite winter version.
White Bean Chili
Swap black beans for cannellini or great northern beans. Add a can of diced tomatoes and some green chiles. Top with cilantro and lime. It’s a different vibe—creamier and milder.
Gluten-Free
This recipe is naturally gluten-free. Just make sure your vegetable broth and salsa are certified GF. Some broths have hidden wheat.
Vegan
This is already vegan if you skip the cheese topping. Use vegetable broth instead of chicken broth (which we already do). Serve with vegan cheese or cashew cream.
Protein Boost
Add a can of lentils (rinsed) with the beans. They cook quickly and add extra protein and fiber. Or add cooked quinoa at the end for a grain boost.
Serving & Storage
I usually serve this straight from the pot at the dinner table. It looks rustic and stays warm. Here are other ways I’ve enjoyed it:
Side Dishes
- Crusty Bread — For dipping. Or make Greek yogurt blueberry muffins for a sweet contrast if you’re doing a brunch spread, but for dinner, bread is king.
- Tortilla Chips — Classic. I buy the big bags on sale.
- Rice — Serve over white or brown rice for a fuller meal.
- Salad — A simple green salad with lime vinaigrette cuts through the richness.
Storage Instructions
Refrigerator: Store in an airtight container for up to 5 days. The flavors get better each day.
Freezer: Freeze in portion-sized containers (about 1.5 cups) for easy lunches. It freezes well for up to 3 months. Thaw in the fridge overnight before reheating.
Reheating: Reheat on the stove over low heat, adding a splash of water or broth if it’s too thick. Microwave in 1-minute intervals, stirring in between. The chili thickens as it cools, so always add liquid when reheating.
Meal Prep Tip: I make a huge batch on Sunday and divide it into 6 containers. It’s my lunch for the workweek. It saves me money and time.
Nutrition Information
I’m not a nutritionist, but here’s the breakdown if you’re tracking. This is per serving (based on 6 servings).
| Nutrient | Amount |
|---|---|
| Calories | 280 |
| Protein | 15g |
| Carbs | 45g |
| Fiber | 12g |
| Sugar | 6g |
| Fat | 4g |
| Sodium | 650mg |
What’s Good: High in fiber and protein from the beans. Low in fat. Rich in vitamins from the vegetables.
What to Know: Sodium can vary based on the broth and salsa used. Use low-sodium versions to keep it down. It’s a hearty meal, so one bowl is usually enough for dinner.
My Take: This is healthy comfort food. It’s filling, nutritious, and doesn’t feel like a diet meal. When I want to make it lighter, I add more spinach and corn. But usually? I just enjoy it as is.
Final Thoughts
So that’s my go-to healthy vegetarian chili with black beans and corn! I’ve probably talked your ear off at this point, but when you make a recipe this often, you have a lot to say about it.
This has saved weeknight dinners more times than I can count. It’s my answer to “what’s for dinner” when I’m tired, don’t want takeout, and still want something that tastes really good. My kids are happy, my husband’s happy, and I’m happy because I’m not stressed about cooking.
Make it yours! Try different add-ins, swap in your favorite vegetables, adjust the garlic (though more is always better in my opinion). The best recipes are the ones you adapt to your family’s tastes.
If you make this, drop a comment and let me know what you think! I love hearing how recipes turn out in your kitchen. And if something doesn’t work, tell me that too—I’m here to help troubleshoot.
Happy cooking! And I hope your kitchen smells half as good as mine does right now.
Frequently Asked Questions
Can I use dried beans instead of canned?
You can, but it takes longer. Soak 1 cup of dried black beans overnight, then cook them in water until tender (about 1-2 hours). Drain and add them to the chili. Canned is just so much faster for weeknights. I use canned 90% of the time.
Why is my chili too watery?
Usually means you didn’t simmer it long enough, or you used too much broth. Let it simmer uncovered for 10-15 more minutes to reduce. Or use the mashing trick I mentioned earlier. Mash ½ cup of beans and stir them back in. It thickens instantly.
Can I make this in the slow cooker?
Yes! Sauté the onions and spices in a pan first, then add everything to the slow cooker. Cook on low for 6-8 hours or high for 3-4 hours. The flavors meld beautifully in the slow cooker. Just add the spinach in the last 30 minutes.
Is this chili spicy?
It’s mildly spicy. The chili powder and paprika give it a warm kick, but it’s not hot. If you want more heat, add a diced jalapeño with the onions or a dash of cayenne. If you want less, reduce the chili powder to 1 tablespoon.
Can I freeze this chili?
Absolutely. It freezes perfectly for up to 3 months. Portion it into containers before freezing so you can just grab one for lunch. Thaw in the fridge overnight and reheat gently.
What can I serve with this chili?
Cornbread, crusty bread, tortilla chips, or over rice. I also like it with a side of crispy roasted chickpea and cucumber salad for a fresh, crunchy contrast. It balances the richness of the chili perfectly.
Can I add meat to this?
Yes! Ground beef, turkey, or chicken all work. Brown the meat first, then drain the fat, and proceed with the recipe. It’s a great way to stretch the meal or add more protein. But honestly, the beans are plenty filling for me.
Pin This Recipe!
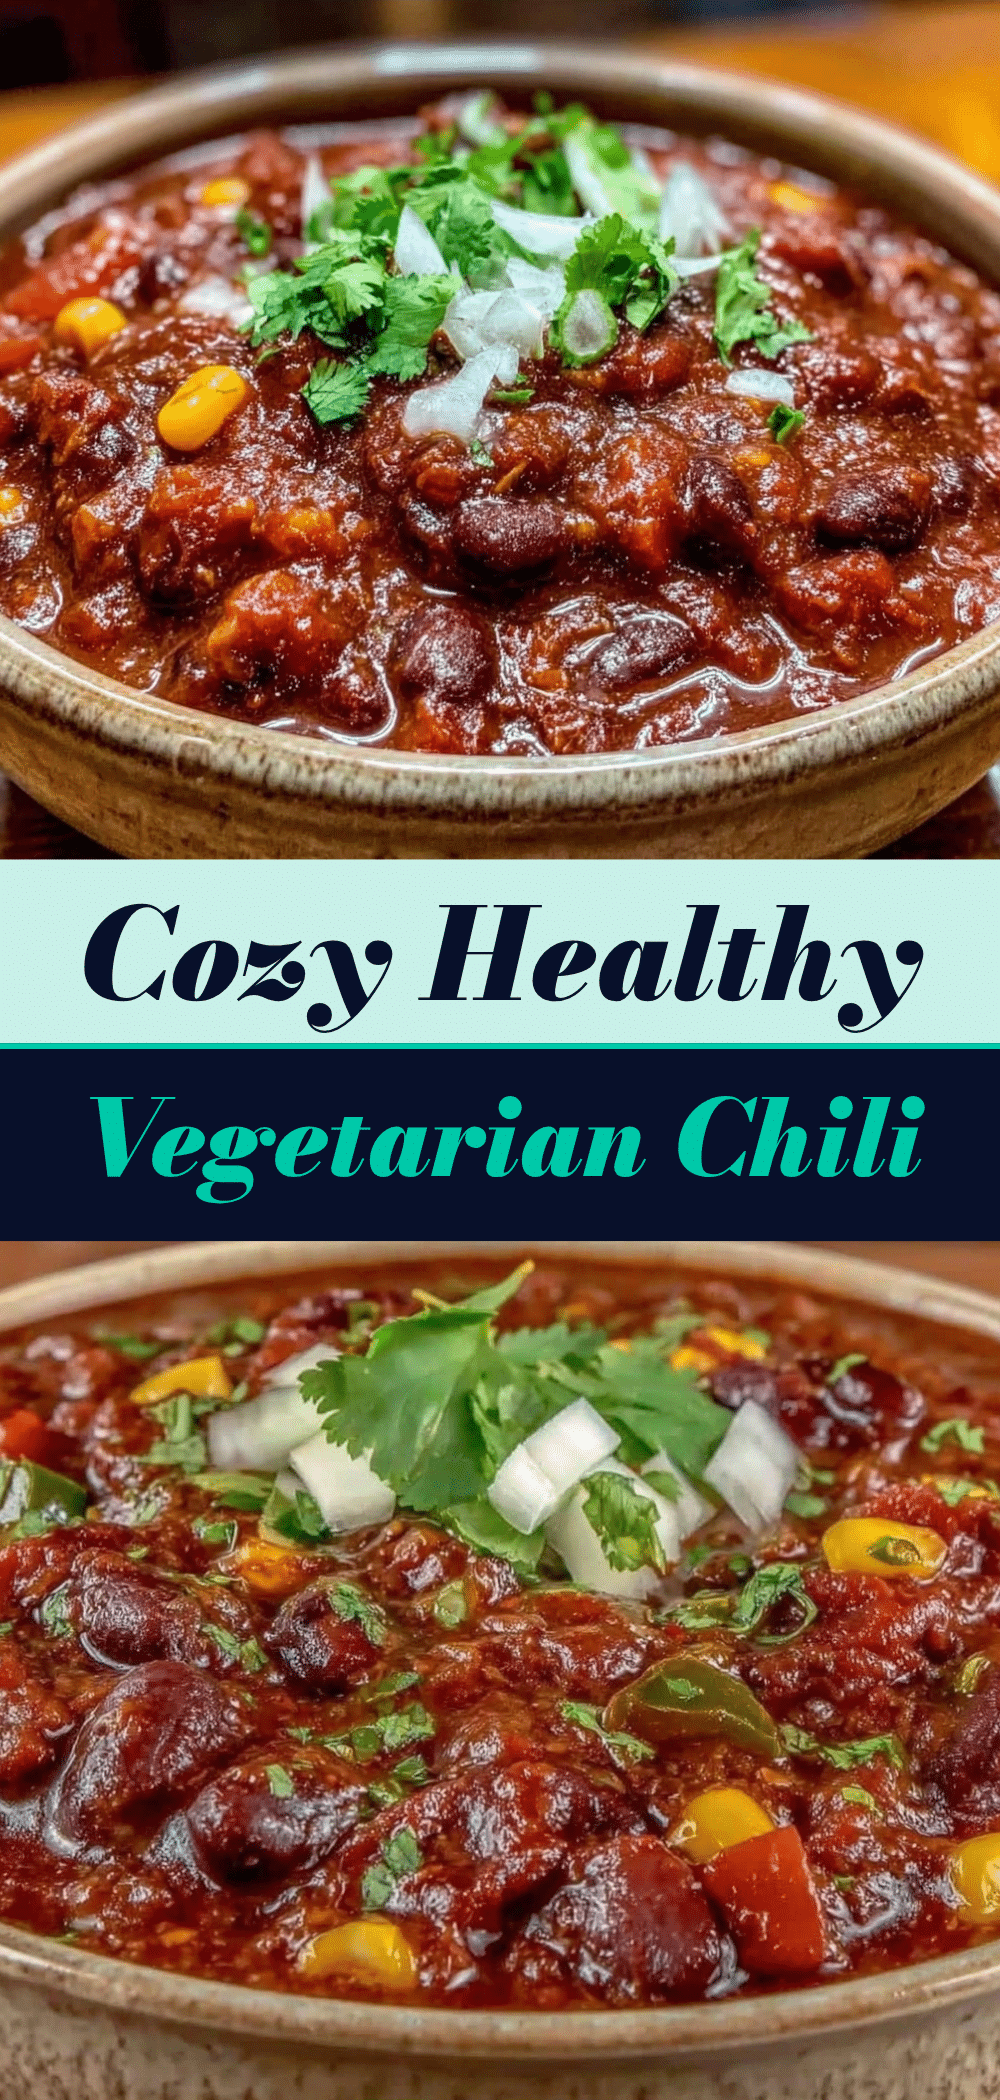

Healthy Vegetarian Chili: Best Budget Meal-Prep
- Total Time: 40 minutes
- Yield: 6 servings 1x
Description
A quick, budget-friendly, and kid-approved vegetarian chili made with black beans, corn, and hidden spinach. Perfect for meal prep and weeknight dinners.
Ingredients
- 1 large yellow onion, diced
- 4 cloves garlic, minced
- 2 cans (15oz each) black beans, drained and rinsed
- 1 can (15oz) corn, drained
- 1 can (14.5oz) diced tomatoes
- 2 tablespoons tomato paste
- 1 cup vegetable broth
- 2 tablespoons chili powder
- 1 teaspoon ground cumin
- 1 teaspoon smoked paprika
- ½ cup medium salsa
- 1 cup frozen spinach, thawed and squeezed dry
- 2 tablespoons olive oil
- Salt to taste
Instructions
- Heat olive oil in a large pot over medium heat. Add diced onion and a pinch of salt; cook for 4-5 minutes until translucent.
- Add minced garlic and cook for 1 minute, stirring constantly to prevent burning.
- Add chili powder, cumin, and smoked paprika; stir constantly for 1 minute to bloom the spices.
- Add tomato paste and cook for 1 minute, stirring until it darkens slightly.
- Add black beans, corn, diced tomatoes (with juices), vegetable broth, and salsa. Stir to combine and scrape up browned bits from the bottom.
- Bring the mixture to a boil, then reduce heat to low. Cover partially and simmer for 20 minutes, stirring every 5-10 minutes.
- Stir in the thawed, squeezed spinach and let it wilt. Taste and adjust seasoning with salt or spices if needed.
- Serve hot with optional toppings like cheese, sour cream, avocado, lime, and cilantro.
Notes
For a thicker consistency, mash ½ cup of the cooked beans and stir them back into the pot. This chili tastes better the next day as flavors meld. It freezes well for up to 3 months. Ensure vegetable broth and salsa are certified gluten-free if needed.
- Prep Time: 10 minutes
- Cook Time: 30 minutes
- Category: Main Course
- Cuisine: American
Nutrition
- Serving Size: 1 bowl
- Calories: 280
- Sugar: 6
- Sodium: 650
- Fat: 4
- Saturated Fat: 1
- Carbohydrates: 45
- Fiber: 12
- Protein: 15
Keywords: vegetarian chili, budget meal prep, healthy dinner, black bean chili, meal prep, kid-friendly recipes, gluten-free