Last Tuesday, I was staring into the refrigerator, feeling that familiar post-lunch slump hit me at 3 PM. My brain was foggy, my energy was crashing, and the only thing calling to me was a bag of chips or a candy bar from the office vending machine. I was about to give in—again—when I noticed a pint of plain Greek yogurt and a container of strawberries that had been hiding in the back, looking a bit sad.
I didn’t have time to bake. I didn’t have time to cook. And honestly, I didn’t have the patience for anything complicated. So I did the unthinkable: I threw them in a bowl, mashed them together with a little honey and oats, and popped spoonfuls onto a baking sheet lined with parchment paper. I put them in the freezer while I finished up some emails.
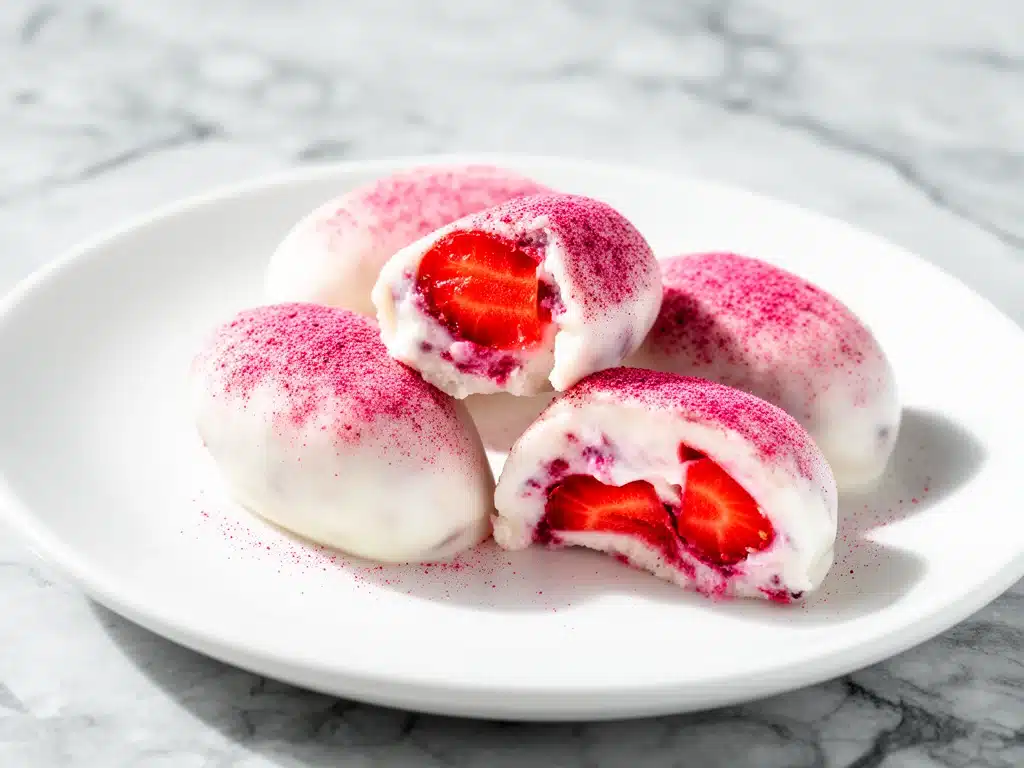
Twenty minutes later, I pulled them out. They were firm, cold, and tasted like a frozen yogurt treat without the guilt or the sugar crash. I ate three before I even realized I was done. That was the moment I discovered No-Bake Strawberry Yogurt Bites. What started as a desperate attempt to avoid the vending machine turned into a weekly ritual. Now, these little bites are my secret weapon for healthy snacking.
I’ve made them dozens of times since that Tuesday. I’ve tweaked the ratios, tested different yogurts, and even tried swapping strawberries for raspberries (which works, but the strawberry version is still my absolute favorite). They’re simple, they’re delicious, and they prove that healthy doesn’t have to mean boring or time-consuming. If you’re looking for a snack that actually satisfies a sweet tooth without leaving you feeling sluggish, these are it.
Why You’ll Love This Recipe
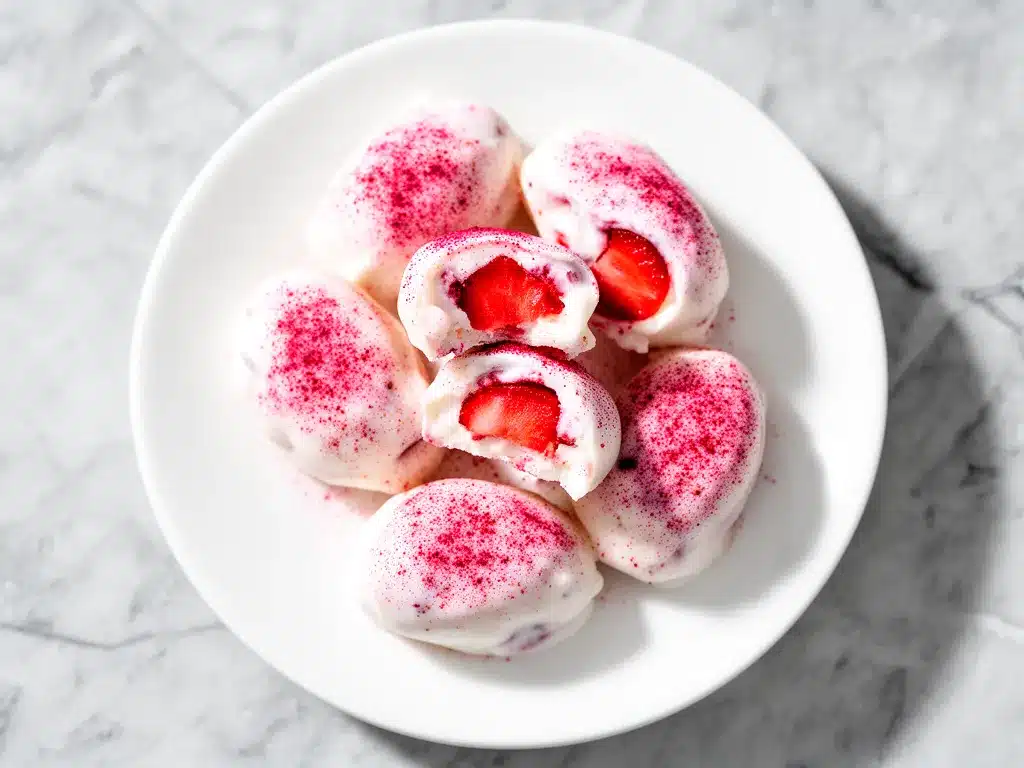
There are a lot of “healthy snack” recipes out there that sound good on paper but taste like cardboard. This isn’t one of them. These No-Bake Strawberry Yogurt Bites are creamy, tangy, naturally sweet, and incredibly easy to make. Here’s why they’ve earned a permanent spot in my freezer:
- Stupid Simple — Seriously, if you can mash a banana, you can make these. There’s no baking, no complicated techniques, and no special equipment. Just mix, roll, and freeze. I’ve made these while holding my toddler on one hip.
- Lightning Fast — The actual prep time is about 15 minutes. The rest is just waiting in the freezer. It’s the perfect “I have ten minutes” snack.
- Pantry-Friendly — You probably have most of these ingredients already. Greek yogurt, strawberries, oats, honey, and vanilla. That’s it. No weird superfoods you can’t pronounce.
- Naturally Sweetened — No refined sugar here. Just the natural sweetness of fruit and a touch of honey. They taste like dessert but fuel like breakfast.
- Meal Prep Hero — I make a big batch on Sunday and grab them all week. They stay fresh in the freezer for up to a month. They’re my answer to “what’s for snack?” when I’m running late.
- Kid-Approved — My picky eater usually turns his nose up at “healthy” food. But these? He calls them “frozen yogurt bites” and asks for seconds. Win-win.
These bites have completely changed my afternoon routine. No more mindless snacking on chips. No more sugar crashes. Just real food that tastes good and makes me feel good.
Ingredients You’ll Need
The beauty of this recipe is its simplicity. You don’t need a long list of obscure ingredients. Here’s exactly what you’ll need, and why each one matters.
For the Base
Greek Yogurt (1 cup / 225g) — This is the star. Use plain, full-fat Greek yogurt. It’s thick, creamy, and high in protein. Skim yogurt is too watery and will make the bites soggy. Full-fat gives you that rich, creamy texture that mimics ice cream. I always use Fage or Chobani—any brand works, but stick to plain.
Fresh Strawberries (1 cup / 150g, hulled) — Fresh berries give the best flavor. If you only have frozen strawberries, that’s okay too—just thaw them and drain off any excess liquid. Wet strawberries can make the mixture too runny. Pat them dry with a paper towel if you’re using frozen ones.
Old-Fashioned Oats (½ cup / 45g) — These add texture and help bind the bites together. You can use quick oats, but they’ll make the texture smoother and less chewy. I like the heartier bite of old-fashioned oats. If you’re gluten-free, make sure to use certified gluten-free oats.
For the Flavor
Honey (2 tablespoons / 30ml) — Adds natural sweetness and helps bind the mixture. You can use maple syrup if you want to make them vegan, but honey gives a nicer flavor. Adjust the amount based on how sweet your strawberries are.
Vanilla Extract (1 teaspoon / 5ml) — Just a splash enhances the overall flavor. It makes the yogurt taste more like a dessert. Use pure vanilla extract, not imitation. It makes a noticeable difference.
Lemon Juice (1 teaspoon / 5ml) — This is the secret ingredient. A little bit of acid brightens up the sweetness and balances the tang of the yogurt. Don’t skip it—it’s what makes these bites taste fresh instead of flat.
Pinch of Salt — Just a tiny pinch brings out all the flavors. It sounds counterintuitive in a sweet snack, but trust me on this.
Optional Add-Ins
Chia Seeds (1 tablespoon) — For added omega-3s and fiber. They’ll swell up a bit, so don’t add too much or the bites will get mushy.
Mini Chocolate Chips (2 tablespoons) — If you want a little indulgence, stir these in at the end. They melt slightly in the freezer for a nice surprise.
Coconut Flakes (for rolling) — If you want to roll the bites in something after freezing, shredded coconut adds a nice crunch and tropical vibe.
Common Substitutions
Dairy-Free? Use coconut yogurt instead of Greek yogurt. It’s thicker and works well, though the flavor will be slightly different.
Vegan? Swap honey for maple syrup or agave nectar. Use coconut yogurt and skip the dairy-based add-ins.
Gluten-Free? Just ensure your oats are certified gluten-free. The rest of the ingredients are naturally gluten-free.
Equipment Needed
You don’t need fancy gear for this. Here’s what I actually use:
- Medium Mixing Bowl — Any bowl works. I use a medium ceramic bowl because it’s heavy and doesn’t slide around.
- Fork or Potato Masher — To mash the strawberries. A fork is fine if you want chunks; a masher gives a smoother puree.
- Silicone Spatula — For mixing everything together. It scrapes the bowl clean so you don’t waste any yogurt.
- Baking Sheet — A standard sheet pan lined with parchment paper or a silicone mat. Parchment paper is easier for cleanup.
- Ice Cream Scoop or Small Spoon — To portion the bites evenly. An ice cream scoop makes uniform bites, which look nicer. A small teaspoon works too.
- Airtight Container — For storing the bites in the freezer. I use glass containers with snap-lock lids.
Pro Tip: I keep a roll of parchment paper on my counter specifically for freezer snacks. It saves so much cleanup time.
How to Make It: Step-by-Step
Alright, let’s make these! I’m walking you through exactly how I do it, including the little tricks I’ve picked up.
Step 1: Prep the Strawberries (5 minutes)
Wash and hull your strawberries. If they’re large, chop them in half. If you’re using frozen strawberries, thaw them completely and then press them in a paper towel to remove excess moisture. Wet strawberries are the enemy here—you don’t want a soupy mixture. Set them aside.
Step 2: Mash the Fruit (2 minutes)
Place the strawberries in your mixing bowl. Use a fork or potato masher to mash them into a chunky puree. You don’t need it completely smooth—some texture is nice. If you want a smoother bite, you can blend them in a food processor, but I like the rustic look of hand-mashed berries.
Step 3: Mix the Base (3 minutes)
Add the Greek yogurt, honey, vanilla extract, lemon juice, and salt to the mashed strawberries. Stir well with a silicone spatula until everything is fully combined. The mixture should be thick and creamy. If it’s too thin, add a little more oats. If it’s too thick, add a splash more yogurt.
Step 4: Fold in the Oats (1 minute)
Stir in the oats. They’ll start to absorb some of the moisture immediately. Let the mixture sit for 5 minutes. This gives the oats time to soften slightly, so they’re not crunchy in the final bite. Stir again after the 5 minutes.
Step 5: Scoop and Shape (5 minutes)
Line a baking sheet with parchment paper. Use an ice cream scoop or a small tablespoon to scoop out portions of the mixture. Roll each portion between your palms to form a smooth ball. Place them on the baking sheet, leaving a little space between each one. You should get about 15-20 bites, depending on the size.
Step 6: Freeze (2-3 hours)
Place the baking sheet in the freezer. Let the bites freeze for at least 2 hours, or until they’re firm to the touch. If you’re in a rush, you can freeze them for 1 hour, but they’ll be softer. For best results, let them freeze overnight.
Step 7: Store and Serve
Once frozen, transfer the bites to an airtight container or freezer bag. They’ll keep in the freezer for up to 1 month. When you’re ready to eat, let them sit at room temperature for 2-3 minutes to soften slightly. Enjoy!
Total Time: About 20 minutes active, plus 2-3 hours freezing.
Expert Tips & Tricks
Here’s everything I’ve learned from making these dozens of times. These tips will save you from my mistakes.
Don’t Skip the Lemon Juice
I know it sounds weird in a sweet snack, but the lemon juice cuts through the richness of the yogurt and the sweetness of the honey. It makes the strawberries taste more like strawberries. Without it, the bites taste flat. Trust me.
Drain Your Frozen Berries
If you use frozen strawberries, this is crucial. Thaw them and then squeeze out as much liquid as possible. Excess water will make the bites icy and watery. Pat them dry with paper towels. It’s a small step that makes a big difference.
Let the Oats Rest
After mixing the oats into the yogurt, let the mixture sit for 5-10 minutes. This allows the oats to absorb some of the moisture and soften. If you skip this, the oats will be hard and crunchy in the final bite. We want them tender, not chewy.
Roll Them Tightly
When shaping the bites, roll them firmly between your palms. This helps them hold their shape in the freezer. If they’re loose, they might fall apart when you try to handle them later.
Use Parchment Paper
Don’t skip the parchment paper. The bites will stick to the baking sheet if you don’t use it. Parchment paper makes cleanup a breeze and ensures the bites come off easily.
Common Mistakes
- Mistake: Bites are too soft — Fix: Add more oats or freeze longer. If they’re still soft, they might need more time to set.
- Mistake: Bites are too dry — Fix: Add more yogurt or a splash of milk. If the mixture is crumbly, it needs more moisture.
- Mistake: Bites are too sweet — Fix: Use unsweetened yogurt and reduce the honey. Taste the mixture before freezing and adjust if needed.
Variations & Substitutions
Once you’ve nailed the basic version, here’s how you can mix it up. I’ve tried all of these.
Raspberry Swirl
Swap strawberries for raspberries. Raspberries are more tart, so you might need a little more honey. The color is stunning, and the flavor is incredible.
Banana Oat Bites
Use mashed ripe banana instead of strawberries. Add a teaspoon of cinnamon. These taste like banana bread in bite form. My kids love these.
Blueberry Lemon
Use blueberries and increase the lemon juice to 2 teaspoons. The combination of blueberry and lemon is classic and refreshing.
Chocolate Chip Cookie Dough
Skip the fruit. Use vanilla yogurt, honey, oats, and mini chocolate chips. Add a pinch of salt. They taste like raw cookie dough but are actually healthy.
Peanut Butter Banana
Add 1 tablespoon of peanut butter to the mixture. It adds protein and richness. Great for pre-workout snacks.
Dietary Modifications
- Vegan: Use coconut yogurt and maple syrup. Add chia seeds for binding.
- Dairy-Free: Same as vegan. Coconut yogurt works best.
- Gluten-Free: Use certified gluten-free oats. All other ingredients are naturally gluten-free.
- Sugar-Free: Use unsweetened yogurt and skip the honey. Add stevia or monk fruit if needed. The berries provide some natural sweetness.
Serving & Storage
These bites are incredibly versatile. Here’s how I enjoy them and how to store them properly.
How to Serve
I usually eat them straight from the freezer as a snack. They’re firm and cold, like a mini popsicle. But here are other ways I’ve enjoyed them:
- Breakfast on the Go: Grab one or two with your morning coffee. They’re filling and provide a good energy boost.
- Post-Workout Snack: The protein from the yogurt helps with recovery. Add a scoop of protein powder to the mixture for an extra boost.
- Dessert Alternative: Serve with a dollop of whipped cream or a drizzle of chocolate sauce. They’re rich enough to satisfy a sweet tooth.
- Kid’s Lunchbox: Freeze them in individual portions for a fun, healthy treat in the lunchbox.
Storage Instructions
Refrigerator: You can store the mixture in the fridge for up to 2 days, but it’s better to freeze them. The texture will change if you let them sit too long.
Freezer: Store the frozen bites in an airtight container or freezer bag for up to 1 month. They’ll keep their texture and flavor well. Make sure to remove as much air as possible from the bag to prevent freezer burn.
Reheating: You don’t need to reheat these. Eat them straight from the freezer. If they’re too hard, let them sit at room temperature for 2-3 minutes. They’ll soften slightly but remain firm.
Pro Tip: I label my freezer bags with the date so I know when they were made. They’re so good, they rarely last a month!
Nutrition Information
I’m not a nutritionist, but here’s the breakdown if you’re tracking. These values are approximate and based on 15 bites.
| Nutrient | Per Bite (approx.) |
|---|---|
| Calories | 45 |
| Protein | 2g |
| Carbs | 6g |
| Fiber | 1g |
| Sugar | 4g |
| Fat | 1g |
| Sodium | 15mg |
What’s Good: High in protein from the Greek yogurt, low in sugar, and contains antioxidants from the strawberries. They’re a great way to get some fruit into your diet without the added sugars found in many snacks.
What to Know: The calorie count can vary depending on the brand of yogurt and the sweetness of the fruit. If you add chocolate chips or peanut butter, the calories and fat will increase. Adjust accordingly.
My Take: These are not a diet food, but they’re a much healthier alternative to candy or chips. They’re nutritious, satisfying, and delicious. I don’t stress about the exact calories—I just enjoy them as part of a balanced diet.
Final Thoughts
So that’s my No-Bake Strawberry Yogurt Bites! I’ve probably talked your ear off at this point, but when you make a recipe this often, you have a lot to say about it.
These little bites have saved me from countless vending machine trips. They’re my answer to “what’s for snack?” when I’m tired, don’t want to cook, and still want something that tastes good. My kids are happy, my husband is happy (he sneaks them from the freezer), and I’m happy because I’m not stressing about unhealthy choices.
Make it yours! Try different fruits, swap in your favorite nut butter, or add some seeds for extra nutrition. The best recipes are the ones you adapt to your family’s tastes. These bites are just a starting point.
If you make this, drop a comment and let me know what you think! I love hearing how recipes turn out in your kitchen. And if something doesn’t work, tell me that too—I’m here to help troubleshoot.
Happy snacking! And I hope your freezer smells as good as mine does right now.
Frequently Asked Questions
Can I use frozen strawberries?
Yes, you can! Just make sure to thaw them completely and then drain off as much liquid as possible. Press them in a paper towel to remove excess moisture. Wet strawberries will make the mixture too runny and icy. Fresh strawberries are ideal, but frozen works in a pinch.
How long do these bites last in the freezer?
They’ll keep well in the freezer for up to 1 month. Make sure to store them in an airtight container or freezer bag to prevent freezer burn. They’ll maintain their texture and flavor for the full month.
Can I make these ahead for a party?
Absolutely! Make them a day or two before the party and store them in the freezer. Take them out 10 minutes before serving to let them soften slightly. They’re perfect for parties because they’re easy to grab and eat.
Why did my bites fall apart?
This usually means the mixture was too wet. Check if your strawberries were too watery, or if you didn’t use enough oats. Greek yogurt should be thick—avoid watery or skim yogurts. If the mixture is too soft, add more oats and let it sit for 10 minutes before rolling.
Can I roll these in something?
Yes! Once the bites are frozen, you can roll them in shredded coconut, crushed nuts, or cocoa powder. This adds extra flavor and texture. Just handle them gently, as they’re fragile when frozen.
Are these keto-friendly?
Not really. The oats and honey add carbs. If you’re on keto, you can substitute oats with almond flour and honey with a keto-friendly sweetener like erythritol. The texture will be different, but it can work.
Can I double this recipe?
Yes! Double all the ingredients and follow the same steps. Just make sure you have enough space in the freezer for the larger batch. They freeze beautifully, so doubling is a great way to meal prep.
Pin This Recipe!
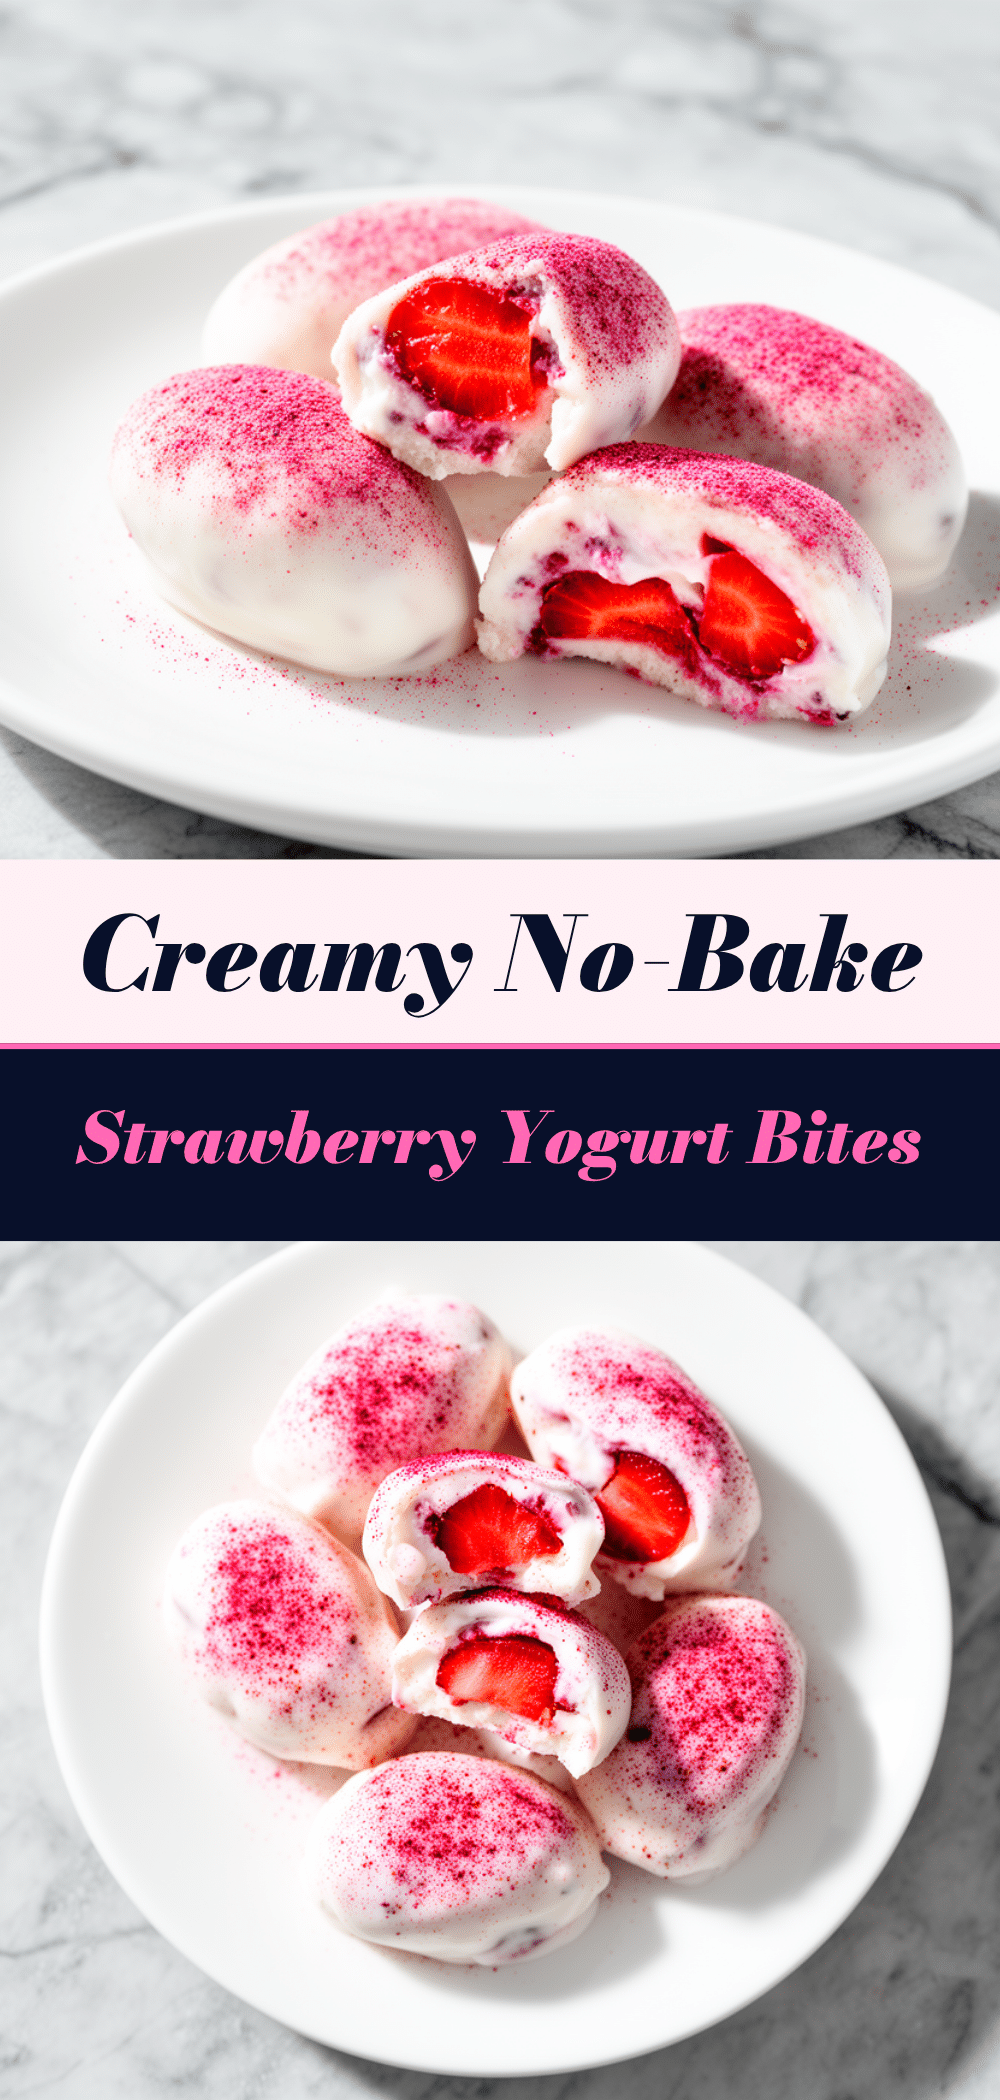
No-Bake Strawberry Yogurt Bites
- Total Time: 2 hours 15 minutes
- Yield: 15-20 servings 1x
Description
A simple, healthy, and delicious frozen snack made with just five main ingredients. These creamy, naturally sweetened bites are perfect for satisfying a sweet tooth without the sugar crash.
Ingredients
- 1 cup plain full-fat Greek yogurt
- 1 cup fresh strawberries, hulled and mashed (or frozen, thawed and drained)
- 1/2 cup old-fashioned oats
- 2 tablespoons honey
- 1 teaspoon vanilla extract
- 1 teaspoon lemon juice
- Pinch of salt
Instructions
- Wash and hull strawberries. If using frozen, thaw and press out excess moisture with a paper towel.
- Mash the strawberries in a medium mixing bowl until chunky.
- Add Greek yogurt, honey, vanilla extract, lemon juice, and salt to the mashed strawberries. Stir well until combined.
- Stir in the oats and let the mixture sit for 5 minutes to allow oats to soften.
- Line a baking sheet with parchment paper.
- Scoop portions of the mixture using an ice cream scoop or spoon and roll into balls between your palms.
- Place bites on the prepared baking sheet, leaving space between each.
- Freeze for at least 2 hours or until firm.
- Transfer to an airtight container or freezer bag for storage.
Notes
If using frozen strawberries, it is crucial to drain and pat them dry to prevent the mixture from becoming too watery. Let the oats rest for 5 minutes after mixing to soften them. For a vegan version, use coconut yogurt and maple syrup. For a dairy-free version, use coconut yogurt.
- Prep Time: 15 minutes
- Cook Time: 0 minutes
- Category: Snack
- Cuisine: American
Nutrition
- Serving Size: 1 bite
- Calories: 45
- Sugar: 4
- Sodium: 15
- Fat: 1
- Saturated Fat: 0.5
- Carbohydrates: 6
- Fiber: 1
- Protein: 2
Keywords: healthy snack, no-bake, yogurt bites, strawberry snack, gluten-free option, vegan option, meal prep, frozen yogurt



