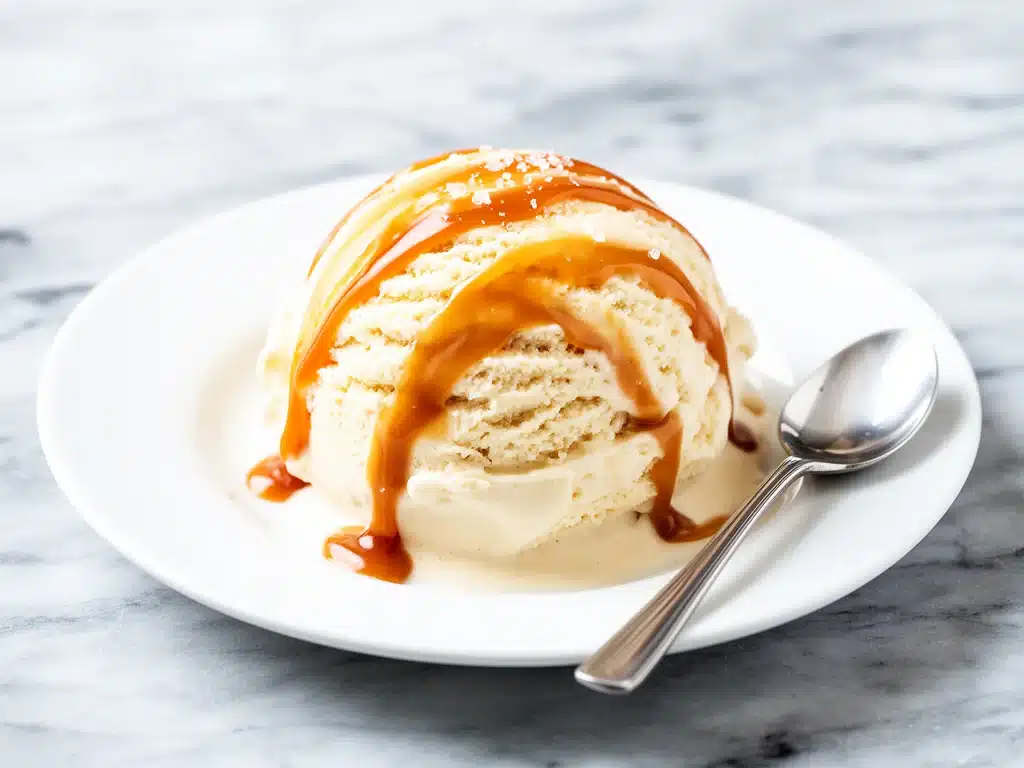
Last July, I found myself standing in the frozen food aisle of my local grocery store at 9:30 PM, holding a pint of generic vanilla ice cream and feeling absolutely defeated. My kids had been asking for “something sweet” since dinner ended, and I had zero energy left to cook, bake, or even think about cleaning. That pint cost $6, tasted like wax, and left my stomach feeling heavy instead of happy. I put it back. I walked out empty-handed, promising myself I’d figure out a better solution before next time.
That night sparked a obsession. I wanted ice cream that tasted like real caramel, with that perfect salty-sweet crunch, but I didn’t want to spend hours churning it or dealing with complicated custard bases that might curdle if I looked at them wrong. I wanted something that fit into my chaotic weeknight rhythm. I needed a recipe that required zero special equipment, used ingredients I already had in my pantry, and tasted like I’d spent all day in the kitchen (even though it took me 15 minutes of active work).
That search led me to this no-churn salted caramel ice cream recipe. It’s changed how I handle dessert requests. It’s simple, it’s creamy, and it’s honestly the best part of my week. I’ve made this at least twelve times in the last six months—sometimes when I’m tired, sometimes when I’m hosting friends, and sometimes just because I needed a little treat for myself. It’s become my go-to answer for “What’s for dessert?” when I don’t have the energy for anything fancy. If you’re looking for an easy way to satisfy those late-night cravings without the hassle, this is it. Let’s get into why this four-ingredient wonder is about to become your new best friend.
Why You’ll Love This No-Churn Salted Caramel Ice Cream
There are about ten reasons I keep making this ice cream, but here are the big ones. This isn’t just a dessert; it’s a stress-reliever in a container.
Stupid Simple — Seriously, if you can open a can and stir a spoon, you can make this. I’ve walked my teenage daughter through it over FaceTime while she was at college, and she nailed it on the first try. There’s no tempering eggs, no candy thermometer, and no ice cream machine required.
Lightning Fast Prep — It takes about 15 minutes to mix the base, then you just pop it in the freezer. That’s it. I make this on weeknights when I get home at 7 PM, mix it up, and let the freezer do the heavy lifting. By the time I’m ready for dessert, it’s ready to eat.
Pantry-Friendly — You probably have 80% of these ingredients already. Heavy cream, sweetened condensed milk, vanilla, and caramel sauce. I keep these stocked specifically so I can make this on a whim. No special trips to the store needed.
Crowd-Pleaser — I’ve served this to my picky eater cousin, my foodie friends, and my neighbors. Everyone loves the rich, buttery flavor of the caramel mixed with the smooth, airy ice cream. It feels fancy, but it’s incredibly approachable.
Makes Amazing Leftovers — Actually tastes better the next day. The flavors meld together in the freezer, making it even more intense. I deliberately make extra for lunch (yes, ice cream for lunch is a thing) throughout the week.
Budget-Smart — Feeds 8-10 people for under $10. That’s less than two pints of premium store-bought ice cream, and it tastes way better. You’re controlling the sugar and the quality of ingredients.
This is my go-to when I need dessert to just work. No complicated techniques, no weird ingredients, just reliable, delicious food that makes everyone happy. It’s the kind of recipe that makes you feel like a kitchen wizard without any of the effort.
Ingredients You’ll Need
Here’s the best part: you probably have most of this already. This recipe relies on three core ingredients plus one for flavor, keeping it simple and accessible. I’m particular about two things here, and I’ll tell you exactly why.
For the Base
Heavy Whipping Cream (2 cups / 480ml) — This is the foundation. It must be cold, straight from the fridge. I use full-fat heavy cream because it whips up stiff peaks easily and gives that rich, creamy texture. Don’t try to substitute with half-and-half or light cream; it won’t whip properly, and your ice cream will be icy instead of smooth. I usually buy the quart cartons and freeze the leftovers for coffee or cooking.
Sweetened Condensed Milk (1 can / 14 oz / 397g) — This is the magic ingredient that replaces the need for a sugar syrup or custard base. It adds sweetness, creaminess, and prevents ice crystals from forming. Make sure it’s the sweetened condensed milk, not the evaporated milk. They look similar but are totally different. I keep a few cans in my pantry at all times.
For the Flavor
Vanilla Extract (2 teaspoons) — Use real vanilla extract, not imitation. The flavor difference is huge in a recipe this simple. I love using a good-quality bourbon vanilla for extra depth. If you’re out, you can use vanilla bean paste, but extract works perfectly.
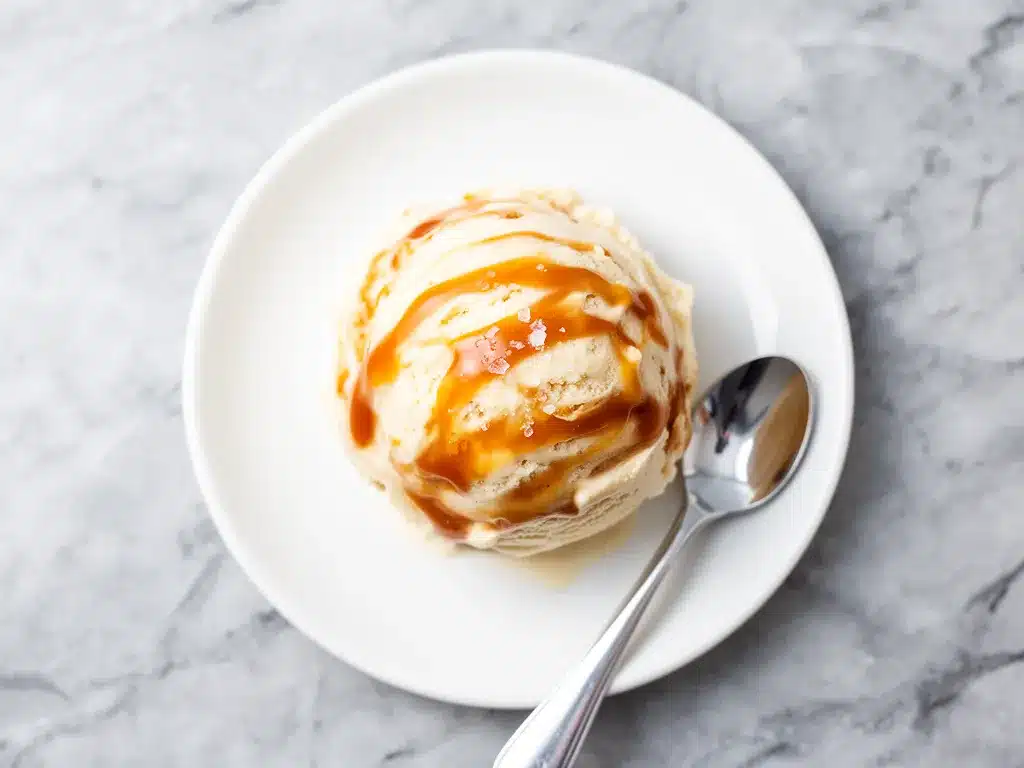
Salted Caramel Sauce (½ cup / 120ml) — This is where the flavor shines. I prefer a thick, chewy caramel sauce rather than a thin drizzle. I’ve tried making my own, but honestly, a good store-bought brand like Ghirardelli or Smucker’s works beautifully and saves time. Look for one with visible sea salt flakes for that perfect sweet-salty balance.
Optional Add-ins
Toffee Bits (½ cup) — If you want extra crunch, stir in some toffee bits. They add a buttery, crunchy texture that pairs amazingly with the smooth ice cream. I buy the small bags just for this.
Sea Salt Flakes (for topping) — A sprinkle of flaky sea salt on top before serving elevates the presentation and boosts the caramel flavor. Maldon sea salt is my favorite, but any flaky salt works.
Personal Tips:
- Brand Recommendations: I always use Land O’Lakes heavy cream—it whips consistently. For condensed milk, Eagle Brand is reliable.
- Shopping Shortcuts: I buy pre-made caramel sauce when I’m being lazy. It tastes 95% as good as homemade and saves me 45 minutes.
- Substitutions: No salted caramel sauce? Mix regular caramel sauce with a pinch of sea salt. It’s not identical, but it works.
- Storage: Keep your caramel sauce at room temperature. The condensed milk and cream keep well in the fridge for weeks.
Equipment Needed
You don’t need fancy equipment for this. Here’s what I actually use.
Large Mixing Bowl — I use a 4-quart stainless steel bowl. It needs to be big enough to hold the whipped cream and allow room for folding. Glass works too, but metal stays colder, which helps the cream whip better.
Electric Hand Mixer or Stand Mixer — You can whip the cream by hand, but it takes forever and your arms will hurt. I use a hand mixer because it’s quick and easy to clean. A stand mixer with the whisk attachment is even better if you have one.
Silicone Spatula — Essential for folding the ingredients together without deflating the air in the cream. I use a large, flexible spatula. Wooden spoons work too, but silicone is easier to scrape clean.
Loaf Pan or Ice Cream Container — A standard 9×5 inch loaf pan works perfectly. It’s the right size for this amount of mix. You can also use a 1-quart airtight container. Make sure it’s freezer-safe.
Measuring Cups and Spoons — Pretty standard stuff. Dollar store versions work fine, but accuracy matters here. Don’t eyeball the condensed milk.
Whisk — Just for whipping the cream initially. If you’re using a hand mixer, you don’t need a whisk.
Optional but nice:
- Cool Whip Alternative: Some people use Cool Whip, but I prefer whipping my own cream for better texture and control over sugar.
- Plastic Wrap: To line the pan if you want easy removal later, though it’s not necessary.
How to Make It: Step-by-Step
Alright, let’s make this! I’m walking you through exactly how I do it, including the little tricks I’ve picked up.
Step 1: Chill Your Equipment (5 minutes)
Before you start, put your mixing bowl and beaters in the freezer for 15-20 minutes. Cold equipment helps the cream whip faster and hold its shape. If you’re in a rush, just make sure your cream is ice-cold straight from the fridge. This step is crucial for success.
Step 2: Whip the Heavy Cream (3-4 minutes)
Pour the cold heavy cream into your chilled bowl. Using your electric mixer on medium-high speed, whip the cream until you see stiff peaks. This means when you lift the beaters, the cream stands up straight and doesn’t droop. It should look thick and glossy, like soft peaks for frosting. Be careful not to over-whip it into butter! It usually takes about 3-4 minutes. Watch it closely as it goes from liquid to fluffy.
Step 3: Add the Sweetened Condensed Milk (1 minute)
Turn the mixer to low speed. Slowly pour in the entire can of sweetened condensed milk. Add it in a steady stream while the mixer is running. This prevents splashing and ensures it mixes evenly. Once it’s all in, mix on low for another 30 seconds just to combine. Don’t overmix here; you just want it incorporated.
Step 4: Fold in the Vanilla and Caramel (2 minutes)
Stop the mixer. Add the vanilla extract. Now, take your silicone spatula and gently fold in the vanilla. Then, add the salted caramel sauce. Here’s the trick: don’t stir it all the way through. You want ribbons of caramel throughout the ice cream, not a uniform brown color. Fold the caramel in just 5-6 times, creating swirls. If you want toffee bits, add them now and fold gently.
Step 5: Freeze the Mix (6-8 hours)
Scoop the mixture into your loaf pan or container. Smooth the top with the spatula. Cover tightly with plastic wrap or a lid. Place it in the freezer. It needs to freeze for at least 6 hours, but overnight is best. The longer it freezes, the creamier it gets. Don’t rush this step!
Step 6: Serve and Enjoy
When you’re ready to eat, let the ice cream sit at room temperature for 5-10 minutes to soften slightly. This makes it much easier to scoop. Serve in bowls, top with extra caramel drizzle and sea salt flakes if you like. Enjoy immediately!
Total Time: About 15 minutes active, 6-8 hours freezing.
Troubleshooting:
- Cream didn’t whip? Your cream or bowl wasn’t cold enough. Next time, chill longer.
- Ice cream too hard? Let it sit out longer before scooping. Dairy-free versions can be harder.
- Caramel sank to bottom? You stirred too much. Remember, fold, don’t stir!
Expert Tips & Tricks
Here’s everything I’ve learned from making this dozens of times. These tips will save you from my mistakes.
Keep Everything Cold
This is the #1 tip. If your cream is warm, it won’t whip. If your bowl is warm, it won’t whip. I keep my bowl in the freezer until the last second. If you’re using a stand mixer, make sure the bowl is chilled. Cold cream = stiff peaks = creamy ice cream. Warm cream = soup = disappointment.
Don’t Overmix the Caramel
I made the mistake of blending the caramel in completely once, and the result was just brown ice cream. No swirls, no surprise bursts of flavor. The beauty of salted caramel ice cream is in the ribbons. Fold gently. Stop when you see swirls. That’s it.
Use High-Quality Caramel
Since this recipe has only four ingredients, the caramel flavor is front and center. Don’t skimp on the sauce. If you use a thin, watery caramel, the ice cream will be too sweet and lack depth. Look for a thick, buttery sauce with real sea salt. I’ve tried many brands, and Ghirardelli is my top pick for consistency.
Room Temperature Before Serving
No-churn ice cream can get rock-hard in the freezer. This is normal. The trick is patience. Let it sit on the counter for 10 minutes before scooping. It will soften just enough to scoop beautifully without melting into a puddle. Trust me, this step makes a huge difference in the eating experience.
Common Mistakes (and how to avoid them):
- Mistake: Grainy texture Fix: You didn’t whip the cream enough. Aim for stiff peaks. Also, ensure the condensed milk is smooth before adding.
- Mistake: Ice crystals Fix: Your container wasn’t airtight, or the cream wasn’t cold enough. Cover tightly and chill properly.
- Mistake: Too sweet Fix: Use less caramel or choose a less sweet brand. You can always add more salt to balance it.
Variations & Substitutions
Once you’ve nailed the basic version, here’s how you can mix it up. I’ve tried all of these.
Tested Variations:
Chocolate Caramel Swirl
Add ¼ cup cocoa powder to the whipped cream before folding in the caramel. It creates a mocha-caramel vibe that’s incredible. I love this with chocolate toffee bits.
Peanut Butter Caramel
Stir in ½ cup of creamy peanut butter along with the vanilla. The saltiness of the peanut butter pairs perfectly with the caramel. This is a huge hit with my husband.
Cookie Dough Caramel
Fold in ½ cup of edible cookie dough chunks before freezing. The contrast of the soft ice cream and chewy dough is amazing. I make my own edible dough (no raw eggs) for this.
Coconut Caramel
Substitute half the heavy cream with coconut cream for a tropical twist. Add toasted coconut flakes on top. This is dairy-free if you use coconut cream and a dairy-free caramel sauce.
Dietary Modifications:
Dairy-Free
Use full-fat coconut cream (chilled overnight, scoop the solid part) instead of heavy cream. Use a dairy-free sweetened condensed milk (available in some stores) or make your own. Use a dairy-free caramel sauce. It’s rich and creamy, just different in flavor.
Lower Sugar
This is hard to do because sweetened condensed milk is mostly sugar. You can try using a sugar-free condensed milk alternative, but the texture will be different. I haven’t perfected this version yet, but I’m experimenting.
Other Flavors:
- Mint Chocolate Chip: Add 1 teaspoon peppermint extract and ½ cup chocolate chips.
- Strawberry: Fold in 1 cup pureed fresh strawberries.
- Butterscotch: Swap caramel for butterscotch sauce. Similar vibe, different flavor.
Serving & Storage
I usually serve this straight from the loaf pan at the dinner table—it looks rustic and stays cold. But here are other ways I’ve enjoyed it:
How to Serve:
- Classic Bowl: Scoop into a bowl, drizzle with extra caramel, sprinkle with sea salt.
- Waffle Cone: Serve in a waffle cone for a fun handheld treat.
- Parfait: Layer with crushed cookies or granola for texture.
- Milkshake: Blend a scoop with milk for a thick milkshake.
Side Dishes:
This ice cream pairs well with warm desserts like brown sugar peach caramel coffee cake or even hot honey ground beef and sweet potato bowl leftovers (yes, savory-sweet combos work!). It’s also great with creamy coconut lime mocktail for a tropical meal.
Toppings Bar:
When I have guests, I put out: extra caramel sauce, flaky sea salt, crushed toffee, chocolate chips, whipped cream. Everyone customizes their bowl.
Storage Instructions:
Refrigerator: Not applicable. This is a frozen dessert.
Freezer: Store in an airtight container for up to 2 weeks. The quality stays good, but after 2 weeks, it might start to get icy. I rarely make it last that long!
Reheating: Let sit at room temperature for 10 minutes before scooping. Do not microwave unless you want soup.
Meal Prep: Make this on Sunday for the week ahead. It’s perfect for pre-made dessert plans. I make it in the morning, and it’s ready by dinner time.
Pro tip: If leftovers are drying out, press plastic wrap directly onto the surface of the ice cream before closing the lid. This prevents freezer burn.
Nutrition Information
I’m not a nutritionist, but here’s the breakdown if you’re tracking. Note that this is an estimate based on standard ingredients.
Per Serving (based on 8 servings):
- Calories: 280
- Protein: 4g
- Carbs: 32g
- Fiber: 0g
- Sugar: 28g
- Fat: 16g
- Saturated Fat: 10g
- Cholesterol: 50mg
- Sodium: 60mg
What’s Good:
- Rich in calcium from the dairy
- Quick energy boost from sugar
- Simple ingredients, no artificial additives
What to Know:
- High in sugar and saturated fat
- Contains dairy
- Calorie-dense due to cream and condensed milk
My Take:
Look, this is ice cream. It’s sweet, rich, and indulgent. It’s not a diet food. But it’s way better than store-bought options with unpronounceable ingredients. When I want to make it lighter, I use less caramel and add more berries. But usually? I just enjoy a reasonable scoop and savor it.
Final Thoughts
So that’s my no-churn salted caramel ice cream! I’ve probably talked your ear off at this point, but when you make a recipe this often, you have a lot to say about it.
This has saved my dessert routine more times than I can count. It’s my answer to “What’s for dessert?” when I’m tired, don’t want to bake, and still want something that tastes really good. My kids are happy, my husband’s happy, and I’m happy because I’m not stressed about cooking.
Make it yours! Try different add-ins, swap in your favorite sauces, adjust the salt. The best recipes are the ones you adapt to your family’s tastes. And if you want to explore other easy desserts, check out my best Greek yogurt blueberry muffins for a lighter option, or my creamy crockpot sausage and peppers for a savory weeknight win.
If you make this, drop a comment and let me know what you think! I love hearing how recipes turn out in your kitchen. And if something doesn’t work, tell me that too—I’m here to help troubleshoot.
Happy cooking! And I hope your kitchen smells half as good as mine does right now (with all that caramel).
Frequently Asked Questions
Can I use Cool Whip instead of whipping cream?
You can, but the texture will be different. Cool Whip is lighter and airier, but it doesn’t have the rich, creamy mouthfeel of whipped heavy cream. If you use Cool Whip, thaw it completely before folding in the condensed milk and caramel. It’s easier and faster, but I prefer the taste of homemade whipped cream.
Why did my ice cream turn out icy?
Icy texture usually means the cream wasn’t whipped stiff enough, or the mixture wasn’t cold enough before freezing. Make sure your cream forms stiff peaks, and keep your bowl chilled. Also, ensure your container is airtight to prevent freezer burn. If it’s still icy, you might need to churn it slightly before serving to break up crystals.
Can I make this ahead for a party?
Absolutely! This is perfect for make-ahead desserts. Make it 2-3 days before your party. It actually tastes better after a day or two because the flavors meld. Just keep it in the freezer until you’re ready to serve. Let it sit out for 10 minutes before scooping.
How long does this ice cream last?
It stays best for about 2 weeks in the freezer. After that, it might start to lose its creamy texture and become icy. I rarely make it last that long, but it’s good to know for meal planning. Store it in an airtight container to maximize freshness.
Can I use salted caramel syrup instead of sauce?
You can, but syrup is thinner and might make the ice cream too sweet or watery. Sauce is thicker and adds a chewy texture. If you use syrup, reduce the amount slightly and taste before adding more. I prefer sauce for the best texture and flavor balance.
Is this recipe gluten-free?
Yes, the basic recipe is naturally gluten-free. Just ensure your caramel sauce and any add-ins (like toffee bits) are certified gluten-free. Most major brands are, but always check the label. This is a great option for gluten-free families.
Can I freeze this in popsicle molds?
Yes! This mixture works great for popsicles. Pour it into molds and freeze for 4-6 hours. They’re a fun, single-serving option. You can even drizzle extra caramel on top before freezing for a fancy touch. My kids love these as after-school snacks.
Pin This Recipe!
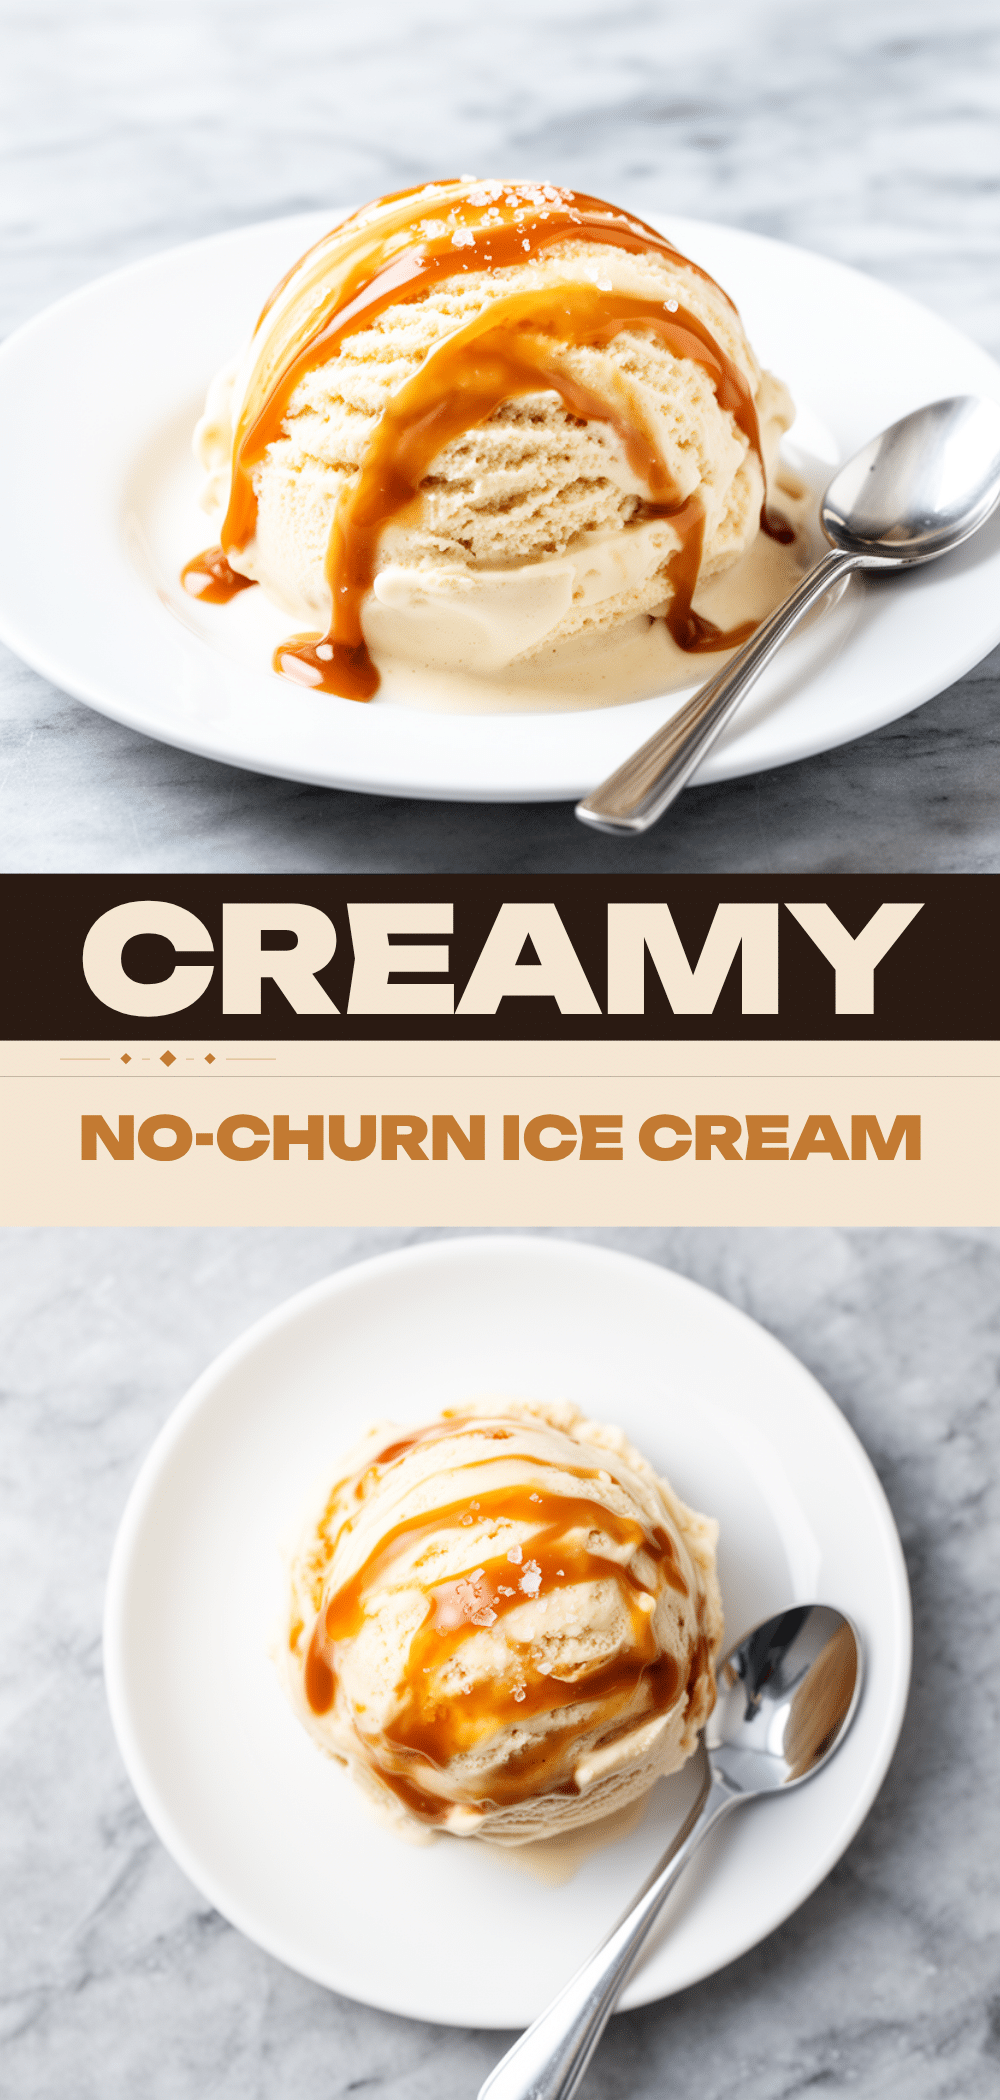
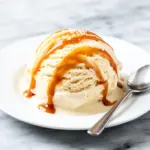
No-Churn Salted Caramel Ice Cream: Easy 4-Ingredient Recipe
- Total Time: 6 hours 15 minutes
- Yield: 8 servings 1x
Description
A simple, creamy no-churn salted caramel ice cream made with just four main ingredients. This stress-free dessert requires no ice cream machine and comes together in 15 minutes of active prep time.
Ingredients
- 2 cups heavy whipping cream (cold)
- 1 can (14 oz) sweetened condensed milk
- 2 teaspoons vanilla extract
- 1/2 cup salted caramel sauce
- 1/2 cup toffee bits (optional)
- Sea salt flakes (for topping, optional)
Instructions
- Chill a large mixing bowl and beaters in the freezer for 15-20 minutes.
- Pour the cold heavy cream into the chilled bowl and whip on medium-high speed until stiff peaks form (about 3-4 minutes).
- Turn the mixer to low speed and slowly pour in the sweetened condensed milk in a steady stream. Mix for another 30 seconds to combine.
- Stop the mixer and add the vanilla extract. Gently fold in the vanilla using a silicone spatula.
- Add the salted caramel sauce and fold gently 5-6 times to create ribbons/swirls. Do not stir completely through. If using toffee bits, fold them in now.
- Scoop the mixture into a 9×5 inch loaf pan or airtight freezer-safe container. Smooth the top.
- Cover tightly with plastic wrap or a lid and freeze for at least 6 hours, preferably overnight.
- Before serving, let the ice cream sit at room temperature for 5-10 minutes to soften slightly for easier scooping. Top with extra caramel and sea salt if desired.
Notes
Ensure all equipment and cream are very cold to achieve stiff peaks. Do not overmix the caramel sauce; fold gently to maintain swirls. If the ice cream is too hard to scoop, let it sit out for 10 minutes. Store in an airtight container for up to 2 weeks.
- Prep Time: 15 minutes
- Cook Time: 0 minutes
- Category: Dessert
- Cuisine: American
Nutrition
- Serving Size: 1 scoop
- Calories: 280
- Sugar: 28
- Sodium: 60
- Fat: 16
- Saturated Fat: 10
- Carbohydrates: 32
- Protein: 4
Keywords: no-churn ice cream, salted caramel ice cream, easy dessert, 4 ingredient recipe, ice cream without machine, summer dessert, family friendly dessert