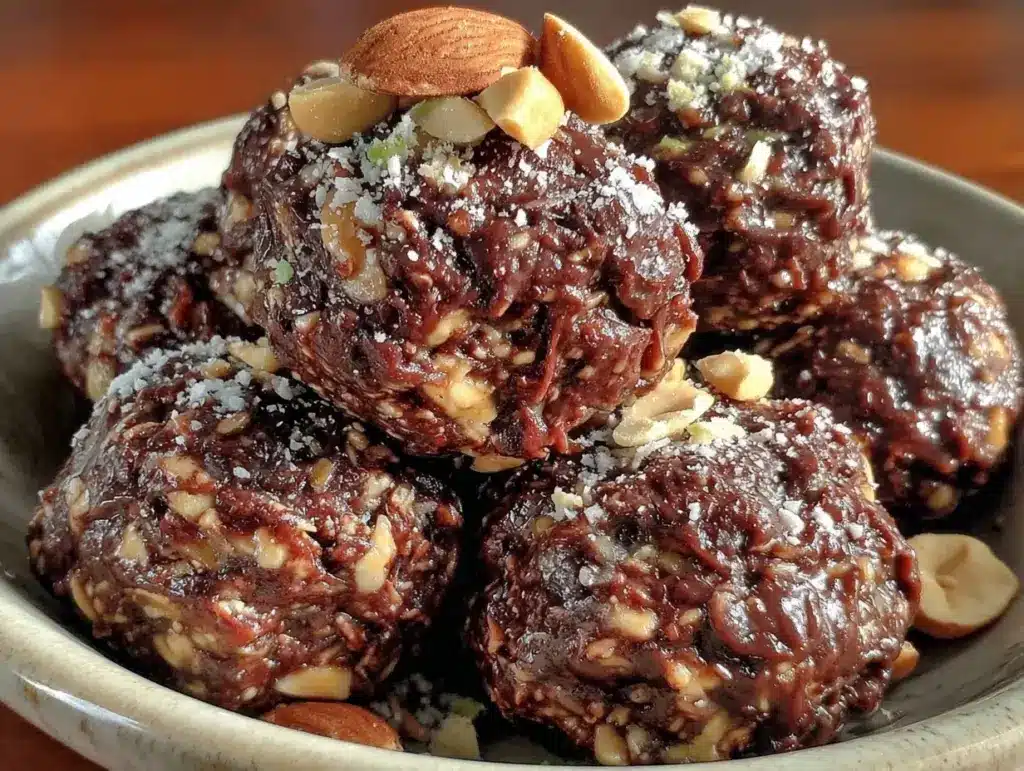
Let’s be real for a second. I have a love-hate relationship with protein balls. On paper, they sound like the perfect snack: no-bake, healthy-ish, portable, and packed with protein. In practice? I’ve spent years eating dry, chalky, overly sweet little discs that tasted like I was chewing on a vitamin supplement wrapped in cardboard. I’ve tried the store-bought kind that cost $8 for a tiny container of six balls. I’ve tried the almond butter ones that tasted like birdseed. I’ve even tried the ones that were just dates and walnuts, which were delicious but didn’t give me that chocolate-peanut-butter fix I crave at 3 PM.
Then, last month, I was feeling particularly lazy. I had a bag of oats, some peanut butter, a jar of maple syrup, and a craving for something sweet that wouldn’t wreck my afternoon. I didn’t want to turn on the oven. I didn’t want to make a complicated batter. I just wanted something that tasted like a dessert but functioned like fuel.
I threw everything into the food processor, hit “pulse,” and waited. The result wasn’t just edible. It was incredible. Dense, fudgy, and impossibly creamy. The best part? Zero dairy. Zero baking. And they stay firm in the fridge without turning into a rock-hard sphere of sadness.
These dairy-free no-bake chocolate peanut butter protein balls are the answer to my 3 PM slump. I’ve made them four times in the last two weeks. My kids think they’re magic cookies. My husband grabs three before I even finish the batch. If you’re looking for a snack that’s gluten-free, vegan, and ridiculously easy, stop scrolling. You need to make these. Seriously. I’ve made my keto flourless peanut butter cookies before, but these protein balls are even simpler and satisfy that chocolate craving in a completely different way.
Why You’ll Love This Recipe
There are a dozen reasons I keep coming back to this recipe, but let’s be honest about what actually matters when you’re tired and hungry. Here’s why these dairy-free no-bake chocolate peanut butter protein balls have earned a permanent spot in my fridge.
It’s Actually Creamy — The biggest myth about dairy-free desserts is that they’re dry or gritty. Not here. Using natural peanut butter (the kind that needs stirring) creates a rich, emulsified texture that mimics the mouthfeel of heavy cream or butter. It’s luxurious without the dairy.
Five Ingredients. That’s It. — Seriously. If you can measure and mix, you can make this. I don’t mean “five ingredients plus a pinch of this and a dash of that.” I mean five ingredients. You probably have all of them in your pantry right now. No trip to the specialty store required.
Meal Prep Friendly — I make a batch on Sunday night, and I’m set for the week. They don’t get soggy. They don’t melt in your bag. They just sit there, ready to save you from grabbing a vending machine candy bar when you’re stressed at work. It’s my secret weapon for staying on track with my nutrition goals without feeling deprived.
Gluten-Free and Vegan by Default — I use certified gluten-free oats, which makes these safe for my celiac friend who visits every month. They’re also naturally vegan, so no one feels left out. It’s proof that dietary restrictions don’t mean giving up flavor. It just means getting creative with what you already have.
They Taste Like Dessert — I’m not going to lie and say these are “healthy salad snacks.” They taste like a peanut butter cup. Dark, rich, sweet, and salty. But because they’re made with oats and nut butter, they keep me full for hours. It’s the best of both worlds.
Ingredients You’ll Need
Here’s the thing about this recipe: the quality of your ingredients matters more than usual. Because there are only five of them, each one plays a starring role. You don’t need fancy substitutions or obscure powders. You just need good basics.
The Base
Old-Fashioned Rolled Oats (2 cups / 160g) — I use certified gluten-free oats to keep these safe for everyone. Quick oats work in a pinch, but they make the texture mushy. Steel-cut oats? Absolutely not. They won’t soften in the fridge. You want that chewy, substantial bite.
Natural Peanut Butter (½ cup / 128g) — This is the most important ingredient. Look for the kind with just two ingredients: peanuts and salt. No added sugar, no hydrogenated oils. The oil separation is normal, so stir it well before measuring. If you’re allergic to peanuts, try my gluten-free almond flour fudgy brownie bites for a similar nutty fix, or swap to sunflower seed butter here. Almond butter works too, but it’s sweeter and changes the flavor profile slightly.
Medjool Dates (½ cup / 60g, pitted) — These are your sweetener. They add chewiness and natural caramel notes. Don’t use dry, small dates. Medjool are the big, soft, sticky ones. If your dates are dry, soak them in warm water for 10 minutes and drain well. You can substitute maple syrup (¼ cup), but the texture will be softer and less chewy.
The Flavor
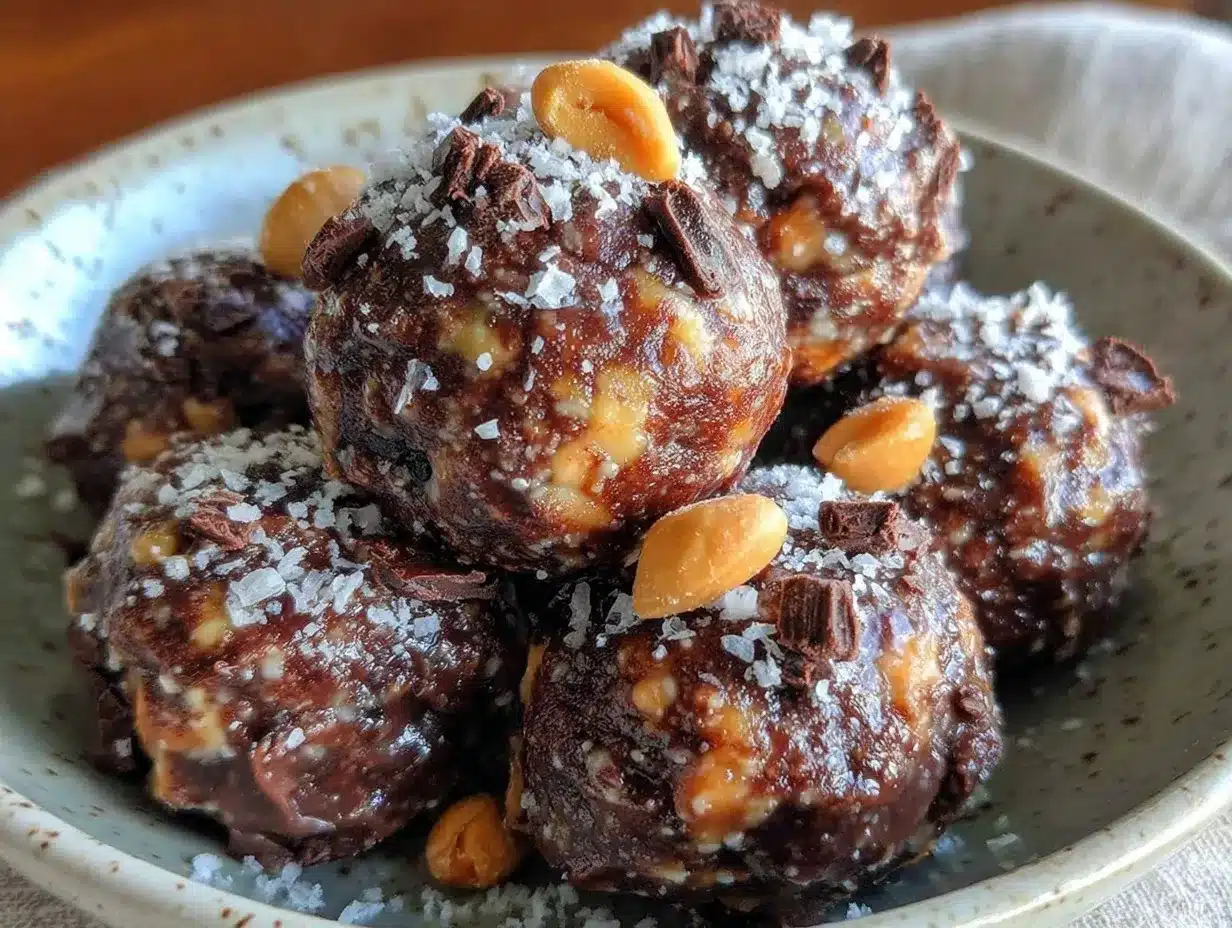
Unsweetened Cocoa Powder (¼ cup / 20g) — I use Dutch-processed cocoa for a deeper, darker chocolate flavor. Regular natural cocoa works fine too, but it’s lighter. Make sure it’s unsweetened. You want pure chocolate bitterness to balance the sweet dates and peanut butter.
Vanilla Extract (1 teaspoon) — Pure vanilla, please. It rounds out the chocolate and peanut butter flavors. Skip the imitation stuff; you’ll taste the difference.
Sea Salt (½ teaspoon) — Salt is non-negotiable. It makes the chocolate taste more chocolatey and the peanut butter taste more peanutty. Don’t skip it. If your peanut butter is already salted, you can reduce this to ¼ teaspoon.
The Optional Extras
Chia Seeds or Flax Seeds (1 tablespoon) — I throw these in for extra omega-3s and fiber. They’re almost undetectable in the final product, but they boost the nutritional profile. If you don’t have them, skip them. No big deal.
Dark Chocolate Chips (2 tablespoons) — For the chocolate lovers in the house. Stir these in at the end for little melty pockets. Just make sure they’re dairy-free if you’re sticking to the strict vegan version.
Shopping Tips
I always keep a bag of oats and a jar of peanut butter stocked. It’s the foundation of so many of my quick snacks. For dates, I buy them when they’re on sale and freeze them—they stay fresh for months. And for cocoa powder, I prefer brands like Ghirardelli or Hershey’s Special Dark for that rich color.
Equipment Needed
You don’t need a fancy kitchen for this. Here’s what I actually use.
Food Processor — This is the easiest way to get a uniform texture. The blades chop the dates and oats into a fine, sticky dough. If you don’t have one, a high-powered blender works, but you’ll have to scrape down the sides more often. A mortar and pestle? Good luck. Don’t bother.
Small Bowl — For mixing if you’re doing it by hand. Not recommended, but possible.
Silicone Spatula — For scraping the bowl. The mixture is sticky, so you’ll want something flexible.
Cookie Scoop or Tablespoon — For portioning. A small ice cream scoop makes uniform balls, which looks professional and ensures even sizes. I use a tablespoon if I’m being lazy.
Sheet Pan or Plate — To roll the balls on. Line it with parchment paper if you want easy cleanup, but it’s not strictly necessary.
Airtight Container — For storage. Glass is best, but plastic works too.
How to Make It: Step-by-Step
Alright, let’s make these dairy-free no-bake chocolate peanut butter protein balls. It’s going to be fast. I’m walking you through exactly how I do it to avoid the common pitfalls.
Step 1: Prep Your Dates (2 minutes)
If your dates are dry or sticky, pit them now. Use a small knife to slice them open and pull out the pits. If they’re really dry, soak them in warm water for 10 minutes, then drain and pat dry. You want them soft enough to blend easily. Wet dates can make the mixture too loose, so dry them well.
Step 2: Blend the Dry Ingredients (1 minute)
Add the oats, cocoa powder, chia seeds (if using), and salt to your food processor. Pulse until the oats are broken down into a coarse meal. It should look like coarse sand. Don’t over-process it into a fine powder, or your balls will be dense. You want some texture.
Step 3: Add the Wet Ingredients (1 minute)
Add the peanut butter, pitted dates, and vanilla extract to the food processor. Pulse until everything is combined. The mixture should start to clump together. If it’s too dry and doesn’t stick, add a teaspoon of water or milk (dairy-free) at a time. If it’s too wet, add a tablespoon of oats. You’re aiming for a dough that holds together when squeezed.
Step 4: Roll the Balls (5 minutes)
Scoop out about 1 tablespoon of mixture and roll it between your palms to form a ball. Place it on a sheet pan or plate. Repeat with the rest of the dough. You should get about 15-18 balls. If the mixture gets sticky, wet your hands slightly with water. This helps prevent sticking without making the balls soggy.
Step 5: Chill (30 minutes)
This is the hardest part: waiting. Place the tray in the refrigerator for at least 30 minutes. This firms up the peanut butter and oats, making the balls easier to handle and giving them that fudgy texture. If you’re in a rush, you can freeze them for 15 minutes, but the fridge is gentler.
Step 6: Store and Enjoy
Transfer the balls to an airtight container. They’ll keep in the fridge for up to 2 weeks or in the freezer for up to 3 months. Grab one when you need a quick energy boost.
Expert Tips & Tricks
Here’s everything I’ve learned from making these dozens of times. These tips will save you from my mistakes.
Use Natural Peanut Butter — This is crucial. Peanut butter with added oils and sugars changes the texture and sweetness. Natural peanut butter has a higher fat content, which helps bind the balls. Stir the jar well before measuring to incorporate the oil.
Don’t Skip the Salt — Salt enhances the chocolate flavor. Without it, the balls taste flat and overly sweet. I use flaky sea salt for the best flavor, but table salt works fine.
Adjust for Humidity — If you live in a humid climate, the oats might absorb moisture from the air. Add an extra tablespoon of oats if the mixture feels too soft. Conversely, if it’s dry, add a teaspoon of water.
Chill Before Serving — I know it’s tempting to eat them right away, but chilling makes a huge difference. The cold peanut butter is firmer and less greasy. It’s worth the wait.
Make a Double Batch — These freeze beautifully. I often make two batches and freeze half. They thaw quickly at room temperature, so they’re perfect for meal prep.
Variations & Substitutions
Once you’ve mastered the basic version, here’s how you can mix it up. I’ve tried all of these.
Almond Butter Version — Swap peanut butter for almond butter. It’s slightly sweeter and has a more delicate flavor. You might need a touch less maple syrup if you use sweetened almond butter.
Coconut Version — Add ½ cup of shredded coconut to the mixture. It adds a nice chew and tropical flavor. Roll the finished balls in extra coconut for a coating.
Coffee Kick — Add 1 teaspoon of instant espresso powder to the dry ingredients. It enhances the chocolate flavor without making it taste like coffee. Perfect for morning snacks.
Protein Boost — Add 1 scoop of your favorite protein powder. Start with 2 tablespoons and adjust as needed. It might make the mixture drier, so add a splash of water or milk if needed.
Dairy-Free Chocolate Chip — Stir in 2 tablespoons of dairy-free chocolate chips for extra indulgence. Just make sure they’re vegan-certified if that’s your goal.
Serving & Storage
How to Serve: I usually eat these straight out of the fridge. They’re cold, firm, and satisfying. But they also work great in lunchboxes, as post-workout snacks, or as a dessert alternative. Pair them with a glass of almond milk or a cup of tea.
Side Dishes: These are a snack, so they don’t need sides. But if you’re having them as a dessert, they pair well with fresh berries or a dollop of coconut yogurt.
Storage Instructions:
Refrigerator: Store in an airtight container for up to 2 weeks. They might get a bit harder in the cold, but they’ll soften at room temperature.
Freezer: Store in a freezer-safe bag or container for up to 3 months. Thaw at room temperature for 10 minutes before eating. They freeze really well because of the high fat content from the peanut butter.
Meal Prep: Make a batch on Sunday and divide them into individual portions for the week. This makes grabbing a snack effortless.
Pro Tip: If the balls feel too soft after rolling, chill them for an extra 10 minutes. If they’re too hard to roll, add a teaspoon of water or peanut butter.
Nutrition Information
I’m not a nutritionist, but here’s the breakdown if you’re tracking. These are estimates based on 18 balls.
Per Serving (1 ball):
- Calories: 90
- Protein: 3g
- Carbs: 12g
- Fiber: 2g
- Sugar: 7g (natural from dates)
- Fat: 4g
- Saturated Fat: 1g
- Sodium: 40mg
What’s Good: High in fiber and healthy fats from the oats and peanut butter. No refined sugar. Vegan and gluten-free.
What to Know: Calorie-dense due to the nut butter. Portion control is key if you’re watching calories. But they’re so small, you can easily have 2-3 as a snack.
My Take: These aren’t a meal replacement, but they’re a fantastic snack. They keep me full and satisfied without the sugar crash of a candy bar. I love that I can make them without worrying about dairy or gluten.
Final Thoughts
So that’s my go-to dairy-free no-bake chocolate peanut butter protein balls! I’ve probably talked your ear off at this point, but when you make a recipe this often, you have a lot to say about it. These balls have saved me from vending machine traps, late-night cravings, and post-workout hunger. They’re my answer to “what’s a quick, healthy snack” when I’m busy and don’t want to compromise on taste.
Make them yours! Try different nut butters, add seeds, or mix in chocolate chips. The best recipes are the ones you adapt to your tastes. If you make these, drop a comment and let me know what you think! I love hearing how recipes turn out in your kitchen. And if something doesn’t work, tell me that too—I’m here to help troubleshoot.
Happy snacking! And I hope your kitchen smells half as good as mine does right now (it’s basically a chocolate factory).
Frequently Asked Questions
Can I use quick oats instead of old-fashioned oats?
You can, but the texture will be different. Quick oats are finer and can make the balls mushy. Old-fashioned oats provide a better chew. If you only have quick oats, pulse them in the food processor for a few seconds to break them down before adding the other ingredients.
Why are my protein balls too dry?
This usually happens if your peanut butter is stiff or your dates are dry. Add a teaspoon of water, milk, or extra peanut butter to bind them. If you’re using protein powder, it can absorb moisture, so add liquid gradually.
Why are my protein balls too wet?
If the mixture is sticky and won’t hold its shape, add more oats or cocoa powder. A tablespoon at a time until it reaches the right consistency. You want it to be like playdough—firm but pliable.
Can I freeze these protein balls?
Yes! They freeze beautifully. Store them in a freezer-safe bag or container for up to 3 months. Thaw at room temperature for 10 minutes before eating. They don’t get icy or weird like some frozen snacks.
Can I use almond butter instead of peanut butter?
Absolutely. Almond butter works great and has a slightly sweeter, milder flavor. You might need a touch less maple syrup if you use sweetened almond butter. Sunflower seed butter is another good option for nut-free versions.
How long do these last in the fridge?
They last up to 2 weeks in an airtight container. After that, they might start to dry out or lose their freshness. If you want them to last longer, freeze them.
Can I make these without dates?
Dates are the primary sweetener and binder. If you don’t have them, you can use maple syrup or agave nectar, but the texture will be softer and less chewy. You’ll need to chill them longer to firm up. I don’t recommend skipping the sweetener entirely, as the balls will taste bland.
Pin This Recipe!
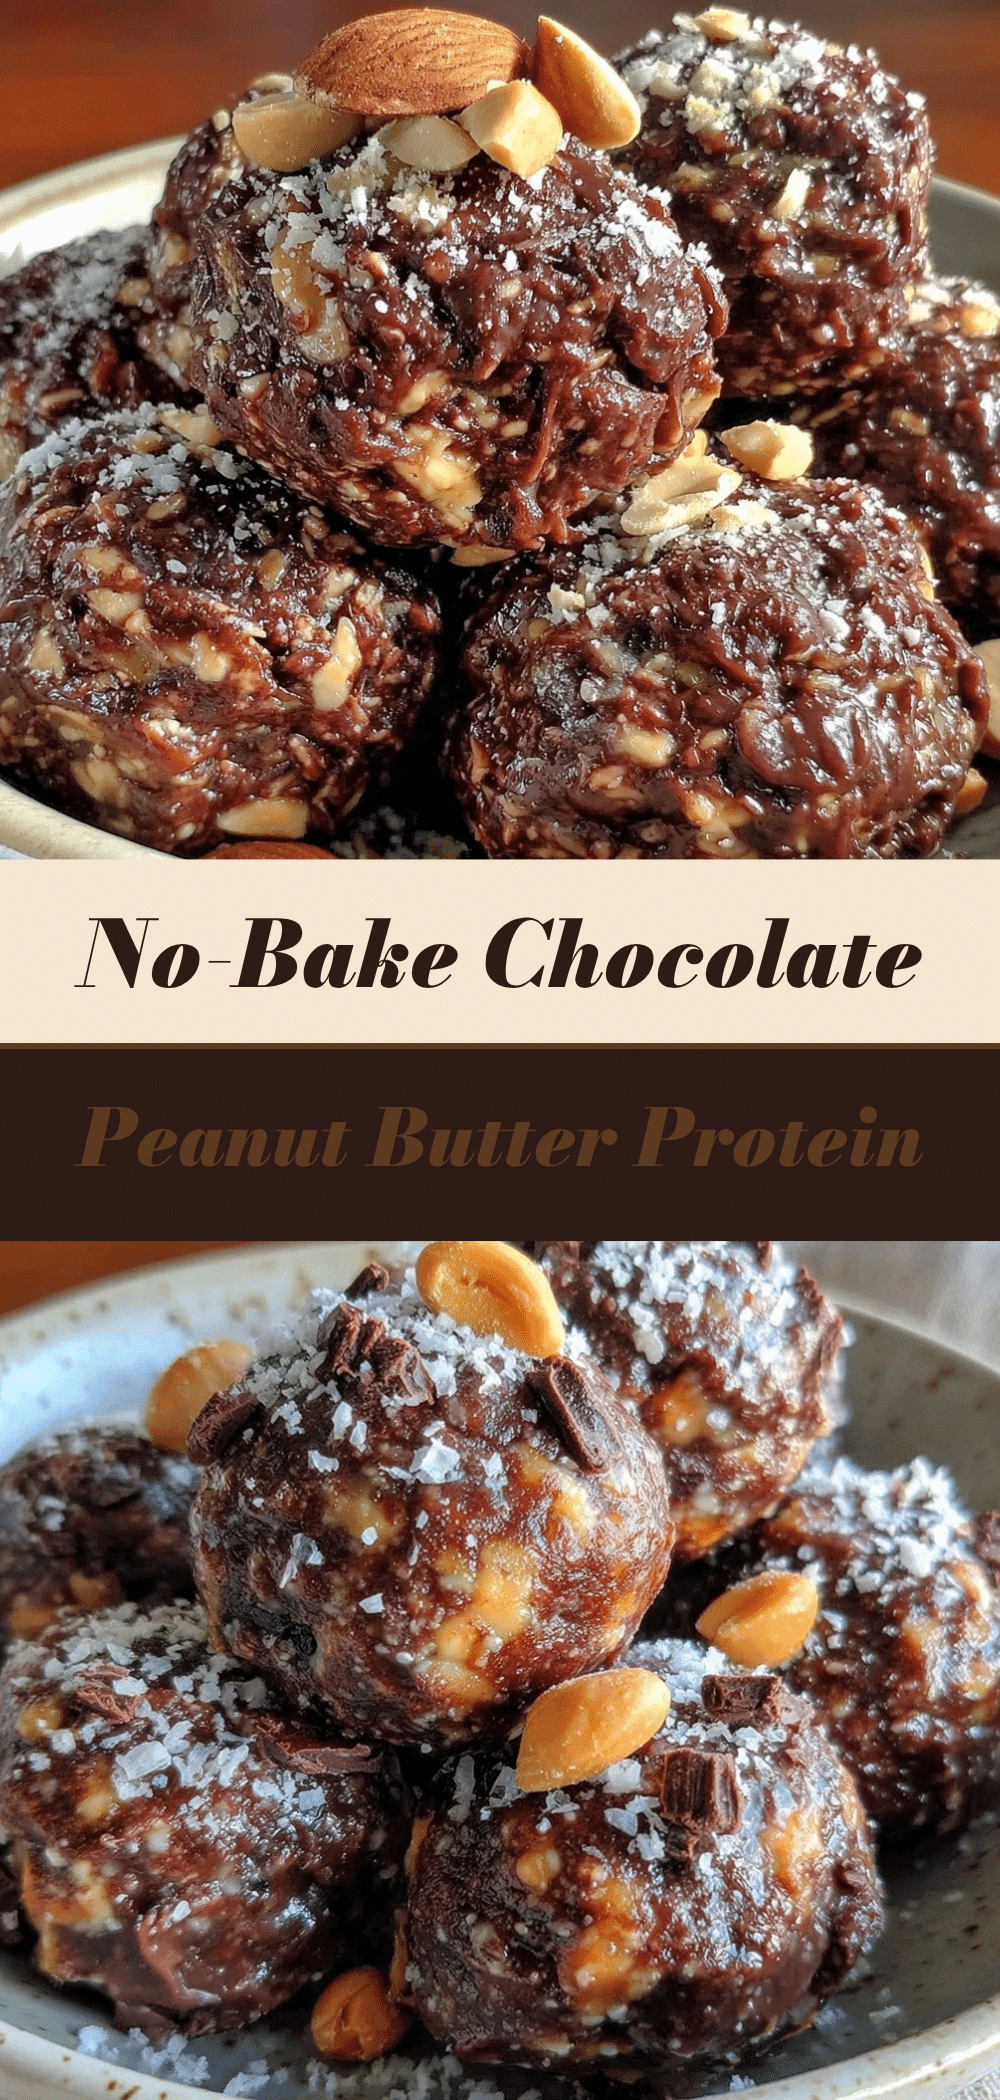
Dairy-Free No-Bake Chocolate Peanut Butter Protein Balls
- Total Time: 40 minutes
- Yield: 18 servings 1x
Description
These dairy-free, vegan, and gluten-free protein balls are a creamy, fudgy, no-bake snack made with just five simple ingredients. They provide a perfect balance of sweet and salty flavors, offering a healthy energy boost without refined sugars.
Ingredients
- 2 cups old-fashioned rolled oats (certified gluten-free)
- ½ cup natural peanut butter (stirred well)
- ½ cup Medjool dates (pitted)
- ¼ cup unsweetened cocoa powder
- 1 teaspoon vanilla extract
- ½ teaspoon sea salt
- 1 tablespoon chia seeds or flax seeds (optional)
- 2 tablespoons dairy-free dark chocolate chips (optional)
Instructions
- If dates are dry, soak them in warm water for 10 minutes, then drain and pat dry. Pit the dates using a small knife.
- Add oats, cocoa powder, chia seeds (if using), and salt to a food processor. Pulse until the oats resemble coarse sand.
- Add peanut butter, pitted dates, and vanilla extract to the food processor. Pulse until the mixture clumps together.
- If the mixture is too dry, add a teaspoon of water or dairy-free milk. If too wet, add a tablespoon of oats. The dough should hold together when squeezed.
- Scoop about 1 tablespoon of mixture and roll between palms to form balls. Place on a sheet pan lined with parchment paper.
- Refrigerate the balls for at least 30 minutes to firm up. Alternatively, freeze for 15 minutes.
- Store in an airtight container in the refrigerator for up to 2 weeks or in the freezer for up to 3 months.
Notes
Use natural peanut butter with no added oils or sugars. Ensure dates are soft; if dry, soak them first. Chill thoroughly before serving for the best fudgy texture. These freeze well for meal prep.
- Prep Time: 10 minutes
- Cook Time: 0 minutes
- Category: Snack
- Cuisine: American
Nutrition
- Serving Size: 1 ball
- Calories: 90
- Sugar: 7
- Sodium: 40
- Fat: 4
- Saturated Fat: 1
- Carbohydrates: 12
- Fiber: 2
- Protein: 3
Keywords: protein balls, no-bake, vegan, gluten-free, dairy-free, healthy snack, peanut butter, chocolate, meal prep



