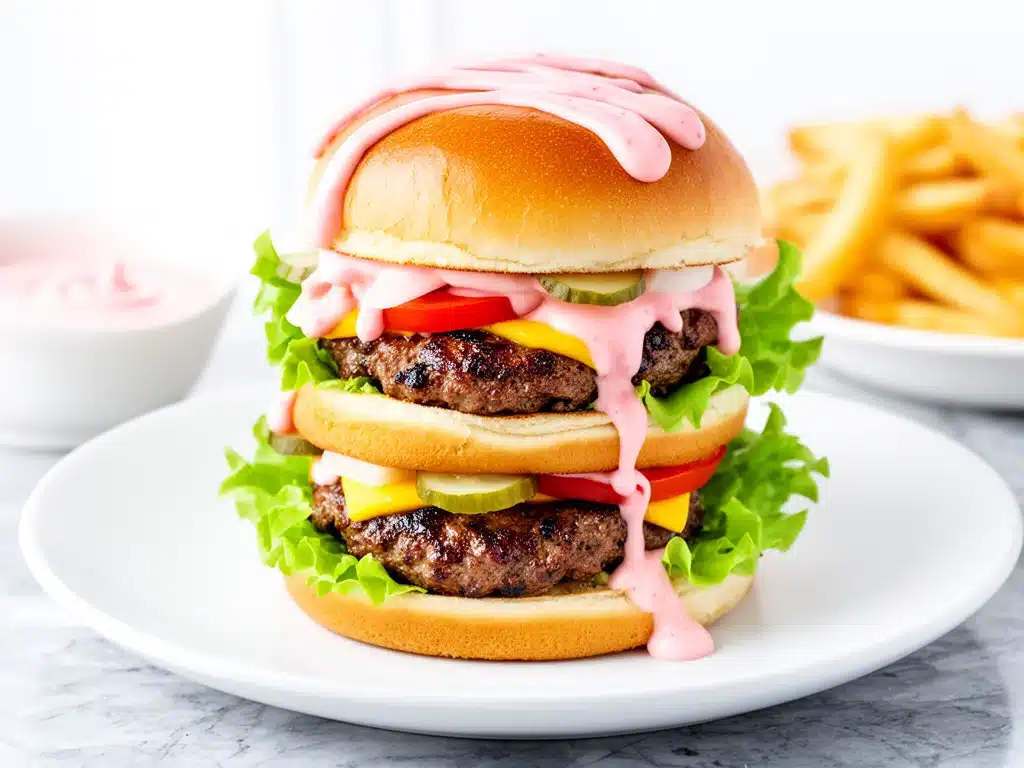
I have a confession to make. Last Friday night, I was staring into the refrigerator, feeling that familiar 7 PM panic. My husband had mentioned he was craving burgers, but I wasn’t about to fire up the grill in the humid evening air, and ordering takeout felt like throwing money out the window. Plus, we both knew the drive-thru version never quite hit the spot. It’s usually lukewarm, the buns are soggy, and the “special sauce” tastes more like mayonnaise with a hint of ketchup than anything memorable.
So, I did what I always do when I’m tired but determined to feed my family something good. I raided the pantry and the freezer. I pulled out some ground beef, a block of cheddar, and a jar of pickles. Then, I started playing with condiments, trying to recreate that tangy, creamy, slightly sweet sauce that makes diner sliders so addictive. What came out of the oven wasn’t just a quick fix—it was a revelation.
These homemade cheeseburger sliders with special sauce are hands-down the best burger experience you can get without leaving your kitchen. They’re crispy on the outside, juicy on the inside, and drenched in a sauce that is genuinely better than takeout. I’ve made these for game day, for busy weeknights, and even as a late-night snack for myself (don’t tell my husband). They come together in under 30 minutes, cost a fraction of what you’d pay at a restaurant, and the smell alone has my kids running to the table before I even plate them.
If you’ve been searching for the best homemade cheeseburger sliders, stop looking. You don’t need a fancy grill or hours of prep. You just need a few simple ingredients and this specific method. I’ve tested this recipe so many times—sometimes with beef, sometimes with turkey, always with extra cheese—that I’m convinced it’s the ultimate crowd-pleaser. Let’s get cooking.
Why You’ll Love This Recipe
There are about ten reasons I keep coming back to these sliders, but here are the big ones that make them a permanent fixture in our weekly rotation.
Stupid Simple — Seriously, if you can brown meat and mix a sauce, you can make these. I’ve walked my teenage son through it over FaceTime while I was at work. He nailed it on the first try. There’s no complicated technique here, just straightforward, reliable cooking.
Lightning Fast — 30 minutes from start to finish, and only 15 of those are active cooking. I make these on weeknights when I get home at 7pm, exhausted and hungry. The oven does most of the heavy lifting while I prep the sauce and assemble the sliders.
The Sauce Is Everything — This isn’t just mayo and ketchup. It’s a blend of mayo, ketchup, relish, mustard, and a secret touch of brown sugar that creates a tangy, creamy, slightly sweet flavor profile. It’s the kind of sauce you’ll want to put on everything, not just sliders. It’s better than takeout because it’s fresh, customizable, and made with real ingredients.
Crowd-Pleaser — I’ve served these to my vegetarian sister (using a plant-based patty), my gluten-free neighbor (using gluten-free buns), and my I-only-eat-chicken dad (with modifications). Everyone loves them. The mini size is perfect for parties because people can eat three or four without feeling overly stuffed.
Budget-Smart — Feeds 6-8 people for under $15. That’s less than one meal at a fast-food place. Ground beef is affordable, and you’re likely already halfway through the pantry for the sauce ingredients.
This is my go-to when I need dinner to just work. No complicated techniques, no weird ingredients, just reliable, delicious food that makes everyone happy.
Ingredients You’ll Need
Here’s the best part: you probably have most of this already. This looks like a long list, but most of it is pantry basics. I’m particular about three ingredients here, and I’ll tell you exactly why.
Ground Beef (1.5 pounds / 680g) — I use 80/20 ground beef. You need that fat content for juiciness. If you use lean beef, the sliders will be dry. If you prefer a lighter option, ground turkey or chicken works too, but you’ll need to add a little extra moisture to the mix.
Hawaiian Rolls (1 pack / 12 rolls) — This is non-negotiable for the best texture. Hawaiian rolls are soft, slightly sweet, and hold up well to the sauce without getting soggy immediately. You can use potato rolls or even sliced bread, but Hawaiian rolls give that classic slider vibe. I buy the pre-packaged packs from the bakery section.
Cheddar Cheese (8 slices / 8 oz / 225g) — Use sharp cheddar for flavor, or American cheese for that classic diner melt. I usually do a mix—sharp for taste, American for the gooey pull. Block cheese melts better than pre-shredded, so grate your own if you can.
Pickle Relish (2 tablespoons) — This is key for the sauce and the sliders. Sweet pickle relish adds that classic burger crunch and tang. If you’re not a relish fan, you can chop up some pickles finely, but the relish distributes better.
Mayonnaise (½ cup / 120ml) — Use full-fat mayo. It’s the base of the special sauce. Don’t skimp here; it provides the creamy richness that ties everything together. I use Hellmann’s or Duke’s, depending on what’s on sale.
Ketchup (¼ cup / 60ml) — Adds sweetness and acidity. Again, don’t use a low-quality ketchup. It’s a primary flavor component.
Yellow Mustard (1 tablespoon) — Just a touch for tang. Don’t use Dijon or spicy brown; you want that classic yellow mustard bite.
Brown Sugar (1 teaspoon) — This is my secret weapon. It balances the acidity of the ketchup and mustard, giving the sauce a subtle depth that mimics restaurant-style special sauce.
Garlic Powder (½ teaspoon) — Adds savory depth without the hassle of fresh garlic. It blends seamlessly into the meat.
Onion Powder (½ teaspoon) — Complements the garlic and adds another layer of flavor.
Black Pepper (½ teaspoon) — Freshly cracked is best, but pre-ground works fine.
Salt (1 teaspoon) — Adjust to taste. Remember, the cheese and sauce are salty, so don’t overdo it.
Butter (2 tablespoons, melted) — For brushing the top of the buns. This gives them that golden, crispy, bakery-style finish.
Optional Add-ins:
Thinly sliced onions (½ cup) — Add raw onions for crunch.
Bacon (4 slices, cooked and crumbled) — Because bacon makes everything better.
Lettuce and Tomato — I usually skip these in the oven to keep them crispy, but you can add them fresh after baking if you prefer.
Equipment Needed
You don’t need fancy equipment for this. Here’s what I actually use.
Large Skillet — A 12-inch cast iron skillet or stainless steel pan works best. I prefer cast iron because it holds heat well and gives the meat a nice sear. Non-stick works too, but you might not get that same crust.
Baking Dish — A 9×13 inch baking dish is perfect for holding the whole pack of Hawaiian rolls. It needs to be deep enough to hold the sauce without leaking. Glass or ceramic works great.
Small Bowl — For mixing the special sauce. Any bowl will do.
Pastry Brush — For brushing the melted butter on top of the buns. A silicone brush is easiest to clean, but a regular one works fine.
Measuring Cups and Spoons — Pretty standard stuff. Dollar store versions work fine.
Aluminum Foil — To cover the sliders while they bake. This helps the cheese melt evenly without burning the tops.
Optional but nice:
Meat thermometer — For checking doneness. Ground beef should reach 160°F (71°C).
Food processor — If you’re chopping onions or pickles, this saves time, but a knife works fine.
Tool Tips: Don’t have a 9×13 dish? A large roasting pan works. I’m obsessed with my cast iron skillet—it’s like $30 and makes life easier for everything from burgers to cornbread.
How to Make It: Step-by-Step
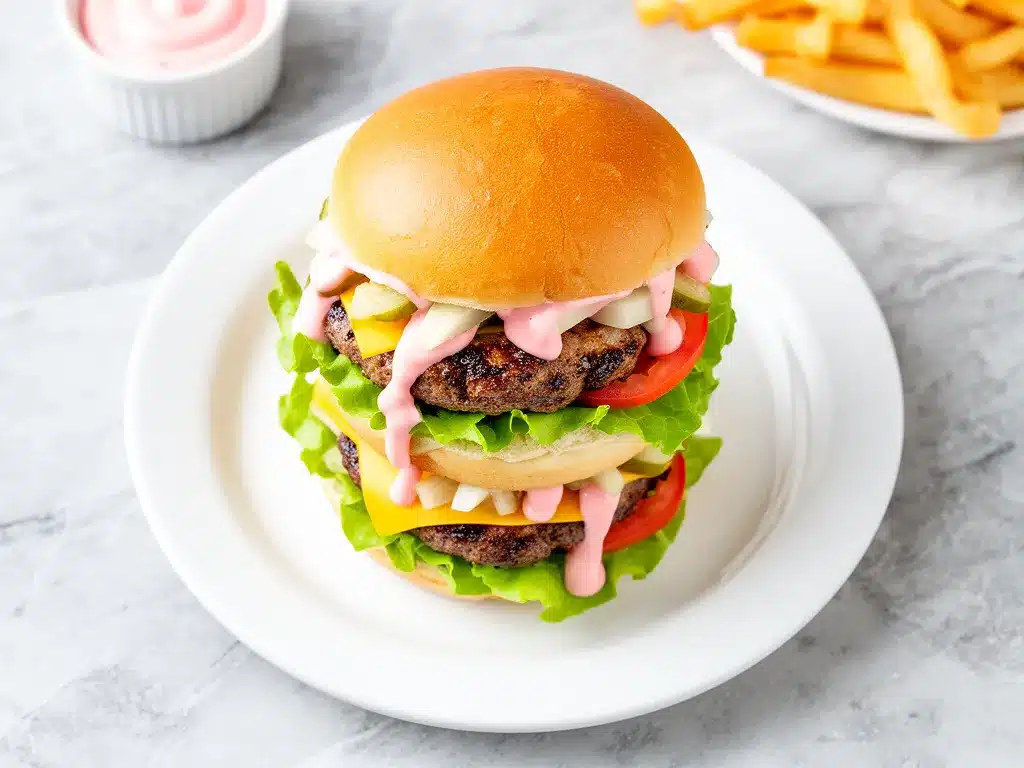
Alright, let’s make this! I’m walking you through exactly how I do it, including the little tricks I’ve picked up.
Step 1: Prep Your Sauce (5 minutes)
In a small bowl, whisk together the mayonnaise, ketchup, yellow mustard, brown sugar, garlic powder, and a pinch of black pepper. Stir in the pickle relish. Taste it. Does it need more tang? Add a splash of vinegar or more mustard. Does it need more sweet? Add a pinch more brown sugar. This sauce is the star of the show, so get it right. Set it aside.
Step 2: Cook the Beef (8-10 minutes)
Heat your large skillet over medium-high heat. Add the ground beef, breaking it up with a wooden spoon as it cooks. Season with salt, pepper, onion powder, and garlic powder. Cook until the beef is browned and no longer pink, about 8-10 minutes. You want it fully cooked but not dry. Drain any excess grease if there’s a lot, but leave a little for flavor. Remove from heat and let it cool slightly so you can handle it.
Step 3: Prepare the Rolls (2 minutes)
Preheat your oven to 350°F (175°C). Keep the Hawaiian rolls together as a single pack. Using a sharp knife, slice the entire pack horizontally in half, creating a top half and a bottom half. Be careful not to cut all the way through the bottom—keep them connected. This makes assembly easier and keeps the sliders intact.
Step 4: Assemble the Sliders (5 minutes)
Place the bottom half of the rolls in your 9×13 baking dish. Evenly distribute the cooked beef mixture over the rolls. Top with the cheese slices. If using sliced onions, add them now. Now, here’s the trick: spoon about half of the special sauce over the cheese and beef. This keeps the bottom bun from getting soggy too quickly and infuses the meat with flavor. If using bacon, sprinkle it over the cheese now.
Step 5: Top and Bake (10-12 minutes)
Place the top half of the rolls over the sliders. In a small microwave-safe bowl, melt the butter. Brush the melted butter generously over the top of the rolls. This is what gives them that golden, crispy, bakery-style finish. Cover the baking dish tightly with aluminum foil. This traps the steam and helps the cheese melt evenly. Bake for 10-12 minutes, or until the cheese is fully melted and the buns are heated through.
Step 6: Finish with Sauce (2 minutes)
Remove the foil. The tops should be golden and slightly crisp. Spoon the remaining special sauce over the top of the sliders. You can drizzle it on or dollop it. Cover again and let it sit for 2 minutes so the sauce warms up and absorbs slightly. Then, slice between the rolls to separate them into individual sliders. Serve immediately while hot and gooey.
Total Time: About 30 minutes (15 minutes active, 15 minutes baking)
Built-in Troubleshooting:
Buns are soggy? Make sure you’re not adding too much sauce to the bottom. The sauce should go mostly on top.
Cheese isn’t melting? Check your oven temperature. If it’s not hot enough, the cheese won’t melt. You can also bake covered for an extra 2-3 minutes.
Meat is dry? Don’t overcook the beef in the skillet. It will continue to cook in the oven. Take it off the heat when it’s just barely done.
Expert Tips & Tricks
Here’s everything I’ve learned from making these dozens of times. These tips will save you from my mistakes.
Don’t Skip the Butter
Brushing the tops with butter is non-negotiable. It creates that irresistible golden crust and adds richness. Without it, they’re just soft buns with meat. With it, they’re bakery-quality sliders. I learned this the hard way when I tried to make them “healthier” with olive oil spray. Big mistake.
Cool the Beef Slightly
If you assemble the sliders with piping hot beef, the cheese will melt prematurely and the buns might get soggy before they even hit the oven. Let the beef cool for 5 minutes after cooking. It’s a small step that makes a big difference.
Use a Mix of Cheeses
I always use a mix of sharp cheddar for flavor and American cheese for meltability. Sharp cheddar can sometimes separate or become oily if overcooked, while American cheese stays creamy. The combination gives you the best of both worlds.
Make Ahead Strategy
You can assemble these sliders up to 4 hours ahead of time. Cover them tightly with plastic wrap and refrigerate. When you’re ready to bake, let them sit at room temperature for 15 minutes, then bake as directed. You might need to add 2-3 minutes to the baking time. This is perfect for parties.
Pro Trick: Toast the Buns First
For extra crispiness, you can toast the bottom buns in the skillet with a little butter before adding the meat. This creates a barrier against the sauce and keeps the bottom bun crisp.
Common Mistakes (and how to avoid them):
Mistake: Sauce is too runny
Fix: Make sure your relish is drained well. If it’s too wet, it can make the sliders soggy. Pat it dry with a paper towel before mixing.
Mistake: Buns are burnt
Fix: Watch them closely in the oven. If the tops are browning too fast, cover them loosely with foil for the last few minutes. Hawaiian rolls have sugar, which caramelizes quickly.
Mistake: Meat is bland
Fix: Season the beef well. Don’t be shy with the salt and pepper. Taste the beef before assembling. It should be seasoned enough on its own.
Variations & Substitutions
Once you’ve nailed the basic version, here’s how you can mix it up. I’ve tried all of these.
Turkey Sliders
Use ground turkey instead of beef. Add 2 tablespoons of olive oil to the meat to keep it moist. Turkey is leaner, so it needs a little extra fat. I use this version when I want something lighter. It’s still delicious, just less rich.
Plant-Based Sliders
Use your favorite plant-based ground meat or crumbles. Many brands work well in sliders. I’ve used Beyond Meat and it holds up great. Just cook it according to package directions. The sauce and cheese remain the same.
BBQ Sliders
Swap the special sauce for BBQ sauce. Use smoked cheddar or pepper jack cheese. Add caramelized onions for extra sweetness. This is a game-day favorite in my house.
Spicy Sliders
Add diced jalapeños to the beef mixture. Use pepper jack cheese. Add a dash of cayenne or chili powder to the special sauce. For those who like a kick, this is the way to go.
Mushroom & Swiss
Sauté sliced mushrooms with the onions. Use Swiss cheese instead of cheddar. Add a tablespoon of Dijon mustard to the special sauce. This feels more elegant, like a fondue sandwich.
Dietary Modifications:
Gluten-Free
Use gluten-free Hawaiian-style rolls. They’re widely available now and work surprisingly well. Everything else is naturally gluten-free.
Dairy-Free
Replace cheddar with dairy-free cheese slices. Use vegan mayo for the sauce. Use coconut oil instead of butter for brushing. It’s different but still tasty. My lactose-intolerant friend requests this version.
Lower-Carb
Use lettuce wraps instead of buns. Or use low-carb burger buns. Reduce the sauce to control sugar. I won’t lie—it’s not the same texture, but it works if you’re watching carbs.
Serving & Storage
How to Serve:
I usually serve these straight from the baking dish, using a spatula to lift them out. They look rustic and stay warm. But here are other ways I’ve enjoyed them:
Side Dishes:
– Crispy roasted chickpea and cucumber salad (a light, crunchy contrast)
– Sweet potato fries (classic combo)
– Coleslaw (adds a fresh, tangy element)
– Simple green salad with balsamic vinaigrette
Drinks:
– Creamy coconut lime mocktail (perfect for summer)
– Cold beer or iced tea
Storage Instructions:
Refrigerator:
Store leftovers in an airtight container for up to 3 days. The buns will soften in the fridge—totally normal.
Reheating:
Best method: Reheat in the oven at 350°F for 10 minutes, covered with foil. This restores the softness and melts the cheese again.
Air fryer method: Reheat at 350°F for 3-4 minutes. This keeps the buns crispier.
Microwave method: Heat for 30-60 seconds. The buns will get soft and chewy, but it’s fast.
Freezing:
You can freeze assembled, unbaked sliders. Wrap the baking dish tightly in plastic wrap and then foil. Freeze for up to 1 month. Thaw in the fridge overnight, then bake as directed, adding 5-10 minutes to the baking time. Cooked sliders can be frozen, but the texture of the buns may suffer. I usually make them fresh.
Nutrition Information
I’m not a nutritionist, but here’s the breakdown if you’re tracking.
Per Serving (based on 6 servings, 2 sliders each):
| Nutrient | Amount |
|---|---|
| Calories | 450 |
| Protein | 22g |
| Carbs | 38g |
| Fiber | 1g |
| Sugar | 8g |
| Fat | 24g |
| Saturated Fat | 10g |
| Cholesterol | 65mg |
| Sodium | 680mg |
What’s Good:
– Decent protein from beef and cheese
– Satisfying and filling
– Can add vegetables to boost nutrition
What to Know:
– Higher in calories from cheese, sauce, and buns
– Contains dairy and gluten
– Moderate sodium (use low-sodium broth and cheese to reduce)
My Take:
Look, this is comfort food with cheese and sauce. It’s not a diet recipe. But it’s way better than takeout, costs less, and I know exactly what’s in it. When I want to make it lighter, I use the turkey version and load up on vegetables. But usually? I just eat a reasonable portion and enjoy it.
Final Thoughts
So that’s my go-to homemade cheeseburger sliders with special sauce! I’ve probably talked your ear off at this point, but when you make a recipe this often, you have a lot to say about it.
This has saved weeknight dinners more times than I can count. It’s my answer to “what’s for dinner” when I’m tired, don’t want takeout, and still want something that tastes really good. My kids are happy, my husband’s happy, and I’m happy because I’m not stressed about cooking.
Make it yours! Try different add-ins, swap in your favorite cheeses, adjust the sauce to your taste. The best recipes are the ones you adapt to your family’s tastes. If you’re looking for other easy dinner ideas, you might also enjoy our honey garlic butter chicken for a different take on comfort food, or our creamy crockpot sausage and peppers for a slow-cooker option.
If you make this, drop a comment and let me know what you think! I love hearing how recipes turn out in your kitchen. And if something doesn’t work, tell me that too—I’m here to help troubleshoot.
Happy cooking! And I hope your kitchen smells half as good as mine does right now.
Frequently Asked Questions
Can I use ground turkey instead of beef?
Absolutely. Ground turkey is leaner, so I recommend adding 2 tablespoons of olive oil to the meat to keep it moist. Cook it until it’s no longer pink, just like beef. The flavor will be slightly milder, but the special sauce carries it well.
Why did my sliders get soggy?
This usually happens if you add too much sauce to the bottom bun, or if the beef is too hot when you assemble them. Make sure to drain excess grease from the beef, let it cool slightly, and save most of the sauce for the top. Covering them with foil while baking also helps steam the buns, which can soften them if baked too long.
Can I make these ahead for a party?
Yes! Assemble the sliders completely, cover tightly with plastic wrap, and refrigerate for up to 4 hours. When ready to serve, let them sit at room temperature for 15 minutes, then bake as directed. You may need to add 2-3 minutes to the baking time if they’re cold from the fridge.
What kind of cheese melts best?
American cheese melts the smoothest and creamiest. Sharp cheddar has more flavor but can sometimes become oily if overheated. I recommend a mix of both—American for meltability and cheddar for flavor. Pepper jack or Swiss are also great options for variety.
Can I freeze leftover sliders?
You can, but the texture of the buns may suffer. They might become a bit dense or dry when reheated. If you’re meal-prepping, I suggest freezing the cooked beef mixture and the special sauce separately, then assembling and baking fresh when you’re ready to eat.
Is the special sauce too sweet?
It’s balanced to be slightly sweet and tangy. If you find it too sweet, reduce the brown sugar to ½ teaspoon or add a splash of apple cider vinegar. If you prefer it tangier, add more mustard or a pinch of salt.
Can I use potato rolls instead of Hawaiian rolls?
Yes, potato rolls work well. They’re slightly denser and less sweet than Hawaiian rolls, so the sliders will have a more traditional burger bun flavor. Just make sure to slice them horizontally and brush with butter for the best texture.
Pin This Recipe!
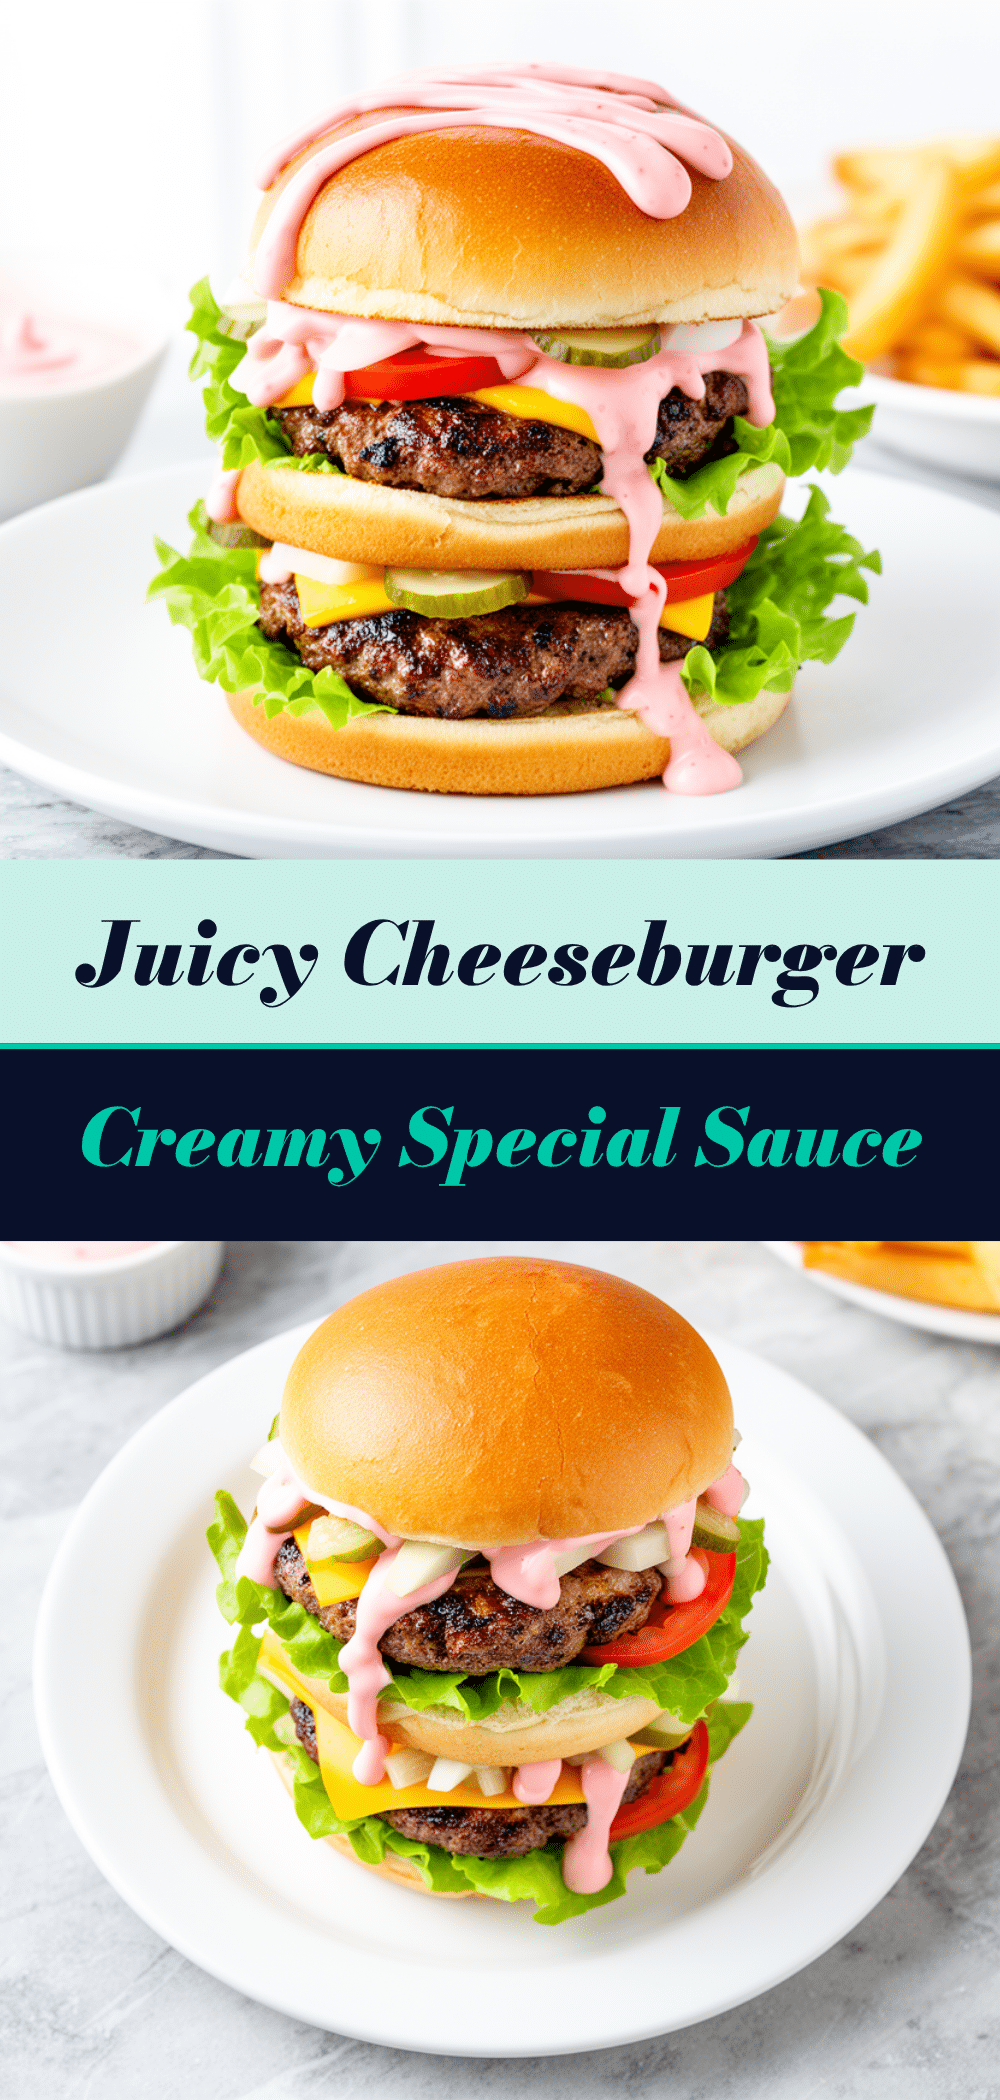
Best Homemade Cheeseburger Sliders: Easy Better Than Takeout Recipe
- Total Time: 30 minutes
- Yield: 6 servings 1x
Description
These homemade cheeseburger sliders with special sauce are crispy on the outside, juicy on the inside, and drenched in a tangy, creamy sauce that is better than takeout. They come together in under 30 minutes and are perfect for weeknights or parties.
Ingredients
- 1.5 pounds (680g) 80/20 ground beef
- 1 pack (12 rolls) Hawaiian rolls
- 8 slices (8 oz / 225g) cheddar cheese (or mix of sharp cheddar and American)
- 2 tablespoons pickle relish
- ½ cup (120ml) mayonnaise
- ¼ cup (60ml) ketchup
- 1 tablespoon yellow mustard
- 1 teaspoon brown sugar
- ½ teaspoon garlic powder
- ½ teaspoon onion powder
- ½ teaspoon black pepper
- 1 teaspoon salt
- 2 tablespoons butter, melted
Instructions
- In a small bowl, whisk together mayonnaise, ketchup, yellow mustard, brown sugar, garlic powder, black pepper, and pickle relish. Set aside.
- Heat a large skillet over medium-high heat. Add ground beef, breaking it up with a wooden spoon. Season with salt, pepper, onion powder, and garlic powder. Cook until browned and no longer pink (8-10 minutes). Drain excess grease if necessary and let cool slightly.
- Preheat oven to 350°F (175°C). Slice the pack of Hawaiian rolls horizontally in half, keeping them connected.
- Place the bottom half of the rolls in a 9×13 inch baking dish. Distribute the cooked beef evenly over the rolls. Top with cheese slices.
- Spoon about half of the special sauce over the cheese and beef. If using bacon or onions, add them now.
- Place the top half of the rolls over the sliders. Brush the melted butter generously over the top of the rolls.
- Cover the baking dish tightly with aluminum foil. Bake for 10-12 minutes until cheese is melted and buns are heated through.
- Remove foil. Spoon the remaining special sauce over the top. Cover again and let sit for 2 minutes. Slice between rolls to separate and serve immediately.
Notes
For best results, use 80/20 ground beef for juiciness. Let the beef cool slightly before assembling to prevent soggy buns. You can make these ahead by assembling and refrigerating for up to 4 hours before baking. If using turkey, add 2 tablespoons of olive oil to keep it moist.
- Prep Time: 15 minutes
- Cook Time: 15 minutes
- Category: Main Course
- Cuisine: American
Nutrition
- Serving Size: 2 sliders per servin
- Calories: 450
- Sugar: 8
- Sodium: 680
- Fat: 24
- Saturated Fat: 10
- Carbohydrates: 38
- Fiber: 1
- Protein: 22
Keywords: cheeseburger sliders, homemade sliders, special sauce, easy dinner, weeknight meals, party food, better than takeout, ground beef recipes



