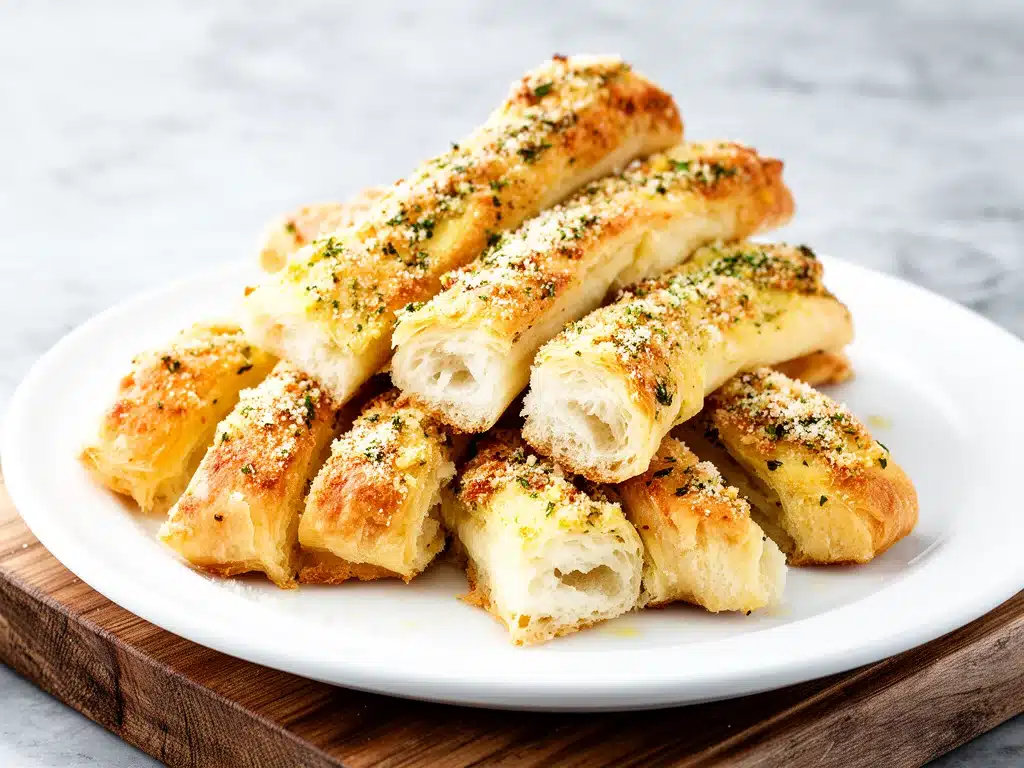
Last Tuesday night, I was staring at a half-empty pantry with the kind of hunger that makes you consider eating dry cereal for dinner. My husband had just walked in the door, exhausted from work, and he looked at me with that specific expression that says, “Please don’t make me cook, but also please don’t serve me more takeout.” I had flour, butter, garlic, and a block of Parmesan cheese. That was it. No yeast, no fancy spices, no rising time.
I threw together what I thought would be a mediocre snack. Ten minutes later, the smell of roasted garlic and melting cheese filled the kitchen, and suddenly, my husband’s mood shifted from “exhausted” to “hopeful.” We ate those breadsticks right out of the oven, standing over the counter, and it was hands-down the best part of our week. That’s how I discovered that sometimes the best recipes happen when you’re not overthinking it.
These homemade garlic parmesan breadsticks have become our go-to comfort food. They take 30 minutes from start to finish, use ingredients I always have on hand, and taste like something you’d pay $12 for at an Italian restaurant. I’ve made this simple 3-ingredient breadstick recipe at least a dozen times since that Tuesday, tweaking the garlic-to-butter ratio until it was perfect. It’s my answer to “what’s for dinner” when I’m tired, don’t want takeout, and still want something that tastes really good. My kids are happy, my husband’s happy, and I’m happy because I’m not stressed about cooking.
Why You’ll Love This Recipe
There are about ten reasons I keep making this, but here are the big ones. This recipe has completely changed our weeknight dinner routine, turning simple pasta nights into full-feast experiences.
- Stupid Simple — Seriously, if you can boil water and chop an onion, you can make this. I’ve walked my teenage son through it over FaceTime while he was at college. No kneading, no waiting for dough to rise. Just mix, roll, bake.
- Lightning Fast — 30 minutes from start to finish, and only 10 of those are active cooking. I make this on weeknights when I get home at 7pm and need dinner on the table before the news ends.
- Pantry-Friendly — You probably have 80% of these ingredients already. I keep flour, butter, and Parmesan stocked just so I can make this on a whim. It’s the ultimate backup plan.
- Crowd-Pleaser — I’ve served this to my vegetarian sister, my gluten-free neighbor (using GF flour), and my I-only-eat-chicken dad. Everyone loved it. It’s neutral enough for kids but flavorful enough for adults.
- Makes Amazing Leftovers — Actually tastes better the next day. I deliberately make extra for lunch throughout the week. They reheat surprisingly well in the toaster oven.
- Budget-Smart — Feeds 4-6 people for under $5. That’s less than one appetizer plate at a restaurant. It’s cheap, it’s filling, and it’s delicious.
This is my go-to when I need dinner to just work. No complicated techniques, no weird ingredients, just reliable, delicious food that makes everyone happy. And honestly? It pairs perfectly with almost anything. If you’re making something like creamy crockpot sausage and peppers, these breadsticks are the perfect scoop for soaking up that sauce. Or if you’re serving honey garlic butter chicken, the garlic in the breadsticks ties the whole meal together beautifully.
Ingredients You’ll Need
Here’s the best part: you probably have most of this already. I’m particular about three ingredients here, and I’ll tell you exactly why. This looks like a short list, but it’s a powerful one.
For the Dough Base
All-purpose flour (2 cups / 250g) — This is your foundation. I use King Arthur Brand because it has a consistent protein content that gives the breadsticks a nice chew without being tough. Bread flour works too if you want them chewier, but all-purpose is what I always have.
Hot water (¾ cup / 180ml) — Not boiling, but hot enough to dissolve the sugar and wake up the yeast. If you don’t have yeast, you can use baking powder, but the texture changes slightly. I stick with active dry yeast for that classic bakery taste.
Active dry yeast (1 packet / 2¼ tsp) — Standard packet size. Make sure it’s not expired! I’ve ruined batches before by using old yeast. If it doesn’t foam up in the warm water, toss it and buy fresh.
Sugar (1 tablespoon) — Just a little bit to feed the yeast and help with browning. Honey works too if you prefer that flavor.
Salt (1 teaspoon) — Essential for flavor. Don’t skip it. It balances the richness of the butter and cheese.
Olive oil (2 tablespoons) — Adds moisture and flavor to the dough. I use extra virgin for the best taste, but regular olive oil works fine.
For the Garlic Butter Topping
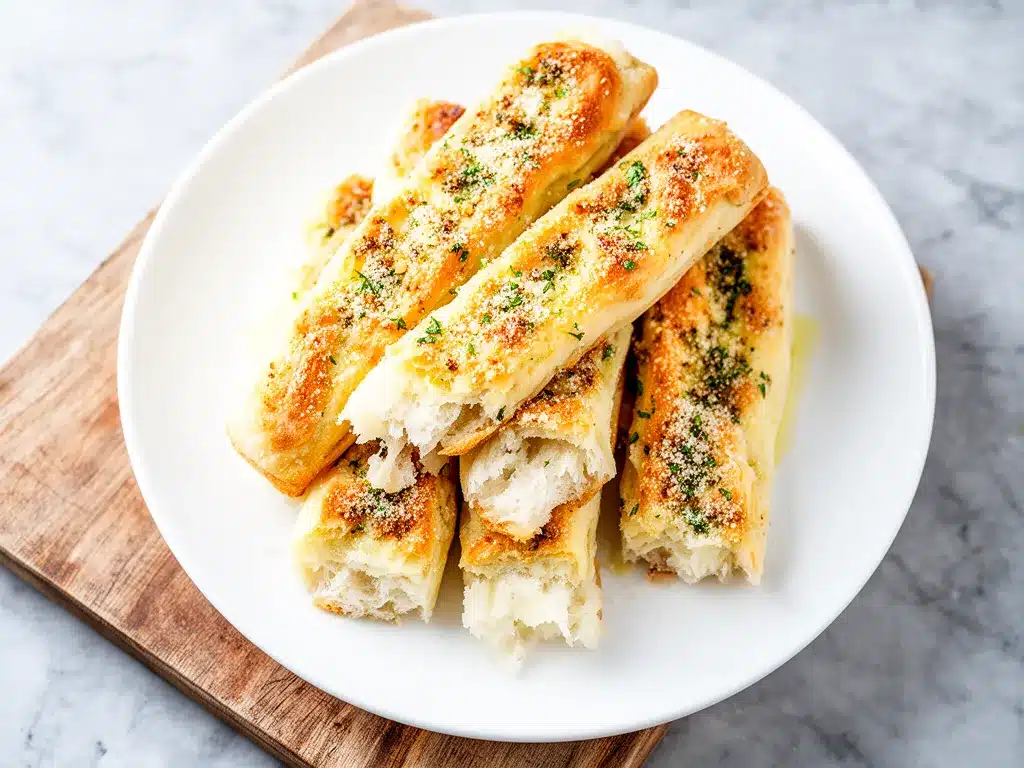
Unsalted butter (½ cup / 113g) — This is non-negotiable. I use real butter, not margarine. Melted, not browned. Salted butter can make the whole thing too salty, so unsalted gives you control.
Garlic (4-6 cloves, minced) — Yes, six cloves. Don’t skimp. Fresh only—no jarred garlic in this recipe. Jarred garlic has a metallic taste that really shows up in butter. Minced finely so you get flavor in every bite.
Parmesan cheese (½ cup / 50g, freshly grated) — Buy the block and grate it yourself. Pre-grated doesn’t melt the same way and has anti-caking agents that make the topping gritty. My husband can tell when I’ve been lazy and used pre-grated. It takes 3 minutes and makes a huge difference.
Dried parsley (1 teaspoon) — For color. It’s not much flavor-wise, but it makes those breadsticks look like they came from a restaurant, not a dorm room.
Red pepper flakes (½ teaspoon) — Optional but adds nice kick. Start with less if you’re sensitive to spice. I love the contrast of spicy and cheesy.
Equipment Needed
You don’t need fancy equipment for this. Here’s what I actually use.
Large mixing bowl — I use a 4-quart ceramic bowl. Needs to be big enough to mix the dough comfortably. My ancient bowl from college still works fine.
Small saucepan — For heating the water and melting the butter. Non-stick is easiest for cleanup.
Measuring cups and spoons — Pretty standard stuff. Dollar store versions work fine, but accurate measuring is key for yeast recipes.
Baking sheet — 13×9 inch works best. I line mine with parchment paper for easy cleanup. Aluminum foil works too, but parchment prevents sticking better.
Pastry brush — For brushing the garlic butter on. Silicone works well. A regular spoon works too if you’re being lazy.
Sharp knife or pizza cutter — To cut the breadsticks before baking. A pizza cutter is easiest because it doesn’t squash the dough.
Whisk — For mixing the dry ingredients. Or just use a fork if you’re in a hurry.
Optional but nice:
- Stand mixer — Saves arm fatigue, but hand mixing works fine. I hand-mix because I like to feel the dough.
- Kitchen thermometer — To check water temperature (105-110°F). Not strictly necessary if you can test it with your finger—it should feel hot but not burn.
How to Make It: Step-by-Step
Alright, let’s make this! I’m walking you through exactly how I do it, including the little tricks I’ve picked up.
Step 1: Activate the Yeast (5 minutes)
In a small saucepan or microwave-safe cup, combine the hot water and sugar. The water should be around 105-110°F—hot to the touch but not burning. Sprinkle the yeast on top and stir gently. Let it sit for 5-10 minutes until it becomes foamy and bubbly. If it doesn’t foam, your yeast is dead or the water was too hot/cold. Start over. This step is crucial for getting that rise.
Step 2: Mix the Dough (5 minutes)
In a large bowl, combine the flour and salt. Make a well in the center and pour in the yeast mixture and olive oil. Mix with a wooden spoon or your hand until a shaggy dough forms. It will look messy and sticky—that’s normal. Don’t add more flour yet!
Step 3: Knead the Dough (8-10 minutes)
Turn the dough out onto a lightly floured surface. Knead for 8-10 minutes until smooth and elastic. Push the dough away with the heel of your hand, fold it back over, and turn it. Repeat. If it’s too sticky, add flour 1 tablespoon at a time. If it’s too dry, add water 1 teaspoon at a time. The dough should be soft and slightly tacky, but not sticking to your hands. This develops the gluten, which gives the breadsticks their chew.
Step 4: First Rise (30 minutes)
Lightly oil the same bowl. Place the dough back in, turning it once to coat it in oil. Cover with a damp towel or plastic wrap. Let it rise in a warm, draft-free spot for 30 minutes until doubled in size. You don’t need to wait for it to double completely if you’re in a hurry, but 30 minutes is the sweet spot for flavor.
Step 5: Shape the Breadsticks (5 minutes)
Preheat your oven to 375°F (190°C). Line a baking sheet with parchment paper. Punch down the risen dough gently to release air bubbles. Roll it out into a rectangle, about 12×10 inches. Cut into strips, about 1 inch wide. You should get about 10-12 strips. Place them on the baking sheet, leaving a little space between each for expansion.
Step 6: Make the Garlic Butter (2 minutes)
While the dough rests, melt the butter in a small saucepan over low heat. Add the minced garlic, dried parsley, and red pepper flakes. Stir to combine. Do not let the garlic brown! You just want it infused into the butter. If the garlic browns, it will taste bitter.
Step 7: Brush and Bake (12-15 minutes)
Brush the garlic butter generously over the top of each breadstick. Sprinkle with grated Parmesan cheese. Bake for 12-15 minutes until golden brown and cooked through. The edges should be crispy, and the tops should be bubbly with cheese. If they’re browning too fast, cover loosely with foil.
Step 8: Serve Immediately
Let them cool for 2 minutes (they’re very hot!). Serve warm with marinara sauce for dipping, or alongside pasta. They’re best fresh out of the oven.
Total Time: About 30 minutes (10 minutes active, 20 minutes mostly hands-off)
Expert Tips & Tricks
Here’s everything I’ve learned from making this dozens of times. These tips will save you from my mistakes.
The Game-Changers
Don’t Skip the Kneading
This is the #1 tip. Kneading develops gluten, which gives the breadsticks their chewy texture. If you skip it, you’ll get dense, flat biscuits instead of light, airy breadsticks. I’ve made this mistake once, and the result was disappointing. Now I knead for the full 10 minutes.
Garlic Timing is Everything
Adding garlic to the butter *after* it’s melted, not before. If you cook garlic in cold butter, it doesn’t infuse properly. If you cook it too long, it burns. Low heat, 30 seconds max. Just until fragrant.
Grate Your Own Cheese
Pre-grated Parmesan has cellulose to prevent clumping, which stops it from melting smoothly. Freshly grated cheese melts into a gooey, golden blanket. It’s worth the extra 2 minutes.
Use Parchment Paper
Breadsticks can stick to baking sheets, especially with the butter and cheese. Parchment paper ensures easy removal and cleanup. I’ve scraped burnt cheese off pans before—don’t do that.
Common Mistakes (and how to avoid them)
Mistake: Dough is too sticky
Fix: Add flour 1 tablespoon at a time. Over-flouring makes dense breadsticks. Wait a few minutes; the flour will absorb more moisture as you knead.
Mistake: Breadsticks are flat
Fix: Your yeast might be dead, or you didn’t let it rise long enough. Check yeast expiration dates and ensure your water is warm enough to activate it.
Mistake: Topping is burnt
Fix: The garlic burned because the oven was too hot or the breadsticks baked too long. Check them at 12 minutes. If they’re golden, pull them out. Cheese burns quickly.
Pro Tricks I’ve Learned
For Extra Garlic Flavor
Add a little extra garlic to the dough itself, not just the topping. Mix 1 minced clove into the dough before kneading. It’s subtle but adds depth.
For Restaurant-Quality Finish
Brush with a little extra melted butter immediately after taking them out of the oven. It adds shine and richness.
For Better Texture
Let the dough rest for 5 minutes after shaping before baking. This relaxes the gluten and helps them rise slightly more.
Variations & Substitutions
Once you’ve nailed the basic version, here’s how you can mix it up. I’ve tried all of these.
Tested Variations
Ranch Breadsticks
Swap the garlic butter for melted butter mixed with 1 packet of ranch seasoning. My kids love this version. It’s like a dipper’s dream.
Cinnamon Sugar
Skip the garlic butter. Brush with melted butter and sprinkle with cinnamon sugar. Great for dessert or breakfast. Serve with honey for dipping.
Jalapeño Cheddar
Add 1 diced jalapeño and 1 cup shredded cheddar cheese to the topping. Spicy and savory. Perfect with hot honey ground beef and sweet potato bowl if you’re feeling adventurous.
Herb Garden
Use fresh rosemary, thyme, and oregano instead of parsley. Adds a sophisticated, earthy flavor. Great with roasted meats.
Dietary Modifications
Gluten-Free
Use a 1:1 gluten-free flour blend. The dough will be stickier, so handle with wet hands. Add an extra egg to help bind it. They won’t rise as much, but they still taste great.
Vegan
Replace butter with vegan butter or coconut oil. Use nutritional yeast instead of Parmesan. The texture will be slightly different, but still delicious.
Lower-Carb
Use almond flour or coconut flour. Note: These flours absorb more moisture, so you may need extra eggs. The result is more like a biscuit than a breadstick.
Serving & Storage
How to Serve:
I usually serve these straight from the oven at the dinner table—they look rustic and stay warm. But here are other ways I’ve enjoyed them:
Side Dishes:
- Pasta with marinara sauce (classic combo)
- Salad with balsamic vinaigrette
- Soup (tomato, minestrone, or chili)
- Crispy roasted chickpea and cucumber salad for a lighter lunch option
Toppings Bar:
When I have guests, I put out: extra Parmesan, red pepper flakes, fresh basil, marinara sauce, ranch dressing. Everyone customizes their bowl.
Storage Instructions:
Refrigerator:
Store in an airtight container for up to 3 days. They will firm up in the fridge—totally normal.
Reheating:
Best method: Oven or toaster oven at 350°F for 5-7 minutes. This keeps them crispy. Microwave method: 30 seconds max, but they’ll get chewy. Avoid the microwave if you want that fresh-baked texture.
Freezing:
Yes, these freeze well! Bake them, let them cool completely, then freeze in a bag for up to 3 months. Reheat in the oven. They taste almost as good as fresh.
Pro tip: If leftovers are drying out, brush with a little butter before reheating. Brings back that soft, pillowy texture.
Nutrition Information
I’m not a nutritionist, but here’s the breakdown if you’re tracking.
Per Serving (based on 10 breadsticks):
- Calories: 180
- Protein: 6g
- Carbs: 22g
- Fiber: 1g
- Sugar: 1g
- Fat: 8g
- Saturated Fat: 4g
- Cholesterol: 15mg
- Sodium: 250mg
What’s Good:
- Decent protein from flour and cheese
- Calcium from the Parmesan
- Easy to customize with veggies or lean proteins
What to Know:
- Higher in calories from butter and cheese
- Contains gluten and dairy
- Moderate sodium (use low-sodium Parmesan to reduce)
My Take:
Look, this is comfort food with butter and cheese. It’s not a diet recipe. But it’s way better than store-bought, costs less, and I know exactly what’s in it. When I want to make it lighter, I reduce the butter and load up on herbs. But usually? I just eat a reasonable portion and enjoy it.
Final Thoughts
So that’s my go-to homemade garlic parmesan breadsticks! I’ve probably talked your ear off at this point, but when you make a recipe this often, you have a lot to say about it.
This has saved weeknight dinners more times than I can count. It’s my answer to “what’s for dinner” when I’m tired, don’t want takeout, and still want something that tastes really good. My kids are happy, my husband’s happy, and I’m happy because I’m not stressed about cooking.
Make it yours! Try different add-ins, swap in your favorite herbs, adjust the garlic (though more is always better in my opinion). The best recipes are the ones you adapt to your family’s tastes. If you’re looking for something sweet to balance out the savory, these best Greek yogurt blueberry muffins are a great breakfast pairing, or try my brown sugar peach caramel coffee cake for a weekend treat.
If you make this, drop a comment and let me know what you think! I love hearing how recipes turn out in your kitchen. And if something doesn’t work, tell me that too—I’m here to help troubleshoot.
Happy cooking! And I hope your kitchen smells half as good as mine does right now.
Frequently Asked Questions
Q: Can I use self-rising flour instead of all-purpose flour?
A: You can, but be careful with the salt. Self-rising flour already has salt and baking powder. Reduce the salt in the recipe to ½ teaspoon. The texture will be slightly different—more like a biscuit than a breadstick—but still tasty.
Q: My dough didn’t rise—what happened?
A: Usually, the yeast was dead or the water was too hot/cold. Check your yeast expiration date. Next time, test the water temperature—it should feel hot but not burn your finger. If it’s too hot, it kills the yeast. If it’s too cold, it doesn’t activate.
Q: Can I make this ahead for a dinner party?
A: Yes! Prepare the dough up to 2 days ahead and store it in the fridge. Let it come to room temperature before shaping and baking. Or, shape the breadsticks, freeze them on a baking sheet, then transfer to a bag. Bake straight from frozen, adding 2-3 minutes to the baking time.
Q: Why did my breadsticks turn out flat?
A: They likely didn’t rise enough. Make sure your yeast is active and your kitchen isn’t too drafty. Also, don’t punch down the dough too hard—just gently release the air. If you overwork the dough, it can become dense.
Q: Can I use garlic powder instead of fresh garlic?
A: You can, but fresh garlic tastes so much better in this recipe. If you must use garlic powder, use 1 teaspoon in the butter mixture. Fresh garlic adds a brightness that powder can’t match. I recommend mincing 4-6 cloves.
Q: How do I reheat leftovers without them getting tough?
A: Oven or toaster oven is best. Heat at 350°F for 5-7 minutes. This restores the crispiness. Microwave reheating makes them chewy and tough. If you must microwave, do it in short bursts (15 seconds) and brush with a little butter first.
Q: Can I double this recipe?
A: Absolutely! Double everything and use your biggest bowl. The cooking times stay the same. I do this when I’m meal-prepping or feeding a crowd. Just make sure your baking sheet is big enough—you might need two sheets.
Pin This Recipe!
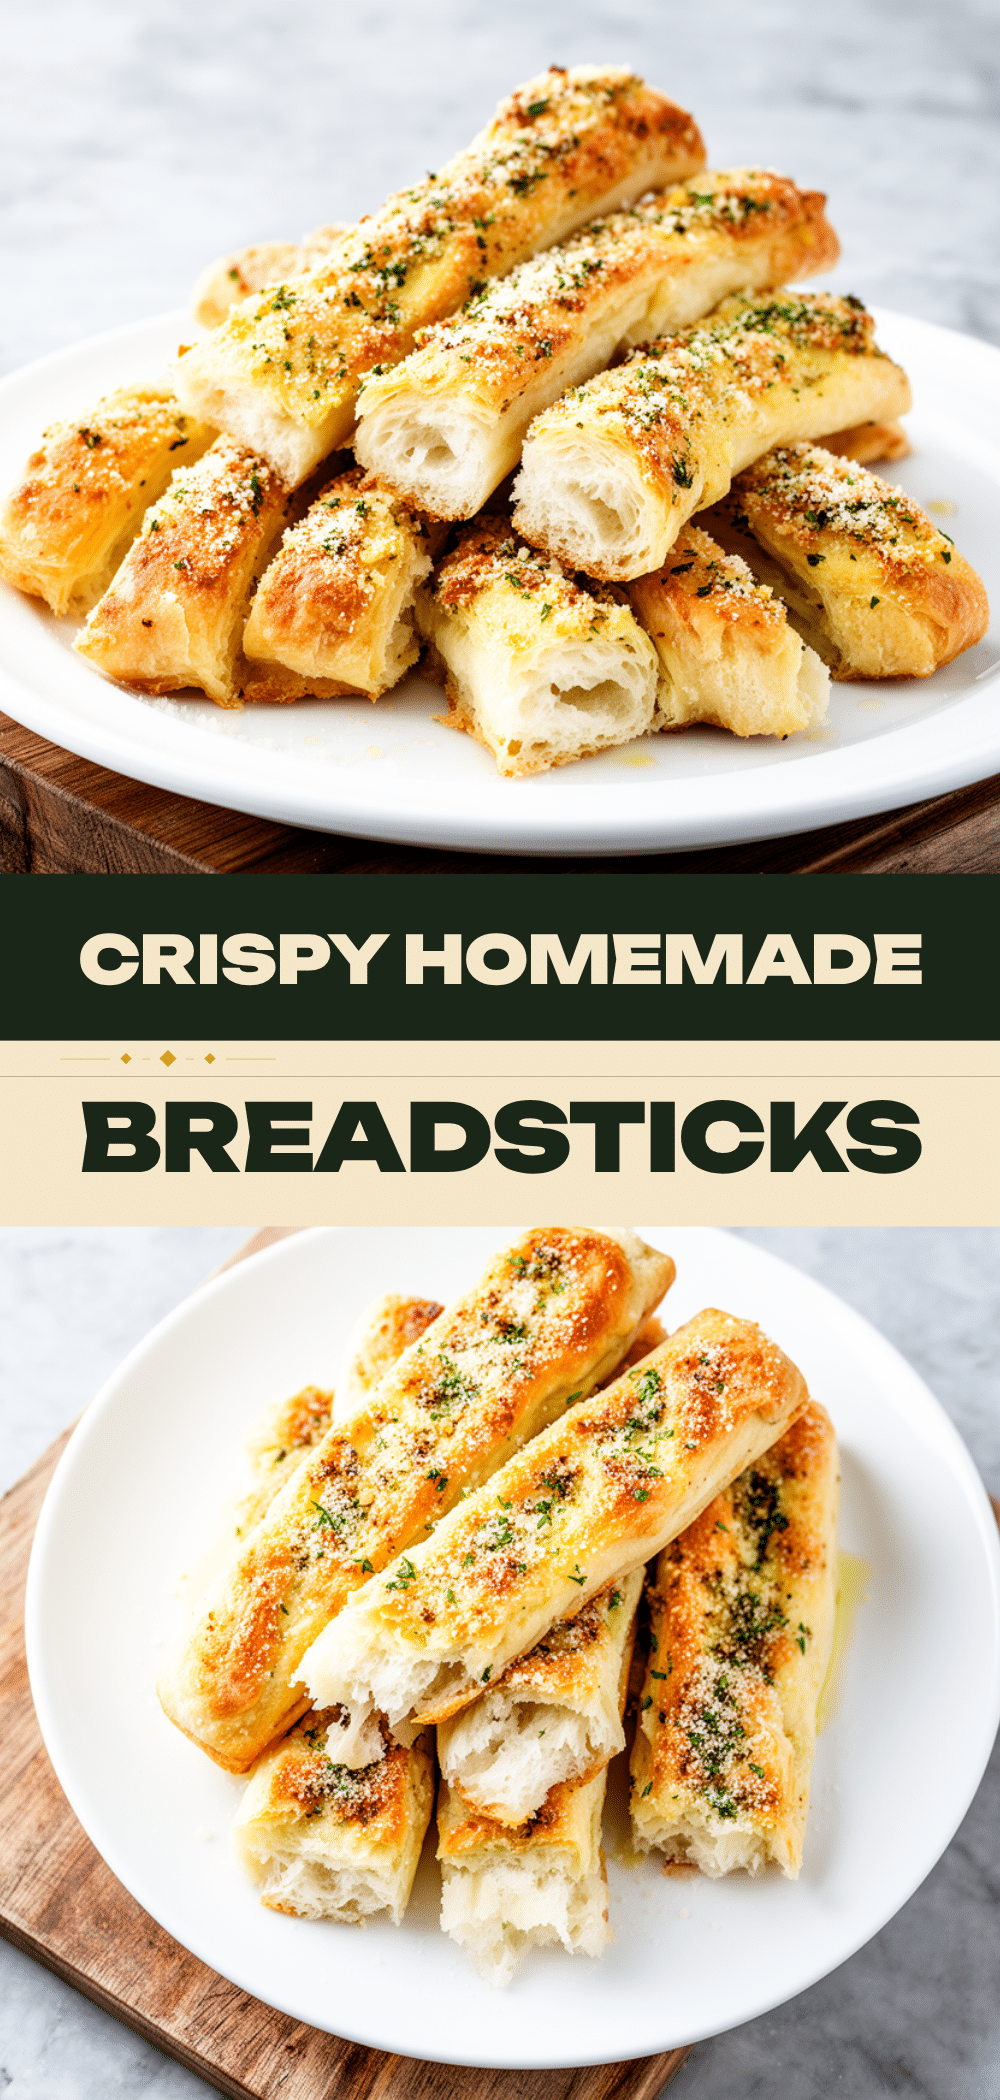
Homemade Garlic Parmesan Breadsticks: Easy 3-Ingredient Recipe
- Total Time: 30 minutes
- Yield: 10-12 breadsticks (serves 4-6) 1x
Description
These homemade garlic parmesan breadsticks are a quick, pantry-friendly comfort food that takes just 30 minutes from start to finish. With simple ingredients like flour, butter, garlic, and Parmesan, they offer a restaurant-quality taste perfect for weeknight dinners.
Ingredients
- 2 cups (250g) all-purpose flour
- ¾ cup (180ml) hot water (105-110°F)
- 1 packet (2¼ tsp) active dry yeast
- 1 tablespoon sugar
- 1 teaspoon salt
- 2 tablespoons olive oil
- ½ cup (113g) unsalted butter, melted
- 4–6 cloves garlic, minced
- ½ cup (50g) freshly grated Parmesan cheese
- 1 teaspoon dried parsley
- ½ teaspoon red pepper flakes (optional)
Instructions
- Activate the yeast: In a small saucepan or microwave-safe cup, combine hot water and sugar. Sprinkle yeast on top and stir gently. Let sit for 5-10 minutes until foamy and bubbly.
- Mix the dough: In a large bowl, combine flour and salt. Make a well and pour in the yeast mixture and olive oil. Mix with a wooden spoon or hand until a shaggy dough forms.
- Knead the dough: Turn dough onto a lightly floured surface. Knead for 8-10 minutes until smooth and elastic. Add small amounts of flour or water if needed to achieve a soft, slightly tacky consistency.
- First rise: Lightly oil the bowl, place dough inside, turn to coat, and cover with a damp towel or plastic wrap. Let rise in a warm, draft-free spot for 30 minutes until doubled in size.
- Shape the breadsticks: Preheat oven to 375°F (190°C). Line a 13×9 inch baking sheet with parchment paper. Punch down the dough gently and roll into a 12×10 inch rectangle. Cut into 1-inch wide strips (about 10-12 strips) and place on the baking sheet with space between them.
- Make the garlic butter: While dough rests, melt butter in a small saucepan over low heat. Add minced garlic, dried parsley, and red pepper flakes. Stir for about 30 seconds until fragrant, ensuring the garlic does not brown.
- Brush and bake: Brush the garlic butter generously over each breadstick. Sprinkle with grated Parmesan cheese. Bake for 12-15 minutes until golden brown and cooked through.
- Serve: Let cool for 2 minutes. Serve warm with marinara sauce for dipping or alongside pasta.
Notes
Ensure yeast is fresh and water is between 105-110°F for proper activation. Do not skip kneading to develop gluten for a chewy texture. Use freshly grated Parmesan for better melting. If garlic browns, it will taste bitter. For leftovers, reheat in an oven or toaster oven at 350°F for 5-7 minutes to maintain crispiness; avoid microwaving if possible.
- Prep Time: 10 minutes
- Cook Time: 20 minutes
- Category: Side Dish
- Cuisine: Italian
Nutrition
- Serving Size: 1-2 breadsticks per
- Calories: 180
- Sugar: 1
- Sodium: 250
- Fat: 8
- Saturated Fat: 4
- Carbohydrates: 22
- Fiber: 1
- Protein: 6
Keywords: garlic parmesan breadsticks, easy breadsticks, 30 minute dinner, weeknight dinner, homemade breadsticks, garlic butter breadsticks, comfort food



