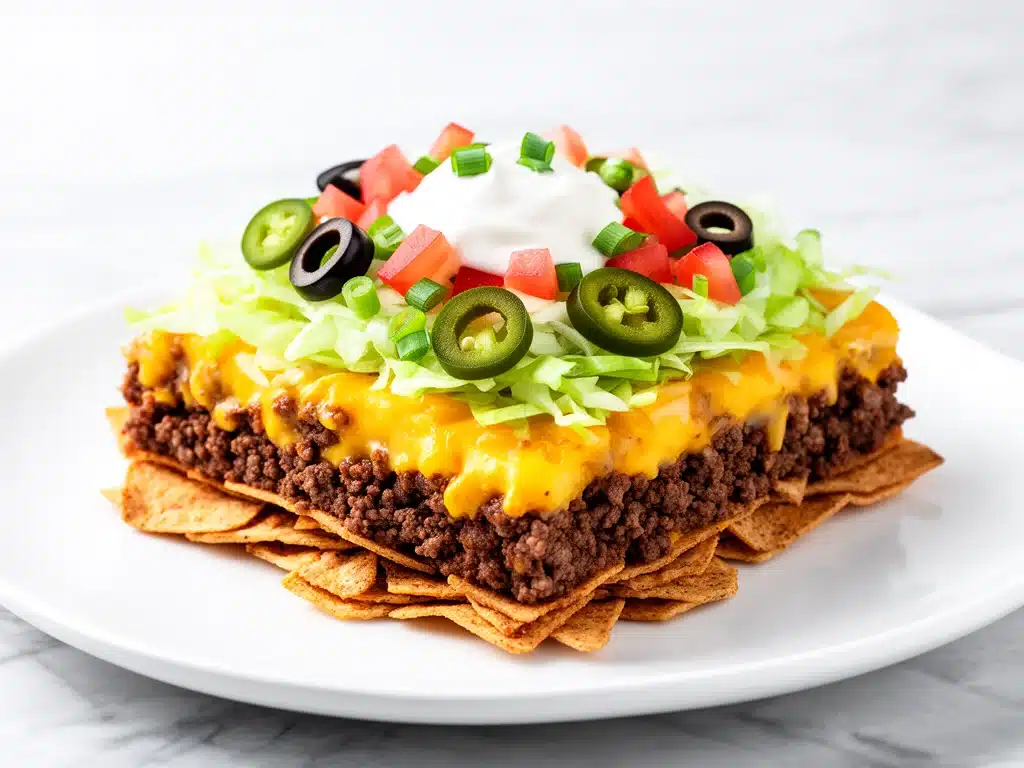
Last Tuesday, I was standing in my kitchen at 6:45 PM, staring at a pile of taco shells that had gone soft in the humidity, feeling that specific kind of weeknight dread. I wanted tacos. I really did. But I also wanted to lose the post-taco carb coma, and I certainly didn’t want to spend forty minutes assembling individual shells when I had a million other things on my plate. My kids were already arguing over who got the last slice of apple, the dog was pacing by the back door, and I was pretty sure the grocery store would be closed by the time I figured out dinner.
That was the moment I decided enough was enough. I grabbed a baking dish, dumped the leftover ground beef, threw in a jar of salsa, and added way more cheese than was probably healthy. I figured if I couldn’t make perfect tacos, I could at least make a casserole that tasted like them. I expected a mediocre mix of beef and melted cheese. What I got was something completely different. It was crispy on top, creamy in the middle, and actually tasted better than the taco version.
This cheesy low carb taco casserole has since become my secret weapon. It’s the dish I make when I’m tired but still want something that feels like a treat. It’s the meal that convinces my husband (who is deeply skeptical of “diet food”) that I’m not trying to starve him. And honestly? It’s the easiest thing I pull out of the oven all week. No shells. No mess. Just pure, cheesy, taco-flavored comfort in one dish.
Why You’ll Love This Recipe
Look, I know there are a million casserole recipes out there. But this one? It’s different. It’s not just “taco meat in a dish.” It’s a complete meal experience that respects your time, your budget, and your waistline. Here’s why this cheesy low carb taco casserole keeps me coming back:
- Zero Carb Crispy Top — Most low-carb recipes feel like they’re missing something. This one doesn’t. The cheese crust gets golden and bubbly, giving you that satisfying crunch you miss from taco shells, without the carbs. It’s the best part, hands down.
- Ready in 30 Minutes — From start to finish, this takes about 30 minutes if you’re organized. That’s faster than ordering takeout and waiting for delivery. I make this on the nights I get home from work at 6:30 PM and pretend I planned it all day.
- Pantry-Friendly Ingredients — You probably have most of this already. Ground beef, salsa, taco seasoning, and cheese. That’s it. No weird, hard-to-find low-carb flours or expensive substitutes. Just real food.
- Kids Actually Eat It — My pickiest eater, who usually pushes broccoli around his plate, devours this. The cheese factor is high, the flavor is familiar, and the texture is soft enough for little teeth. It’s a win in my book.
- Meal Prep Friendly — I make a double batch on Sundays. It reheats beautifully in the microwave (though the oven is better for crispiness). It’s the perfect grab-and-go lunch that doesn’t taste like sad salad.
- Under $15 — Feeds a family of four for less than the cost of two tacos at a restaurant. When groceries are this expensive, this recipe is a lifesaver.
This is my go-to when I need dinner to just work. No complicated techniques, no weird ingredients, just reliable, delicious food that makes everyone happy. If you’re looking for a way to get your tacos fix without the carb crash, this is it.
Ingredients You’ll Need
Here’s the best part: you probably have most of this already. I’m particular about three ingredients here, and I’ll tell you exactly why. This isn’t a complicated list, but getting the quality right makes a huge difference in the final flavor.
For the Base
Ground beef (1 pound / 450g) — I use 80/20 fat ratio. Lean beef can be dry in a casserole. The fat keeps it juicy and flavorful. If you prefer turkey, that works too, but you’ll need to add a little extra oil or butter to the pan so it doesn’t stick.
Taco seasoning (1 packet / 1 ounce) — I use a standard store-bought packet for convenience, but you can make your own. If you make your own, watch the salt content. Store-bought packets can be salty, so taste your meat before adding extra salt.
Salsa (1 cup / 240g) — Use a medium or mild salsa. Avoid chunky salsa with large pieces of onion or pepper, as they don’t cook down evenly in the oven. I like a smooth, slightly spicy salsa. If you want more heat, add a diced jalapeño.
For the Cheese Layer
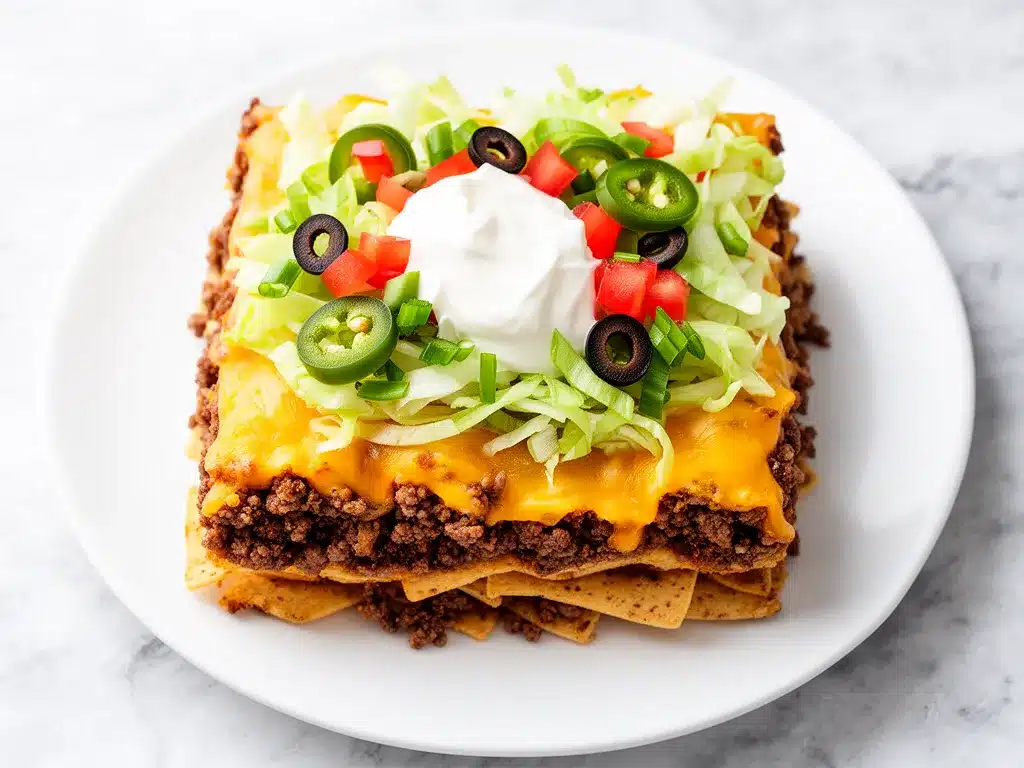
Cheddar cheese (2 cups / 200g, shredded) — Buy the block and shred it yourself. Pre-shredded cheese has cellulose coating that prevents it from melting smoothly. I want gooey, stringy cheese, not clumpy. Sharp cheddar gives the best flavor.
Monterey Jack cheese (1 cup / 100g, shredded) — This is the melting queen. It melts beautifully and has a mild flavor that balances the sharp cheddar. If you can’t find Monterey Jack, use more cheddar or mozzarella.
Cream cheese (4 ounces / 115g, softened) — This is the secret ingredient. It adds creaminess and helps bind the casserole together so it’s not just loose meat and cheese. Don’t skip it. It makes the texture rich and indulgent.
For Garnish (Optional)
Green onions (2 stalks, sliced) — Adds a fresh, crisp bite to cut through the richness. I love the color it adds too.
Sour cream — A dollop on top is non-negotiable for my family. It cools down the spice and adds tang.
Black olives — Sliced. If your family likes them, throw them in. If not, skip them. They’re optional.
Avocado — Diced. Adds healthy fats and creaminess. Great for topping individual servings.
Equipment Needed
You don’t need fancy equipment for this. Here’s what I actually use:
9×13 inch baking dish — I use a ceramic one because it heats evenly and looks nice when I bring it to the table. Glass works too, but it might not get as crispy on top. If you’re using glass, you might want to broil for the last 2 minutes.
Large skillet — I use a 12-inch cast iron skillet to brown the beef. It holds heat well and makes cleanup easy. If you don’t have cast iron, any large skillet works.
Wooden spoon — For stirring the beef and mixing the ingredients. Silicone works too. Don’t use metal on non-stick.
Microplane or box grater — For grating your own cheese. Takes two minutes and makes a huge difference.
Measuring cups and spoons — Standard stuff. Dollar store versions work fine.
Spatula — For spreading the cream cheese and cheese mixture evenly.
How to Make It: Step-by-Step
Alright, let’s make this! I’m walking you through exactly how I do it, including the little tricks I’ve picked up over the years.
Step 1: Prep Your Oven and Dish (5 minutes)
Preheat your oven to 375°F (190°C). Grease your 9×13 baking dish with cooking spray or a little butter. I use butter because it adds flavor and helps the cheese brown nicely. If you’re using a glass dish, make sure it’s oven-safe.
Step 2: Brown the Beef (8-10 minutes)
Heat your large skillet over medium-high heat. Add the ground beef, breaking it up with a wooden spoon as it cooks. Cook until browned and no pink remains, about 8-10 minutes. If there’s a lot of excess grease, drain it off, but leave a little bit for flavor. I usually drain about half the grease, leaving just enough to keep the meat moist.
Step 3: Add Seasoning and Salsa (5 minutes)
Reduce the heat to medium. Sprinkle the taco seasoning over the beef. Stir well to coat. Pour in the salsa and stir again. Let this simmer for 3-5 minutes. This step is crucial—it allows the flavors to meld and the salsa to thicken slightly. If it’s too watery, let it cook a bit longer. You want a thick, rich meat mixture, not a soup.
Step 4: Spread the Base (2 minutes)
Transfer the meat mixture to your prepared baking dish. Spread it out evenly with a spatula. This is your foundation. Make sure it’s flat so the cheese layer distributes evenly.
Step 5: Add the Cream Cheese Layer (2 minutes)
Take the softened cream cheese and drop spoonfuls over the meat layer. Use a knife or spatula to spread it out, trying to cover as much of the meat as possible. Don’t worry if it’s not perfectly smooth. The goal is to create pockets of creamy goodness that will melt into the casserole.
Step 6: Top with Cheese (2 minutes)
Sprinkle the shredded cheddar and Monterey Jack cheese evenly over the top. I like to mound it up a little in the center, so you get a nice thick layer of melted cheese in the middle. Press it down gently so it sticks to the cream cheese layer.
Step 7: Bake (20 minutes)
Place the dish in the preheated oven. Bake for 20 minutes, or until the cheese is bubbly and starting to brown. If you want a darker, crispier top, broil for the last 2-3 minutes. Watch it closely! Cheese burns fast. I usually broil for 2 minutes, then check. If it’s not dark enough, give it 30 seconds more.
Step 8: Cool and Serve (5 minutes)
Remove from the oven and let it cool for 5 minutes. This is important—it allows the casserole to set slightly so it’s easier to cut and serve. Sprinkle with green onions, sour cream, and any other toppings you like. Dig in!
Total Time: About 30 minutes (10 minutes active, 20 minutes mostly hands-off)
Expert Tips & Tricks
Here’s everything I’ve learned from making this dozens of times. These tips will save you from my mistakes.
Softened Cream Cheese is Key
If your cream cheese is cold and hard, it won’t spread. It’ll just be lumps of cream cheese in your casserole. I take it out of the fridge 15 minutes before cooking. If I forget, I microwave it for 10-15 seconds. It should be soft enough to spread with a knife, not liquid.
Don’t Skip the Broil
The broiler is what turns this from “good” to “amazing.” The top needs to get golden and crispy. Without the broil, it’s just melted cheese. With the broil, it’s a crust. I love that crunch.
Drain the Grease
Too much grease makes the casserole oily and heavy. Drain most of it after browning the beef. Leave a tablespoon or two for flavor. You want moist meat, not a grease slick.
Use Smooth Salsa
Chunky salsa doesn’t cook down evenly. It leaves big pieces of onion and pepper that can be distracting. A smooth or medium salsa blends better with the meat and cream cheese.
Let It Rest
I know it’s tempting to dig in right away, but letting it rest for 5 minutes helps it set. It’s easier to cut and serve, and the flavors settle. Plus, it’s not scorching hot.
Variations & Substitutions
Once you’ve nailed the basic version, here’s how you can mix it up. I’ve tried all of these.
Turkey Version
Swap ground beef for ground turkey. It’s leaner and lighter. I add a tablespoon of olive oil to the pan to keep it moist. It’s still delicious, just a bit lighter.
Chicken Taco Casserole
Use cooked, shredded chicken instead of beef. Toss it with the taco seasoning and salsa. It’s a great way to use up rotisserie chicken. I love this version in the summer.
Veggie-Loaded
Add diced bell peppers, onions, and corn to the meat mixture. Sauté them with the beef for extra flavor and nutrition. I do this to get my kids to eat more vegetables.
Spicy Version
Add a diced jalapeño to the meat mixture. Use a hot salsa. Add a pinch of cayenne pepper. For those who like it hot, this version is amazing.
Gluten-Free
This recipe is naturally gluten-free. Just make sure your taco seasoning is certified gluten-free, as some brands use wheat as a filler. Most are fine, but check the label.
Dairy-Free
Use dairy-free cream cheese and cheese alternatives. It’s not the same, but it works. I’ve used Daiya and Violife with decent results. It won’t melt quite the same way, but it’s still tasty.
Serving & Storage
How to Serve:
I usually serve this straight from the baking dish at the dinner table—it looks rustic and stays warm. But here are other ways I’ve enjoyed it:
- Side Dishes: Simple green salad with lime vinaigrette, roasted cauliflower, or steamed broccoli. Something fresh to balance the richness.
- Toppings Bar: When I have guests, I put out sour cream, guacamole, sliced olives, and chopped cilantro. Everyone customizes their bowl.
Storage Instructions:
Refrigerator: Store in an airtight container for up to 4 days. The flavors actually get better after a day or two as they meld together.
Reheating: Best method: Microwave individual portions for 1-2 minutes, stirring halfway through. Oven method: Reheat in a 350°F oven for 15-20 minutes, covered with foil to prevent drying out. If you want the crispy top back, uncover for the last 5 minutes.
Freezing: You can freeze this, but the texture of the cream cheese might change slightly upon thawing. It’s still good, just not as creamy. I usually freeze individual portions for quick lunches.
Nutrition Information
I’m not a nutritionist, but here’s the breakdown if you’re tracking.
Per Serving (based on 6 servings):
- Calories: 380
- Protein: 28g
- Carbs: 4g
- Fiber: 1g
- Sugar: 2g
- Fat: 28g
- Saturated Fat: 14g
- Cholesterol: 95mg
- Sodium: 650mg
What’s Good: High protein, low carb, good calcium from cheese. What to Know: Higher in saturated fat due to cheese and beef. Moderate sodium. Use low-sodium salsa and seasoning to reduce sodium.
Look, this is comfort food. It’s not a diet recipe, but it’s way better than takeout, costs less, and I know exactly what’s in it. When I want to make it lighter, I use turkey and less cheese. But usually? I just eat a reasonable portion and enjoy it.
Final Thoughts
So that’s my cheesy low carb taco casserole! I’ve probably talked your ear off at this point, but when you make a recipe this often, you have a lot to say about it. This has saved weeknight dinners more times than I can count. It’s my answer to “what’s for dinner” when I’m tired, don’t want takeout, and still want something that tastes really good. My kids are happy, my husband’s happy, and I’m happy because I’m not stressed about cooking.
Make it yours! Try different add-ins, swap in your favorite vegetables, adjust the spice level. The best recipes are the ones you adapt to your family’s tastes. If you make this, drop a comment and let me know what you think! I love hearing how recipes turn out in your kitchen. And if something doesn’t work, tell me that too—I’m here to help troubleshoot.
Happy cooking! And I hope your kitchen smells half as good as mine does right now.
Frequently Asked Questions
Can I use ground turkey instead of beef?
Yes! Ground turkey works great and is leaner. Just make sure to add a tablespoon of olive oil to the pan so it doesn’t dry out. Turkey has a milder flavor, so you might want to add a little extra taco seasoning.
Can I make this ahead of time?
Yes, you can assemble it the night before and refrigerate it. Just add 10-15 minutes to the baking time since it’s starting cold. I do this all the time for busy weeknights. It’s a lifesaver.
Why did my casserole turn out watery?
Usually, this happens if you didn’t drain the grease from the beef, or if your salsa was too watery. Make sure to simmer the meat and salsa mixture until it thickens before baking. Also, avoid chunky salsa with lots of liquid.
Can I freeze this?
Yes, but the texture might change slightly. The cream cheese can become a bit grainy after freezing and thawing. It’s still delicious, just not as creamy. I recommend freezing individual portions for easier reheating.
What cheese is best for this?
I love a mix of sharp cheddar and Monterey Jack. The cheddar adds flavor, and the Jack melts beautifully. You can also use mozzarella for extra stretch, or pepper jack for more spice.
Is this keto-friendly?
Yes, this recipe is naturally low-carb and keto-friendly. Just make sure your taco seasoning doesn’t have added sugar. Most store-bought packets do, so check the label or make your own.
Can I use canned chicken?
Yes, canned chicken works well. Drain it well and toss it with the taco seasoning and salsa. It’s a quick and easy option. I use this version when I’m short on time.
Pin This Recipe!
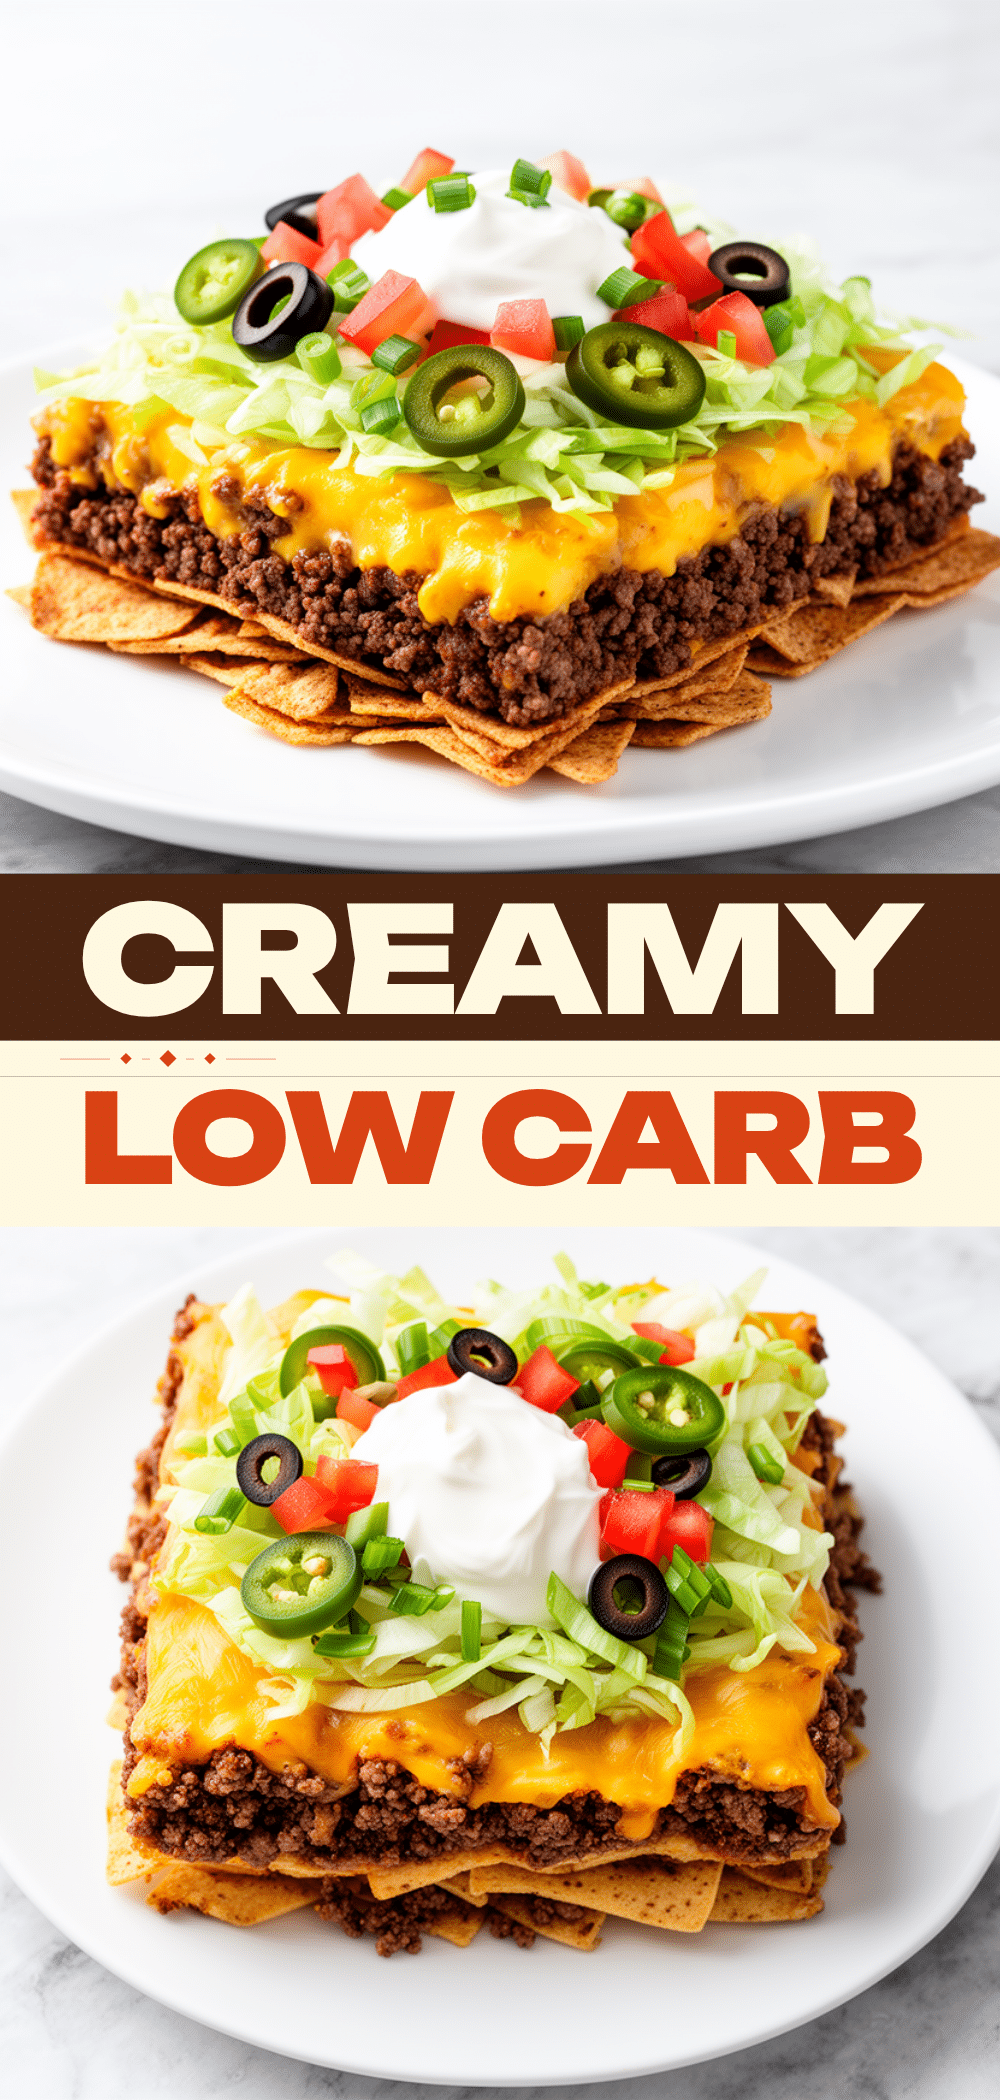
Cheesy Low Carb Taco Casserole
- Total Time: 30 minutes
- Yield: 6 servings 1x
Description
A crispy, creamy, and cheesy low-carb taco casserole that tastes like tacos without the carb coma. Ready in 30 minutes with pantry-friendly ingredients.
Ingredients
- 1 pound ground beef (80/20 fat ratio)
- 1 packet taco seasoning (1 ounce)
- 1 cup smooth or medium salsa (240g)
- 2 cups sharp cheddar cheese, shredded (200g)
- 1 cup Monterey Jack cheese, shredded (100g)
- 4 ounces cream cheese, softened (115g)
- 2 stalks green onions, sliced (for garnish)
- Sour cream (for garnish)
- Black olives, sliced (optional)
- Avocado, diced (optional)
Instructions
- Preheat oven to 375°F (190°C). Grease a 9×13 inch baking dish with cooking spray or butter.
- In a large skillet over medium-high heat, brown the ground beef, breaking it up with a spoon. Cook for 8-10 minutes until no pink remains. Drain excess grease, leaving about a tablespoon for flavor.
- Reduce heat to medium. Sprinkle taco seasoning over the beef and stir to coat. Add salsa and stir again. Simmer for 3-5 minutes until the mixture thickens.
- Transfer the meat mixture to the prepared baking dish and spread evenly.
- Drop spoonfuls of softened cream cheese over the meat layer and spread to cover as much surface area as possible.
- Sprinkle the shredded cheddar and Monterey Jack cheese evenly over the top, mounding slightly in the center.
- Bake for 20 minutes until the cheese is bubbly and starting to brown. For a crispier top, broil for the last 2-3 minutes, watching closely to prevent burning.
- Remove from oven and let cool for 5 minutes to allow the casserole to set. Garnish with green onions, sour cream, and optional toppings before serving.
Notes
Use smooth salsa to avoid watery texture. Ensure cream cheese is softened for easy spreading. Let the casserole rest for 5 minutes before cutting to help it set. For a dairy-free version, use dairy-free cheese alternatives, though melting properties may vary.
- Prep Time: 10 minutes
- Cook Time: 20 minutes
- Category: Main Course
- Cuisine: Mexican
Nutrition
- Serving Size: 1/6 of the casserole
- Calories: 380
- Sugar: 2
- Sodium: 650
- Fat: 28
- Saturated Fat: 14
- Carbohydrates: 4
- Fiber: 1
- Protein: 28
Keywords: low carb, keto, taco casserole, weeknight dinner, easy recipe, cheesy, gluten-free, family friendly



