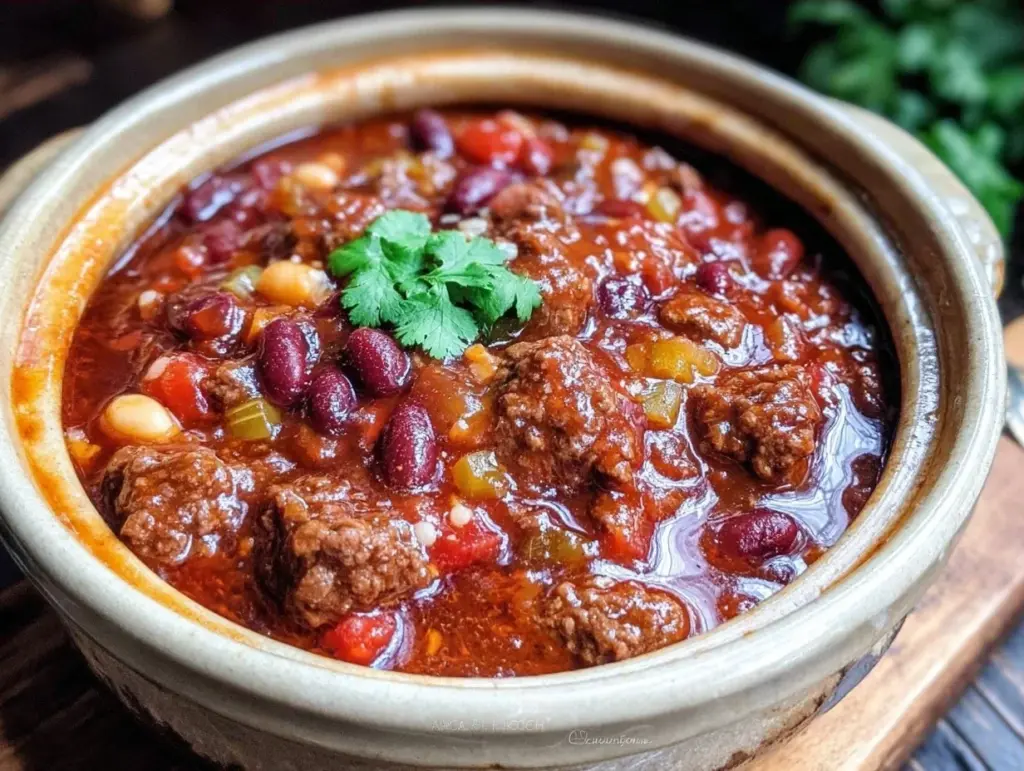
It was one of those Tuesday evenings in late October when the wind started howling outside and my kids were already bickering over who got the bigger bowl of cereal. I looked at the clock—5:15 PM—and felt that familiar knot of dread in my stomach. I didn’t have time to chop vegetables, sauté spices, and manage a stovetop pot that might boil over while I was trying to help with homework. I just needed dinner to appear. Magic style.
That was the night I truly committed to the slow cooker chili. Not the fancy, gourmet kind with imported meats and exotic spices I saw on Pinterest. I’m talking about the kind that uses canned beans, ground beef (or turkey if we’re watching the budget), and a handful of pantry staples I already had. It’s Fall Crockpot Chili, and it has saved our family dinners more times than I can count.
Here’s the thing about fall cooking: you want warmth, but you don’t always want to stand over a hot stove for hours. This chili is the perfect compromise. It smells like home from the moment you turn the slow cooker on. It’s hearty enough to satisfy hungry teenagers, mild enough to please picky eaters (if you leave off the extra heat), and cheap enough that I don’t stress about the grocery bill. It’s basically comfort food in its most practical form.
I’ve made this recipe at least twenty times since October started. I’ve tweaked the spice levels, swapped beans, and even tried adding a splash of coffee for depth (don’t knock it until you try it). But the core recipe remains the same: dump, set, and forget. If you’re looking for a budget-friendly kid-approved dinner that actually tastes like you tried, this is it. It’s reliable, it’s forgiving, and it makes your house smell amazing without you having to lift a finger after the initial prep.
Why You’ll Love This Crockpot Chili Recipe
I know, another chili recipe? But hear me out. There are a few reasons this specific version has earned a permanent spot in our weekly rotation. It’s not just about convenience; it’s about solving the real problems of feeding a family on a weeknight.
Stupid Simple Prep — Seriously, if you can open a can and dump it into a pot, you can make this. I’ve had my 10-year-old help me chop the onions and dump in the beans. There’s no fancy technique required. Just layer it in and walk away. It’s the ultimate “I’m tired” dinner.
Pantry and Freezer Friendly — You probably have 70% of these ingredients already. Canned beans, canned tomatoes, ground meat, onions, garlic. These are staples I keep stocked because they’re cheap and versatile. I often use up that half-frozen bag of ground beef hiding in the back of the freezer. It’s a great way to use up ingredients before they go bad.
Kid-Approved Flavor — This is the big one. My kids aren’t foodies. They don’t want “authentic” chili with a complex spice blend that tastes like dirt to them. They want savory, slightly sweet, and warm. This recipe hits that sweet spot. The slow cooking mellows out the spices so it’s not fiery hot, and the beans add a texture they don’t mind. If they don’t like beans, I just make a version without them, but usually, they don’t even notice.
Makes Incredible Leftovers — And I mean incredible. Chili tastes better the next day. The flavors meld together overnight, making it richer and deeper. I deliberately make a double batch on Sunday so I have lunches sorted for Monday and Tuesday. It freezes beautifully, too. I portion it into individual containers for the kids’ school lunches—it’s like a hot, savory lunchbox meal.
Feeds a Crowd (and a Budget) — This recipe feeds 6-8 people easily, and it costs less than $15 to make, depending on sales. That’s pennies per serving compared to ordering takeout or buying pre-made meals. It stretches the meat with beans, which is a classic budget hack that actually works because the flavors are so good you don’t miss the extra meat.
This is my go-to when I need dinner to just work. No stress, no expensive ingredients, just reliable, delicious food that keeps everyone happy and full.
Ingredients You’ll Need
Here’s the best part: you probably have most of this already. I’m not asking you to run to three different specialty stores. This is a true pantry-chili. I’m particular about the quality of the ground meat and the type of beans, but otherwise, it’s very flexible.
For the Meat Base:
Ground Beef (1.5 lbs / 680g) — I use 80/20 lean-to-fat ratio. Yes, it’s higher fat, but that fat carries the flavor. If you’re watching calories, 90/10 works, but you’ll need to drain more grease. I like the richness. Ground turkey is a great budget swap, too, especially if you add a teaspoon of smoked paprika to give it that “meaty” depth.
Onion (1 large yellow onion, diced / about 300g) — Yellow onions are sweet when cooked down. Don’t use red onions; they get too soft and weird in chili. White onions work but are sharper. I dice mine medium-small so it melts into the sauce.
Garlic (4 cloves, minced / about 1 tablespoon) — Fresh garlic is non-negotiable for me. Jarred garlic has a metallic taste that really shows up in simple recipes. Mincing it takes 30 seconds. If you’re being lazy, use a garlic press, but fresh tastes better.
For the Sauce and Body:
Kidney Beans (2 cans, 15 oz each / 425g each, drained and rinsed) — Kidney beans are the classic chili bean. They hold their shape well and have that nice meaty texture. Black beans work too, but they turn the chili a darker color. Pinto beans get mushy. Stick with kidney for that authentic feel. Always rinse them! It removes the starchy canning liquid and prevents bloating.
Diced Tomatoes (2 cans, 14.5 oz each / 425g each) — I use fire-roasted diced tomatoes if I can find them. They add a smoky depth that canned regular tomatoes just don’t have. If you can’t find fire-roasted, regular is fine. Don’t drain them! The juice is part of the sauce.
Tomato Paste (1 can, 6 oz / 170g) — This is the secret weapon. It concentrates the tomato flavor and thickens the chili. It’s cheap and lasts forever in the pantry. Some people add tomato sauce, but I find the paste plus the diced tomatoes gives the right consistency without being too watery.
Beef Broth (1 cup / 240ml) — Use low-sodium broth so you can control the saltiness. Vegetable broth works for a vegetarian version. I keep beef broth on hand because it adds that savory umami backbone.
For the Spice Blend:
Chili Powder (2 tablespoons) — Not just “chili powder” mix, but pure chili powder (like McCormick or Badia). It’s a blend of dried chilies, cumin, oregano, and garlic. Check your bottle to make sure it’s not just cayenne pepper. This is the main flavor driver.
Ground Cumin (1 tablespoon) — Earthy and warm. Don’t skip this. It’s what makes chili smell like chili.
Smoked Paprika (1 teaspoon) — Adds that smoky, bacon-like flavor without the meat. It’s a budget-friendly way to add complexity.
Granulated Garlic (1 teaspoon) — Different from fresh garlic. It’s dried and powdery, adding a subtle background note.
Salt and Black Pepper — To taste. I usually start with 1 teaspoon salt and ½ teaspoon pepper, then adjust at the end.
Optional Add-ins:
Dark Chocolate (1 square, 1 oz / 30g) — I know, it sounds weird. But a small piece of dark chocolate (70% or higher) melted in at the end adds richness and depth. It’s a trick I learned from a restaurant chef. You won’t taste “chocolate,” just a deeper, richer flavor.
Corn (1 cup, frozen or canned) — My kids love corn in their chili. It adds sweetness and crunch. I usually throw it in at the end so it doesn’t get mushy.
Equipment Needed
You don’t need fancy equipment for this. Here’s what I actually use.
Slow Cooker (Crockpot) — I use a 6-quart model. It’s the standard size and fits this recipe perfectly. If you have a 4-quart, you might need to double the batch or it’ll be too full. If you have an 8-quart, it’ll be a bit loose, but still works.
Large Skillet or Dutch Oven — I prefer browning the meat and sautéing the onions in a skillet first. It adds flavor (the Maillard reaction) that you miss if you just dump raw meat in the slow cooker. It takes 5 extra minutes but is worth it. If you want to skip this step, you can dump everything in raw, but the texture won’t be as good.
Sharp Knife and Cutting Board — For chopping onions and garlic. A dull knife makes you cry more—learned this the hard way.
Wooden Spoon or Silicone Spatula — For stirring. Metal can scratch non-stick pans.
Measuring Spoons — For the spices. Don’t eyeball it too much, especially with the cumin and chili powder. Consistency is key.
Can Opener — Obvious, but I’ve forgotten it before. Don’t be me.
Optional but nice:
Slotted Spoon — For draining beans if you don’t want to use a colander. Or just use the colander. Whatever is easiest.
Ladle — For serving. Chili is thick, so a ladle helps get a good scoop of meat and beans.
How to Make It: Step-by-Step
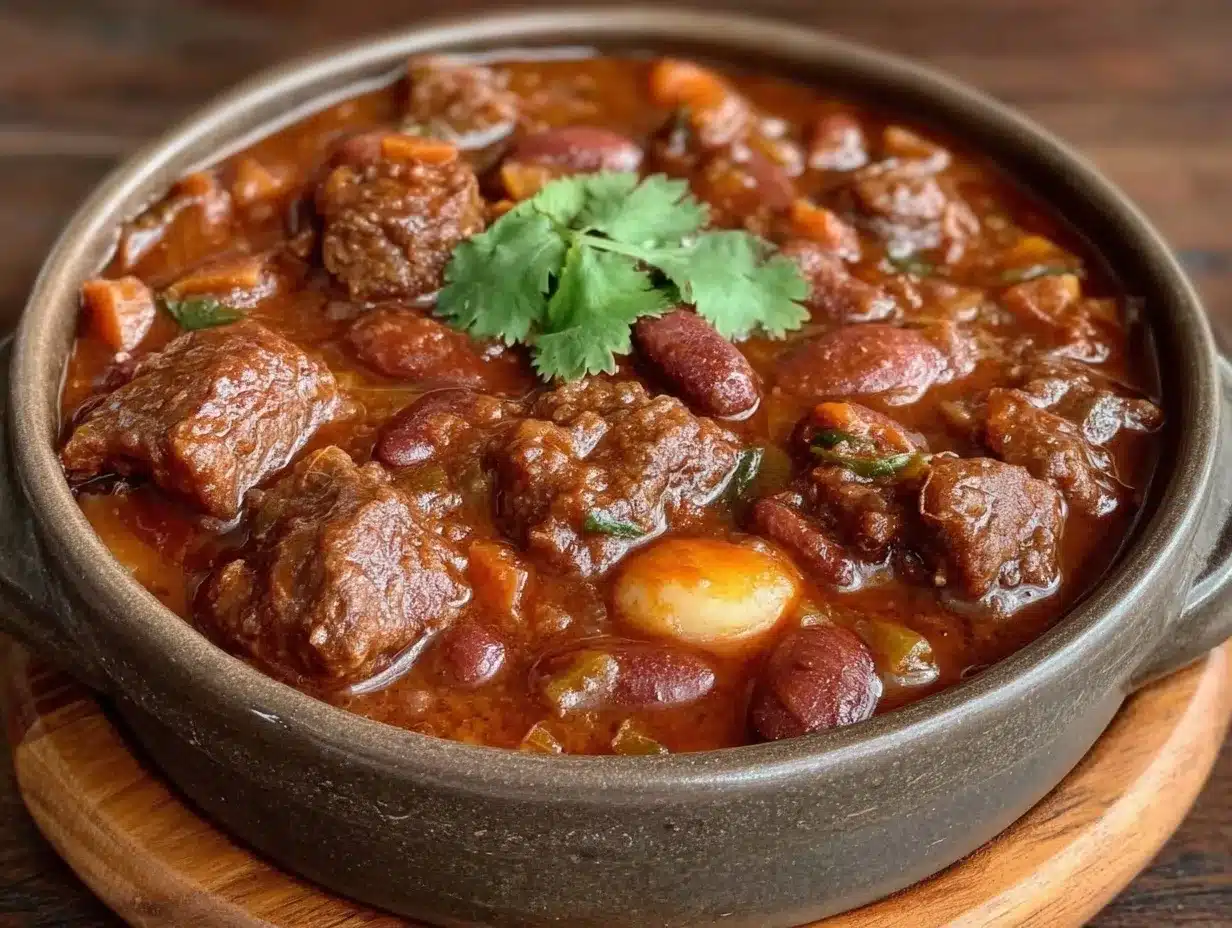
Alright, let’s make this! I’m walking you through exactly how I do it, including the little tricks I’ve picked up over the years. It’s straightforward, but there are a few details that make the difference between “okay” chili and “amazing” chili.
Step 1: Prep Your Ingredients (5 minutes)
Before you start cooking, chop your onion and mince your garlic. I know it seems fussy, but it makes the actual cooking way less stressful. Drain and rinse your kidney beans. Open your cans of tomatoes and tomato paste. Have your spices measured out and ready. Once you start cooking, things move fast, and you don’t want to be digging through spice jars while your onions are burning.
Step 2: Brown the Meat and Sauté Aromatics (8-10 minutes)
Heat a large skillet or Dutch oven over medium-high heat. Add a splash of oil (if your beef isn’t very fatty) or just the beef fat. Add the diced onion and cook for 3-4 minutes until it starts to soften and become translucent. Add the minced garlic and cook for 1 more minute, stirring constantly. The garlic should smell amazing but not brown—browned garlic tastes bitter.
Add the ground beef to the skillet. Break it up with a wooden spoon as it cooks. You want no large chunks of meat left. Cook until it’s fully browned and no longer pink. This usually takes 5-6 minutes. If there’s a lot of excess grease, drain it off, but leave a little bit for flavor.
Step 3: Build the Base (2 minutes)
Stir in the tomato paste. Cook it with the meat and onions for 1-2 minutes. This “toasts” the tomato paste slightly, removing that metallic raw taste and deepening the flavor. It’s a small step, but it makes a big difference.
Step 4: Combine Everything in the Slow Cooker (2 minutes)
Transfer the meat mixture into your slow cooker. Add the diced tomatoes (with their juice), the drained kidney beans, and the beef broth. Stir well to combine. Make sure the tomato paste is fully incorporated.
Step 5: Add the Spices (1 minute)
Add the chili powder, ground cumin, smoked paprika, granulated garlic, salt, and black pepper. Stir everything together. Taste the mixture now (it’s raw, so it won’t taste great, but check the saltiness). If it tastes bland, add a pinch more salt. It will need more salt after slow cooking.
Step 6: The Slow Cook (4-6 hours)
Put the lid on the slow cooker. Cook on HIGH for 4 hours or LOW for 6-8 hours. I usually set it on LOW in the morning when I leave for work, and it’s ready when I get home. The long, slow cook time is what makes the flavors meld and the meat tender. Don’t rush it on HIGH if you have time—LOW gives better texture.
Step 7: Final Adjustments and Serve
Once the cooking time is up, stir the chili. If it’s too watery, leave the lid off and cook on HIGH for the last 30 minutes to reduce. If it’s too thick, add a splash of water or broth. Taste and adjust seasoning. Add the optional dark chocolate or corn now if using. Stir until the chocolate is melted.
Serve hot with your favorite toppings. I usually have a bowl of shredded cheddar cheese, sour cream, and diced onions on the table for everyone to customize their bowl.
Total Time: About 45 minutes active prep (mostly hands-off cooking) + 6 hours slow cooking.
Expert Tips & Tricks
Here’s everything I’ve learned from making this dozens of times. These tips will save you from my mistakes and help you get restaurant-quality results at home.
Brown the Meat First
I cannot stress this enough. Dumping raw ground beef into the slow cooker works, but it boils in its own juices and loses flavor. Browning it in a skillet creates a crust and develops rich, savory notes. It adds 5 minutes of prep, but it’s the single biggest upgrade you can make to this recipe. Trust me.
Don’t Skip the Tomato Paste Toasting
Adding raw tomato paste can leave a metallic aftertaste. Cooking it with the onions and beef for a minute caramelizes the sugars and deepens the flavor. It’s a pro move that’s easy to do.
Rinse Your Beans Thoroughly
That canning liquid is full of sodium and starch. Rinsing your kidney beans removes the excess sodium and prevents the chili from getting gummy. It takes 30 seconds and makes a noticeable difference in texture.
Use Low-Sodium Broth
Canned tomatoes and tomato paste are already salty. If you use regular broth, your chili might end up too salty. Low-sodium broth gives you control. You can always add more salt at the end, but you can’t take it out.
Let It Rest
Chili always tastes better the next day. The flavors have time to settle and meld. If you can wait until the next day to eat it, do it. It will be richer and more complex. This is why I make a double batch—it’s basically meal prep for dinner.
Common Mistakes (and how to avoid them):
Mistake: Chili is too watery
Fix: You didn’t cook it long enough on HIGH to reduce, or you added too much broth. Leave the lid off for the last 30-60 minutes to let excess liquid evaporate. Also, make sure you’re using tomato paste, not just tomato sauce.
Mistake: Chili is too spicy
Fix: Chili powder varies in heat. Start with 1 tablespoon if you’re sensitive to spice, and add more later. If it’s already too spicy, add a dollop of sour cream or a splash of cream cheese to neutralize the heat.
Mistake: Chili is bland
Fix: It needs more salt or acid. Add a pinch of salt, and if it still tastes flat, add a splash of vinegar (apple cider or white) or a squeeze of lemon juice. Acid brightens up heavy, savory dishes.
Variations & Substitutions
Once you’ve nailed the basic version, here’s how you can mix it up. I’ve tried all of these, and they all work.
Turkey Chili
Swap ground beef for ground turkey. Turkey is leaner and cheaper, but it can be dry. Add an extra tablespoon of oil when browning, and boost the smoked paprika to 2 teaspoons to compensate for the lack of beef flavor. My husband prefers this version when we’re trying to eat lighter.
Vegetarian Chili
Skip the meat entirely. Use 4 cans of beans (kidney and black) and add 1 cup of corn. Sauté the onions and peppers well to build flavor. Add an extra teaspoon of cumin and smoked paprika. It’s hearty and satisfying, even without meat. I serve this to my vegetarian neighbors, and they love it.
Three-Bean Chili
Add black beans and pinto beans to the kidney beans. It adds variety in texture and color. I like this version because it feels more substantial. Just make sure to rinse all the beans.
Spicy Chili
Add 1-2 diced jalapeños when sautéing the onions. Add a teaspoon of cayenne pepper or red pepper flakes. If you like it really hot, use a hot chili powder blend. My teenage son requests this version, but I keep the mild version for the younger kids.
BBQ Chili
Swap the beef broth for BBQ sauce. Use 1 cup of BBQ sauce and ½ cup of water. It adds a sweet, smoky flavor that’s different but delicious. It’s a kid favorite.
Dietary Modifications:
Gluten-Free — This recipe is naturally gluten-free, as long as your chili powder and broth are certified GF. Most are, but check labels. I use Barilla gluten-free pasta if I serve it over noodles.
Dairy-Free — Skip the cheese and sour cream toppings. Use olive oil instead of butter if needed. The chili itself is dairy-free.
Lower-Carb — Skip the corn and serve over cauliflower rice instead of bread or rice. It’s a great way to enjoy the flavors without the carbs.
Serving & Storage
How to serve this masterpiece, and how to keep it fresh.
How to Serve:
I usually serve this straight from the slow cooker at the dinner table—it looks rustic and stays warm. But here are other ways I’ve enjoyed it:
Toppings Bar:
When I have guests, I put out: shredded cheddar cheese, sour cream, diced white onions, sliced jalapeños, fresh cilantro, and crushed tortilla chips. Everyone customizes their bowl. It’s fun and interactive.
Side Dishes:
Chili is a complete meal, but it’s great with cornbread, garlic bread, or a simple green salad. I also love it over baked potatoes or rice. If you want a lighter option, serve it with a side of roasted Brussels sprouts.
Wine Pairing:
Not a wine expert, but my wine-snob friend says a bold red like Zinfandel or a robust Cabernet Sauvignon works great with this. For non-alcoholic, Iced tea or a dark soda works too.
Storage Instructions:
Refrigerator:
Store in an airtight container for up to 5 days. The flavors actually get better after a day or two. This is why I meal prep it.
Reheating:
Best method: Add to a saucepan over medium-low heat, stirring occasionally. Add a splash of water or broth if it’s too thick—it thickens in the fridge.
Microwave method: Heat in 1-minute intervals, stirring between. Add a splash of water if needed.
Freezing:
This freezes beautifully! Let it cool completely, then portion into freezer bags or containers. It lasts up to 3 months. Thaw in the fridge overnight and reheat on the stove. I freeze individual portions for the kids’ lunches—it’s like a hot, savory lunchbox meal.
Pro tip: If leftovers are drying out, stir in a tablespoon of butter and a splash of milk or broth when reheating. Brings back that creamy texture.
Nutrition Information
I’m not a nutritionist, but here’s the breakdown if you’re tracking. This is per serving (based on 6 servings).
- Calories: 380
- Protein: 25g
- Carbs: 35g
- Fiber: 10g
- Sugar: 6g
- Fat: 18g
- Sodium: 650mg
What’s Good:
– High in protein from the beef and beans.
– High in fiber, which is great for digestion.
– Packed with vitamins from the tomatoes and peppers.
What to Know:
– Higher in sodium due to canned ingredients. Use low-sodium broth and rinse beans to reduce this.
– Contains dairy if you add cheese/sour cream toppings.
My Take:
Look, this is comfort food. It’s not a diet recipe. But it’s way better than takeout, costs less, and I know exactly what’s in it. When I want to make it lighter, I use turkey and skip the cheese. But usually? I just eat a reasonable portion and enjoy it.
Final Thoughts
So that’s my go-to Fall Crockpot Chili! I’ve probably talked your ear off at this point, but when you make a recipe this often, you have a lot to say about it. This has saved weeknight dinners more times than I can count. It’s my answer to “what’s for dinner” when I’m tired, don’t want takeout, and still want something that tastes really good. My kids are happy, my husband’s happy, and I’m happy because I’m not stressed about cooking.
Make it yours! Try different add-ins, swap in your favorite vegetables, adjust the garlic (though more is always better in my opinion). The best recipes are the ones you adapt to your family’s tastes. If you’re looking for other easy slow cooker meals, check out my creamy crockpot sausage and peppers—it’s another family favorite that’s just as easy.
If you make this, drop a comment and let me know what you think! I love hearing how recipes turn out in your kitchen. And if something doesn’t work, tell me that too—I’m here to help troubleshoot. Happy cooking! And I hope your kitchen smells half as good as mine does right now.
Frequently Asked Questions
Can I use ground turkey instead of beef?
Absolutely. Ground turkey is leaner and cheaper. I recommend adding an extra teaspoon of smoked paprika to boost the flavor since turkey is milder. You might also want to add a tablespoon of oil when browning it to prevent it from drying out. It’s a great budget-friendly swap.
Why did my chili turn out watery?
This usually happens if you didn’t cook it long enough to reduce, or if you added too much broth. Slow cookers retain moisture, so liquid doesn’t evaporate as quickly as on the stovetop. If your chili is too thin, leave the lid off and cook on HIGH for the last 30-60 minutes to let the excess liquid evaporate. You can also add a tablespoon of tomato paste to help thicken it.
Can I make this ahead for a dinner party?
Yes! This chili actually tastes better the next day. You can make it 1-2 days ahead and store it in the fridge. Reheat it gently on the stove before serving. It’s a great make-ahead dish because it saves you stress on the day of the party. Just make sure to add fresh toppings right before serving.
Can I freeze this chili?
Yes, this freezes beautifully. Let it cool completely, then portion into freezer-safe bags or containers. It lasts up to 3 months. Thaw in the fridge overnight and reheat on the stove. I freeze individual portions for the kids’ lunches—it’s like a hot, savory lunchbox meal. Note: If you add sour cream or cheese, do so after reheating, as dairy can separate when frozen.
What can I serve with this chili?
Classic sides include cornbread, garlic bread, or tortilla chips. I also love it over baked potatoes or rice. For a lighter option, serve it with a simple green salad or roasted vegetables like Brussels sprouts or broccoli. It’s versatile and pairs well with almost anything.
Why did my chili get too spicy?
Chili powder varies in heat, and some brands are hotter than others. If you accidentally made it too spicy, add a dollop of sour cream, cream cheese, or a splash of milk to neutralize the heat. You can also add a little sugar or honey to balance the spice. Next time, start with less chili powder and add more to taste.
Can I double this recipe?
Yes, you can double it easily. Just make sure your slow cooker is big enough to hold the extra volume (you’ll need an 8-quart or larger). The cooking time stays the same. I double it when I’m meal-prepping or feeding a crowd. Just taste and adjust spices at the end, as flavors can concentrate when doubled.
Pin This Recipe!
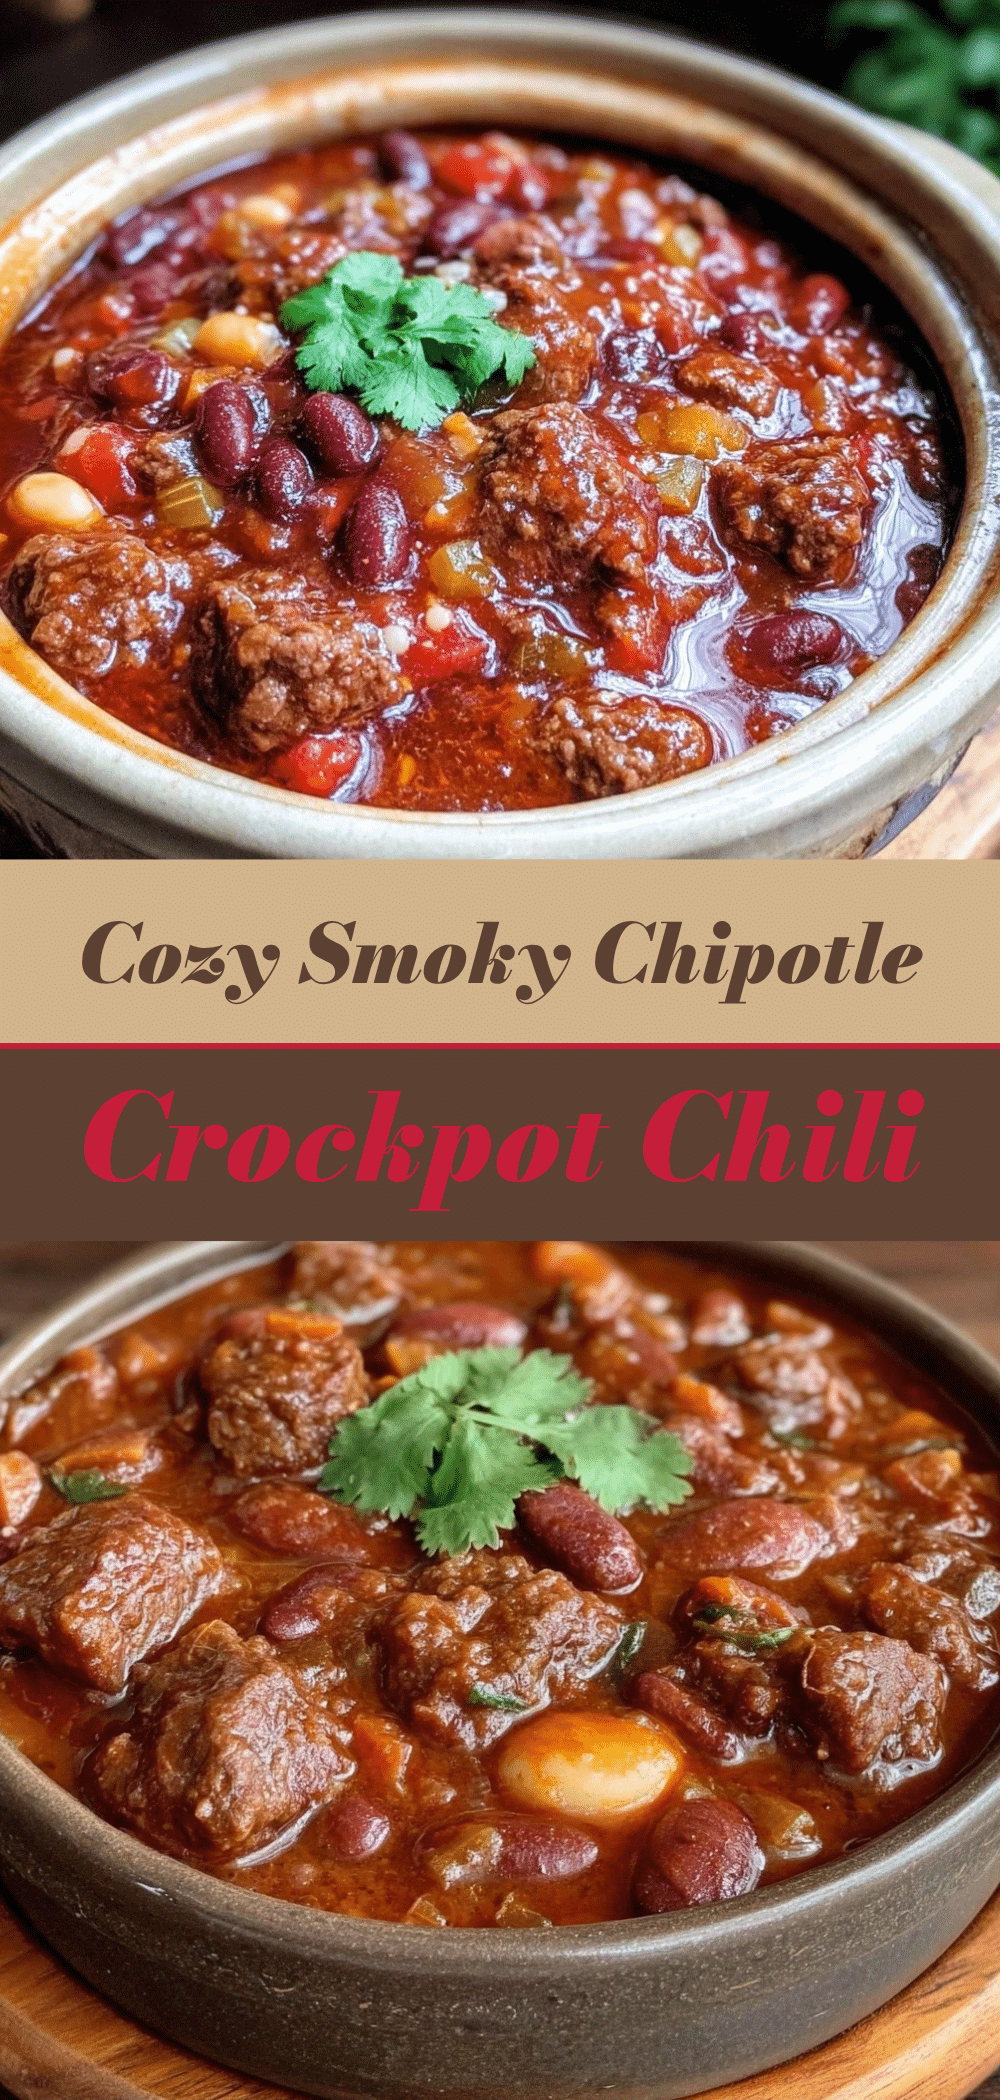
Fall Crockpot Chili: Budget-Friendly Kid-Approved Dinner
- Total Time: 6 hours 15 minutes
- Yield: 6 servings 1x
Description
A hearty, slow-cooker chili that is easy to prepare, budget-friendly, and perfect for feeding a family. This recipe uses simple pantry staples and ground beef or turkey for a comforting weeknight meal.
Ingredients
- 1.5 lbs ground beef (80/20 lean-to-fat ratio) or ground turkey
- 1 large yellow onion, diced
- 4 cloves garlic, minced
- 2 cans (15 oz each) kidney beans, drained and rinsed
- 2 cans (14.5 oz each) diced tomatoes (fire-roasted preferred)
- 1 can (6 oz) tomato paste
- 1 cup beef broth (low-sodium)
- 2 tablespoons chili powder
- 1 tablespoon ground cumin
- 1 teaspoon smoked paprika
- 1 teaspoon granulated garlic
- 1 teaspoon salt (or to taste)
- 1/2 teaspoon black pepper (or to taste)
- Optional: 1 oz dark chocolate
- Optional: 1 cup corn (frozen or canned)
Instructions
- Prep ingredients by chopping the onion, mincing the garlic, and draining/rinsing the kidney beans.
- Heat a large skillet over medium-high heat. Add diced onion and cook for 3-4 minutes until softened.
- Add minced garlic and cook for 1 minute until fragrant.
- Add ground beef to the skillet, breaking it up with a spoon. Cook until fully browned (5-6 minutes). Drain excess grease if desired, but leave some for flavor.
- Stir in tomato paste and cook with the meat mixture for 1-2 minutes to toast it.
- Transfer the meat mixture to a 6-quart slow cooker.
- Add diced tomatoes (with juice), kidney beans, and beef broth to the slow cooker. Stir to combine.
- Add chili powder, cumin, smoked paprika, granulated garlic, salt, and pepper. Stir well.
- Cover and cook on LOW for 6-8 hours or HIGH for 4 hours.
- If the chili is too watery, remove the lid and cook on HIGH for the last 30 minutes to reduce. Adjust seasoning to taste.
- Stir in optional dark chocolate or corn before serving.
- Serve hot with toppings like shredded cheddar cheese, sour cream, and diced onions.
Notes
Brown the meat first for better flavor. Rinse beans thoroughly to remove excess sodium and starch. Use low-sodium broth to control saltiness. Chili tastes better the next day as flavors meld. Can be frozen for up to 3 months.
- Prep Time: 15 minutes
- Cook Time: 6 hours
- Category: Main Course
- Cuisine: American
Nutrition
- Serving Size: 1 bowl
- Calories: 380
- Sugar: 6
- Sodium: 650
- Fat: 18
- Saturated Fat: 7
- Carbohydrates: 35
- Fiber: 10
- Protein: 25
Keywords: crockpot chili, slow cooker chili, budget dinner, kid-friendly meals, fall recipes, ground beef chili, easy dinner, meal prep



