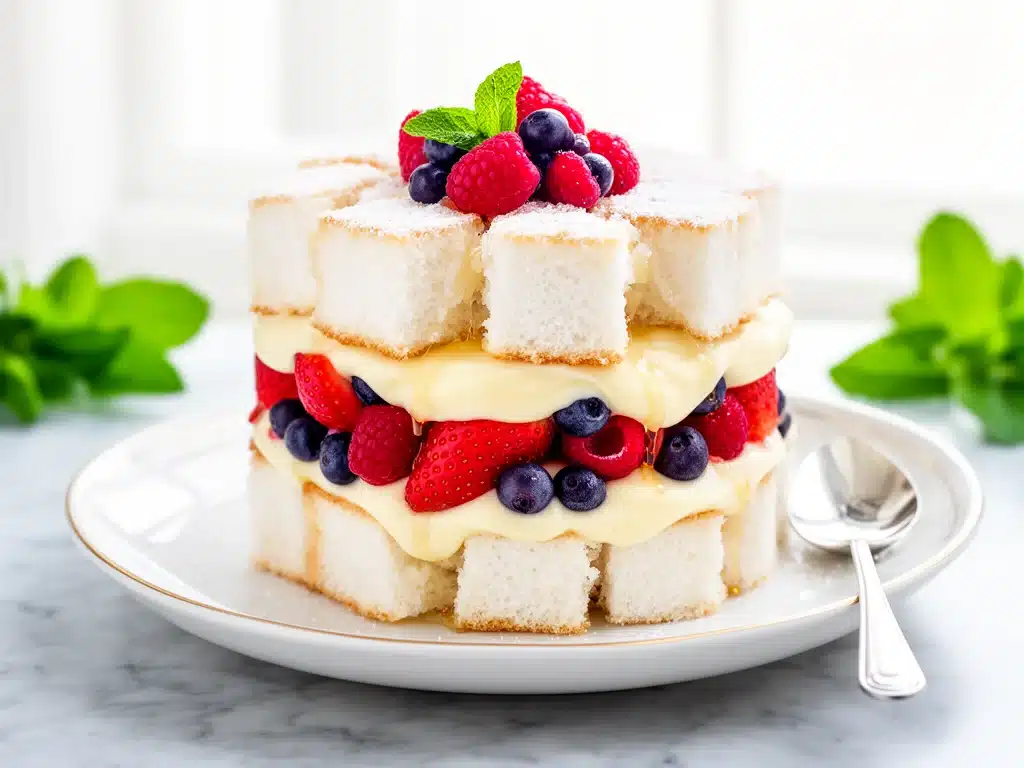
There is a specific kind of panic that sets in about forty minutes before you realize Labor Day guests are arriving. You’ve been busy all week. The grill is already set up for burgers or maybe those honey garlic butter chicken you made last month, but you still need dessert. Something that looks impressive, something that doesn’t require you to stand over a hot oven for three hours, and something that screams “summer” even if the leaves are just starting to turn.
That was me last September. I was staring at a half-empty fridge, a bag of slightly sad strawberries, and a box of angel food cake mix, feeling defeated. I didn’t have time to bake a layer cake. I didn’t have the energy to fold meringue. But I had a few hours before the sun went down, and I had a desperate need to make something that tasted like celebration.
So I threw together what I thought would be a mediocre afternoon snack. I crumbled the cake, whipped up some cream, and layered it with berries in a big glass bowl. Thirty minutes later, my husband walked in, saw the towering dessert, and asked me to put it in the permanent rotation. That’s how I discovered that sometimes the best recipes happen when you’re not overthinking it.
This Fresh Berry Angel Food Cake Trifle has become my go-to Labor Day dessert—it takes 25 minutes of active time, uses ingredients I always have on hand, and tastes like something from a high-end bakery. I’ve made it at least a dozen times since that Tuesday, tweaking it each time until it was perfect. It’s light, it’s airy, it’s refreshing, and it’s the ultimate crowd-pleaser for those long, lazy holiday weekends.
Why You’ll Love This Recipe
There are about ten reasons I keep making this trifle, but here are the big ones. This recipe has completely changed our holiday dessert routine because it solves the biggest problem of summer cooking: heat and stress.
Stupid Simple — Seriously, if you can open a box and slice a banana, you can make this. I’ve walked my teenage son through it over FaceTime. There’s no baking, no tempering chocolate, and no delicate techniques that require steady hands. It’s assembly only.
Lightning Fast — 30 minutes from start to finish, and only 15 of those are active prep. I make this on weeknights when I get home at 7pm, but for Labor Day, it’s perfect because you can prep it in the morning and just let it chill while you’re grilling.
Pantry-Friendly — You probably have 80% of these ingredients already. I keep angel food cake boxes stocked just so I can make this on a whim. The rest is just fruit and dairy, which you likely have anyway.
Crowd-Pleaser — I’ve served this to my vegetarian sister, my gluten-sensitive neighbor (if using GF cake), and my dad who thinks “fruit salad is for kids.” Everyone loved it. The creamy texture balances the tart berries perfectly.
Makes Amazing Leftovers — Actually tastes better the next day. The cake absorbs the juices from the berries and the cream, becoming like a moist, fruity pudding. I deliberately make extra for lunch throughout the week because it’s basically breakfast at that point.
Budget-Smart — Feeds 8-10 people for under $20. That’s less than one meal at a fancy restaurant. For a holiday dessert that feeds a whole family, that’s a win.
This is my go-to when I need dinner to just work. No complicated techniques, no weird ingredients, just reliable, delicious food that makes everyone happy. And the best part? It looks like you spent all day in the kitchen, but you didn’t even sweat.
Ingredients You’ll Need
Here’s the best part: you probably have most of this already. This looks like a long list, but most of it is pantry basics or fridge staples. I’m particular about three ingredients here, and I’ll tell you exactly why.
Angel Food Cake (1 store-bought tube cake, about 14-16 oz) — This is the foundation. Do not skip the box mix if you’re in a hurry; it’s light and airy. If you have time, bake your own, but the store-bought version is consistent and saves hours. Look for a plain white one, not chocolate or vanilla-flavored, to keep the flavor clean.
Heavy Cream (2 cups / 480ml) — Full-fat only. Half-and-half makes it too thin and soupy. Trust me on this. You want that rich, stable whip that holds its peaks. If you’re feeling fancy, use 2 cups of heavy cream plus 1/2 cup of Greek yogurt for a tangier, lighter whip.
Confectioners’ Sugar (½ cup / 60g) — Powdered sugar dissolves instantly in the cream. Granulated sugar would leave gritty bits. Sift it if it’s clumpy. It sweetens the cream without making it cloying.
Vanilla Extract (2 teaspoons) — Use real vanilla, not imitation. The flavor is subtle in the cake, so it needs to shine in the cream. I keep a small bottle of McCormick or Nielsen-Massey in my pantry specifically for this.
Mixed Berries (4 cups total) — I use a mix of strawberries, blueberries, and raspberries. The colors look beautiful, and the flavors complement each other. Strawberries should be sliced thin. Blueberries can be whole. Raspberries are delicate, so handle them gently.
Lemon Juice (1 tablespoon) — This is the secret weapon. A little acidity cuts through the richness of the cream and brightens the berries. It prevents the fruit from tasting flat. Don’t skip it.
Optional Garnish — Fresh mint leaves, extra powdered sugar for dusting, or a few whole berries on top. Mint adds a nice visual pop and fresh scent.
Pro Tip: I always buy pre-sliced strawberries if I’m rushing, but fresh ones taste better. If you buy whole berries, wash and dry them thoroughly. Wet berries make the cake soggy too fast.
Equipment Needed
You don’t need fancy equipment for this. Here’s what I actually use.
Large Glass Trifle Bowl or Punch Bowl — I use a 6-quart bowl. It needs to be clear so people can see the layers. My grandmother’s glass bowl is chipped, but it still works fine. If you don’t have a trifle bowl, a large glass mixing bowl works too.
Electric Hand Mixer or Stand Mixer — Whip the cream. It takes about 2-3 minutes. Doing it by hand is possible but arm-wrenching. I use my KitchenAid, but a simple hand mixer from the dollar store works just as well.
Sharp Knife — For slicing strawberries. Dull knives make you crush the berries. Learned this the hard way with a mushy mess.
Measuring Cups and Spoons — Pretty standard stuff. Dollar store versions work fine.
Spatula — For folding the cream and spreading layers. Silicone is best because it gets into the corners.
Large Spoon or Ladle — For serving. A regular spoon works too, but a ladle helps get those deep layers.
Optional but nice: A small bowl for the lemon juice and a separate bowl for the whipped cream to keep things organized.
How to Make It: Step-by-Step
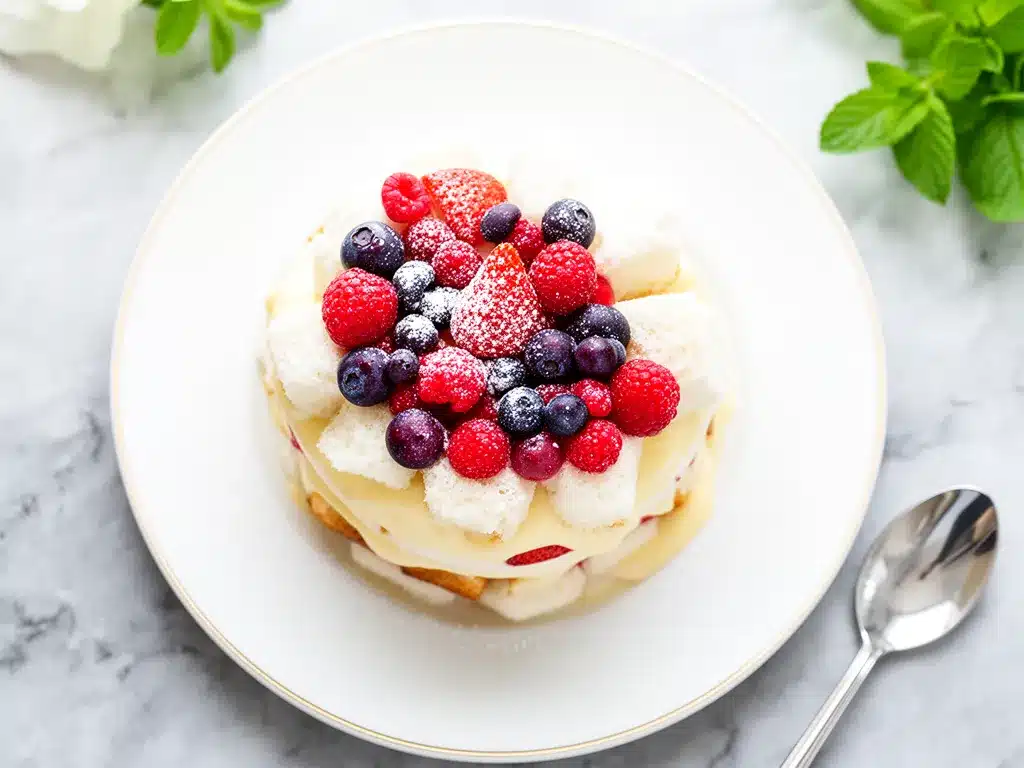
Alright, let’s make this! I’m walking you through exactly how I do it, including the little tricks I’ve picked up.
Step 1: Prep the Fruit (10 minutes)
Wash and dry your berries thoroughly. Moisture is the enemy here. Hull the strawberries and slice them into thin, even pieces. Leave the blueberries whole. If you’re using raspberries, just rinse them gently and pat dry. Toss the berries with the lemon juice and let them sit for 10 minutes. This draws out the juices and makes them juicy and flavorful.
Step 2: Whip the Cream (5 minutes)
In a large bowl, combine the cold heavy cream, confectioners’ sugar, and vanilla extract. Whip on medium-high speed until stiff peaks form. This means when you lift the beaters, the cream stands up straight. Don’t over-whip or it’ll turn into butter. It should look smooth and glossy. Set aside.
Step 3: Crumble the Cake (5 minutes)
Remove the angel food cake from its tube pan. Gently tear it into bite-sized chunks. Don’t use a knife; tearing creates irregular shapes that hold cream better. Aim for pieces about 1-2 inches across. You want a mix of small crumbs and larger chunks.
Step 4: Build the Layers (10 minutes)
Start with a layer of cake crumbs at the bottom of your trifle bowl. Spread them evenly. Then, add a layer of the lemon-tossed berries. Spoon a generous amount of whipped cream over the berries, spreading it to the edges. Repeat the layers: cake, berries, cream. Do this 3-4 times, finishing with a layer of cream on top.
Step 5: Chill and Serve (30+ minutes)
Refrigerate the trifle for at least 30 minutes before serving. This allows the cake to soften and absorb the flavors. Just before serving, dust with powdered sugar and garnish with mint or extra berries. Serve with a large spoon.
Total Time: About 30 minutes active, plus chilling time.
Expert Tips & Tricks
Here’s everything I’ve learned from making this dozens of times. These tips will save you from my mistakes.
Keep Everything Cold
The #1 tip. Cold cream whips better. Put your bowl and beaters in the fridge for 15 minutes before starting. If the cream gets warm, it won’t hold peaks. I learned this the hard way with a soupy mess that looked awful.
Don’t Skimp on the Lemon
The lemon juice isn’t just for flavor; it helps balance the sweetness. Without it, the trifle can taste cloying. A little acid goes a long way.
Layer Generously
Make sure every layer of cake gets cream. Dry cake is sad cake. I usually use about 1/3 of the cream for each layer, plus a bit more for the top.
Chill Before Serving
This isn’t a “eat immediately” dessert. The cake needs time to soften. If you serve it right after assembling, the cake will be dry and the cream will slide off. 30 minutes is the minimum. Overnight is best.
Common Mistakes:
Mistake: Cream is too thin. Fix: Your cream wasn’t cold enough, or you didn’t whip it long enough. Chill the bowl and try again.
Mistake: Cake is soggy. Fix: You used too many wet berries or didn’t let the juices drain. Toss berries with lemon and let them sit, then drain excess liquid before layering.
Mistake: Trifle collapses. Fix: You didn’t use enough cream to hold the layers. Add more cream between layers for structure.
Variations & Substitutions
Once you’ve nailed the basic version, here’s how you can mix it up. I’ve tried all of these.
Chocolate Chip Version
Add a handful of mini chocolate chips to each cream layer. My kids prefer this version—it’s like a deconstructed chocolate chip cookie.
Tropical Twist
Swap berries for mango, pineapple, and coconut flakes. Use coconut cream instead of heavy cream. It’s a completely different vibe—bright and exotic.
Apple Pie Style
For fall, use sliced apples tossed with cinnamon and sugar. Use vanilla pudding instead of whipped cream. It’s warm and comforting.
Lighter Version
Use Greek yogurt mixed with a little honey and vanilla instead of heavy cream. It’s tangier and lighter. I make this when I’m trying to be “healthy.”
Dietary Modifications:
Gluten-Free
Use a gluten-free angel food cake. Everything else is naturally gluten-free. I’ve used King Arthur GF cake and it works great.
Dairy-Free
Replace heavy cream with coconut cream (chilled) and use dairy-free vanilla. It’s different but still tasty. My lactose-intolerant friend requests this version.
Lower-Sugar
Use unsweetened almond milk yogurt instead of whipped cream. Use fresh berries without added sugar. It’s tart but refreshing.
Serving & Storage
I usually serve this straight from the bowl at the dinner table—it looks rustic and stays cool. But here are other ways I’ve enjoyed it:
Side Dishes:
– Fresh fruit salad (obviously)
– Simple green salad with vinaigrette
– Grilled vegetables
– Light appetizers like shrimp cocktail
Toppings Bar:
When I have guests, I put out: extra powdered sugar, fresh mint, crushed pistachios, and a small bowl of extra whipped cream. Everyone customizes their bowl.
Wine Pairing:
Not a wine expert, but my wine-snob friend says Moscato or Prosecco works great with this. Sweet and bubbly cuts the richness.
Storage Instructions:
Refrigerator:
Store in the fridge for up to 3 days. The cake will continue to soften. It’s best eaten on day 1 or 2.
Reheating:
Don’t reheat. This is a cold dessert. Serve chilled.
Freezing:
Honestly, this doesn’t freeze well. The cream separates and the cake becomes mushy. Make it fresh or store in the fridge for up to 3 days.
Nutrition Information
I’m not a nutritionist, but here’s the breakdown if you’re tracking.
Per Serving (based on 8 servings):
- Calories: 280
- Protein: 3g
- Carbs: 45g
- Fiber: 2g
- Sugar: 28g
- Fat: 10g
- Saturated Fat: 6g
- Cholesterol: 30mg
- Sodium: 180mg
What’s Good:
– Fresh fruit provides vitamins and antioxidants
– Lighter than traditional layer cakes
– Easy to control portion size
What to Know:
– Higher in sugar from cake and cream
– Contains dairy
– Moderate calories per serving
My Take:
Look, this is dessert. It’s sweet and creamy. It’s not a diet recipe. But it’s way better than store-bought cake, costs less, and I know exactly what’s in it. When I want to make it lighter, I use the Greek yogurt version. But usually? I just eat a reasonable portion and enjoy it.
Final Thoughts
So that’s my Fresh Berry Angel Food Cake Trifle! I’ve probably talked your ear off at this point, but when you make a recipe this often, you have a lot to say about it.
This has saved Labor Day dinners more times than I can count. It’s my answer to “what’s for dessert” when I’m tired, don’t want takeout, and still want something that tastes really good. My kids are happy, my husband’s happy, and I’m happy because I’m not stressed about cooking.
Make it yours! Try different berries, swap in your favorite cake flavor, adjust the sweetness. The best recipes are the ones you adapt to your family’s tastes.
If you make this, drop a comment and let me know what you think! I love hearing how recipes turn out in your kitchen. And if something doesn’t work, tell me that too—I’m here to help troubleshoot.
Happy cooking! And I hope your kitchen smells half as good as mine does right now.
Frequently Asked Questions
Can I use whipped cream from a can?
You can, but homemade whipped cream tastes so much better. Canned whipped cream has a weird aftertaste and doesn’t hold layers as well. If you must use it, buy the aerosol can and spray it in dollops instead of spreading. It’s not ideal, but it works in a pinch.
Why did my trifle turn out soupy?
Usually means you used too many wet berries or didn’t drain the lemon juice. Toss the berries with lemon and let them sit, then drain the excess liquid before layering. Also, make sure your whipped cream is stiff peaks. If it’s soft, it won’t hold the structure.
Can I make this ahead for a dinner party?
Absolutely! This is best made 4-6 hours ahead. It needs time to chill and for the flavors to meld. You can make it the night before, but the berries might get a bit soft. If making ahead, add the mint garnish just before serving.
Can I use frozen berries?
Yes, but thaw them first and drain the excess liquid. Frozen berries release a lot of water, which can make the cake soggy. Pat them dry with paper towels before using. Fresh berries are better for texture, but frozen works in a pinch.
How do I reheat leftovers?
Don’t reheat. This is a cold dessert. Serve it chilled. If the cream has separated slightly, give it a gentle stir before serving.
Can I double this recipe?
Yes! Double everything and use a larger bowl. The layering process stays the same. Just make sure your bowl is deep enough to hold the layers without spilling.
Pin This Recipe!
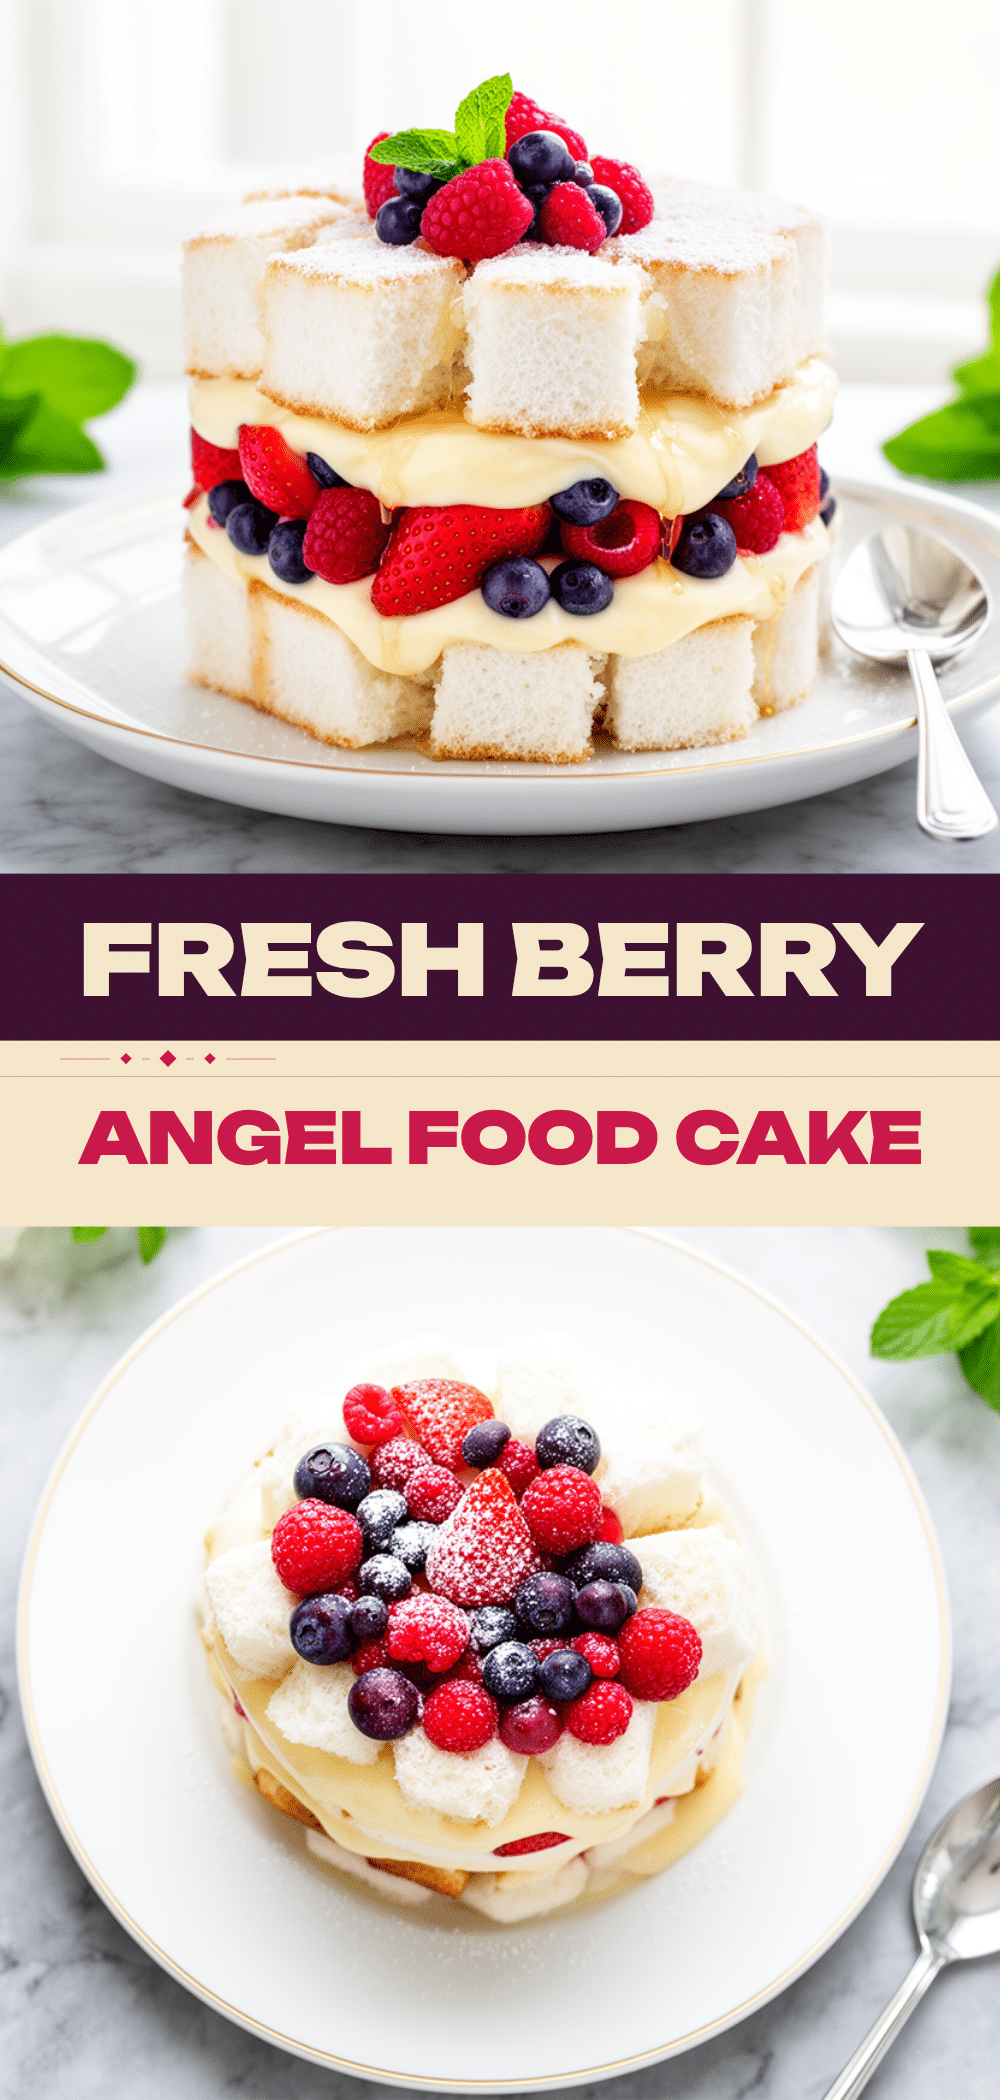
Fresh Berry Angel Food Cake Trifle
- Total Time: 30 minutes
- Yield: 8 servings 1x
Description
A light, airy, and refreshing no-bake dessert perfect for Labor Day or summer gatherings. This easy trifle combines crumbled angel food cake, homemade whipped cream, and fresh mixed berries for a crowd-pleasing treat that looks impressive but takes only 30 minutes to assemble.
Ingredients
- 1 store-bought angel food cake tube (14–16 oz)
- 2 cups heavy cream (cold)
- 1/2 cup confectioners’ sugar
- 2 teaspoons vanilla extract
- 4 cups mixed berries (strawberries, blueberries, raspberries)
- 1 tablespoon lemon juice
- Optional: Fresh mint leaves for garnish
- Optional: Extra powdered sugar for dusting
Instructions
- Wash and dry berries thoroughly. Hull and slice strawberries; leave blueberries whole. Toss berries with lemon juice and let sit for 10 minutes to draw out juices.
- In a large bowl, combine cold heavy cream, confectioners’ sugar, and vanilla extract. Whip on medium-high speed until stiff peaks form. Set aside.
- Remove angel food cake from tube pan and gently tear into 1-2 inch chunks or crumbs.
- In a large glass trifle bowl, create layers: start with cake crumbs, then a layer of berries, then a layer of whipped cream. Repeat 3-4 times, finishing with a layer of cream on top.
- Refrigerate for at least 30 minutes (or overnight) to allow cake to soften and flavors to meld.
- Before serving, dust with powdered sugar and garnish with fresh mint or extra berries.
Notes
Keep all ingredients cold, especially the cream, to ensure it whips properly. Do not skip the lemon juice as it balances the sweetness. The trifle tastes better the next day as the cake absorbs the juices. Do not freeze as the texture will suffer. For a lighter version, substitute half the heavy cream with Greek yogurt.
- Prep Time: 15 minutes
- Cook Time: 0 minutes
- Category: Dessert
- Cuisine: American
Nutrition
- Serving Size: 1 serving
- Calories: 280
- Sugar: 28
- Sodium: 180
- Fat: 10
- Saturated Fat: 6
- Carbohydrates: 45
- Fiber: 2
- Protein: 3
Keywords: labor day dessert, angel food cake trifle, no bake dessert, summer dessert, berry trifle, easy dessert, crowd pleaser