I still remember the exact moment I realized my cooking life was about to change. It was a rainy Tuesday in November, the kind where the wind rattles the windows and the house feels cold no matter how high you turn the thermostat. I came home exhausted, my back aching from a double shift, and the last thing I wanted to do was stand over a hot stove for three hours stirring a pot. But I also didn’t want takeout. I wanted something warm, something that smelled like my nonna’s kitchen, something that would hug me from the inside out.
So I did what I always do when I’m tired and sentimental: I threw everything into my Instant Pot and walked away.
I figured, why not? I had chuck roast, some onions, a jar of decent tomatoes, and a bottle of red wine I’d been meaning to use. I hit “Manual,” set it for two hours, and went to take a nap. When I woke up, the smell hit me first. It wasn’t just dinner; it was comfort. It was nostalgia. It was the scent of a slow-cooked Sunday that somehow happened on a Tuesday.
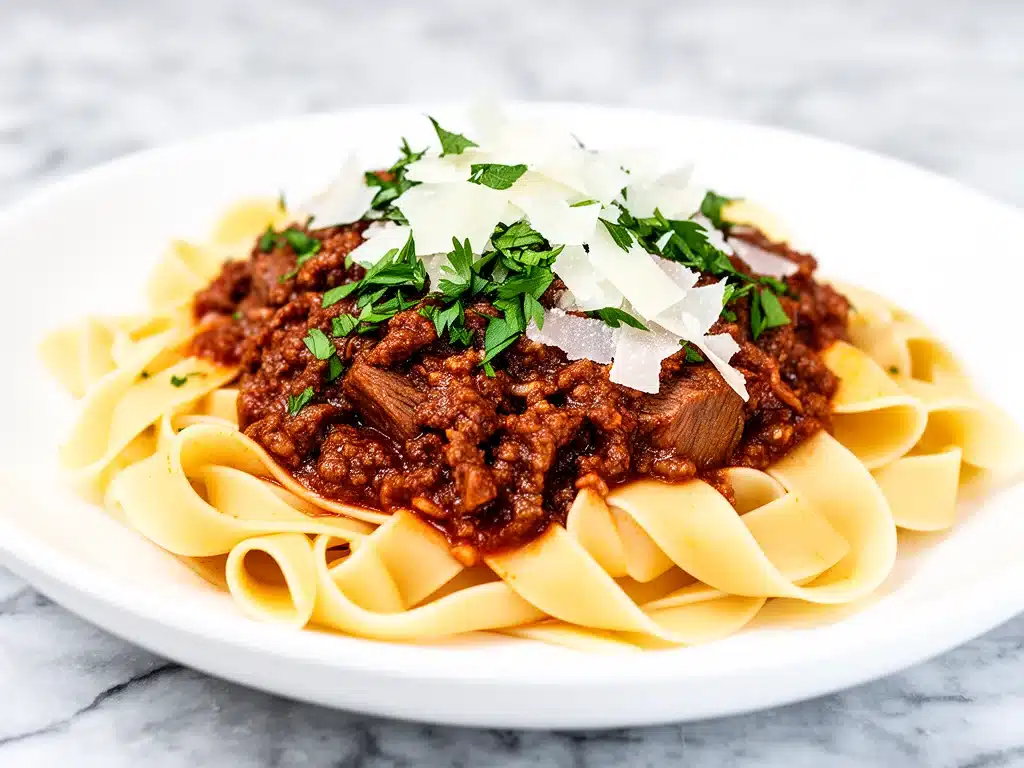
I opened the lid, expecting a watery mess. Instead, I found a rich, dark, velvety beef ragu that had broken down into tender, shreddable perfection. I boiled some pappardelle—those wide, flat ribbons of pasta—and tossed it all together. The first bite made me close my eyes. It was deep, savory, and incredibly luxurious. My kids devoured it. My husband asked for seconds. And I realized that I had just found the ultimate weeknight hack.
That night, I made this Instant Pot Beef Ragu Over Pappardelle because I had to know if it was a fluke. Two days later, I made it again. And again. Now, this is my go-to when I need dinner to just work. It’s my answer to “what’s for dinner” when I’m tired, don’t want takeout, and still want something that tastes like I spent hours in the kitchen (even though I only spent 15 minutes active). If you’ve been looking for a way to bring restaurant-quality depth to your table without the elbow grease, this is it.
Why You’ll Love This Instant Pot Beef Ragu
There are about ten reasons I keep making this beef ragu, but here are the big ones. This recipe has completely changed our weeknight dinner routine, and it’s not just because it’s fast.
Stupid Simple — Seriously, if you can chop an onion and dump ingredients into a pot, you can make this. I’ve walked my teenage son through it over FaceTime while I was at work. He got it right the first time. The Instant Pot does the heavy lifting, so you don’t need any fancy culinary skills.
Lightning Fast (For Ragu) — Real talk: traditional ragu takes 4-6 hours. This one takes 90 minutes in the pot, but only 15 minutes of your actual time. I make this on weeknights when I get home at 7pm. By the time I’ve showered and changed, it’s ready. It feels like magic, but it’s just pressure cooking.
Freezer-Friendly Gold — This makes a huge batch. I deliberately make extra for lunch throughout the week. It freezes beautifully in portions, so I always have a “save me” meal ready to go. I’ve saved myself from countless takeout orders by having a container of this ragu thawing in the fridge.
Deep, Complex Flavor — You’d never guess this came from a pressure cooker. The high pressure forces the flavors to meld in a way that slow cooking does, but faster. The beef becomes fork-tender, the tomatoes break down into a sauce, and the herbs infuse everything. It tastes like it simmered all day.
Crowd-Pleaser — I’ve served this to my vegetarian sister (she loved the sauce), my gluten-free neighbor (with GF pasta), and my I-only-eat-chicken dad (with extra cheese). Everyone loved it. It’s a safe bet for any gathering.
This is my go-to when I need dinner to just work. No complicated techniques, no weird ingredients, just reliable, delicious food that makes everyone happy. And honestly? It’s cheaper than ordering delivery and tastes 100 times better.
Ingredients You’ll Need
Here’s the best part: you probably have most of this already. This isn’t a recipe that requires a special trip to a specialty store. It’s built on pantry staples and good-quality basics. I’m particular about a few things here, and I’ll tell you exactly why.
For the Meat Base
Chuck Roast (2 pounds / 900g) — This is non-negotiable. Chuck has the right amount of fat and connective tissue to break down into tender shreds under pressure. Leaner cuts like sirloin will turn dry. Cut it into 2-inch cubes. Don’t mince it; you want those big, juicy chunks.
Ground Beef (1 pound / 450g) — I use 80/20 ground beef. It adds richness and body to the sauce. You can use 90/10 if you’re watching fat, but the 80/20 makes it more luxurious. It also helps the sauce feel more substantial.
Salt and Black Pepper — Generous seasoning. You want to season the meat well before it cooks. I use about 1 teaspoon of kosher salt and ½ teaspoon of pepper for the meat mix.
For the Flavor Profile
Yellow Onion (1 large, diced / about 250g) — Sweet onions work too, but yellow gives better depth. White onions are too sharp for this. Dice it finely so it melts into the sauce.
Garlic (6 cloves, minced / about 2 tablespoons) — Yes, six cloves. Don’t skimp. Fresh only—no jarred garlic in this recipe. The fresh garlic provides that sharp, aromatic punch that cuts through the richness of the beef.
Carrots and Celery (1 carrot and 2 stalks, finely diced / about 150g total) — This is your mirepoix. It adds sweetness and earthiness. Don’t skip this; it’s the backbone of the flavor. Finely dice them so they disappear into the sauce.
Tomato Paste (2 tablespoons) — This concentrates the tomato flavor. It also helps thicken the sauce and adds a deep, caramelized note. Cook it for a minute before adding liquid to deepen the flavor.
Crushed Tomatoes (28-ounce can / 794g) — Use high-quality San Marzano tomatoes if you can find them. They’re sweeter and less acidic. Crushed tomatoes work better than diced for a ragu because they break down into a sauce more easily.
Red Wine (½ cup / 120ml) — Use a dry red like Cabernet Sauvignon, Merlot, or Pinot Noir. Don’t use cooking wine. If you don’t drink alcohol, substitute with extra beef broth and a splash of balsamic vinegar for acidity.
Beef Broth (1 cup / 240ml) — I use low-sodium so I can control the salt. Vegetable broth works for a vegetarian version, but beef gives that deep, savory umami flavor.
For the Herbs and Finish
Dried Oregano (1 teaspoon) — Adds that classic Italian herb flavor. If you have fresh oregano, use 1 tablespoon, but dried holds up better to pressure cooking.
Fresh Basil (½ cup, chopped) — Add this at the very end. Fresh basil loses its flavor if cooked too long. Stir it in right before serving for a bright, fresh finish.
Parmesan Cheese (½ cup, freshly grated) — For serving. Buy the block and grate it yourself. Pre-grated doesn’t melt the same. Worth the extra 2 minutes.
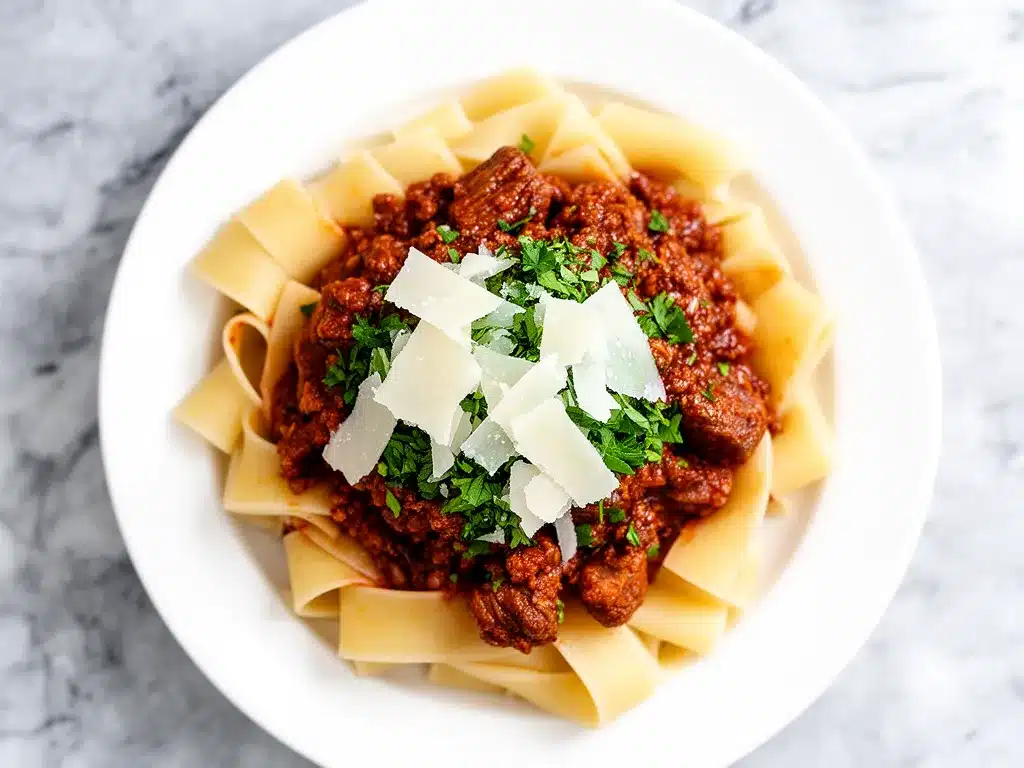
Pappardelle Pasta (1 pound / 450g) — Wide, flat ribbons. I use Barilla pappardelle because it cooks evenly and holds the sauce beautifully. Any wide ribbon pasta works, like tagliatelle or fettuccine, but pappardelle is traditional for ragu.
Equipment Needed
You don’t need fancy equipment for this. Here’s what I actually use.
6-Quart Instant Pot — I use a 6-quart pot. It needs to fit 3 pounds of meat and 2 cups of liquid comfortably. My ancient pot from college still works fine, but newer models with better seals are more reliable.
Sharp Knife — For chopping onions, carrots, and celery. Dull knives make you cry more—learned this the hard way. A good chef’s knife makes prep a breeze.
Cutting Board — Any size works. I use plastic for easier cleanup.
Wooden Spoon — For stirring. Silicone works too. Don’t use metal on non-stick liners.
Measuring Cups and Spoons — Pretty standard stuff. Dollar store versions work fine.
Colander — For draining pasta. Or just use the lid to drain—I do this when I’m lazy.
Pasta Pot — A large pot for boiling the pappardelle. Needs to hold a gallon of water comfortably.
Optional but nice: Garlic Press — Saves time but not necessary. Mincing works fine. Pasta Server — Those claw things. Makes serving easier but a regular spoon works.
How to Make It: Step-by-Step
Alright, let’s make this! I’m walking you through exactly how I do it, including the little tricks I’ve picked up.
Step 1: Prep Your Ingredients (10 minutes)
Before you start cooking, chop your onion, mince your garlic, dice your carrots and celery, and cut your chuck roast into 2-inch cubes. I know it seems fussy, but it makes the actual cooking way less stressful. Season the beef chunks and ground beef with salt and pepper. Once you start cooking, things move fast.
Step 2: Sear the Meat (5 minutes)
Set your Instant Pot to “Sauté” mode on High. Add 2 tablespoons of olive oil. Once the oil is hot, add the chuck roast cubes in a single layer. Sear them for 2-3 minutes on each side until browned. Don’t crowd the pot; do this in batches if needed. Browning creates flavor through the Maillard reaction. Remove the beef and set aside. Repeat with the ground beef, breaking it up with a spoon. Cook until browned, then remove and set aside with the chuck roast.
Step 3: Sauté the Aromatics (3-4 minutes)
While the meat rests, add the diced onion, carrots, and celery to the pot. Cook for 3-4 minutes until softened. Add the minced garlic and tomato paste. Stir constantly for 1 minute. The tomato paste should darken slightly. This step builds the flavor base. Scrape up any browned bits from the bottom of the pot—this prevents the “burn” error later.
Step 4: Deglaze and Add Liquids (2 minutes)
Pour in the red wine. Stir vigorously to deglaze the pot, ensuring no browned bits are stuck to the bottom. This is crucial. If there are burnt bits, the pot will trigger a burn warning. Let the wine simmer for 1 minute to cook off the alcohol. Add the crushed tomatoes, beef broth, oregano, and the seared meat back into the pot. Stir well. Do not exceed the max fill line.
Step 5: Pressure Cook (90 minutes)
Secure the lid. Set the valve to “Sealing.” Select “Manual” or “Pressure Cook” on High Pressure. Set the timer for 90 minutes. This long cook time ensures the chuck roast becomes fork-tender and the sauce deepens in flavor. The pot will take about 15-20 minutes to come to pressure, then cook for 90 minutes.
Step 6: Natural Release (15-20 minutes)
Once the timer goes off, let the pressure release naturally for 15-20 minutes. Do not quick release immediately; the vigorous boiling can splash sauce into the valve and cause a mess. After 15 minutes, carefully turn the valve to “Venting” to release any remaining pressure. Open the lid.
Step 7: Thicken and Finish (5 minutes)
The sauce should be thick and rich. If it’s too thin, set the pot to “Sauté” and simmer for 5-10 minutes to reduce. Stir in the fresh basil. Taste and adjust salt and pepper if needed. The sauce should coat the back of a spoon. If it’s too thick, add a splash of broth or water.
Step 8: Cook the Pasta (10 minutes)
While the ragu finishes, bring a large pot of salted water to a boil—it should taste like the ocean. Add pappardelle and cook according to package directions until al dente (usually 8-10 minutes). IMPORTANT: Before draining, scoop out 1 cup of pasta water and set it aside. This starchy water is magic for the sauce. Drain the pasta and set aside.
Step 9: Combine and Serve (2 minutes)
Add the drained pasta to the sauce. Toss everything together until the pasta is well coated. If the sauce is too thick, add a splash of that pasta water you saved. If it’s too thin, let it sit for a minute—it’ll thicken up. Serve immediately topped with extra Parmesan, fresh black pepper, and a drizzle of olive oil. Fresh basil is amazing here if you have it.
Total Time: About 2 hours (25 minutes active, 1 hour 35 minutes hands-off)
Expert Tips & Tricks
Here’s everything I’ve learned from making this dozens of times. These tips will save you from my mistakes.
Don’t Skip the Sear
I know it’s tempting to just dump everything in, but searing the meat adds a depth of flavor that pressure cooking alone can’t achieve. The browning creates complex flavors that make the ragu taste like it simmered for hours. Take the extra 5 minutes.
Scrape the Bottom
This is the #1 tip. Before you add the liquids, make sure you scrape the bottom of the pot with a wooden spoon to remove all browned bits. If any burnt bits remain, the Instant Pot will trigger a “Burn” error and stop cooking. I learned this the hard way with a pot of ruined ragu. Now I always double-check the bottom.
Use Good Wine
Don’t use cooking wine. Use a wine you’d actually drink. The alcohol cooks off, leaving behind the flavor compounds. If you don’t drink wine, use beef broth plus a tablespoon of balsamic vinegar to mimic the acidity and depth.
Save That Pasta Water
That starchy water is what makes the sauce cling to the pasta perfectly. I forgot it once and the sauce was just okay instead of amazing. Now I set out a measuring cup before I even start cooking so I don’t forget.
Don’t Skimp on Salt
Your pasta water should taste like seawater. Undersalted pasta tastes bland no matter how good your sauce is. I use about 1 tablespoon salt per pound of pasta.
Common Mistakes (and how to avoid them):
- Sauce is too watery: Let it simmer on “Sauté” mode for 10-15 minutes to reduce. Also, make sure you’re not adding too much liquid at the start.
- Pasta is mushy: Cook 1-2 minutes less than the package says. It’ll finish cooking when you toss it in the hot sauce.
- Everything is too salty: Use unsalted broth and unsalted butter so you can control the salt. You can always add more, can’t take it away.
Pro Tricks I’ve Learned:
- For Restaurant-Quality Finish: Add a tablespoon of cold butter at the very end and swirl it in. Makes the sauce glossy and rich.
- For Extra Flavor: Toast the garlic and red pepper flakes in the oil for 30 seconds before adding onions. Releases more flavor.
- For Better Texture: Toss the pasta with a tiny bit of olive oil after draining (before adding to sauce). Prevents sticking.
Variations & Substitutions
Once you’ve nailed the basic version, here’s how you can mix it up. I’ve tried all of these.
Spicy Ragu
Add 1 teaspoon of red pepper flakes or ½ teaspoon of cayenne pepper when sautéing the aromatics. If you like heat, this adds a nice kick that balances the richness. My friend who loves spicy food always asks for this version.
Vegetarian Version
Skip the meat and use 2 cups of chopped mushrooms (cremini or portobello) and 1 cup of lentils. Sauté the mushrooms until browned, then proceed with the recipe. It’s surprisingly hearty and satisfying. I serve this to my vegetarian sister, and she’s fooled.
White Wine Version
Swap the red wine for white wine and add a splash of heavy cream at the end. This creates a lighter, more delicate sauce. It’s great if you prefer milder flavors. I make this when I want something less heavy.
Quick Version
If you’re short on time, use 2 pounds of ground beef only and cook on High Pressure for 30 minutes. It won’t be as tender as the chuck roast version, but it’s still delicious and much faster. I do this when I’m in a rush.
Gluten-Free
Use gluten-free pappardelle. Everything else is naturally gluten-free. I’ve used Barilla gluten-free and it works great. Just be careful not to overcook it, as GF pasta can get mushy faster.
Dairy-Free
Replace Parmesan with nutritional yeast (use ¼ cup) and skip the butter finish. It’s different but still tasty. My lactose-intolerant friend requests this version.
Serving & Storage
How to Serve:
I usually serve this straight from the skillet at the dinner table—it looks rustic and stays warm. But here are other ways I’ve enjoyed it:
Side Dishes:
- Garlic bread (obviously)
- Simple green salad with balsamic vinaigrette
- Roasted broccoli or green beans
- Caesar salad (when I’m feeling fancy)
Toppings Bar:
When I have guests, I put out: extra Parmesan, red pepper flakes, fresh basil, lemon wedges, crispy bacon bits. Everyone customizes their bowl.
Wine Pairing:
Not a wine expert, but my wine-snob friend says Pinot Grigio or Chardonnay works great with this. Or stick with the red wine you used in the recipe.
Storage Instructions:
Refrigerator: Store in an airtight container for up to 4 days. The sauce will thicken in the fridge—totally normal.
Reheating: Best method: Add to a skillet with a splash of milk or cream over low heat. Stir until heated through and creamy again. Microwave method: Heat in 30-second intervals, stirring between. Add a splash of milk if it’s too thick. Never works: Trying to reheat in the pot you cooked it in. It always burns on the bottom. Ask me how I know.
Freezing: This freezes beautifully! Portion into containers or freezer bags. Freeze for up to 3 months. Thaw in the fridge overnight and reheat gently. The texture holds up well because of the meat content.
Nutrition Information
I’m not a nutritionist, but here’s the breakdown if you’re tracking.
Per Serving (based on 6 servings):
- Calories: 580
- Protein: 35g
- Carbs: 52g
- Fiber: 3g
- Sugar: 6g
- Fat: 22g
- Saturated Fat: 8g
- Cholesterol: 95mg
- Sodium: 620mg
- Calcium: 120mg
What’s Good:
- High protein from beef and pasta
- Iron from beef
- Can add vegetables to boost nutrition
- More filling than it looks
What to Know:
- Higher in calories from pasta and cheese
- Contains dairy and gluten
- Moderate sodium (use low-sodium broth to reduce)
My Take:
Look, this is comfort food with meat and pasta. It’s not a diet recipe. But it’s way better than takeout, costs less, and I know exactly what’s in it. When I want to make it lighter, I use the half-and-half version and load up on vegetables. But usually? I just eat a reasonable portion and enjoy it.
Final Thoughts
So that’s my go-to Instant Pot Beef Ragu! I’ve probably talked your ear off at this point, but when you make a recipe this often, you have a lot to say about it.
This has saved weeknight dinners more times than I can count. It’s my answer to “what’s for dinner” when I’m tired, don’t want takeout, and still want something that tastes really good. My kids are happy, my husband’s happy, and I’m happy because I’m not stressed about cooking.
Make it yours! Try different add-ins, swap in your favorite vegetables, adjust the garlic (though more is always better in my opinion). The best recipes are the ones you adapt to your family’s tastes.
If you make this, drop a comment and let me know what you think! I love hearing how recipes turn out in your kitchen. And if something doesn’t work, tell me that too—I’m here to help troubleshoot.
Happy cooking! And I hope your kitchen smells half as good as mine does right now.
Frequently Asked Questions
Can I use ground beef only?
Yes! You can use 3 pounds of ground beef instead of the chuck roast and ground beef mix. Cook on High Pressure for 30 minutes. It won’t be as tender as the chuck roast, but it’s still delicious and much faster. I do this when I’m in a rush.
Why did my Instant Pot say “Burn”?
This usually happens if there are browned bits stuck to the bottom of the pot when you add the liquids. Make sure to deglaze thoroughly after searing the meat. Also, tomato paste can burn easily, so make sure it’s mixed in with the onions and garlic, not sitting directly on the bottom.
Can I make this ahead for a dinner party?
Absolutely! Make the ragu up to 2 days ahead and store in the fridge. Reheat gently on the stove. Cook the pasta fresh right before serving (takes 10 minutes). Toss the hot pasta with the hot sauce. It won’t be quite as good as fresh, but it’s close and saves you stress during the party. I do this all the time.
Can I freeze this ragu?
Yes, this freezes beautifully! Portion into containers or freezer bags. Freeze for up to 3 months. Thaw in the fridge overnight and reheat gently. The texture holds up well because of the meat content. I always make a double batch for this reason.
What kind of wine should I use?
Use a dry red wine like Cabernet Sauvignon, Merlot, or Pinot Noir. Don’t use cooking wine. If you don’t drink alcohol, substitute with extra beef broth and a splash of balsamic vinegar for acidity. The wine adds depth and complexity that broth alone can’t provide.
Can I use a slow cooker instead?
Yes! Transfer the ingredients to a slow cooker after sautéing the aromatics and browning the meat. Cook on Low for 6-8 hours or High for 3-4 hours. The texture will be similar, but the flavor might be slightly less concentrated. It’s a great option if you’re already using the slow cooker for something else.
How do I reheat leftovers without it getting dry?
Add a splash of milk or cream to a skillet, add your leftover pasta, and heat gently over low heat, stirring frequently. The extra liquid brings back the creamy texture. Microwave sort of works but tends to dry it out. If you do microwave, definitely add a splash of milk first and heat in short bursts, stirring between.
Pin This Recipe!
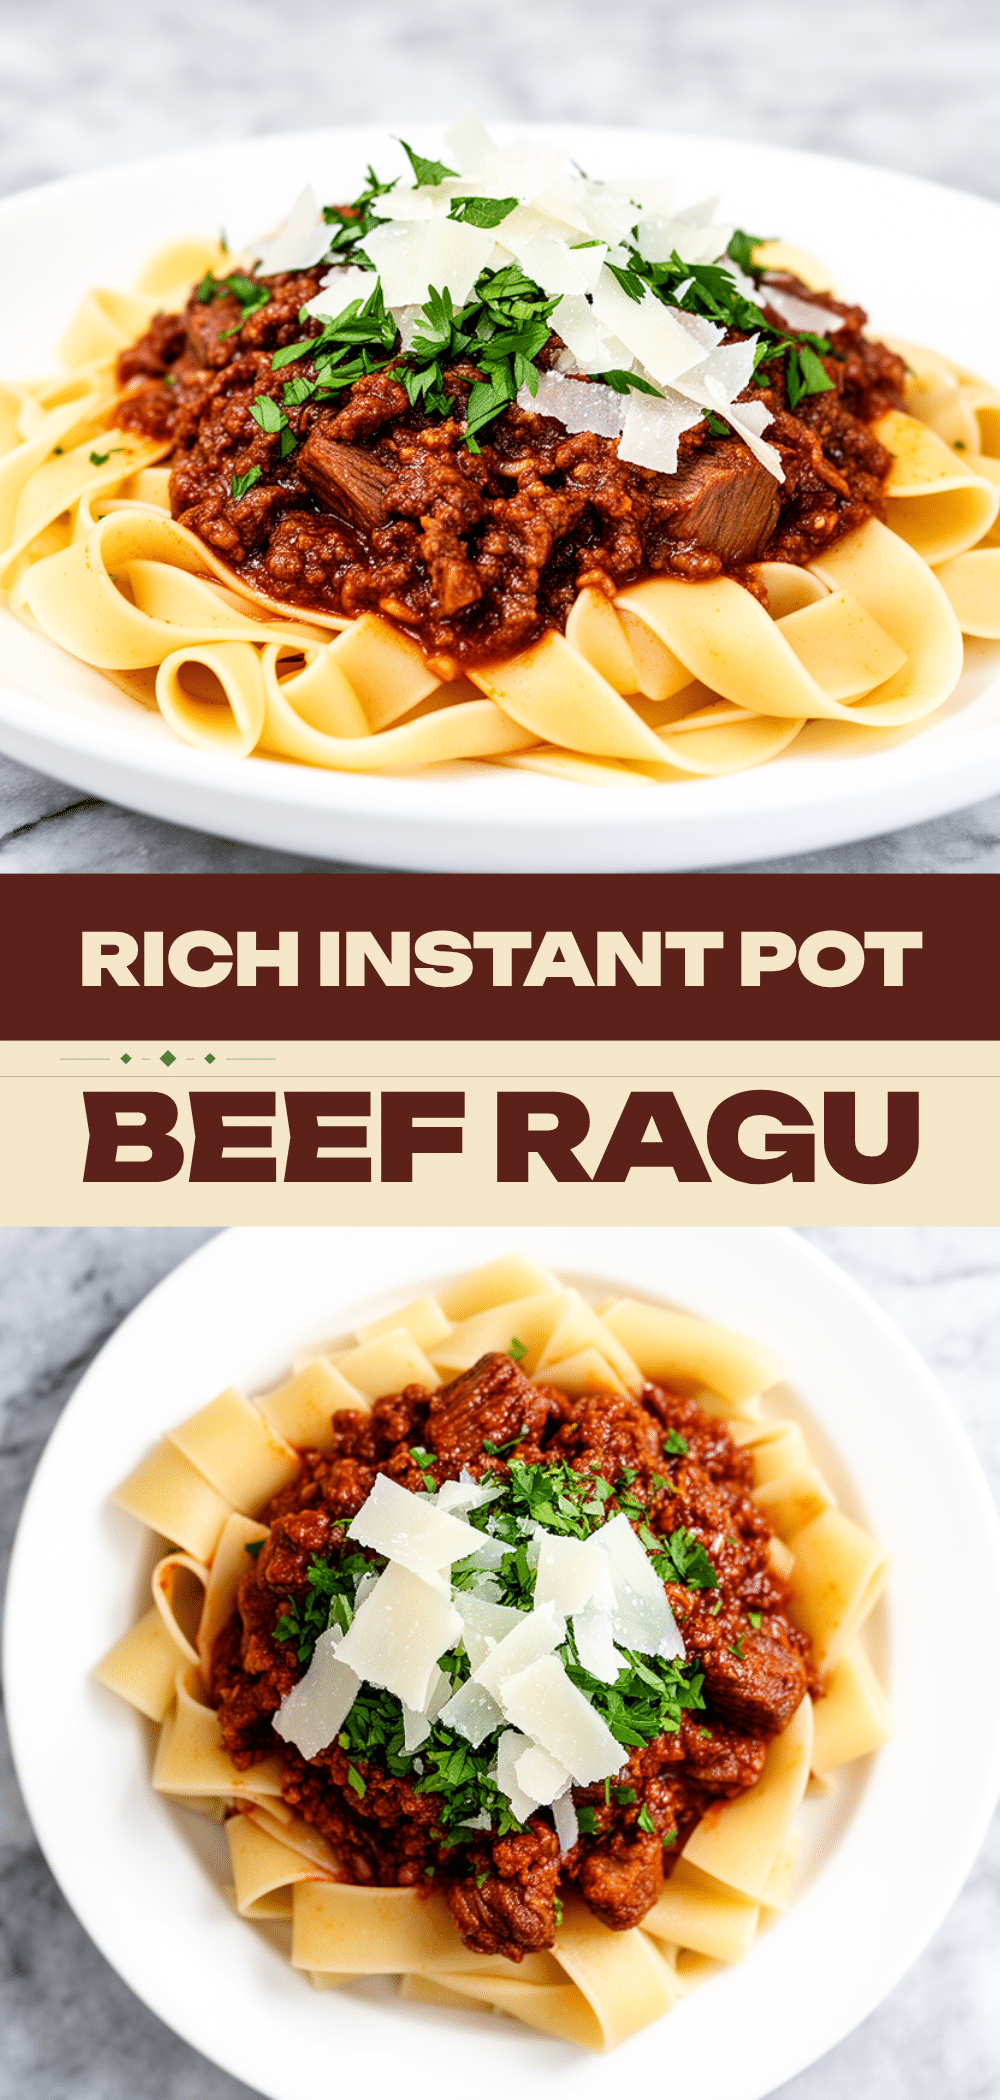
Instant Pot Beef Ragu Over Pappardelle
- Total Time: 2 hours
- Yield: 6 servings 1x
Description
A rich, velvety beef ragu made in an Instant Pot that mimics the depth of a slow-cooked Sunday sauce but is ready in under two hours. This weeknight-friendly dish features tender chuck roast and ground beef in a savory tomato-wine sauce, served over wide ribbon pasta.
Ingredients
- 2 pounds chuck roast, cut into 2-inch cubes
- 1 pound 80/20 ground beef
- 1 teaspoon kosher salt (for meat)
- 1/2 teaspoon black pepper (for meat)
- 2 tablespoons olive oil
- 1 large yellow onion, diced
- 6 cloves garlic, minced
- 1 carrot, finely diced
- 2 stalks celery, finely diced
- 2 tablespoons tomato paste
- 1/2 cup dry red wine (Cabernet Sauvignon, Merlot, or Pinot Noir)
- 28-ounce can crushed tomatoes (San Marzano recommended)
- 1 cup low-sodium beef broth
- 1 teaspoon dried oregano
- 1/2 cup fresh basil, chopped
- 1 pound pappardelle pasta
- 1/2 cup freshly grated Parmesan cheese
- 1 cup reserved pasta water
Instructions
- Prep ingredients: Dice onion, mince garlic, dice carrots and celery, and cut chuck roast into 2-inch cubes. Season beef chunks and ground beef with salt and pepper.
- Sear meat: Set Instant Pot to ‘Sauté’ on High. Add olive oil. Sear chuck roast cubes in batches until browned (2-3 minutes per side), then remove. Brown ground beef, breaking it up, and remove.
- Sauté aromatics: Add onion, carrots, and celery to the pot. Cook until softened (3-4 minutes). Add garlic and tomato paste, stirring constantly for 1 minute until tomato paste darkens.
- Deglaze: Pour in red wine, stirring vigorously to scrape up all browned bits from the bottom of the pot. Simmer for 1 minute to cook off alcohol.
- Combine: Add crushed tomatoes, beef broth, oregano, and the seared meats back into the pot. Stir well. Ensure liquid does not exceed the max fill line.
- Pressure cook: Secure lid, set valve to ‘Sealing’. Select ‘Manual’ or ‘Pressure Cook’ on High Pressure for 90 minutes.
- Natural release: Let pressure release naturally for 15-20 minutes. Then carefully turn valve to ‘Venting’ to release remaining pressure. Open lid.
- Thicken and finish: If sauce is too thin, use ‘Sauté’ mode to simmer for 5-10 minutes. Stir in fresh basil. Taste and adjust seasoning.
- Cook pasta: While ragu finishes, boil pappardelle in salted water until al dente (8-10 minutes). Reserve 1 cup of pasta water before draining.
- Combine and serve: Toss drained pasta with the sauce. Add reserved pasta water if needed to adjust consistency. Serve topped with Parmesan, black pepper, and olive oil.
Notes
Do not skip searing the meat for flavor depth. Ensure you scrape the bottom of the pot thoroughly after searing to prevent the ‘Burn’ error. Use a wine you would drink, not cooking wine. Save pasta water to help the sauce cling to the noodles. For a vegetarian version, substitute meat with mushrooms and lentils.
- Prep Time: 15 minutes
- Cook Time: 1 hour 35 minutes
- Category: Main Course
- Cuisine: Italian
Nutrition
- Serving Size: 1 serving of pasta w
- Calories: 580
- Sugar: 6
- Sodium: 620
- Fat: 22
- Saturated Fat: 8
- Carbohydrates: 52
- Fiber: 3
- Protein: 35
Keywords: Instant Pot, Beef Ragu, Pasta, Weeknight Dinner, Pressure Cooker, Italian Food, Comfort Food, Chuck Roast, Pappardelle



