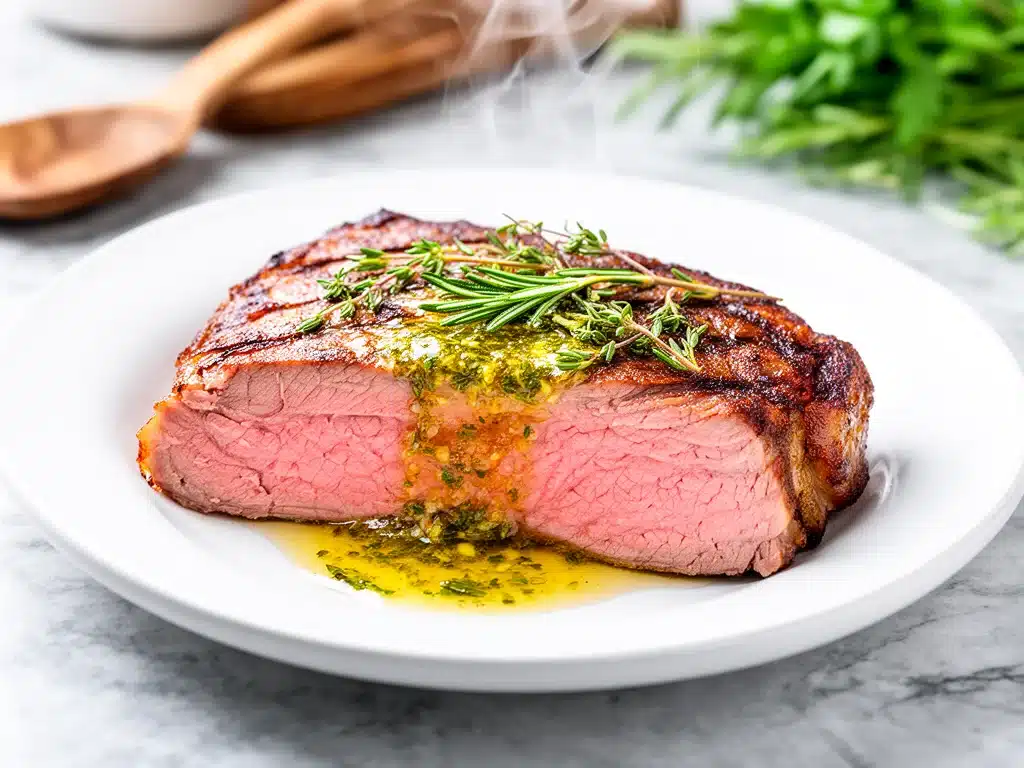
There’s a specific kind of magic that happens on a Sunday afternoon when the house smells like rosemary and roasted meat. For me, it’s not just about the food—it’s about the pause. The week is done. The emails are answered. The kids are sprawled on the living room floor with books or tablets. And in the kitchen, the oven is doing its slow, steady work.
Before I discovered this method for roast beef, I treated Sunday dinners like a chore. I’d rush through it, worried about overcooking a tough cut of meat, stressed about timing the sides so nothing got cold. I ended up with dry, gray beef and a sense of defeat. Then, three years ago, I tried something different. I stopped worrying about precision thermometers for the first hour and started focusing on flavor. I slathered the beef in a massive amount of herb butter, let it rest longer than I thought possible, and sliced it thin. The result? Juicy, tender, deeply flavorful beef that fell apart with a fork. It was so good that my husband actually stopped scrolling on his phone to eat it.
That was the birth of my go-to Juicy Herb Butter Roast Beef. It’s not fancy. It doesn’t require expensive cuts or complicated techniques. It just requires patience and good butter. Now, this roast beef is the anchor of our Sunday routine. It’s the dish that brings everyone to the table, even the teenagers who claim they’re “too busy.” It’s comforting, reliable, and honestly? It’s the easiest big meal I make all week.
I’ve tested this recipe dozens of times, tweaking the herb blends, the searing methods, and the resting times. I’ve burned it, under-seasoned it, and overcooked it. But this version? This is the one. It’s the one that makes your kitchen smell like a high-end butcher shop and leaves you with enough leftovers for sandwiches all week. If you’ve been intimidated by roasting beef, or if you just want a dinner that feels special without the stress, this is your recipe.
Why You’ll Love This Herb Butter Roast Beef
I’ve made this roast beef for everyone from my picky eaters to my foodie friends who usually critique everything. The feedback is always the same: “How is it so tender?” “Why does it taste so rich?” Here’s why this recipe has earned a permanent spot in my weekly rotation.
- Actually Juicy Every Time — The biggest fear with roast beef is dryness. The herb butter baste does two things: it keeps the surface moist during the long cook, and it infuses flavor deep into the meat. I’ve served this to people who claim they “don’t like roast beef,” and they ask for seconds.
- Set It and Forget It (Mostly) — Yes, you need to watch it for the first 20 minutes to sear it, but after that? It’s mostly hands-off. I usually have this in the oven while I’m cleaning the kitchen or helping with homework. It’s the perfect low-stress centerpiece.
- Pantry-Friendly Herbs — You don’t need a garden full of fresh rosemary and thyme. Dried herbs work beautifully here because the butter melts them into the meat. I keep a stash of dried rosemary, thyme, and garlic powder specifically for this roast.
- Leftovers That Beat Takeout — The leftover beef is legendary. I make sandwiches with it on Monday, stir it into mashed potatoes on Tuesday, and use it in a quick stir-fry by Thursday. It holds up better than any other protein I cook.
- Feeds a Crowd for Less — A whole roast is surprisingly affordable compared to individual steaks. This feeds 6-8 people generously, and if you stretch it with sides like roasted potatoes and greens, it’s a budget-friendly feast.
This isn’t just dinner. It’s a vibe. It’s the meal that makes you feel like you’ve accomplished something, even if the only thing you did was put a piece of meat in the oven. It’s my answer to “what’s for Sunday dinner” when I want to feel fancy but keep it simple.
Ingredients You’ll Need
Here’s the thing about roast beef: the quality of your ingredients matters more than the complexity of the recipe. You don’t need twenty spices. You need good meat, good butter, and good herbs. I’m particular about a few things here, so let’s break them down.
For the Beef
Chuck Roast or Top Round (3-4 pounds) — I prefer chuck roast for Sunday dinners. It has more marbling, which means more flavor and tenderness. Top round is leaner and slices prettier, but it dries out faster. If you’re buying chuck, look for one with nice white flecks of fat throughout. Avoid the ones that look too lean or pinkish-red.
Kosher Salt (2 tablespoons) — Do not skip the salt. And do not use table salt. Kosher salt (like Diamond Crystal) has larger flakes and dissolves slower, giving you better control. I rub this into the meat hours before cooking if I can, but if I’m rushing, I do it right before.
Black Pepper (1 tablespoon, freshly cracked) — Freshly cracked is non-negotiable. Pre-ground pepper tastes dusty. Use a pepper mill and crack it right over the meat.
For the Herb Butter
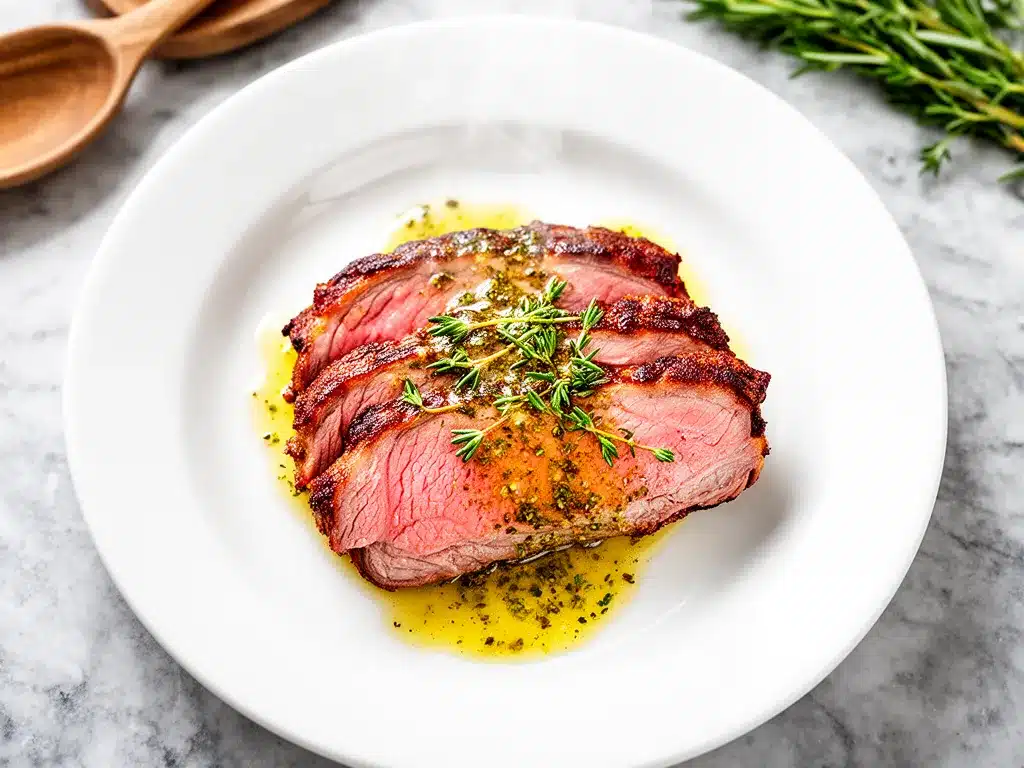
Unsalted Butter (½ cup / 1 stick, softened) — This is the star. Use high-quality butter if you can find it. The better the butter, the better the roast. Soften it on the counter for 30 minutes before you start. If it’s cold, it won’t mix with the herbs.
Dried Rosemary (2 teaspoons) — Dried rosemary is actually better here than fresh because it rehydrates in the butter and doesn’t burn as easily in the oven. If you only have fresh, chop it finely and use 1 tablespoon.
Dried Thyme (1 teaspoon) — Thyme adds an earthy, subtle background note that balances the richness of the beef. Dried works perfectly.
Garlic Powder (1 tablespoon) — I use garlic powder, not fresh garlic, in the butter. Fresh garlic burns and turns bitter in a hot oven. Garlic powder distributes evenly and creates a beautiful crust.
Onion Powder (1 teaspoon) — Adds sweetness and depth without the moisture of fresh onions, which can steam the meat instead of roasting it.
Smoked Paprika (½ teaspoon) — This is my secret weapon. It adds a subtle smokiness and a gorgeous reddish color to the crust. It’s not spicy, just smoky.
Mustard Powder (1 teaspoon) — Don’t skip this. It doesn’t make the roast taste like mustard. It adds a tangy, savory depth that cuts through the fat. It’s a flavor enhancer.
For the Roasting
Beef Broth (1 cup) — I use low-sodium broth for the pan drippings. This becomes the base for the gravy or jus. If you don’t want gravy, you can skip this, but I recommend it.
Red Wine (Optional) (½ cup) — I like to deglaze the pan with a cheap bottle of red wine. It adds acidity and complexity to the drippings. If you don’t drink wine, use extra broth.
Vegetables (Optional) — I often toss carrots, potatoes, and onions into the bottom of the roasting pan. They cook in the beef juices and are amazing. But if you prefer side dishes on the table, skip this.
Equipment Needed
You don’t need fancy gadgets for this. Here’s what I actually use in my kitchen.
Roasting Pan with Rack — I use a heavy-duty stainless steel roasting pan. The rack is essential because it lifts the beef off the bottom, allowing air to circulate and the meat to roast evenly instead of steaming in its own juices. If you don’t have a rack, you can use a bed of chopped vegetables as a makeshift rack.
Instant-Read Thermometer — This is the single most important tool. Guessing doneness is how you end up with tough beef. I use a ThermoWorks Thermapen, but any quick-read thermometer works. You need to know the internal temperature.
Sharp Slicing Knife — A long, sharp chef’s knife or a dedicated carving knife. Dull knives crush the meat fibers and make a mess. Sharpen yours before you start.
Mixing Bowl — Small bowl for mixing the herb butter.
Aluminum Foil — For tenting the roast after it comes out of the oven. Heavy-duty foil is best so it doesn’t tear.
Gravy Whisk — If you’re making pan juices, a small whisk helps incorporate the flour (if you use it) and break up the brown bits.
How to Make It: Step-by-Step
Alright, let’s make this! I’m walking you through exactly how I do it, including the little tricks I’ve picked up over the years. This process takes about 4 hours from start to finish, but only 30 minutes of active work.
Step 1: Prep the Beef (10 minutes)
Take your roast out of the fridge 1 hour before cooking. Cold meat goes into a hot oven and cooks unevenly. Let it sit on the counter while you preheat. Pat it dry with paper towels—this sounds minor, but dry surface means better browning. Rub the entire roast generously with kosher salt and cracked black pepper. I mean generously. The beef needs to be seasoned all over, not just on the outside.
Step 2: Make the Herb Butter (5 minutes)
In a small bowl, mix the softened butter, dried rosemary, thyme, garlic powder, onion powder, smoked paprika, and mustard powder. It should look like a fragrant, green-flecked paste. Taste it (don’t worry, it’s safe). It should smell amazing. If it needs more salt, add a pinch, but remember the roast is already salted.
Step 3: Apply the Butter (5 minutes)
Using your fingers or a small spatula, spread the herb butter all over the roast. Get into every nook and cranny. If the roast has a seam or cavity, push butter inside. The goal is a thick, even coating. This butter will melt and baste the meat as it cooks.
Step 4: The Sear (20 minutes)
Preheat your oven to 450°F (230°C). Place the roast on the rack in your roasting pan. Put it in the oven for 20 minutes. This high heat creates a crust, sealing in flavors. You’ll see the butter bubbling and the edges browning. This is the most important step for flavor.
Step 5: The Slow Roast (2-3 hours)
After 20 minutes, reduce the oven temperature to 325°F (165°C). Do not open the oven door for at least the first hour. Check the internal temperature after 1.5 hours. For medium-rare, you want 130-135°F (54-57°C). For medium, 140-145°F (60-63°C). Remember, the temperature will rise 5-10 degrees while it rests.
If you’re adding vegetables, toss them into the pan now, around the roast. They’ll cook in the drippings.
Step 6: Rest the Meat (30 minutes)
Once the roast hits your target temperature, take it out of the oven. Transfer it to a cutting board or platter. Tent it loosely with aluminum foil. DO NOT SKIP THIS STEP. Resting allows the juices to redistribute. If you cut it immediately, all the juice runs out, and you’re left with dry beef. 30 minutes is ideal. If you’re short on time, 20 minutes is the minimum.
Step 7: Make the Pan Jus (10 minutes)
While the beef rests, make the sauce. Place the roasting pan on the stovetop over medium heat. Add the beef broth and red wine (if using). Scrape up the brown bits from the bottom with a wooden spoon—this is flavor gold. Let it simmer for 5 minutes to reduce slightly. Strain if you prefer a smooth sauce, or leave the bits for texture. Season with salt and pepper to taste.
Step 8: Slice and Serve
Remove the foil. Slice the beef against the grain. This is crucial. Cutting against the grain shortens the muscle fibers, making each bite tender. Serve immediately with the pan jus drizzled over the top.
Expert Tips & Tricks
Here’s everything I’ve learned from making this roast beef dozens of times. These tips will save you from my mistakes.
- Trust the Thermometer — Eyes can lie. Time can lie. Temperature doesn’t. Insert the probe into the thickest part of the meat, avoiding bone or fat. For chuck roast, I pull it at 130°F for medium-rare. It’s perfect.
- Don’t Skimp on the Rest — I know you’re hungry. I know the smell is tempting. But wait 30 minutes. The difference between 10 minutes of rest and 30 minutes is night and day. The meat will stay warm during the rest.
- Use Dried Herbs for the Rub — Fresh herbs can burn in a 450°F oven. Dried herbs are more stable and create a better crust. Add fresh herbs only if you garnish after slicing.
- Salt Early — If you have time, salt the roast 4-24 hours before cooking and leave it uncovered in the fridge. This dries the surface for a better sear and seasons the meat deeply. If you’re rushing, salt it right before cooking, but make sure you’re thorough.
- Slice Against the Grain — Look at the roast. See the lines of the muscle fibers? Cut perpendicular to those lines. If you cut with the grain, the beef will be chewy, no matter how well you cooked it.
Common Mistake: Overcooking
Many people cook roast beef until it’s gray all the way through. Aim for pink. Chuck roast has connective tissue that needs time to break down, but it doesn’t need to be well-done to be tender. In fact, well-done chuck roast can be dry. Stick to medium-rare or medium.
Pro Trick: The Butter Baste
If you want extra juiciness, open the oven every 30 minutes after the initial sear and spoon the melted herb butter over the roast. It keeps the surface moist and adds flavor. I do this for the first two hours, then stop to let the crust set.
Variations & Substitutions
Once you’ve nailed the basic version, here’s how you can mix it up. I’ve tried all of these, and they’re all winners.
- Peppercust Roast — Swap the dried herbs for 2 tablespoons of crushed black peppercorns and 1 tablespoon of Dijon mustard. Rub the mustard on first, then press the peppercorns into the meat. Classic and sharp.
- Herb-Crusted with Fresh Herbs — Use fresh rosemary, thyme, and sage chopped finely. Mix with panko breadcrumbs and melted butter. Press this mixture onto the roast before roasting for a crunchy crust.
- Garlic-Lemon Roast — Add the zest of one lemon and 4 cloves of minced fresh garlic to the butter. Bright and zesty, great for spring.
- Spicy Southwest — Swap the herbs for cumin, chili powder, and smoked paprika. Add a bit of chipotle powder for heat. Serve with salsa and sour cream instead of jus.
Dietary Modifications:
This recipe is naturally gluten-free if you use gluten-free broth and ensure your spices are certified GF. It’s dairy-free if you substitute the butter with olive oil or ghee, though the flavor profile will be different.
Serving & Storage
How to Serve:
I usually serve this straight from the cutting board. It looks rustic and stays warm. Pair it with roasted potatoes, glazed carrots, and a simple green salad. A glass of red wine, like a Cabernet or Merlot, pairs perfectly with the rich beef.
Storage:
Store leftovers in an airtight container in the fridge for up to 4 days. The beef will keep well, and the flavors actually meld over time.
Reheating:
The best way to reheat is in the oven. Slice the beef, place it in a baking dish, add a splash of broth or jus, cover with foil, and warm at 300°F for 15-20 minutes. This keeps it moist. Avoid the microwave, which tends to dry out the edges.
Freezing:
Yes, you can freeze roast beef. Slice it, place it in freezer bags with some broth, and freeze for up to 3 months. Thaw in the fridge overnight and reheat gently.
Nutrition Information
I’m not a nutritionist, but here’s the breakdown if you’re tracking. This is per serving (based on 8 servings, including some sides).
- Calories: 350
- Protein: 30g
- Carbs: 2g (without sides)
- Fat: 24g
- Sodium: 600mg (varies by salt usage)
It’s high in protein and iron, but also high in saturated fat from the butter and beef. Enjoy it as part of a balanced meal with plenty of vegetables. If you’re watching your sodium, use low-sodium broth and reduce the salt in the rub.
Final Thoughts
So that’s my go-to Juicy Herb Butter Roast Beef. It’s not just a recipe; it’s a Sunday tradition. It’s the meal that makes the house feel full and the heart feel calm. I’ve made this for holidays, for casual weekends, and for when I just need to feel like a good cook. It never fails.
Make it yours. Adjust the herbs, change the vegetables, experiment with the spices. The best recipes are the ones you adapt to your family’s tastes. If you make this, drop a comment and let me know how it turned out! I love hearing how recipes work in your kitchen. And if something doesn’t work, tell me—I’m here to help troubleshoot.
Happy cooking! And I hope your kitchen smells half as good as mine does right now.
Frequently Asked Questions
Can I use a different cut of beef?
Yes! Top round, bottom round, and sirloin tip all work well. Chuck roast is my favorite for flavor, but round roasts are leaner and slice thinner. Just be careful not to overcook round roasts, as they have less fat and dry out faster. Aim for 125-130°F internal temperature for round.
Why did my roast beef come out dry?
Usually, this means it was overcooked or didn’t rest long enough. Use a thermometer! Pull it at 130°F for medium-rare. Also, make sure you rested it for at least 20-30 minutes. Cutting it too early releases the juices onto the cutting board, leaving the meat dry.
Can I make this in a slow cooker?
You can, but you won’t get the same crust. For slow cooker, sear the roast first, then add herbs and broth. Cook on low for 8 hours. The texture will be more shredded than sliced, which is great for sandwiches but not for traditional roast beef presentation.
How do I make gravy from the pan drippings?
After removing the roast, pour off excess fat from the pan, leaving about 2 tablespoons. Sprinkle 2 tablespoons of flour over the drippings and whisk for 1 minute. Slowly add 1 cup of broth and wine, whisking constantly. Simmer until thickened. Season with salt and pepper.
Can I freeze the herb butter?
Yes! Make extra herb butter and freeze it in an ice cube tray. Once frozen, transfer to a bag. Thaw a cube or two and use it for future roasts, or spread it on bread or vegetables.
What wine pairs best with roast beef?
Red wines with good acidity and tannins work best. Cabernet Sauvignon, Merlot, or a Syrah/Shiraz are classic choices. If you prefer something lighter, a Pinot Noir works well too. Avoid very sweet wines.
How do I know when the roast is done without a thermometer?
You can use the “touch test,” but it’s not as reliable. Press the center of the roast. For medium-rare, it should feel like the fleshy part of your palm when you touch your thumb to your index finger. For medium, it’s firmer, like touching thumb to middle finger. But seriously, buy a thermometer. It’s worth the $10.
Pin This Recipe!
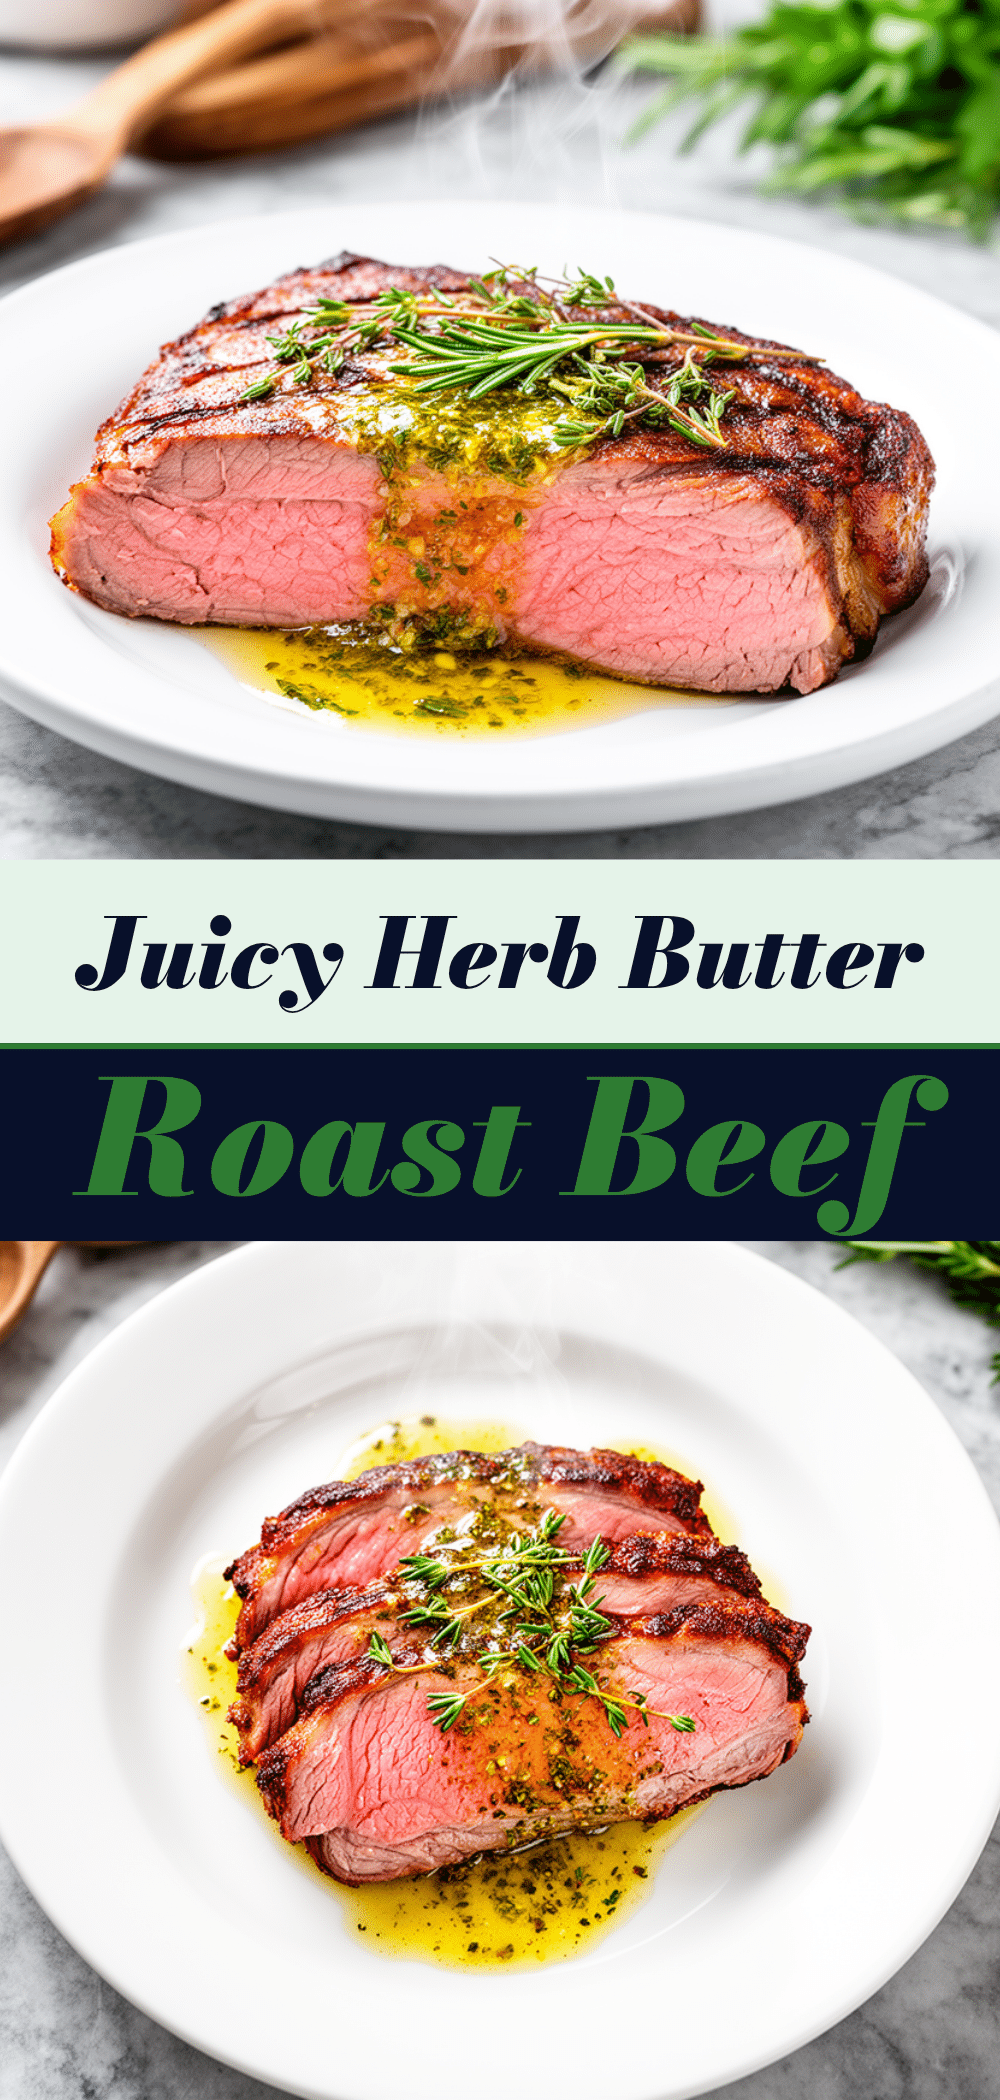
Juicy Herb Butter Roast Beef: Perfect Sunday Dinner
- Total Time: 4 hours 30 minutes
- Yield: 6-8 servings 1x
Description
A reliable, juicy roast beef recipe featuring a rich herb butter crust, slow-roasted to perfection. This dish is designed for Sunday dinners, offering tender meat and deep flavor with minimal active effort.
Ingredients
- 3–4 pounds Chuck Roast or Top Round
- 2 tablespoons Kosher Salt
- 1 tablespoon Black Pepper, freshly cracked
- 1/2 cup Unsalted Butter, softened
- 2 teaspoons Dried Rosemary
- 1 teaspoon Dried Thyme
- 1 tablespoon Garlic Powder
- 1 teaspoon Onion Powder
- 1/2 teaspoon Smoked Paprika
- 1 teaspoon Mustard Powder
- 1 cup Beef Broth, low-sodium
- 1/2 cup Red Wine (optional)
- Vegetables such as carrots, potatoes, and onions (optional)
Instructions
- Take the roast out of the fridge 1 hour before cooking to bring it to room temperature. Pat dry with paper towels.
- Rub the entire roast generously with kosher salt and cracked black pepper.
- In a small bowl, mix softened butter, dried rosemary, thyme, garlic powder, onion powder, smoked paprika, and mustard powder to form a paste.
- Spread the herb butter all over the roast, pushing it into any seams or cavities.
- Preheat oven to 450°F (230°C). Place roast on a rack in a roasting pan and sear for 20 minutes.
- Reduce oven temperature to 325°F (165°C). Roast for 2-3 hours, checking internal temperature after 1.5 hours.
- For medium-rare, aim for an internal temperature of 130-135°F (54-57°C). For medium, aim for 140-145°F (60-63°C).
- If using vegetables, add them to the pan around the roast during the slow roast phase.
- Remove roast from oven and tent loosely with aluminum foil. Rest for 30 minutes.
- While resting, place the roasting pan on the stovetop over medium heat. Add beef broth and red wine, scraping up brown bits. Simmer for 5 minutes to reduce.
- Slice the beef against the grain and serve immediately with the pan jus.
Notes
Trust the thermometer rather than time. Do not skip the resting period, as it allows juices to redistribute. Slice against the grain for maximum tenderness. Dried herbs are preferred for the rub to prevent burning. If using a slow cooker, sear first and cook on low for 8 hours, though the texture will be shredded rather than sliced.
- Prep Time: 30 minutes
- Cook Time: 4 hours
- Category: Main Course
- Cuisine: American
Nutrition
- Serving Size: Approximately 6-8 sl
- Calories: 350
- Sodium: 600
- Fat: 24
- Saturated Fat: 12
- Carbohydrates: 2
- Protein: 30
Keywords: roast beef, herb butter, sunday dinner, chuck roast, slow roast, easy dinner, gluten-free option



