Last summer, I was standing in my kitchen at 9 PM, staring at a half-empty pantry and a fridge that was mostly condiments and leftover takeout containers. My sister-in-law was coming over the next day with her new boyfriend, and I had promised—somewhat foolishly—that I’d bring a dessert. I don’t usually bake. I’m more of a “grill everything and hope for the best” kind of cook. But I knew one thing: if I wanted to impress someone who didn’t even know my last name yet, I needed something that looked sophisticated but required zero actual skill.
I reached for the jar of Nutella sitting on my counter. It’s a staple in my house. We eat it on toast, we dip strawberries in it, and we certainly don’t use it for baking. But then I remembered a recipe I’d seen floating around social media a while back—a no-bake cheesecake that used Nutella as the base. I thought, “How hard can it be?”
I was wrong. Or rather, I was right about it being easy, but wrong about the proportions. In my first attempt, I used too much cream cheese and not enough Nutella. The result was a bland, tangy mess that tasted like sweetened cream cheese with a faint hazelnut whisper. It was edible, but it wasn’t impressive. It was embarrassing. I scraped it into the trash and ordered pizza.
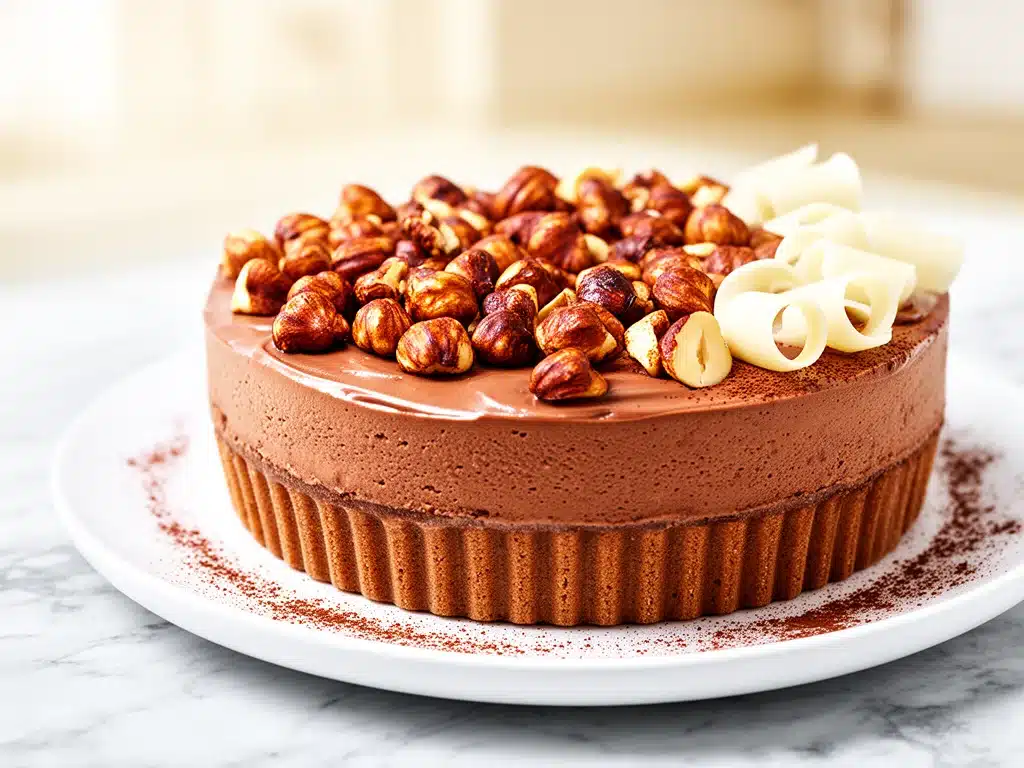
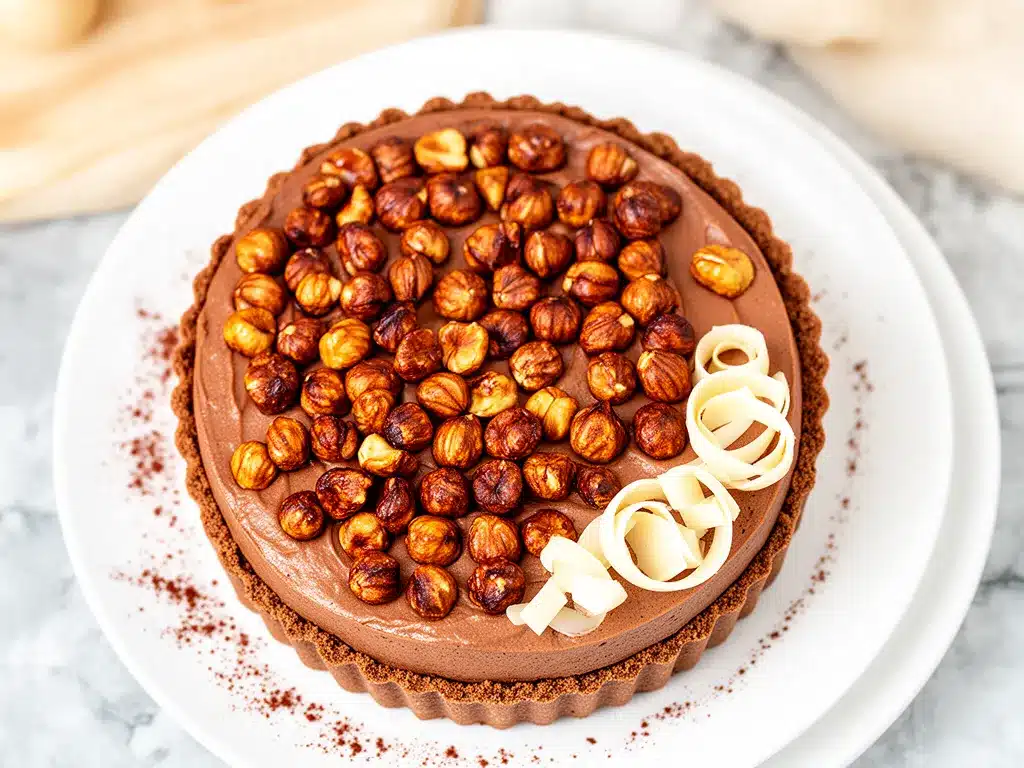
But I wasn’t ready to give up. I tweaked the ratio, added a crunchy hazelnut crust, and chilled it overnight. The next day, when I sliced into it, the layers were perfect. The top was a glossy, deep brown ribbon of chocolate-hazelnut sweetness, and the bottom was a creamy, tangy contrast that cut through the richness just right. My sister-in-law’s boyfriend asked for the recipe before he’d even finished his slice. That’s how I discovered that sometimes the best recipes happen when you’re desperate, slightly panicked, and willing to experiment with a jar of spreadable chocolate.
This No-Bake Nutella Cheesecake has become my go-to for any occasion where I need to look like I spent hours in the kitchen but actually just spent twenty minutes assembling ingredients. It’s my answer to “what’s for dessert” when I’m tired, don’t want to turn on the oven, and still want something that tastes like it came from a high-end patisserie. My family has made this for three generations of friends, and I’ve tweaked it until it was perfect. It’s rich, it’s creamy, and it’s stupidly simple. I’ve made it at least a dozen times since that Tuesday, tweaking it each time until it was exactly right.
Why You’ll Love This No-Bake Nutella Cheesecake
This recipe has completely changed our dessert routine. I’ve made it for everyone from picky kids to food snobs, and everyone asks for seconds. There are about ten reasons I keep making this, but here are the big ones.
Zero Baking Required — Seriously, if you can open a jar and mix ingredients, you can make this. I’ve walked my teenage son through it over FaceTime while he was at college. No oven, no water bath, no worrying about cracks in the top. Just mix, chill, and eat.
Looks Fancy, Acts Lazy — It has those beautiful layered looks that you see in expensive bakeries. The glossy Nutella topping and the crunchy crust make it look like you spent hours perfecting it. In reality, it’s a 20-minute assembly job. I make this on weeknights when I get home at 7pm and don’t want to deal with heat.
Make-Ahead Friendly — This is my secret weapon for dinner parties. I make it two days ahead, store it in the fridge, and just pull it out when guests arrive. It actually tastes better after chilling overnight because the flavors meld together. I deliberately make extra for myself because it’s that good.
Gluten-Free Option — I have a gluten-free neighbor who usually feels left out of dessert fun. By swapping the graham crackers for gluten-free ones or nuts, this cheesecake becomes a safe treat for everyone. Everyone loved it, gluten-free friends included.
Budget-Smart — Feeds 8-10 people for under $20. That’s less than one meal at a fancy dessert cafe. I keep the key items stocked just so I can make this on a whim.
This is my go-to when I need dessert to just work. No complicated techniques, no weird ingredients, just reliable, delicious food that makes everyone happy. If you’re looking for other easy make-ahead treats, you might also enjoy these brown sugar peach caramel coffee cake for when you do want to bake something sweet and seasonal.
Ingredients You’ll Need
Here’s the best part: you probably have most of this already. I’m particular about three ingredients here, and I’ll tell you exactly why. This looks like a short list, but it’s powerful. Each component plays a specific role in creating that perfect texture contrast.
For the Crust
Vanilla wafers or graham crackers (2 cups / about 200g, crushed) — I prefer vanilla wafers for a sweeter, softer crust, but graham crackers give a classic cheesecake flavor. Either works. You’ll need them finely crushed. I use a food processor, but you can put them in a bag and smash them with a rolling pin if you’re feeling athletic.
Unsalted butter (6 tablespoons / 85g, melted) — This binds the crust together. Don’t use margarine; it won’t hold up. Real butter gives that rich, toasted flavor. I melt it in the microwave for 30 seconds.
Granulated sugar (2 tablespoons / 25g) — Optional, but I add it because vanilla wafers aren’t super sweet. If you use unsweetened crushed nuts, skip this.
Finely chopped hazelnuts (½ cup / 50g) — This is the star of the show. Toasting them first brings out their natural oils and flavor. I buy raw hazelnuts and toast them in a dry pan for 5 minutes. If you can’t find hazelnuts, pecans or walnuts work, but hazelnuts are traditional and taste best with Nutella.
For the Cheesecake Layer
Full-fat cream cheese (16 oz / 450g, softened) — This is non-negotiable. Use block cream cheese, not the tub spread. Let it sit on the counter for 30 minutes before mixing. Cold cream cheese leads to lumps, and lumps in a no-bake cheesecake are impossible to fix.
Heavy cream (1 cup / 240ml, cold) — This provides the structure and lightness. You need to whip it to stiff peaks. If it’s warm, it won’t whip. Keep it in the fridge until the last second.
Powdered sugar (½ cup / 60g) — Dissolves instantly, unlike granulated sugar, which would leave gritty spots in the creamy filling. It also adds a bit of sweetness to balance the tang of the cream cheese.
Vanilla extract (1 teaspoon) — Just a splash to round out the flavors. Pure vanilla is best; imitation tastes chemical.
For the Nutella Topping
Nutella (1 cup / 270g) — Yes, a whole cup. This is the glossy, delicious layer on top. Use good quality Nutella if you can find it. The standard jar works perfectly fine.
Heavy cream (2 tablespoons / 30ml) — Just enough to thin the Nutella so it spreads easily. If you add too much, it won’t set properly.
For Garnish
Whole hazelnuts (¼ cup / 25g) — Toasted and roughly chopped. Adds texture and looks pretty. You can also use chocolate shavings or fresh raspberries if you want a pop of color.
I always use Philadelphia cream cheese—it’s consistent every time. I buy pre-minced hazelnuts when I’m being lazy, but toasting your own tastes way better. No Nutella? You can try using chocolate hazelnut spread from another brand, but the flavor profile might shift slightly. The topping keeps for a few days in the fridge if you cover it well.
Equipment Needed
You don’t need fancy equipment for this. Here’s what I actually use. Most of this is stuff you already have in your kitchen.
9-inch springform pan — This is the classic cheesecake pan. The sides pop off, making it easy to remove the cake without damaging it. If you don’t have one, a 9-inch pie dish works, but serving will be messier. I prefer the springform for clean slices.
Food processor or blender — For crushing the cookies. If you don’t have one, a zip-top bag and a rolling pin work fine. It’s a good workout.
Electric mixer — Handheld or stand mixer. You need to whip the heavy cream to stiff peaks, which is hard to do by hand. It takes about 2-3 minutes with a mixer. I use my handheld mixer because it’s easier to maneuver.
Large mixing bowls — One for the cream cheese mixture, one for whipping the cream. Make sure they’re clean and dry.
Spatula — A silicone spatula is best for folding. It gets every bit of the mixture out of the bowl. I use a rubber one because it’s flexible.
Offset spatula — For spreading the Nutella topping smoothly. A regular butter knife works too, but an offset spatula makes it look professional. I’m obsessed with my offset spatula from IKEA—it’s like $3 and makes life easier.
Refrigerator — Obviously. You need space for the pan to chill for at least 4 hours, preferably overnight.
Measuring cups and spoons — Pretty standard stuff. Dollar store versions work fine, but accurate measurements help with the ratio.
Parchment paper — Optional, but I line the bottom of the springform pan with it. Makes cleanup easier and helps the cake release cleanly.
How to Make It: Step-by-Step
Alright, let’s make this! I’m walking you through exactly how I do it, including the little tricks I’ve picked up. It’s simpler than you think, but attention to detail matters.
Step 1: Prepare the Crust (10 minutes)
First, toast your hazelnuts if you’re using raw ones. Put them in a dry skillet over medium heat and shake the pan every minute for about 5 minutes until they’re fragrant and lightly browned. Let them cool, then chop them roughly. You’ll use some for the crust and some for garnish.
Crush your cookies into fine crumbs. If using a food processor, pulse until you have sand-like crumbs. Be careful not to over-process them into a paste. Mix the crumbs with melted butter and a tablespoon of the chopped hazelnuts. Press this mixture firmly into the bottom of your springform pan. Use the bottom of a glass to pack it down tightly. A loose crust will crumble when you slice it.
Step 2: Whip the Cream (5 minutes)
In a large, cold bowl, whip the heavy cream with the powdered sugar and vanilla extract. Start on low speed and gradually increase to high. Whip until stiff peaks form. This means when you lift the beaters, the cream stands up straight and doesn’t droop. Don’t over-whip it into butter, though. Stop just before it looks grainy.
Step 3: Mix the Cream Cheese (5 minutes)
In a separate large bowl, beat the softened cream cheese until it’s completely smooth and creamy. No lumps allowed. This is crucial. If there are lumps, they’ll show up in the final product. Scrape down the sides of the bowl.
Gradually add the whipped cream to the cream cheese mixture. Use a spatula to gently fold them together. Fold until just combined. Over-mixing can deflate the cream, making the cheesecake dense. You want it light and airy.
Step 4: Assemble the Cheesecake (5 minutes)
Pour the cream cheese mixture over the crust. Smooth the top with an offset spatula. Tap the pan gently on the counter to remove any air bubbles. Cover the pan with plastic wrap or foil.
Step 5: Chill (4+ hours)
Place the cheesecake in the refrigerator. It needs to set for at least 4 hours, but overnight is best. This is the hardest part—waiting. But the longer it chills, the firmer it becomes, and the easier it is to slice.
Step 6: Make the Nutella Topping (5 minutes)
When you’re ready to finish, warm the Nutella slightly. Microwave it for 10-15 seconds to make it runnier. Mix in the 2 tablespoons of heavy cream until smooth. Pour this over the chilled cheesecake. Use the offset spatula to spread it evenly, letting it drip slightly down the sides for a rustic look.
Step 7: Garnish and Serve
Sprinkle the remaining chopped hazelnuts on top. Slice with a sharp knife dipped in hot water for clean cuts. Serve chilled. Enjoy!
Total Time: About 20 minutes active, plus 4+ hours chilling.
Built-in Troubleshooting:
– Crust falling apart? Press it down harder and add a bit more butter.
– Cheesecake too soft? You didn’t chill it long enough. Give it another hour.
– Nutella topping too thick? Add another teaspoon of cream. Too thin? Add a bit more powdered sugar or chill it longer.
Expert Tips & Tricks
Here’s everything I’ve learned from making this dozens of times. These tips will save you from my mistakes.
Softened Cream Cheese is Key
I cannot stress this enough. Hard cream cheese leads to lumps. If you forget to take it out, microwave it in 5-second bursts, stirring in between. It should be soft enough to press with your finger.
Cold Cream for Whipping
Your heavy cream, bowl, and beaters should all be cold. If your kitchen is hot, put the bowl in the fridge for 10 minutes before whipping. Warm cream won’t whip to stiff peaks, and your cheesecake will be soupy.
Toast Those Hazelnuts
Raw hazelnuts taste bland. Toasting them unlocks their nutty flavor, which pairs perfectly with the chocolate. It’s a small step that makes a huge difference.
Fold, Don’t Stir
When combining the cream cheese and whipped cream, use a gentle folding motion. Stirring vigorously deflates the air you worked so hard to whip in. You want a light, mousse-like texture.
Warm Knife for Slicing
Dip your knife in hot water and wipe it dry before each cut. This ensures clean, smooth slices without dragging the cream cheese layer. It’s a small trick that makes the presentation look professional.
Common Mistakes:
– **Mistake: Lumpy filling**
Fix: Beat the cream cheese longer before adding the whipped cream. Strain it if you have to (yes, really).
– **Mistake: Soggy crust**
Fix: Don’t let the cheesecake sit at room temperature for too long before serving. The moisture from the filling can soften the crust if it sits out for hours.
– **Mistake: Nutella topping runs off**
Fix: Make sure the cheesecake is fully set before adding the topping. If it’s too soft, the weight of the topping will sink in.
Variations & Substitutions
Once you’ve nailed the basic version, here’s how you can mix it up. I’ve tried all of these.
Strawberry Nutella Swirl
Mix 1 cup of pureed strawberries into the cream cheese layer before folding in the whipped cream. Add a few fresh strawberry slices on top. It’s a beautiful pink and brown swirl.
White Chocolate Nutella
Swap half the Nutella topping with melted white chocolate. It creates a marbled effect and adds a different sweetness.
Peanut Butter Version
Use peanut butter instead of Nutella for the topping. It’s a classic combo. Mix with a little honey to thin it.
Gluten-Free
Use gluten-free vanilla wafers or almond flour for the crust. Everything else is naturally gluten-free. I’ve used gluten-free wafers and they work great.
Dairy-Free
Replace cream cheese with vegan cream cheese (like Kite Hill) and heavy cream with coconut cream. Use dairy-free Nutella (like NoNutella). It’s different but still tasty. My dairy-free friend requests this version.
Lower Sugar
Use sugar-free Nutella and reduce the powdered sugar in the filling. It’s less sweet but still creamy.
Other Toppings
– Caramel drizzle
– Chocolate shavings
– Fresh raspberries
– Crushed pistachios
Serving & Storage
I usually serve this straight from the springform pan at the dinner table—it looks rustic and stays cold. But here are other ways I’ve enjoyed it:
Side Dishes
– Fresh berries (strawberries, raspberries)
– Whipped cream dollops
– Chocolate sauce drizzle
– Coffee or tea (it’s rich, so you don’t need much)
Toppings Bar
When I have guests, I put out: extra hazelnuts, chocolate shavings, fresh berries, and a small bowl of warm Nutella for dipping. Everyone customizes their slice.
Wine Pairing
Not a wine expert, but my wine-snob friend says a sweet Moscato or a light Pinot Noir works great with this. It cuts through the richness.
Refrigerator
Store in the springform pan, covered with plastic wrap, for up to 5 days. The flavors get better after day 2.
Freezing
You can freeze this cheesecake! Wrap the whole pan (or individual slices) tightly in plastic wrap and foil. Freeze for up to 1 month. Thaw in the fridge overnight. The texture might be slightly softer, but it’s still delicious.
Pro tip
If the Nutella topping gets too hard in the fridge, let it sit at room temperature for 10 minutes before serving. It softens up nicely.
Nutrition Information
I’m not a nutritionist, but here’s the breakdown if you’re tracking. This is a rich dessert, so portion control is key.
Per Serving (based on 12 servings):
– Calories: 380
– Protein: 6g
– Carbs: 35g
– Fiber: 2g
– Sugar: 28g
– Fat: 24g
– Saturated Fat: 12g
– Cholesterol: 45mg
– Sodium: 180mg
– Calcium: 80mg
What’s Good:
– Decent protein from cream cheese
– Hazelnuts provide healthy fats
– No baked sugar crust
What to Know:
– High in sugar and fat from Nutella and cream
– Contains dairy and gluten (unless modified)
– Moderate sodium
My Take:
Look, this is a dessert. It’s sweet, rich, and indulgent. It’s not a health food. But it’s way better than store-bought cake, and I know exactly what’s in it. When I want to make it lighter, I reduce the Nutella topping and add more fresh fruit. But usually? I just eat a reasonable slice and enjoy it.
Dietary Notes:
– Contains: gluten, dairy, nuts
– Can be made: gluten-free, vegetarian
– Not suitable for: vegan (without modifications), dairy-free (without modifications)
Final Thoughts
So that’s my No-Bake Nutella Cheesecake! I’ve probably talked your ear off at this point, but when you make a recipe this often, you have a lot to say about it.
This has saved dessert nights more times than I can count. It’s my answer to “what’s for dessert” when I’m tired, don’t want to bake, and still want something that tastes really good. My kids are happy, my guests are impressed, and I’m happy because I’m not stressed about cooking.
Make it yours! Try different toppings, swap in your favorite nuts, adjust the sweetness. The best recipes are the ones you adapt to your family’s tastes. If you’re looking for more easy dessert ideas, you might also like these best greek yogurt blueberry muffins for a lighter treat.
If you make this, drop a comment and let me know what you think! I love hearing how recipes turn out in your kitchen. And if something doesn’t work, tell me that too—I’m here to help troubleshoot.
Happy cooking! And I hope your kitchen smells half as good as mine does right now.
Frequently Asked Questions
Can I use a different nut instead of hazelnuts?
Yes! Pecans, walnuts, or almonds work well. Hazelnuts are traditional and pair best with Nutella, but pecans add a nice buttery flavor. Just toast them first for the best taste.
Why did my cheesecake not set?
Usually, this means it didn’t chill long enough. No-bake cheesecakes rely on the cream cheese and whipped cream to firm up in the cold. Give it at least 4 hours, preferably overnight. Also, make sure your cream cheese was fully softened and mixed smoothly.
Can I make this ahead for a party?
Absolutely. This is best made a day ahead. The flavors meld together, and it’s easier to slice after it’s fully chilled. You can make it up to 2 days in advance.
Why did my Nutella topping crack?
This can happen if the topping was too thick or if the cheesecake moved while setting. Make sure the Nutella is thinned enough to spread smoothly. Also, avoid moving the pan while it’s in the fridge.
Can I use light cream cheese?
I wouldn’t recommend it. Light cream cheese has more water and less fat, which can make the filling runny and less creamy. Full-fat is the way to go for this recipe.
How do I store leftovers?
Keep it in the springform pan, covered tightly with plastic wrap, in the fridge for up to 5 days. It’s best eaten within 2-3 days for optimal texture.
Can I freeze this cheesecake?
Yes, you can freeze it for up to 1 month. Wrap it tightly in plastic wrap and foil. Thaw in the fridge overnight. The texture might be slightly softer, but it’s still delicious.
Pin This Recipe!
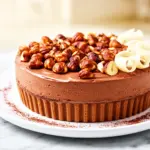
No-Bake Nutella Cheesecake: Easiest Dessert Recipe
- Total Time: 4 hours 20 minutes
- Yield: 12 servings 1x
Description
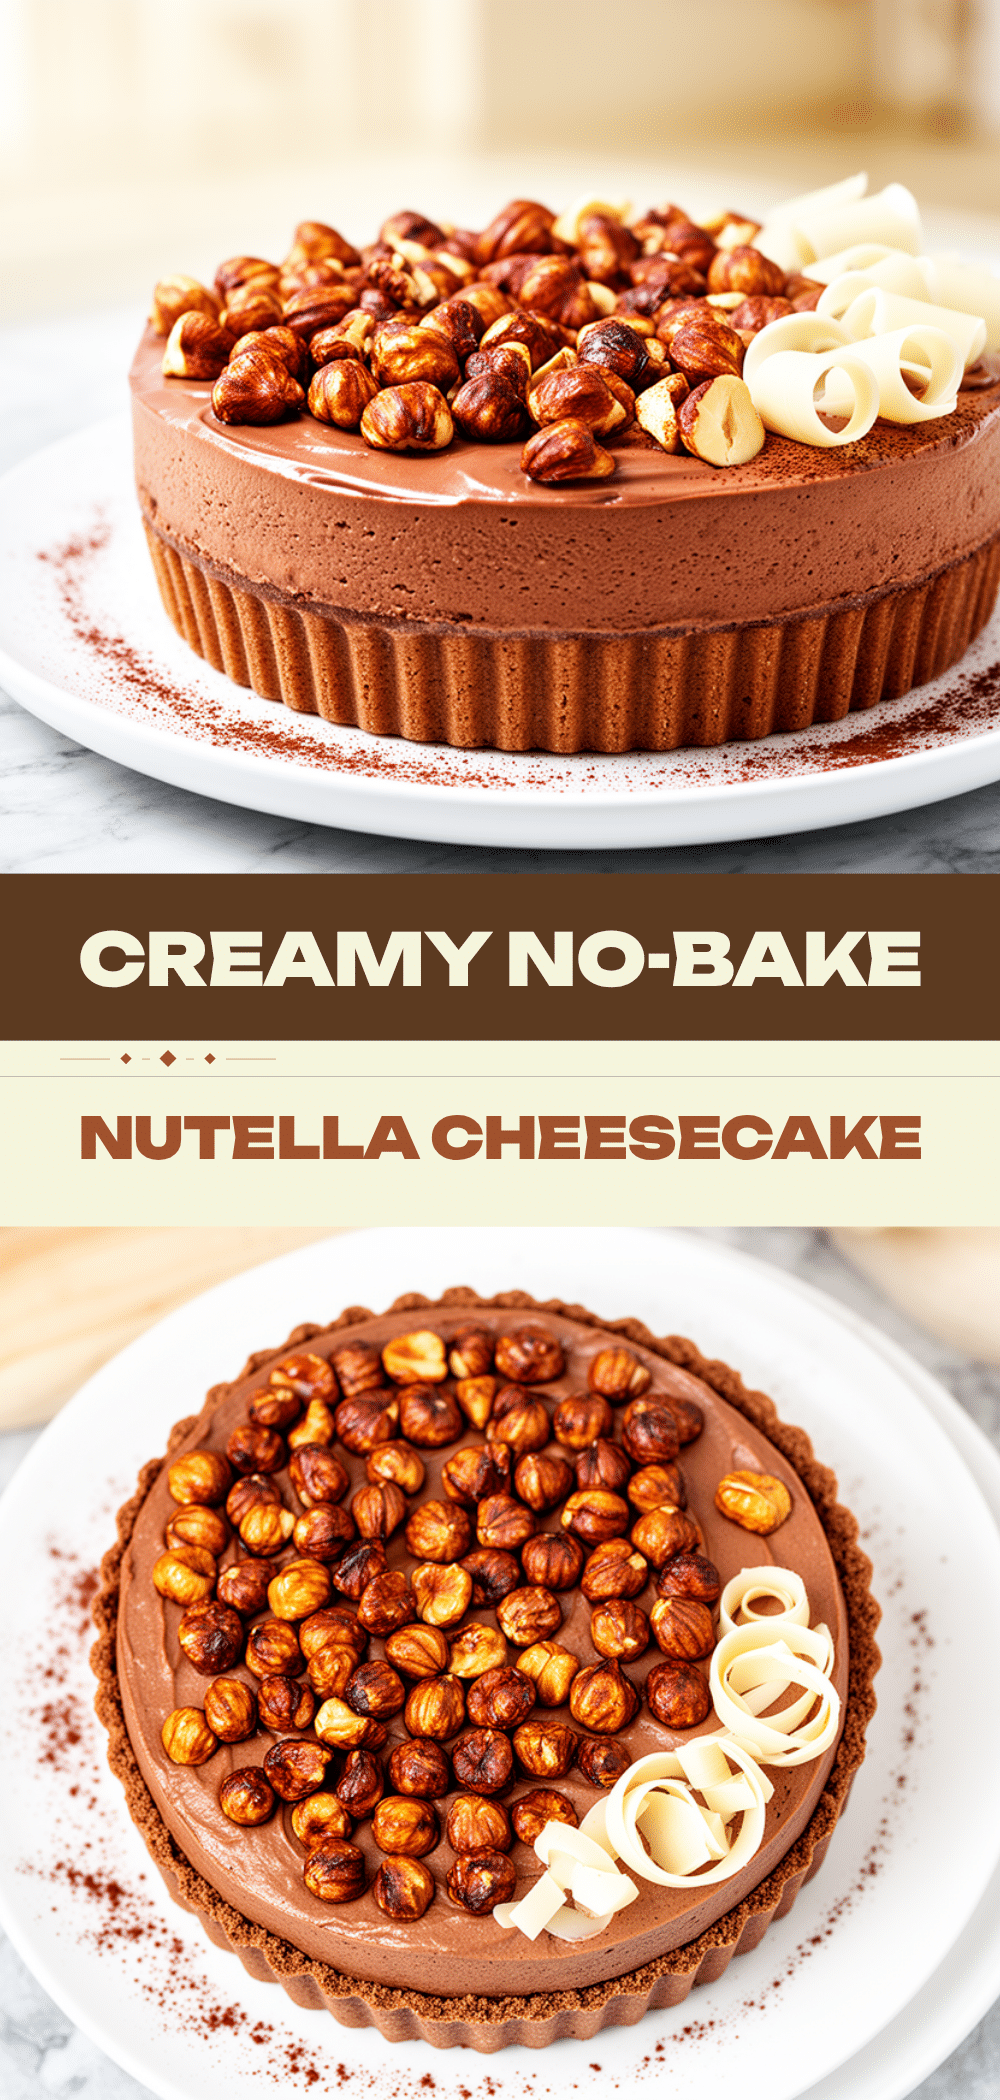
A rich, creamy, and sophisticated no-bake cheesecake featuring a crunchy hazelnut crust, a smooth cream cheese filling, and a glossy Nutella topping. It requires zero baking and is perfect for make-ahead entertaining.
Ingredients
- 2 cups (200g) vanilla wafers or graham crackers, finely crushed
- 6 tablespoons (85g) unsalted butter, melted
- 2 tablespoons (25g) granulated sugar
- 1/2 cup (50g) finely chopped hazelnuts, toasted
- 16 oz (450g) full-fat cream cheese, softened
- 1 cup (240ml) heavy cream, cold
- 1/2 cup (60g) powdered sugar
- 1 teaspoon vanilla extract
- 1 cup (270g) Nutella
- 2 tablespoons (30ml) heavy cream
- 1/4 cup (25g) whole hazelnuts, toasted and roughly chopped (for garnish)
Instructions
- Toast raw hazelnuts in a dry skillet over medium heat for 5 minutes until fragrant. Let cool and chop roughly.
- Crush cookies into fine crumbs using a food processor or rolling pin. Mix with melted butter, granulated sugar, and 1 tablespoon of chopped hazelnuts.
- Press the crust mixture firmly into the bottom of a 9-inch springform pan using the bottom of a glass.
- In a large cold bowl, whip heavy cream, powdered sugar, and vanilla extract until stiff peaks form.
- In a separate bowl, beat softened cream cheese until smooth. Gradually fold in the whipped cream mixture until just combined.
- Pour the cheesecake filling over the crust and smooth the top. Tap the pan to remove air bubbles.
- Cover and refrigerate for at least 4 hours, preferably overnight, until set.
- Warm Nutella slightly in the microwave (10-15 seconds) and mix with 2 tablespoons of heavy cream until smooth.
- Spread the Nutella topping over the chilled cheesecake, letting it drip slightly down the sides.
- Garnish with remaining chopped hazelnuts. Slice with a warm knife and serve chilled.
Notes
Ensure cream cheese is fully softened to avoid lumps. Keep heavy cream, bowl, and beaters cold for proper whipping. Toasting hazelnuts enhances flavor. The cheesecake tastes better after chilling overnight. For clean slices, dip a sharp knife in hot water and wipe dry before cutting.
- Prep Time: 20 minutes
- Cook Time: 0 minutes
- Category: Dessert
- Cuisine: American
Nutrition
- Serving Size: 1 slice
- Calories: 380
- Sugar: 28
- Sodium: 180
- Fat: 24
- Saturated Fat: 12
- Carbohydrates: 35
- Fiber: 2
- Protein: 6
Keywords: no-bake cheesecake, Nutella dessert, hazelnut crust, easy dessert, make-ahead dessert, gluten-free option, chocolate hazelnut