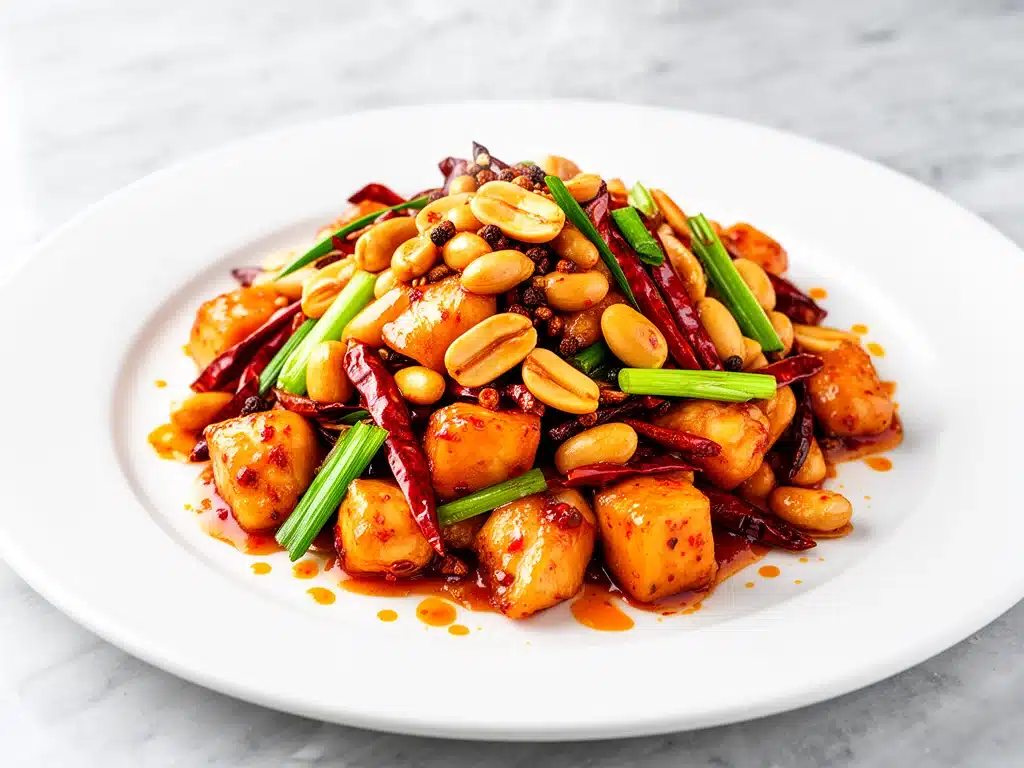
It’s 6:30 PM on a Tuesday. I’m standing in my kitchen, staring into the open fridge like it holds the secrets to the universe. Inside, there’s a sad-looking bell pepper, a chicken breast that’s been marinating since lunch (probably), and a jar of doubanjiang that I bought three years ago and have been too intimidated to open. I’m tired. I don’t want to order takeout—again. I don’t want to wash a mountain of dishes. But I also don’t want cereal for dinner. Not even the fancy kind with honey.
This is the exact moment I discovered why most home cooks fail at Kung Pao chicken. It’s not the spice level. It’s not the wok hei (smoky flavor). It’s the sauce. Or rather, the lack of a properly balanced sauce.
For years, I tried to recreate the Kung Pao chicken from my favorite local Chinese restaurant. I’d buy the packets. I’d try to make the sauce from scratch. I’d use too much vinegar. I’d use too little sugar. I’d overcook the peanuts until they were bitter bricks. I’d end up with something that tasted like sweet-and-sour chicken with a headache.
Then, about two years ago, I had a realization while eating at a tiny, hole-in-the-wall spot in Chinatown. The owner, an elderly woman with hands like iron, told me something simple: “The sauce is the soul. The chicken is just the vehicle.” She didn’t use a packet. She didn’t use fancy spices. She used pantry staples, but she balanced them with surgical precision.
So, I went home. I tested this Restaurant-Style Kung Pao Chicken recipe about fifteen times. I burned the garlic twice. I over-salted it once (oops). I used the wrong type of rice vinegar. But eventually, I got it. I got that perfect balance of savory, spicy, sweet, and tangy that hits you the moment you take the first bite. The chicken is tender and silky. The peanuts are crunchy. The sauce clings to every piece. And the best part? It takes less time than it takes to scroll through DoorDash.
This isn’t just a recipe. It’s my lifeline on busy weeknights. It’s better than takeout, cheaper than delivery, and honestly? It’s easier than making creamy crockpot sausage and peppers because there’s no waiting for a slow cooker. You just chop, toss, and stir-fry. Let me show you how to make it.
Why You’ll Love This Kung Pao Chicken Recipe
Look, I get it. You’re busy. You have a job. You have kids (or pets, or a life). You need dinner to happen fast, taste incredible, and not leave you feeling like you just ate a brick. This Restaurant-Style Kung Pao Chicken checks every single box. Here’s why it’s now permanently in my weekly rotation:
It’s Faster Than Takeout — Seriously. From the moment I pull the chicken out of the fridge to the moment I’m plating it, it’s 20 minutes. Maybe 25 if I’m being lazy and chopping slowly. That’s it. No preheating a massive oven. No waiting for a delivery driver who is currently lost in traffic.
The Sauce is Addictive — I’m not exaggerating. This sauce is the kind you want to drink with a spoon. It’s got that perfect umami punch from the soy and doubanjiang, balanced by the sweetness of sugar and the tang of vinegar. It’s complex, but it’s also simple. You’ll find yourself spooning it over rice like it’s gravy.
Pantry-Friendly Ingredients — You probably already have 90% of this in your kitchen. Chicken? Check. Peanuts? Check. Soy sauce? Check. The only things you might need to run out for are dried red chilies and Sichuan peppercorns (if you want that authentic numbing sensation). But even those are easy to find now. And if you don’t have them? It still tastes amazing.
It’s Customizable Heat — One of my favorite things about this Restaurant-Style Kung Pao Chicken recipe is that you control the spice. Want mild? Use fewer chilies. Want to cry? Add more. I make it medium-hot for my husband, but I add an extra teaspoon of chili flakes for myself. It’s the perfect weeknight meal because it adapts to your mood.
Makes Amazing Leftovers — I know, I know. Some people say stir-fry is better fresh. I disagree. The next day, the flavors have melded together even more. I pack this for lunch at work, and my coworkers think I’m buying expensive Chinese food. (Shh. Don’t tell them.)
This is my go-to when I need dinner to just work. No complicated techniques, no weird ingredients, just reliable, delicious food that makes everyone happy. And if you’re looking for other quick weeknight wins, this pairs perfectly with a simple crispy roasted chickpea and cucumber salad for a lighter, crunchy contrast.
Ingredients You’ll Need for Restaurant-Style Kung Pao Chicken
Here’s the best part: you probably have most of this already. This Restaurant-Style Kung Pao Chicken recipe relies on a few key components, but nothing obscure. I’m particular about three ingredients here, and I’ll tell you exactly why.
For the Chicken
Chicken thighs (1.5 pounds / 680g) — Boneless, skinless. I use thighs because they stay juicy. Breast works, but it dries out faster if you overcook it. Cut into 1-inch cubes. Uniform size is key so they cook evenly.
Shaoxing wine (1 tablespoon / 15ml) — This is Chinese cooking wine. It removes the “gamey” smell from the chicken. If you can’t find it, dry sherry is a fine substitute. Do not skip this. It makes a huge difference.
Light soy sauce (1 tablespoon / 15ml) — For seasoning the chicken. Light soy is saltier but thinner than dark soy. If you only have regular soy sauce, use it, but reduce the salt in the sauce later.
Cornstarch (1 teaspoon / 5g) — This is the secret to “velveting” the chicken. It creates a protective layer that keeps the meat tender and helps the sauce cling. Don’t use flour. Cornstarch is non-negotiable here.
For the Sauce
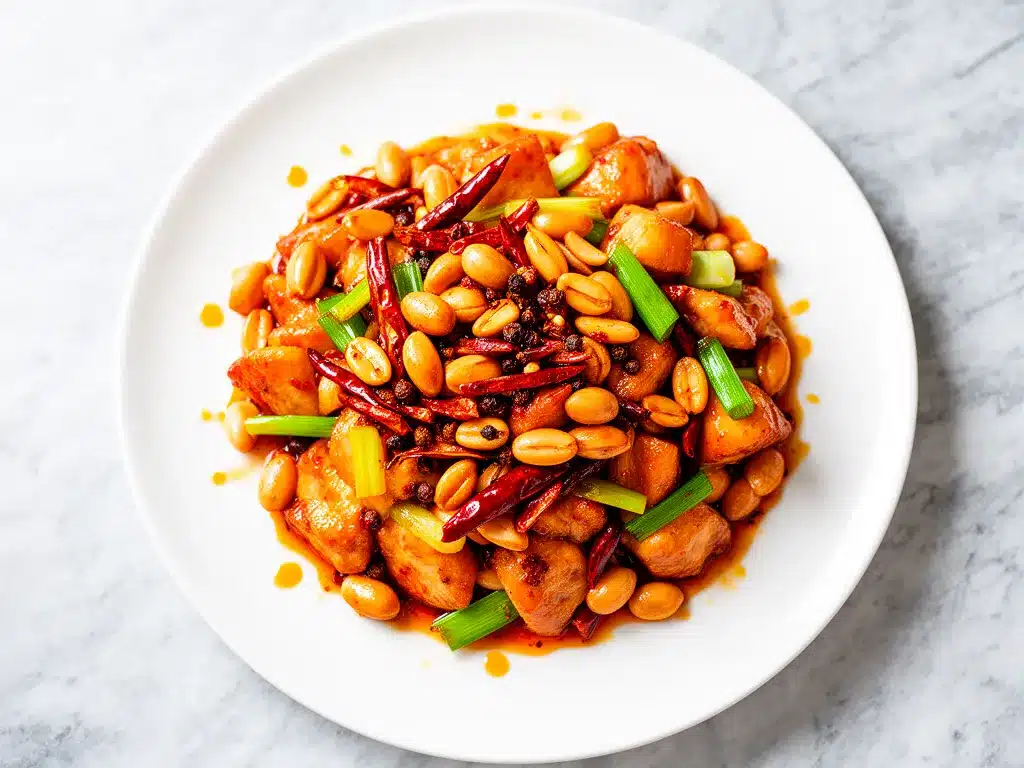
Doubanjiang (Broad Bean Chili Paste) (1 tablespoon / 15g) — This is the soul of the dish. It’s fermented, salty, and spicy. I use Pixian brand. If you can’t find it, you can substitute with a mix of gochujang and miso, but it won’t be authentic. Look for it in the Asian aisle of most grocery stores.
Rice vinegar (2 tablespoons / 30ml) — Use unseasoned rice vinegar. Not the sweet stuff for sushi. The acidity cuts through the richness of the oil and chicken. Chinkiang vinegar is traditional, but regular rice vinegar works fine.
Dark soy sauce (1 teaspoon / 5ml) — This is for color, not salt. It gives the sauce that deep, glossy brown look. If you don’t have it, the sauce will be lighter, but it’ll still taste good.
Sugar (1 tablespoon / 15g) — White sugar is fine. It balances the salt and heat. Adjust to taste if you prefer less sweet.
Chicken broth (2 tablespoons / 30ml) — Adds body to the sauce without making it watery. Low-sodium is best so you can control the salt.
For the Stir-Fry
Vegetable oil (3 tablespoons / 45ml) — Neutral oil with a high smoke point. Canola, grapeseed, or peanut oil. Do not use extra virgin olive oil. It will burn.
Dried red chilies (8-10 whole) — These provide the heat and aroma. I leave the seeds in for more spice. Remove them for mild heat. If you can’t find whole chilies, use 1 teaspoon of crushed red pepper flakes.
Sichuan peppercorns (1 teaspoon / 2g) — Optional, but highly recommended. They give that signature “ma” (numbing) sensation. If you hate numbness, skip them. But try them once. You might love it.
Garlic (4 cloves, minced / about 2 tablespoons) — Yes, four cloves. Don’t skimp. Fresh only. No jarred garlic in this recipe. It tastes metallic and ruins the dish.
Ginger (1 tablespoon, minced / about 10g) — Fresh ginger is essential. It adds warmth and brightness. Grated or finely minced. Don’t use powdered ginger.
Green onions (4 stalks, chopped / about 1 cup) — White parts for cooking, green parts for garnish. They add a fresh, oniony bite that cuts through the heavy sauce.
Roasted peanuts (½ cup / 60g) — Unsalted, unsalted. I buy them raw and roast them myself, but store-bought roasted peanuts work fine. Make sure they’re unsalted, or the dish will be too salty. Cashews work too, but peanuts are traditional.
Celery (2 stalks, diced / about 1 cup) — Optional, but I love it. It adds crunch. If you don’t like celery, use bell peppers or bamboo shoots. But don’t skip the crunch entirely. Texture is important.
Equipment Needed
You don’t need fancy equipment for this. Here’s what I actually use.
Wok or Large Skillet — I use a 14-inch carbon steel wok. It’s lightweight and heats evenly. If you don’t have a wok, a 12-inch cast iron skillet or a large non-stick skillet works fine. The key is having enough surface area so the chicken doesn’t steam. Crowding the pan is the enemy of good stir-fry.
Sharp Knife — For chopping chicken, garlic, and ginger. A dull knife makes you cry more—learned this the hard way with a bad onion last year.
Cutting Board — Any size works. I use plastic for easier cleanup. Just make sure it’s stable so it doesn’t slide around.
Wooden Spoon or Spatula — For stirring. Silicone works too. Don’t use metal on non-stick. I prefer a flat spatula for tossing ingredients.
Small Bowls — For mise en place. I measure all my sauce ingredients into one small bowl before I start cooking. This is crucial because stir-frying moves fast. You don’t have time to measure while the oil is smoking.
Measuring Spoons — Pretty standard stuff. Dollar store versions work fine. Just make sure they’re accurate.
Optional but nice:
- Chopsticks — If you can use them, they’re faster than a spoon for stirring. I’m still learning, so I use a spoon.
- Paper Towels — To pat the chicken dry. Moisture is the enemy of searing. Always pat your chicken dry before marinating.
How to Make It: Step-by-Step
Alright, let’s make this! I’m walking you through exactly how I do it, including the little tricks I’ve picked up. This Restaurant-Style Kung Pao Chicken recipe is straightforward, but timing is everything.
Step 1: Prep the Chicken (5 minutes)
Cut the chicken thighs into 1-inch cubes. Place them in a bowl. Add the Shaoxing wine, light soy sauce, and cornstarch. Mix well with your hands or a spoon. Let it marinate while you chop your veggies. The cornstarch will coat the chicken, keeping it tender. If you’re short on time, you can skip the marinating, but it won’t be as juicy.
Step 2: Make the Sauce (2 minutes)
In a small bowl, whisk together the rice vinegar, dark soy sauce, sugar, chicken broth, and 1 teaspoon of soy sauce. Stir until the sugar is dissolved. Set aside. This is your “sauce mix.” Having this ready before you start cooking is non-negotiable. Stir-frying happens in minutes. You don’t want to be measuring vinegar while your garlic burns.
Step 3: Heat the Wok (2 minutes)
Place your wok or skillet over high heat. Let it get hot. This is called “long yan huo” (dragon’s breath fire). You want the pan smoking slightly. Add the vegetable oil and swirl it around to coat the bottom. Wait for the oil to shimmer. If it’s smoking too much, let it cool for 10 seconds.
Step 4: Aromatics First (1 minute)
Reduce heat to medium. Add the dried red chilies and Sichuan peppercorns. Stir-fry for 30 seconds until they smell fragrant. Be careful—they can pop. Add the minced garlic, ginger, and the white parts of the green onions. Stir-fry for another 30 seconds. Do not let the garlic brown. It should just be fragrant. If it burns, it will taste bitter, and the whole dish is ruined. Start over if you have to.
Step 5: Cook the Chicken (4-5 minutes)
Increase heat back to high. Add the chicken cubes in a single layer. Don’t crowd the pan. If you have a small pan, cook in batches. Let the chicken sit for 1 minute without moving it. This creates a nice sear. Then, stir-fry for 3-4 minutes until the chicken is cooked through and slightly browned. The chicken should be opaque and firm. If it’s still pink, cook longer. Don’t rush this step.
Step 6: Add Veggies and Sauce (2 minutes)
Add the diced celery (or bell peppers) and stir-fry for 1 minute. Then, give your sauce mix a quick stir (the cornstarch settles) and pour it into the pan. It will thicken almost immediately. Toss everything together for 30 seconds until the sauce coats the chicken and veggies. The sauce should be glossy and cling to the ingredients, not watery.
Step 7: Finish with Peanuts (1 minute)
Turn off the heat. Add the roasted peanuts and the green parts of the green onions. Toss once more. The residual heat will warm the peanuts without making them soggy. Serve immediately over steamed rice.
Total Time: About 20 minutes (10 minutes active, 10 minutes mostly hands-off)
Built-in Troubleshooting:
- Sauce too thick? Add a splash of water or broth. It should be pourable but thick.
- Sauce too thin? Cook longer. The cornstarch needs time to activate. Or add a tiny bit more cornstarch mixed with water.
- Garlic burning? Remove from heat immediately. Add the chicken to stop the cooking. Next time, lower the heat slightly.
Expert Tips & Tricks
Here’s everything I’ve learned from making this dozens of times. These tips will save you from my mistakes.
Pat the Chicken Dry
This is the #1 tip. Wet chicken steams instead of sears. Use paper towels to pat the chicken cubes dry before marinating. It sounds tedious, but it makes a huge difference in texture. You want a nice brown crust, not gray, steamed chicken.
High Heat is Your Friend
Stir-frying requires high heat. If your pan isn’t hot enough, the food will release moisture and stew in its own juices. Get that pan smoking. If you’re using a home stove, it might not get as hot as a restaurant wok burner. That’s okay, just don’t crowd the pan. Cook in batches if necessary.
Don’t Overcook the Peanuts
Add the peanuts at the very end. If you add them too early, they’ll absorb the sauce and lose their crunch. Crunchy peanuts are essential for the texture contrast. I’ve ruined dishes by adding them with the chicken. Don’t make my mistake.
Use Fresh Ginger and Garlic
Pre-minced garlic and ginger in a jar have a weird, preserved taste. They don’t have the same brightness. Fresh is worth the extra 2 minutes of chopping. It makes the dish taste vibrant and alive.
Balance the Sauce
Taste your sauce before you add it to the pan. It should be a balance of salty (soy), sweet (sugar), and sour (vinegar). If it’s too sour, add more sugar. If it’s too salty, add more vinegar or broth. Adjust to your preference.
Common Mistakes (and how to avoid them):
- Mistake: Chicken is tough. Fix: Don’t overcook it. Chicken thighs cook fast. 4-5 minutes is usually enough. Also, make sure you’re using cornstarch, not flour.
- Mistake: Sauce is watery. Fix: You didn’t let the cornstarch activate. Cook the sauce a bit longer after adding it. Or you added too much liquid. Measure carefully.
- Mistake: Everything is too salty. Fix: Doubanjiang and soy sauce are both salty. Taste before adding extra salt. You can always add more, can’t take it away.
Variations & Substitutions
Once you’ve nailed the basic version, here’s how you can mix it up. I’ve tried all of these.
Vegetarian Kung Pao
Replace the chicken with firm tofu. Press the tofu first, then cube it. Marinate it in soy sauce and cornstarch. Fry the tofu until crispy before adding the aromatics. It works surprisingly well. I serve this to my vegetarian friend, and she loves it.
Shrimp Kung Pao
Use shrimp instead of chicken. Shrimp cooks faster, so add it at the end. Stir-fry for 2-3 minutes until pink. It’s lighter and faster. I make this when I want something less heavy.
Extra Spicy
Add an extra tablespoon of doubanjiang. Or add a teaspoon of chili oil at the end. I make this when I want to feel something. Just be warned: it’s hot.
Mild Version
Remove the seeds from the dried chilies. Use half the amount of doubanjiang. Add a bit more sugar to balance. Great for kids or spice-averse friends.
Different Veggies
I use celery, but you can use bell peppers, zucchini, or bamboo shoots. Just make sure they’re cut into similar sizes to the chicken. I’ve used mushrooms before, but they release water, so cook them separately first.
Dietary Modifications:
- Gluten-Free — Use tamari instead of soy sauce. Make sure your doubanjiang is gluten-free (some brands contain wheat).
- Dairy-Free — This recipe is naturally dairy-free. Just check your doubanjiang for additives.
- Lower-Sodium — Use low-sodium soy broth and reduce the amount of doubanjiang. Add a bit more sugar to compensate.
Serving & Storage
How to Serve
I usually serve this straight from the wok onto a platter, with a mound of steamed jasmine rice in the middle. It looks rustic and inviting. But here are other ways I’ve enjoyed it:
Side Dishes:
- Steamed jasmine rice (obviously)
- A simple hot honey ground beef and sweet potato bowl if you want a different flavor profile for the rest of the meal
- Cucumber salad with vinegar and chili oil
- Steamed bok choy with garlic
Toppings Bar:
When I have guests, I put out: extra crushed peanuts, fresh cilantro, chili oil, and lime wedges. Everyone customizes their bowl.
Storage Instructions
Refrigerator:
Store in an airtight container for up to 3 days. The sauce will thicken in the fridge—totally normal. The flavors actually get better as they meld.
Reheating:
Best method: Add a splash of water or broth to a skillet, add your leftover chicken, and heat gently over medium heat. Stir until heated through. The sauce will loosen up again.
Microwave method: Heat in 30-second intervals, stirring between. Add a splash of water if it’s too thick. It works, but the texture might be slightly softer.
Freezing:
Honestly, this doesn’t freeze well because of the peanuts. They get soggy. The chicken might get a bit dry too. Make it fresh or store in the fridge for up to 3 days.
Nutrition Information
I’m not a nutritionist, but here’s the breakdown if you’re tracking. This is per serving (based on 4 servings).
| Nutrient | Amount |
|---|---|
| Calories | 450 |
| Protein | 35g |
| Carbs | 25g |
| Fiber | 3g |
| Sugar | 8g |
| Fat | 22g |
| Saturated Fat | 4g |
| Sodium | 800mg |
What’s Good:
- High protein from chicken
- Healthy fats from peanuts
- Can add more vegetables to boost fiber
What to Know:
- Higher in sodium from soy sauce and doubanjiang
- Contains nuts
- Moderate carbs from rice (if you serve it over rice)
My Take:
Look, this is restaurant food. It’s got oil, soy sauce, and sugar. It’s not a diet recipe. But it’s way better than takeout, costs less, and I know exactly what’s in it. When I want to make it lighter, I use less oil and more veggies. But usually? I just eat a reasonable portion and enjoy it.
Final Thoughts
So that’s my Restaurant-Style Kung Pao Chicken! I’ve probably talked your ear off at this point, but when you make a recipe this often, you have a lot to say about it.
This has saved weeknight dinners more times than I can count. It’s my answer to “what’s for dinner” when I’m tired, don’t want takeout, and still want something that tastes really good. My kids are happy, my husband’s happy, and I’m happy because I’m not stressed about cooking.
Make it yours! Try different add-ins, swap in your favorite vegetables, adjust the garlic (though more is always better in my opinion). The best recipes are the ones you adapt to your family’s tastes.
If you make this, drop a comment and let me know what you think! I love hearing how recipes turn out in your kitchen. And if something doesn’t work, tell me that too—I’m here to help troubleshoot.
Happy cooking! And I hope your kitchen smells half as good as mine does right now.
Frequently Asked Questions
Can I use chicken breast instead of thighs?
You can, but thighs are better. They stay juicy and don’t dry out as easily. If you use breast, be very careful not to overcook it. It cooks faster than thighs. I’d recommend reducing the cooking time by 1-2 minutes.
What is doubanjiang? Can I substitute it?
Doubanjiang is a fermented broad bean chili paste. It’s salty, spicy, and umami-rich. It’s the key flavor in this dish. If you can’t find it, you can substitute with a mix of gochujang (Korean chili paste) and miso, but it won’t be authentic. I’ve tried it, and it’s okay, but not as good. Look for Pixian brand in Asian markets.
Why did my sauce get clumpy?
This usually happens if the cornstarch in the sauce mix wasn’t stirred before adding it to the pan. Cornstarch settles at the bottom. Always whisk your sauce mix before pouring it in. Also, if the heat was too low, the cornstarch might not have activated properly.
Can I make this ahead for a dinner party?
Sort of. You can prep the chicken and chop all the veggies ahead of time. Store them in separate containers in the fridge. When you’re ready to cook, just stir-fry. The actual cooking takes 10 minutes. I do this all the time to save time during parties.
Why did my sauce turn out watery?
Usually means you didn’t let it simmer long enough to thicken, or you added too much liquid. Let the sauce simmer for a full 1-2 minutes after adding it to the pan. The cornstarch needs time to activate. If it’s already watery, turn up the heat and let it reduce.
Can I use jarred garlic?
You can, but fresh tastes so much better in this recipe. Jarred garlic has a weird metallic taste that really shows up in stir-fries. If you must use it, use half the amount because it’s stronger. But honestly, mincing 4 cloves takes like 2 minutes. Buy pre-peeled garlic cloves if you want to save time.
How do I reheat leftovers without it getting dry?
Add a splash of water or broth to a skillet, add your leftover chicken, and heat gently over low heat, stirring frequently. The extra liquid brings back the creamy texture. Microwave sort of works but tends to dry it out. If you do microwave, definitely add a splash of water first and heat in short bursts, stirring between.
Can I double this recipe?
Absolutely! Double everything and use your biggest wok or skillet. The cooking times stay the same. I do this when I’m meal-prepping or feeding a crowd. Just make sure your pan is big enough for the sauce—you might need to cook in batches to avoid steaming the chicken.
Pin This Recipe!
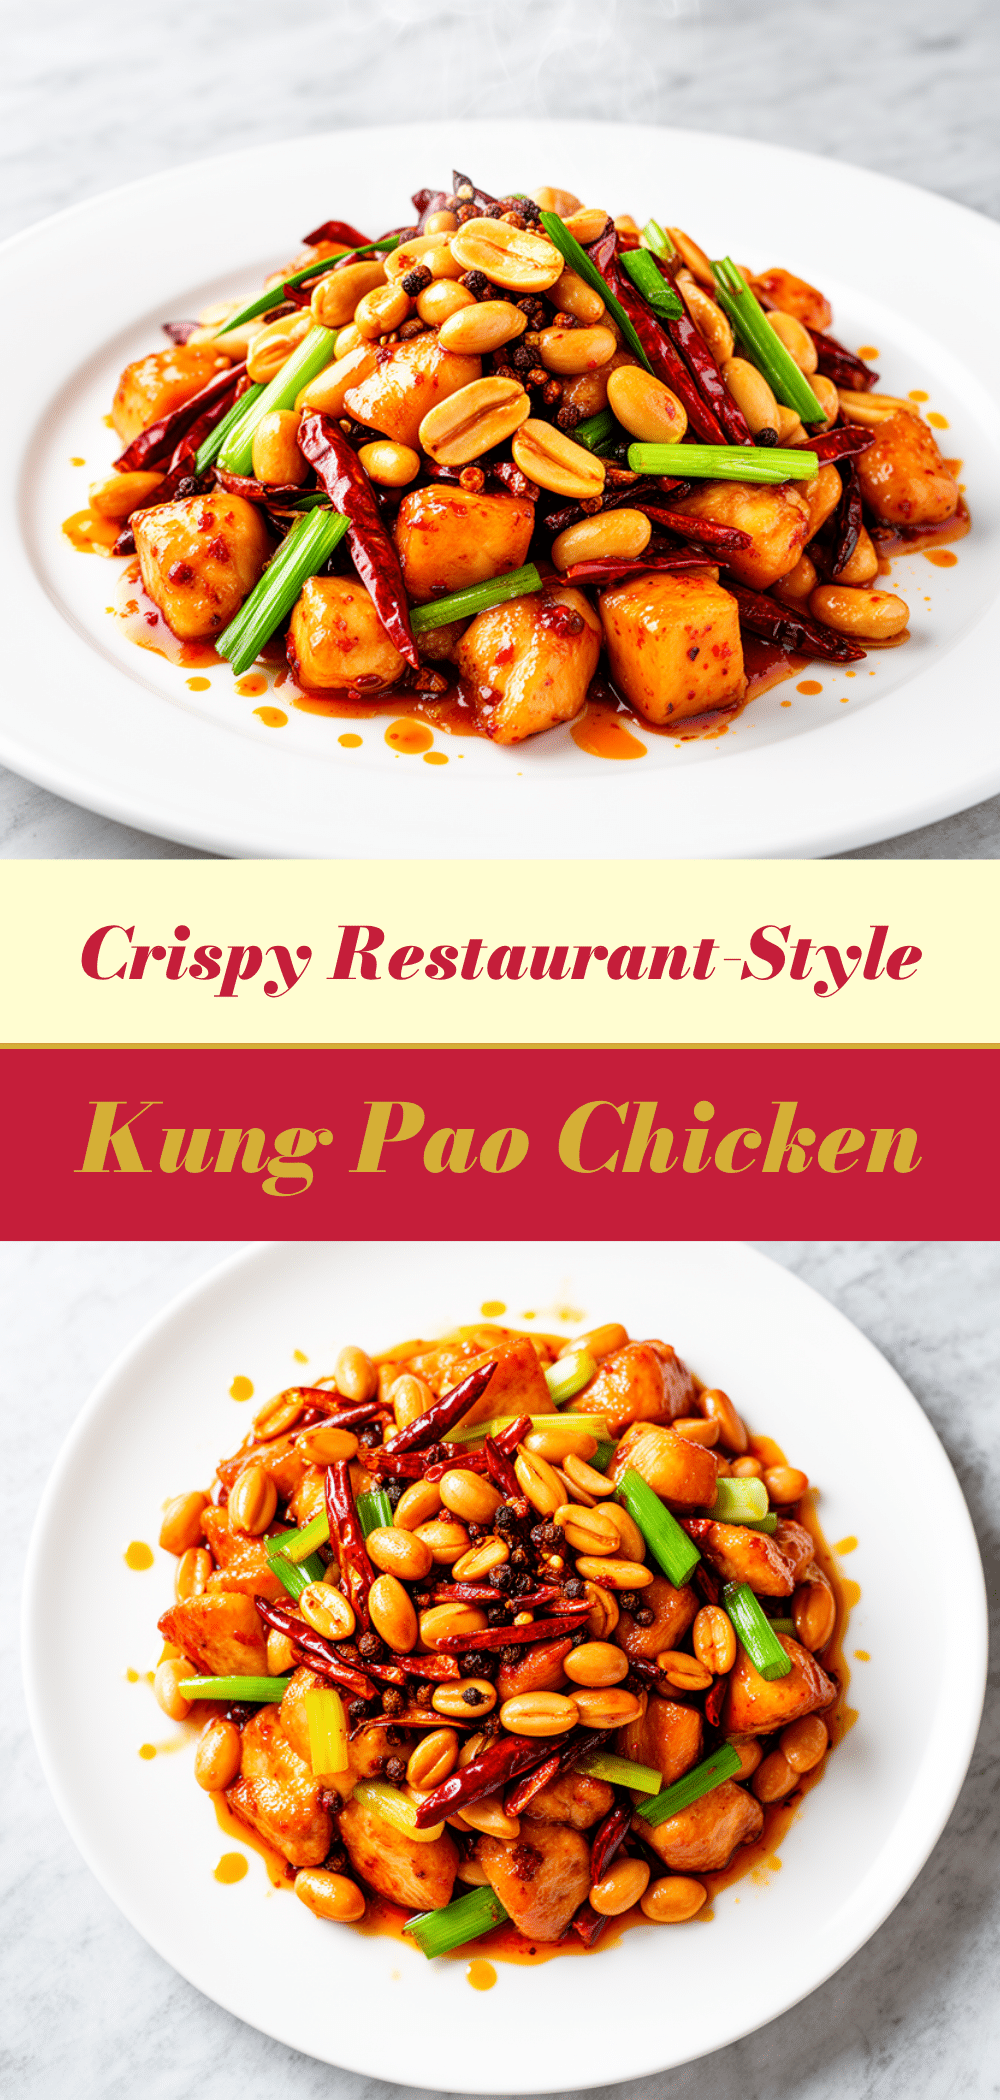
Restaurant-Style Kung Pao Chicken: Best Weeknight Meal
- Total Time: 20 minutes
- Yield: 4 servings 1x
Description
A quick, flavorful, and customizable weeknight dinner that recreates the perfect balance of savory, spicy, sweet, and tangy flavors found in restaurant-style Kung Pao chicken using pantry staples.
Ingredients
- 1.5 pounds boneless, skinless chicken thighs, cut into 1-inch cubes
- 1 tablespoon Shaoxing wine (or dry sherry)
- 1 tablespoon light soy sauce
- 1 teaspoon cornstarch
- 1 tablespoon doubanjiang (broad bean chili paste)
- 2 tablespoons rice vinegar (unseasoned)
- 1 teaspoon dark soy sauce
- 1 tablespoon white sugar
- 2 tablespoons chicken broth (low-sodium)
- 3 tablespoons vegetable oil (neutral oil)
- 8–10 dried red chilies (whole)
- 1 teaspoon Sichuan peppercorns (optional)
- 4 cloves garlic, minced
- 1 tablespoon fresh ginger, minced
- 4 stalks green onions, chopped (white and green parts separated)
- ½ cup roasted unsalted peanuts
- 2 stalks celery, diced (or bell peppers/bamboo shoots)
Instructions
- Cut chicken thighs into 1-inch cubes. In a bowl, mix chicken with Shaoxing wine, light soy sauce, and cornstarch. Let marinate while prepping vegetables.
- In a small bowl, whisk together rice vinegar, dark soy sauce, sugar, chicken broth, and 1 teaspoon of soy sauce until sugar is dissolved. Set aside.
- Heat a wok or large skillet over high heat until smoking slightly. Add vegetable oil and swirl to coat. Wait for oil to shimmer.
- Reduce heat to medium. Add dried red chilies and Sichuan peppercorns. Stir-fry for 30 seconds until fragrant. Add minced garlic, ginger, and white parts of green onions. Stir-fry for another 30 seconds without letting garlic brown.
- Increase heat to high. Add chicken cubes in a single layer (cook in batches if necessary). Let sit for 1 minute to sear, then stir-fry for 3-4 minutes until cooked through and browned.
- Add diced celery and stir-fry for 1 minute. Stir the sauce mix again to redistribute cornstarch, then pour into the pan. Toss everything for 30 seconds until sauce thickens and coats ingredients.
- Turn off heat. Add roasted peanuts and green parts of green onions. Toss once more and serve immediately over steamed rice.
Notes
Pat chicken dry before marinating for better searing. Use fresh ginger and garlic for best flavor. Adjust spice level by changing the amount of chilies or doubanjiang. Do not overcook peanuts; add them at the end to maintain crunch. Sauce should be glossy and cling to ingredients, not watery.
- Prep Time: 10 minutes
- Cook Time: 10 minutes
- Category: Main Course
- Cuisine: Chinese
Nutrition
- Serving Size: 1 serving (approx. 1
- Calories: 450
- Sugar: 8
- Sodium: 800
- Fat: 22
- Saturated Fat: 4
- Carbohydrates: 25
- Fiber: 3
- Protein: 35
Keywords: Kung Pao Chicken, Chinese Stir Fry, Weeknight Dinner, Quick Meals, Spicy Chicken, Restaurant Style, Soy Sauce, Peanuts, Gluten-Free Option



