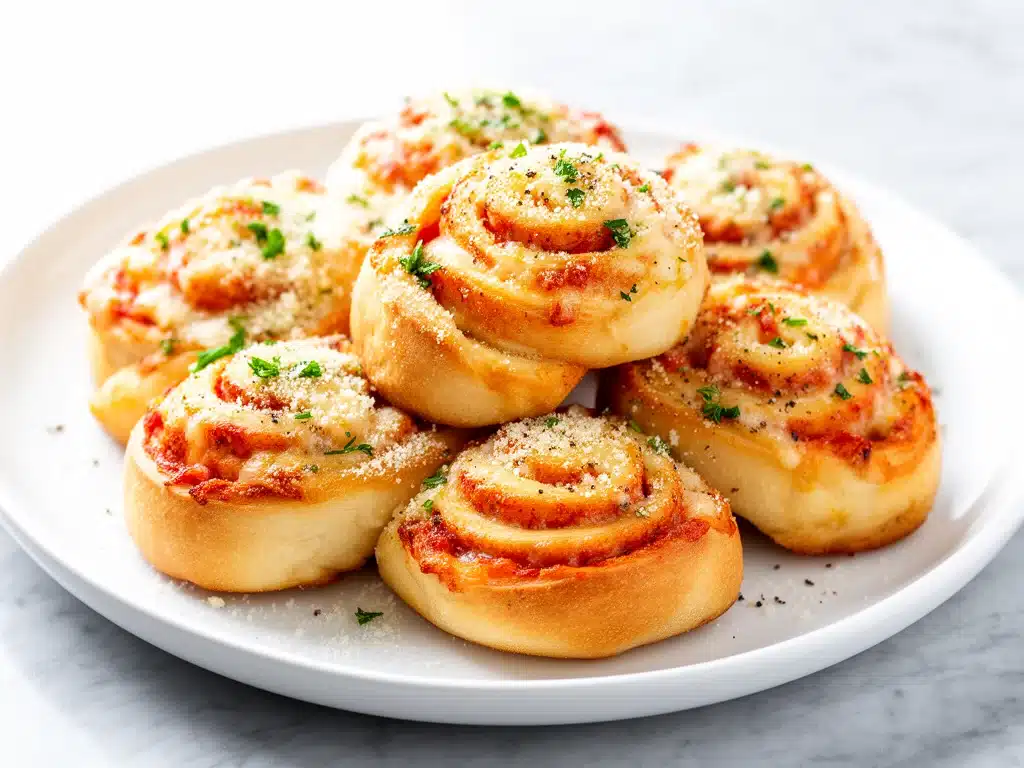
Last Friday night, I was staring at the delivery menu, thumb hovering over the “Order” button. It was one of those weeks where work ran late, my energy was at zero, and the only thing standing between me and a peaceful evening was hunger. I wanted something hot, cheesy, and crispy—something that felt like a treat but didn’t require a 40-minute wait or a $25 bill. So, I did what I always do when I’m too tired to cook but refuse to settle for mediocre food: I raided the pantry and freezer.
I pulled out a package of refrigerated crescent roll dough, some shredded mozzarella, a handful of pepperoni slices, and a tub of parmesan cheese. I wasn’t planning on making dinner. I was planning on making a snack. But when I pulled that baking sheet out of the oven twenty minutes later, the smell was so good my neighbors probably knocked on the door to ask what I was cooking. They were golden brown, bubbling with cheese, and coated in a garlic-parmesan butter that made them addictive in the worst way possible.
I ate three before they cooled down. My husband walked in, saw the empty plate, and gave me a look that said, “You made those?” I nodded. He tried one. Then he ate two more. Then he asked for the recipe. That was the moment I knew I had struck gold. These Crispy Garlic Parmesan Pizza Rolls are better than takeout because they’re faster, cheaper, and honestly? They taste fresher.
I’ve tested this recipe at least a dozen times since that night. I’ve tweaked the dough-to-filling ratio, experimented with different cheeses, and figured out the exact temperature to get that shatteringly crisp exterior without burning the garlic. This isn’t just a snack; it’s my go-to for game days, last-minute dinner parties, or when I need a win in the kitchen. If you’ve been searching for the ultimate appetizer that actually delivers on flavor and texture, you’re in the right place. Let’s make them.
Why You’ll Love This Recipe
There are a million pizza roll recipes out there, but most of them are soggy, bland, or require hours of prep time. This version is different. It’s designed for real life. Here’s why these rolls have completely replaced my takeout habit:
- Stupidly Fast — Seriously, if you can unroll dough and sprinkle cheese, you can make this. From fridge to oven to fork, it takes about 20 minutes. I’ve made these on weeknights after dropping kids at soccer practice. It’s that fast.
- Crispy Exterior, Soft Interior — The secret is in the butter wash. Most people just brush them with oil, but the butter combined with the parmesan creates a golden, crunchy crust that contrasts perfectly with the gooey, molten cheese inside. It’s the best texture combo ever.
- Pantry-Friendly — You probably have 90% of these ingredients already. Crescent rolls (or biscuit dough), mozzarella, pepperoni, butter, garlic, and parmesan. If you have those, you have dinner or a party appetizer ready to go.
- Crowd-Pleaser — I’ve served these to picky toddlers, foodie friends, and my husband’s college buddies. Everyone loves them. They’re familiar comfort food with an elevated twist. Plus, they disappear fast, so you’ll definitely need to make a double batch.
- Budget-Smart — This recipe costs about $8 to make and feeds 4-6 people generously. That’s less than the cost of a single large pizza delivery, plus you’re saving the tip. Win-win.
This is my go-to when I need dinner to just work. No complicated techniques, no weird ingredients, just reliable, delicious food that makes everyone happy. And the best part? You get to control the quality of the ingredients. No weird preservatives, just real cheese and real garlic.
Ingredients You’ll Need
Here’s the best part: you probably have most of this already. This recipe relies on simple, accessible ingredients, but a few of them make a huge difference in the final result. I’m particular about the cheese and the butter, so pay attention to those notes.
For the Dough and Filling
Crescent Roll Dough (1 can, 8 oz) — I use the standard refrigerated tub. Some people swear by homemade dough, but honestly, the canned dough has a flakiness that works perfectly for these. Just make sure it’s not expired. If you can’t find crescent rolls, flaky biscuits work too, but the shape will be different.
Shredded Mozzarella Cheese (1 cup / 100g) — Use low-moisture, part-skim mozzarella. Pre-shredded cheese is fine if you’re in a rush, but block cheese that you shred yourself melts better and less grainy. I buy a block and shred it while I watch TV. It’s worth the 2 minutes.
Pepperoni Slices (15-20 slices) — Thinly sliced pepperoni is key. If you use thick-cut deli pepperoni, it won’t roll up nicely. I like the cup-and-char style pepperoni because it crisps up in the oven and adds a salty punch. If you’re not a fan of pepperoni, cooked Italian sausage or diced ham works great too.
Italian Seasoning (1 teaspoon) — This adds that classic pizza flavor. If you don’t have it, mix dried oregano, basil, and thyme. Fresh herbs don’t work here because they’ll burn or make the dough soggy.
For the Garlic Parmesan Butter Wash
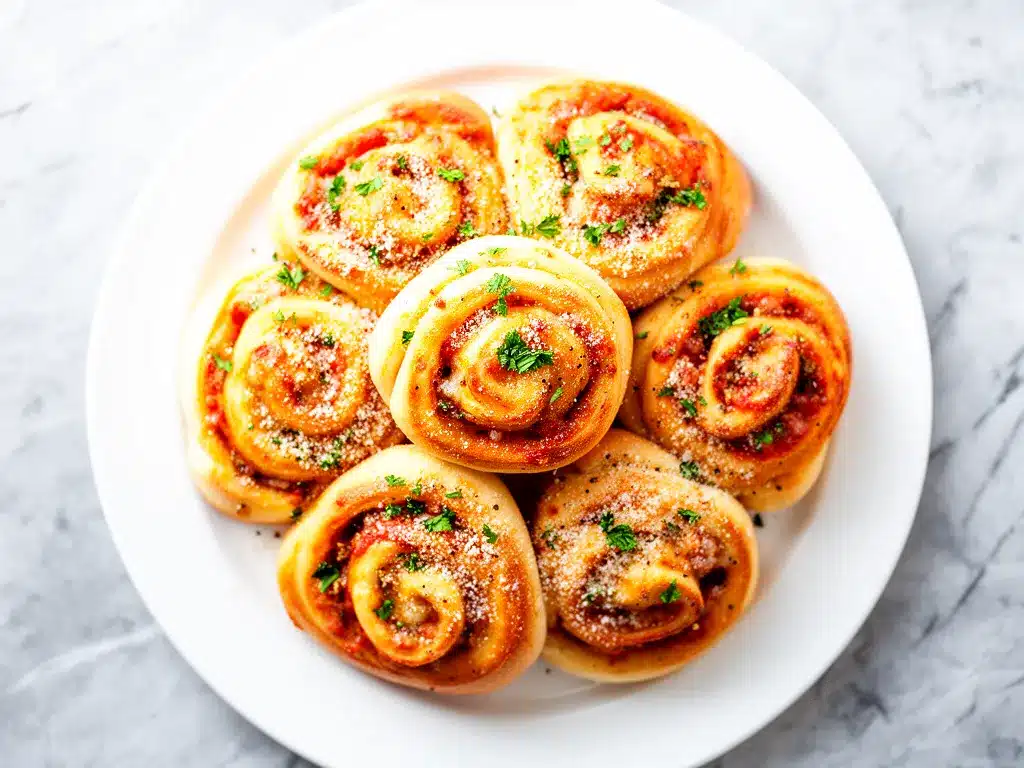
Unsalted Butter (4 tablespoons / 60g) — Melted. Use good quality butter here. This is where the flavor happens. I use European-style butter if I have it because it’s richer, but regular unsalted works perfectly. Don’t use margarine—it doesn’t crisp up the same way.
Garlic (3 cloves, minced) — Fresh garlic only. No jarred stuff. The raw garlic in the butter cooks in the oven, creating a savory, aromatic coating. If you’re sensitive to garlic, you can reduce to 2 cloves, but 3 is the sweet spot for me.
Grated Parmesan Cheese (½ cup / 50g) — Freshly grated is best. The pre-grated shaker kind has cornstarch in it that prevents it from melting smoothly. Buy a wedge of parmesan and grate it yourself. It takes a minute and makes a huge difference in the flavor profile.
Dried Parsley (1 teaspoon) — For color and a fresh, herbal note. It’s optional but recommended because it breaks up the richness of the cheese and butter. Fresh parsley doesn’t hold up well in the oven, so stick to dried.
Red Pepper Flakes (½ teaspoon, optional) — If you like a little heat, add these to the butter wash. It adds a nice kick that cuts through the fat. I always add this because my family loves a little spice.
Dipping Sauces
Marinara Sauce (1 cup) — Warm it up before serving. Don’t serve it cold; it’s weird with hot rolls. I usually just microwave it for 30 seconds. You can also use ranch dressing or garlic aioli if you’re feeling fancy.
Equipment Needed
You don’t need fancy equipment for this. Here’s what I actually use:
Baking Sheet — A standard 13×9 inch sheet pan works best. I line it with parchment paper for easy cleanup, but you can use a silicone mat or just grease the pan well. The butter wash is sticky if you don’t line it.
Small Saucepan or Microwave-Safe Bowl — For melting the butter. I use a small saucepan on the stove because I can control the heat better, but a bowl in the microwave works too. Just don’t let the butter boil.
Pastry Brush — For brushing the butter wash over the rolls. Silicone brushes are easier to clean than bristle ones. If you don’t have one, a fork works in a pinch, but a brush gives you even coverage.
Small Bowl — For mixing the garlic, parmesan, and butter. Any small bowl will do.
Sharp Knife — Not really needed for this recipe, but good to have if you’re chopping the garlic. I use my microplane to grate the garlic cloves directly into the butter. It’s faster and gives you a fine mince.
Parchment Paper — Highly recommended. Cleanup is so much easier, and the rolls won’t stick. I’ve lost rolls to stuck-on cheese before, and it’s not fun.
How to Make It: Step-by-Step
Alright, let’s make this! I’m walking you through exactly how I do it, including the little tricks I’ve picked up over the years.
Step 1: Prep Your Oven and Pan (5 minutes)
Preheat your oven to 375°F (190°C). This temperature is crucial. If it’s too low, the rolls will be doughy. If it’s too high, the garlic will burn before the dough is cooked. Line your baking sheet with parchment paper. I don’t grease the pan because the butter wash is plenty oily, but if you’re worried about sticking, add a light spray of cooking oil.
Step 2: Prepare the Dough (5 minutes)
Unroll the crescent dough onto a clean surface. It will have perforations. Press the seams together firmly. I know the instructions say to separate them, but for pizza rolls, you want a continuous sheet so you can roll them up tightly. If there are any tears, just patch them with a bit of dough. Trim the edges if they’re too jagged, but it’s not necessary. The dough should be a rough rectangle.
Step 3: Add the Filling (5 minutes)
Spread the shredded mozzarella evenly over the dough, leaving a ½-inch border around the edges. Don’t overload it with cheese, or it’ll leak out and burn. Sprinkle the pepperoni slices over the cheese. You don’t need to layer them; just scatter them. Sprinkle the Italian seasoning over everything. This ensures every bite has flavor.
Step 4: Roll Them Up (5 minutes)
Starting from one of the long sides, tightly roll the dough up into a log. Use your fingers to press the seam shut. Once you have a log, use a sharp knife to slice it into 8-10 equal pieces. I like to use a serrated knife because it cuts through the dough without squishing it. Place the rolls seam-side down on the prepared baking sheet. Leave about an inch between each roll so they can expand and crisp up.
Step 5: Make the Garlic Parmesan Butter (2 minutes)
While the rolls are prepping, melt the butter in a small saucepan or bowl. Once melted, stir in the minced garlic, grated parmesan, dried parsley, and red pepper flakes. Mix it well. The parmesan will dissolve slightly into the butter, creating a thick, savory paste. This is the magic part.
Step 6: Brush and Bake (15 minutes)
Generously brush the garlic parmesan butter over the top of each roll. Get into the crevices. You want every nook and cranny coated. Bake for 12-15 minutes, or until the rolls are golden brown and puffed up. I rotate the pan halfway through for even browning. The rolls are done when the dough is cooked through (no raw dough taste) and the cheese is bubbling. Keep an eye on them in the last few minutes because oven temperatures vary.
Step 7: Serve Immediately
Let them cool for 2-3 minutes on the pan. They’ll be extremely hot inside. Serve warm with marinara sauce for dipping. They’re best eaten fresh out of the oven, but leftovers are okay too (though they lose some crispness).
Expert Tips & Tricks
Here’s everything I’ve learned from making this dozens of times. These tips will save you from my mistakes.
Don’t Skip the Parchment Paper
I’ve learned this the hard way. The butter and cheese mixture is sticky. If you don’t use parchment, you’ll be scraping burnt cheese off your pan. Parchment makes cleanup a breeze. Just toss it in the recycling bin after you’re done.
Keep the Rolls Tight
If your rolls are loose, the filling will spill out. Roll them as tightly as you can. If the dough is too dry, it might crack. Let it sit at room temperature for 5 minutes before rolling if it’s stiff. Cold dough is harder to work with.
Use Low-Moisture Cheese
Fresh mozzarella balls are too wet. They’ll make the dough soggy. Use the bagged shredded mozzarella or shred a block of low-moisture mozzarella yourself. This ensures a gooey, stretchy melt without the water content.
Don’t Overcrowd the Pan
Give the rolls space. If they’re touching, they’ll steam instead of bake. They need air circulation to get that crispy exterior. If you’re making a double batch, use two pans or bake in two waves.
The Garlic Ratio
3 cloves of garlic is perfect for 4 tablespoons of butter. If you love garlic, go to 4 cloves. But don’t go overboard, or the garlic will burn. The butter protects the garlic a bit, but fresh garlic cooks fast.
Pro Trick: Add the Parmesan Twice
I mix half the parmesan into the butter wash and sprinkle the rest on top of the rolls before baking. This creates a double layer of cheesy crust. It’s a small tweak that makes a big difference.
Variations & Substitutions
Once you’ve nailed the basic version, here’s how you can mix it up. I’ve tried all of these.
Veggie Loaded
Sauté some chopped spinach, mushrooms, and onions before adding them to the dough. Let them cool completely first, or the moisture will make the dough soggy. This is my favorite way to sneak in vegetables.
Hawaiian Pizza Rolls
Swap the pepperoni for diced ham and add crushed pineapple (drained very well). Add a sprinkle of cheddar cheese. It’s sweet, salty, and delicious. Just make sure the pineapple is dry, or it’ll leak.
BBQ Chicken Rolls
Use shredded cooked chicken, BBQ sauce (brushed lightly on the dough), and cheddar cheese. Top with green onions after baking. This is a great way to use up leftover chicken.
Supreme Pizza Rolls
Add black olives, green peppers, and sausage along with the pepperoni. It’s like a full pizza in roll form. Just chop everything finely so it rolls easily.
Dairy-Free Option
Use vegan butter and vegan cheese shreds. The texture won’t be exactly the same, but it still works. I’ve made this for my lactose-intolerant friend, and she loved them.
Gluten-Free Option
Use gluten-free crescent roll dough or gluten-free biscuits. The cooking time might be slightly different, so keep an eye on them. Most gluten-free doughs bake faster.
Serving & Storage
These are best served immediately while hot and crispy. But if you have leftovers (unlikely, but possible), here’s how to handle them.
How to Serve
I usually serve these straight from the baking sheet with small bowls of warm marinara sauce for dipping. Add a side of ranch or garlic aioli for variety. They pair well with a simple green salad or roasted vegetables. They’re also great with a cold beer or sparkling water.
Storage
Store leftovers in an airtight container in the refrigerator for up to 3 days. The dough will soften over time, so they won’t be as crispy. To reheat, put them in a 350°F oven for 5-7 minutes to crisp them back up. The microwave will make them chewy and soft, which is okay but not ideal.
Freezing
You can freeze unbaked rolls. Place them on a baking sheet and freeze until solid, then transfer to a freezer bag. Bake from frozen, adding 2-3 minutes to the cooking time. I do this when I’m meal prepping for parties. They thaw and bake beautifully.
Pro Tip
If you’re serving these at a party, make them 15 minutes before guests arrive. They stay warm and crispy for about 10-15 minutes on the counter. If they start to cool, pop them back in the oven for 2 minutes.
Nutrition Information
I’m not a nutritionist, but here’s the breakdown if you’re tracking. This is comfort food, so it’s not diet food, but it’s manageable.
Per Serving (based on 8 rolls, 1 roll per serving):
| Calories | 280 |
| Protein | 12g |
| Carbs | 22g |
| Fiber | 1g |
| Sugar | 2g |
| Fat | 18g |
| Saturated Fat | 8g |
| Cholesterol | 35mg |
| Sodium | 450mg |
What’s Good:
- Decent protein from cheese and pepperoni.
- Calcium from the cheese.
- Easy to customize with veggies to boost nutrition.
What to Know:
- Higher in calories from butter and cheese.
- Contains gluten and dairy.
- Sodium can be high depending on the pepperoni brand.
My Take:
Look, these are a treat. They’re not a salad. But they’re way better than takeout, and you control the ingredients. When I want to make them lighter, I use less butter and more veggies. But usually? I just eat two or three and enjoy them.
Final Thoughts
So that’s my go-to Crispy Garlic Parmesan Pizza Rolls! I’ve probably talked your ear off at this point, but when you make a recipe this often, you have a lot to say about it. These rolls have saved me more times than I can count. They’re my answer to “what’s for snack?” when I’m tired, don’t want takeout, and still want something that tastes really good. My kids are happy, my husband’s happy, and I’m happy because I’m not stressed about cooking.
Make it yours! Try different add-ins, swap in your favorite vegetables, adjust the garlic (though more is always better in my opinion). The best recipes are the ones you adapt to your family’s tastes. If you make this, drop a comment and let me know what you think! I love hearing how recipes turn out in your kitchen. And if something doesn’t work, tell me that too—I’m here to help troubleshoot.
Happy cooking! And I hope your kitchen smells half as good as mine does right now.
Frequently Asked Questions
Can I use homemade pizza dough instead of crescent rolls?
You can, but the texture will be different. Crescent rolls give you that flaky, layered exterior that’s addictive. Homemade dough will give you a breadier, softer roll. If you want to use homemade dough, roll it out thin, add the filling, roll it up, and slice it. Just keep an eye on the baking time—it might take a few minutes longer.
Why did my rolls spread out and lose their shape?
This usually happens if the dough was too warm or if you didn’t seal the seam well. Make sure you press the edges firmly. Also, don’t overfill them. If there’s too much cheese, it’ll push the roll apart. Keep the filling layer thin and even.
Can I make these ahead of time and bake later?
Yes! You can assemble the rolls, place them on the baking sheet, and cover them with plastic wrap. Refrigerate for up to 24 hours. When you’re ready to bake, take them out and let them sit at room temperature for 10 minutes while you preheat the oven. Then brush with butter and bake as usual. You might need to add 1-2 minutes to the baking time.
Why did my garlic burn in the oven?
Garlic burns easily because it’s small and dry. If you’re using fresh minced garlic, make sure it’s diluted in the butter. Don’t put large chunks of garlic on top. Also, keep an eye on the oven. If your oven runs hot, check the rolls at 10 minutes instead of 12. The butter protects the garlic, but it’s not foolproof.
Can I freeze the unbaked rolls?
Absolutely. This is my favorite trick for parties. Assemble the rolls, place them on a baking sheet, and freeze until solid (about 1 hour). Then transfer to a freezer bag. Bake from frozen, adding 2-3 minutes to the cooking time. They come out crispy and delicious.
What dipping sauce goes best with these?
Marinara is the classic choice. But ranch, garlic aioli, and even hot honey work great. I like to serve a variety so everyone can choose. For a fun twist, try a spicy marinara or a truffle ranch.
Can I use cheddar cheese instead of mozzarella?
You can, but cheddar doesn’t melt as stretchy. It’s more crumbly. A mix of mozzarella and cheddar works well if you want the flavor of cheddar with the melt of mozzarella. I usually use a 50/50 mix.
Pin This Recipe!
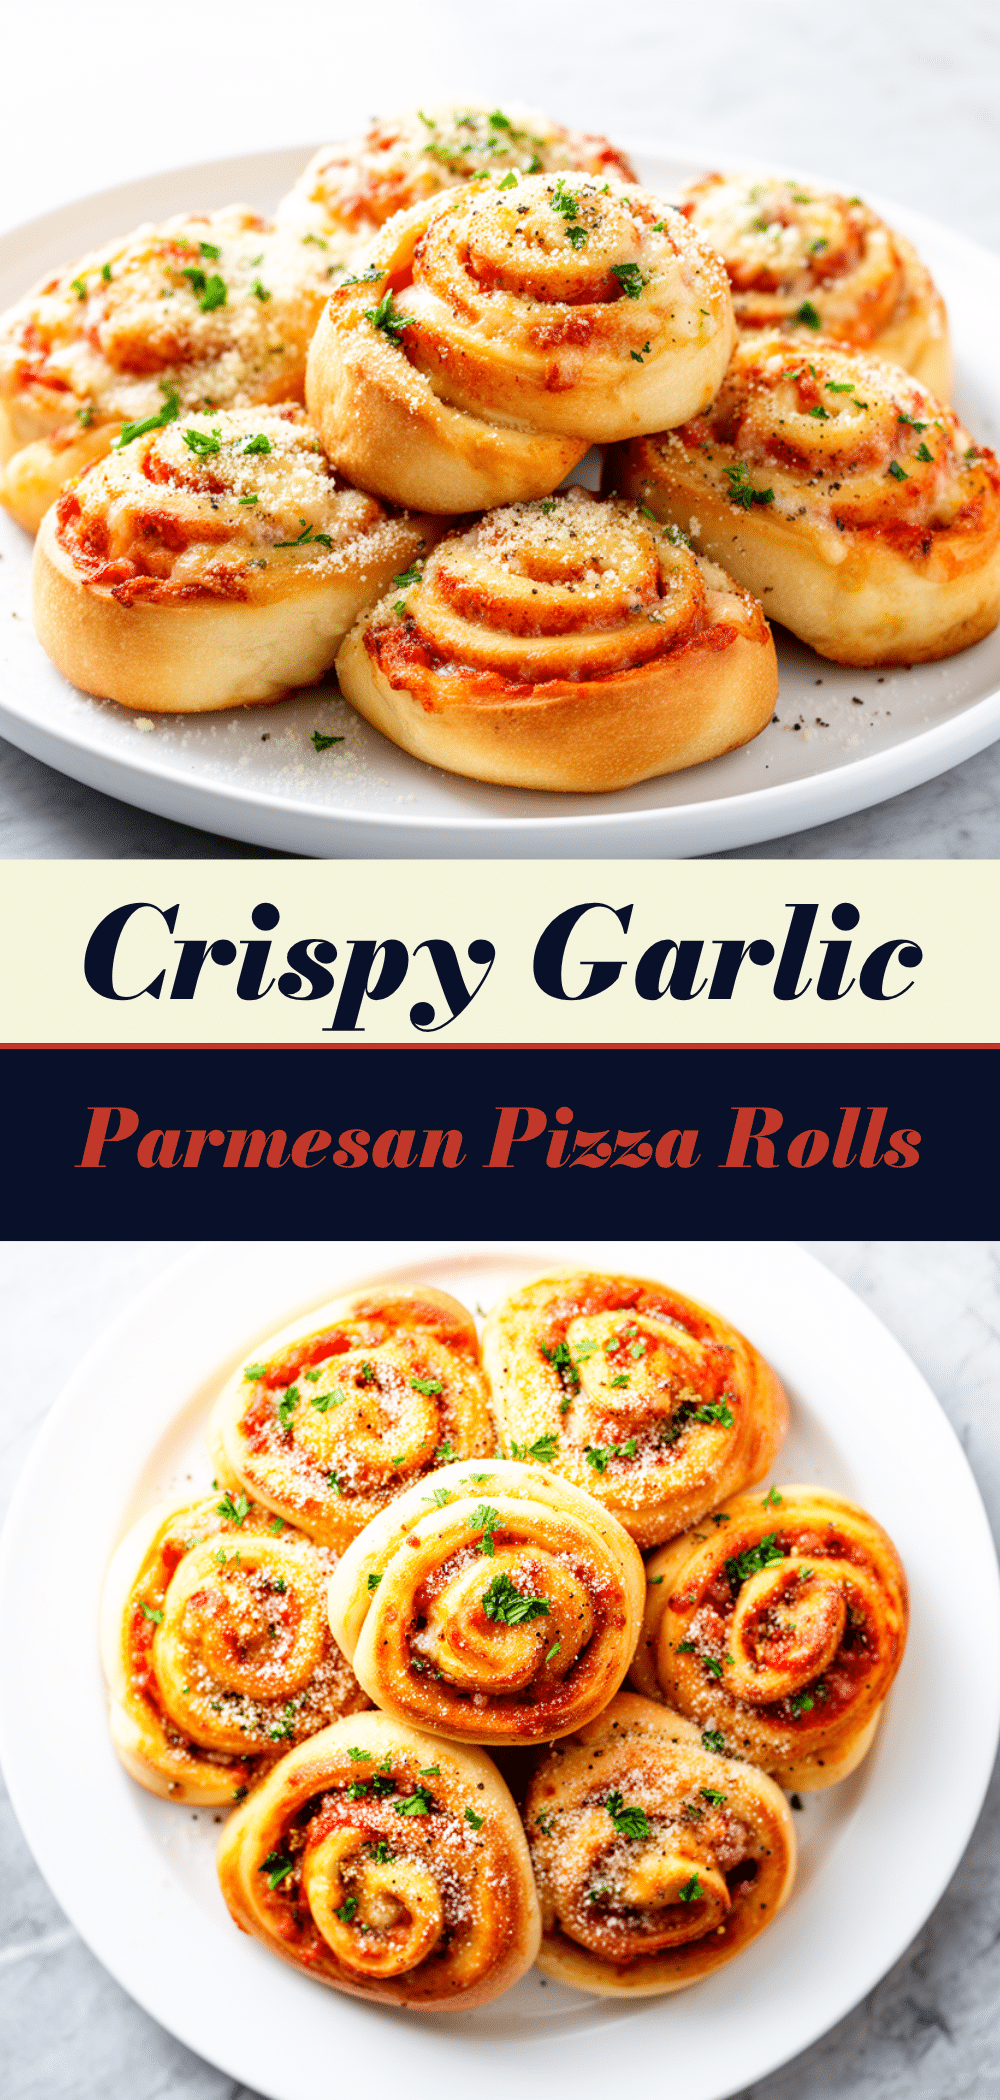
Crispy Garlic Parmesan Pizza Rolls
- Total Time: 30 minutes
- Yield: 8 servings 1x
Description
These easy, pantry-friendly pizza rolls feature flaky crescent dough filled with mozzarella and pepperoni, then brushed with a savory garlic-parmesan butter wash for a crispy, addictive appetizer ready in just 20 minutes.
Ingredients
- 1 can (8 oz) refrigerated crescent roll dough
- 1 cup (100g) shredded low-moisture mozzarella cheese
- 15–20 slices thin pepperoni
- 1 teaspoon Italian seasoning
- 4 tablespoons (60g) unsalted butter, melted
- 3 cloves garlic, minced
- ½ cup (50g) freshly grated Parmesan cheese
- 1 teaspoon dried parsley
- ½ teaspoon red pepper flakes (optional)
- 1 cup marinara sauce, warmed (for serving)
Instructions
- Preheat oven to 375°F (190°C). Line a 13×9 inch baking sheet with parchment paper.
- Unroll the crescent dough onto a clean surface and press the perforated seams together to form a continuous sheet. Trim jagged edges if necessary.
- Spread the shredded mozzarella evenly over the dough, leaving a ½-inch border. Scatter pepperoni slices over the cheese and sprinkle with Italian seasoning.
- Starting from a long side, tightly roll the dough into a log. Press the seam to seal. Slice the log into 8-10 equal pieces using a serrated knife.
- Place rolls seam-side down on the prepared baking sheet, leaving about an inch between each roll.
- In a small bowl, mix the melted butter, minced garlic, grated Parmesan, dried parsley, and red pepper flakes.
- Generously brush the garlic-parmesan butter mixture over the top of each roll.
- Bake for 12-15 minutes, rotating the pan halfway through, until golden brown and puffed.
- Let cool for 2-3 minutes before serving warm with marinara sauce for dipping.
Notes
Use low-moisture mozzarella to prevent soggy dough. Ensure rolls are rolled tightly to prevent filling leakage. Do not overcrowd the pan to ensure crispiness. For extra cheesy crust, sprinkle remaining Parmesan on top before baking. Leftovers can be stored in the fridge for 3 days and reheated in the oven.
- Prep Time: 15 minutes
- Cook Time: 15 minutes
- Category: Appetizer
- Cuisine: American
Nutrition
- Serving Size: 1 roll
- Calories: 280
- Sugar: 2
- Sodium: 450
- Fat: 18
- Saturated Fat: 8
- Carbohydrates: 22
- Fiber: 1
- Protein: 12
Keywords: pizza rolls, crescent roll recipes, easy appetizer, garlic parmesan, party food, quick snacks, pepperoni rolls



